2
TABLE OF CONTENTS
TABLE OF CONTENTS...............................................................................................................................................2
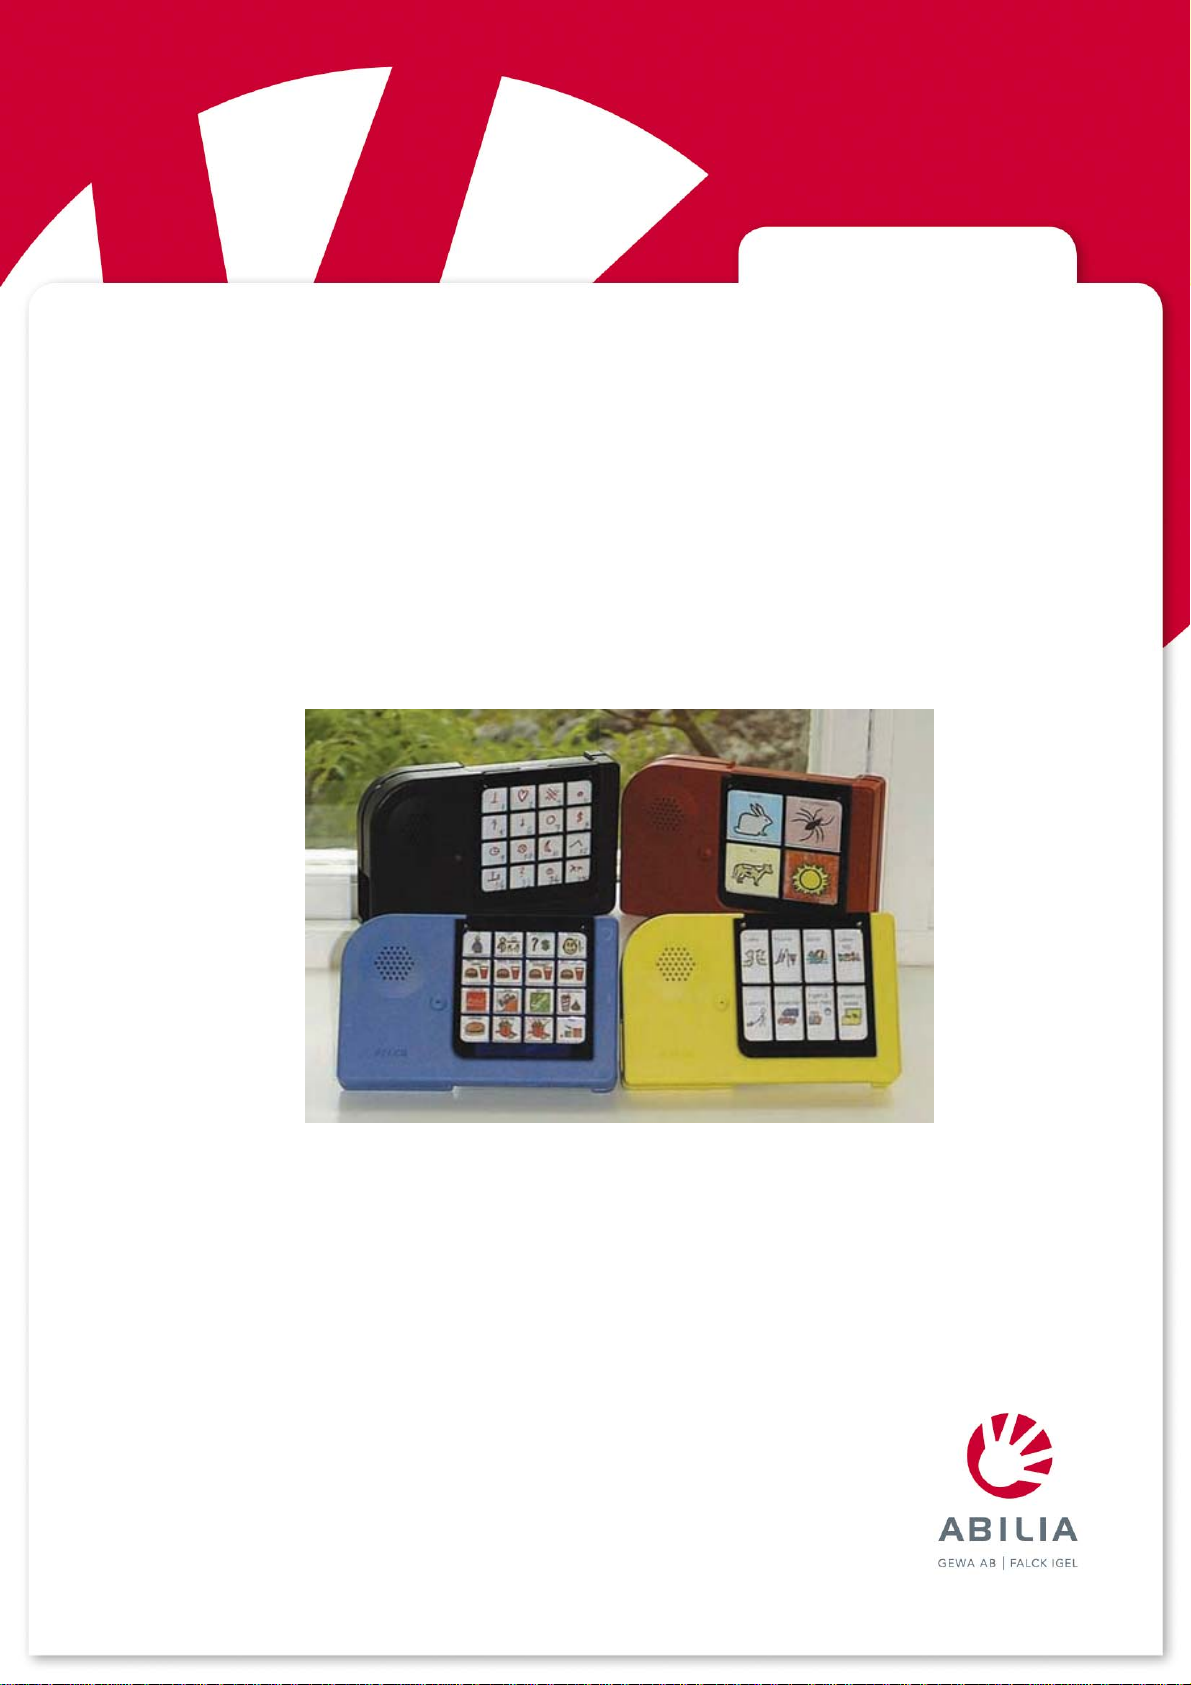
WHAT IS ”VOCAFLEX® COLOUR”: .......................................................................................................................4
INTRODUCTION:..........................................................................................................................................................4
Before using VocaFlex® Colour:...................................................................................................................4
Overlays:..............................................................................................................................................................5
Laminating overlays:........................................................................................................................................5
GETTING STARTED:...................................................................................................................................................5
FLEXIBILITY: ................................................................................................................................................................6
SMARTGUIDES:...........................................................................................................................................................6
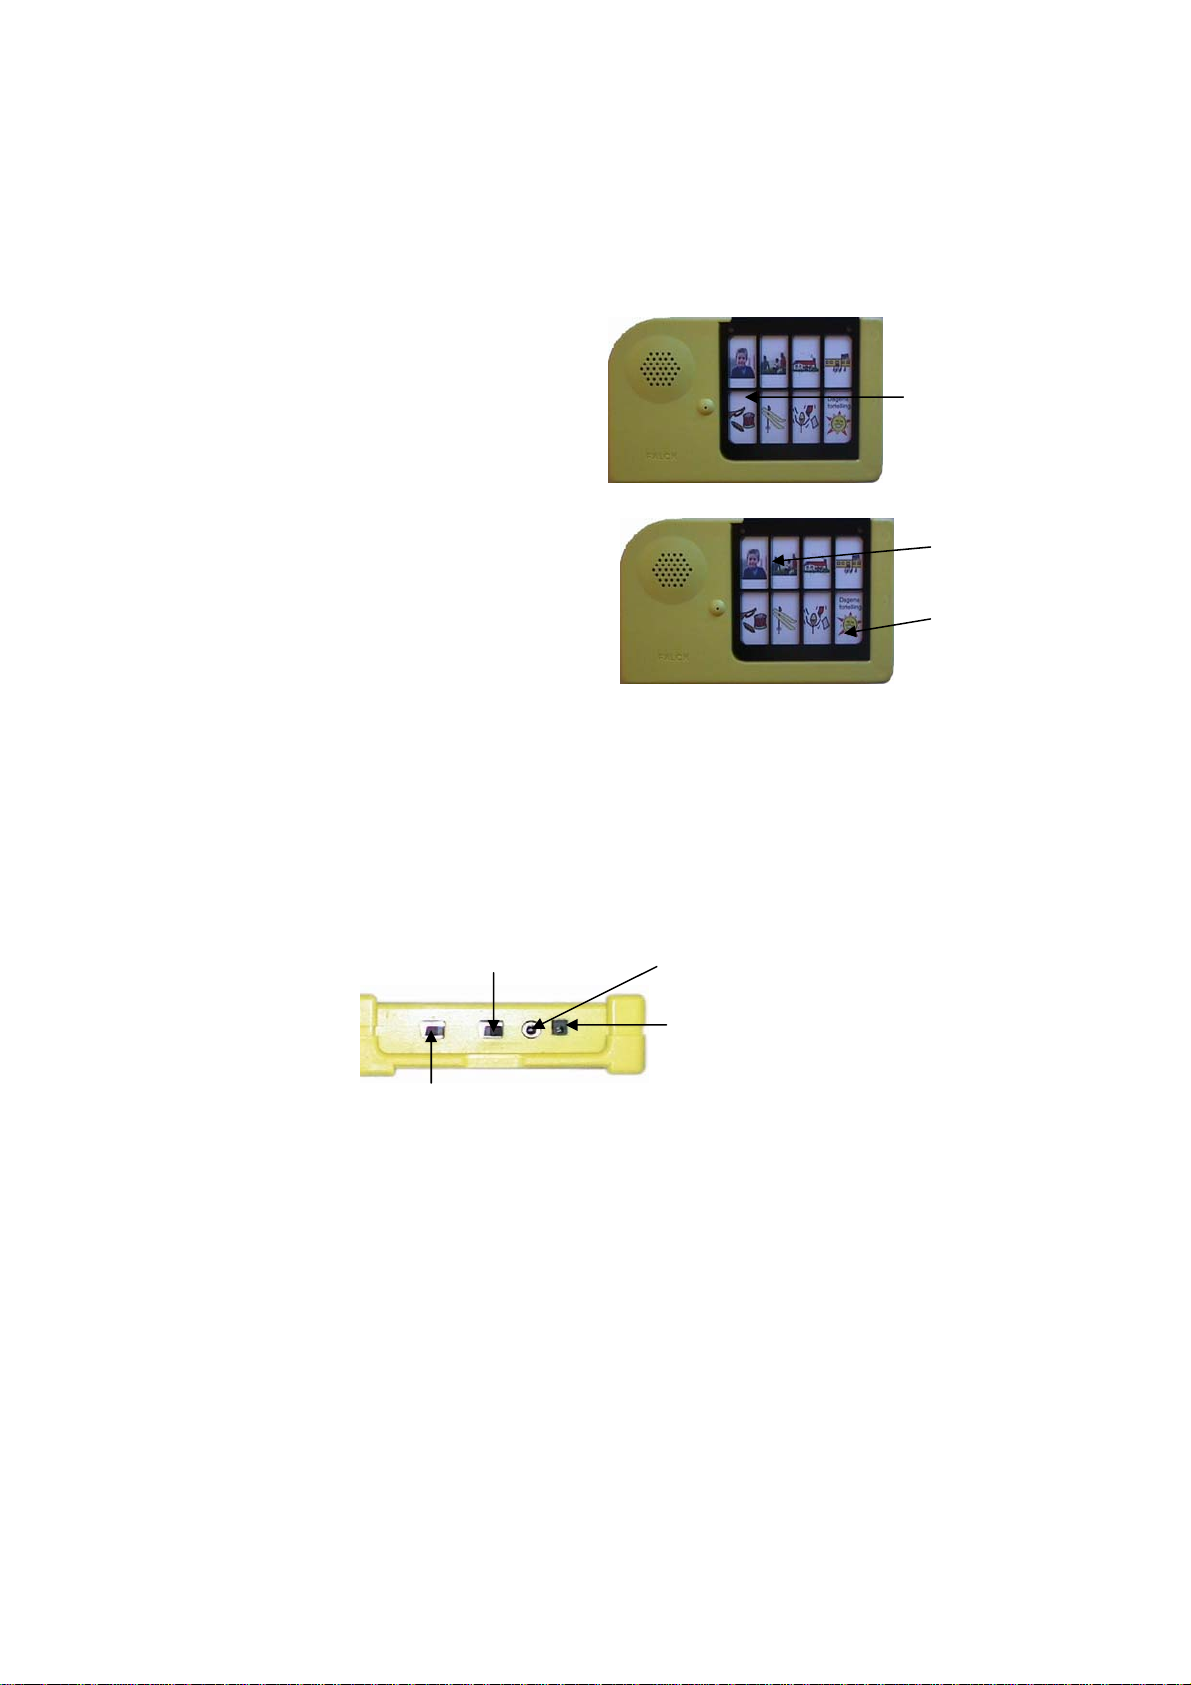
OVERLAYS:..................................................................................................................................................................6
BAR CODES:................................................................................................................................................................7
FILLING OUT PERSONAL BAR CODES:..........................................................................................................................7
SMARTGUIDES: - SINGLE KEYS OR SEQUENCE:.............................................................................................8
VOLUME CONTROL: ..................................................................................................................................................8
LED NUMBER 1 (RECORDING AND PLAYING):..................................................................................................8
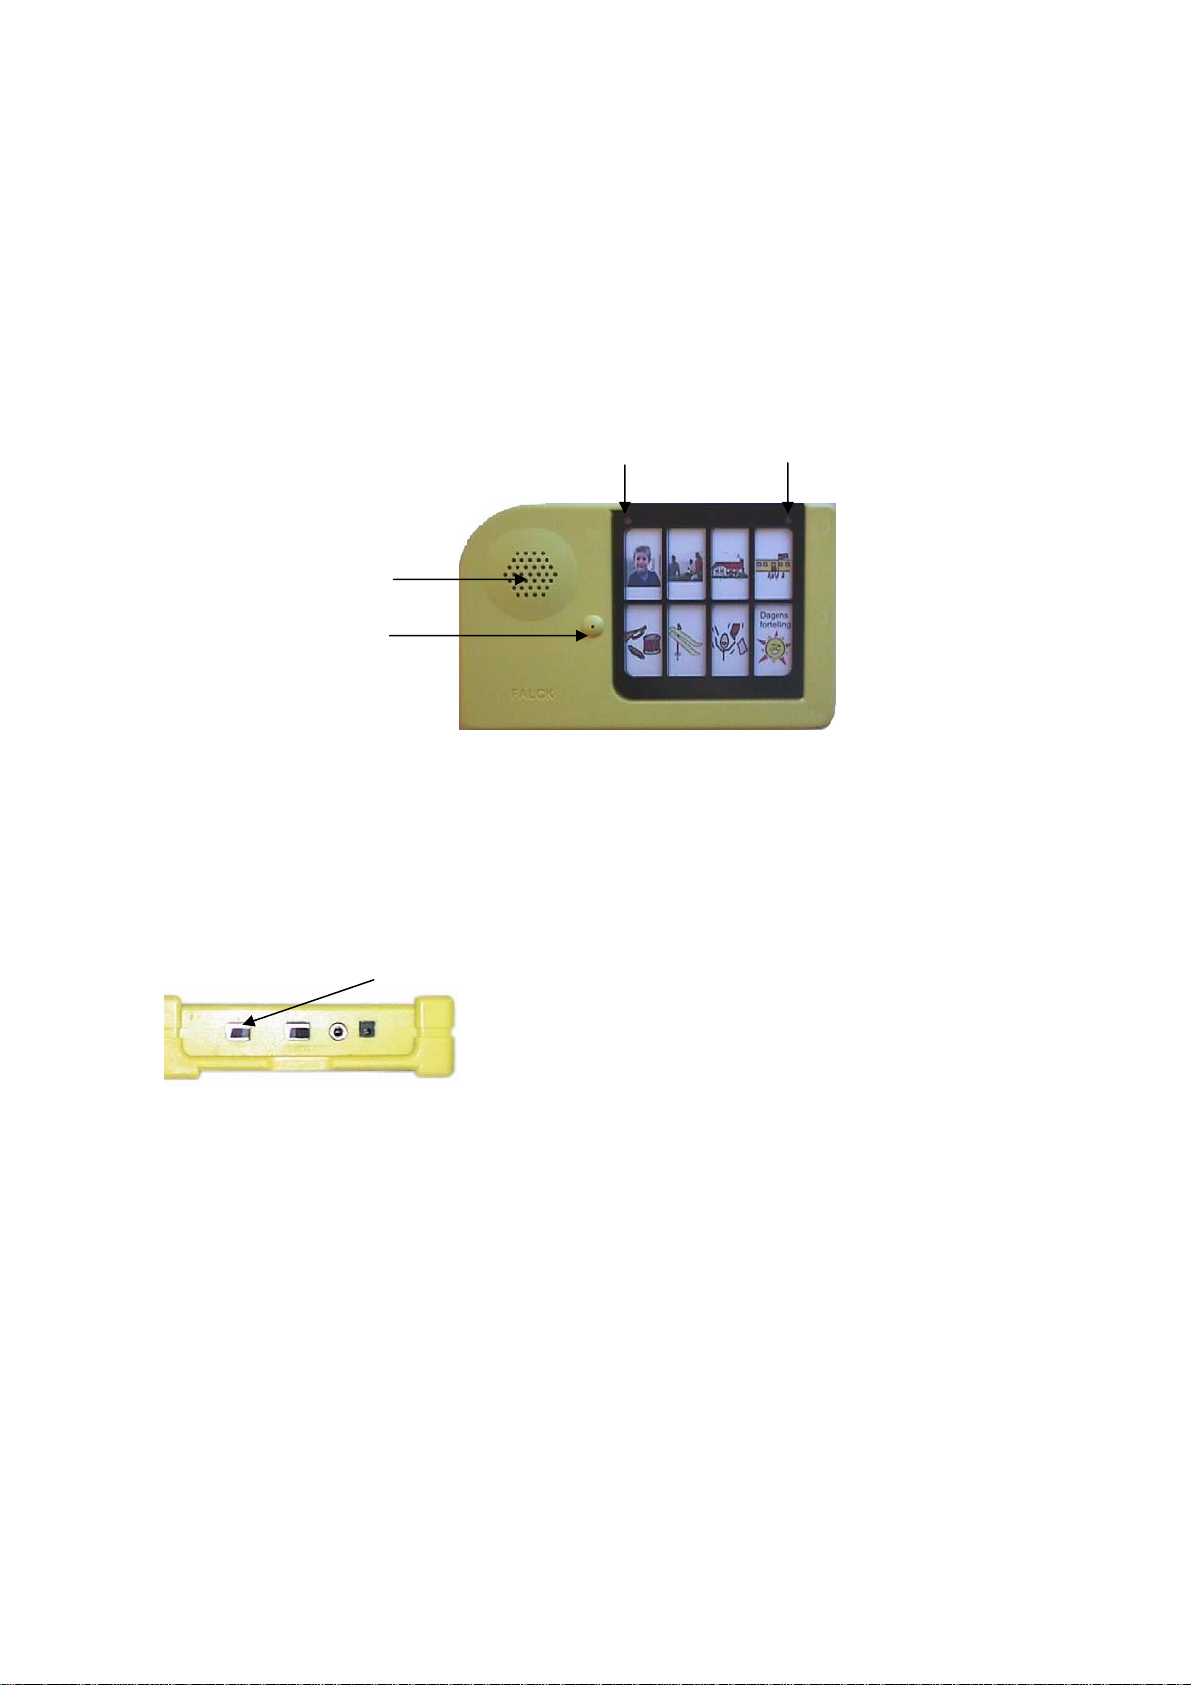
THE MICROPHONE:....................................................................................................................................................9
THE RECORD/PLAY SWITCH: .................................................................................................................................9
RECORDING SPEECH: ..............................................................................................................................................9
In general:............................................................................................................................................................9
How to record:..................................................................................................................................................10
Recording speech in single keys ................................................................................................................10
Recording speech in sequence:..................................................................................................................10
Interrupted recording:....................................................................................................................................11
PLAYING SPEECH:...................................................................................................................................................11
Playing speech messages using single keys:.........................................................................................11
Playing speech messages using 2-keys-sequence: ..............................................................................11
ON/OFF: AUTOMATICALLY....................................................................................................................................11
EXTERNAL CONNECTION:.....................................................................................................................................12
HOLD DOWN DELAY AND RELEASE DELAY: ..................................................................................................12
HOLD DOWN DELAY:..................................................................................................................................................12
RELEASE DELAY:.......................................................................................................................................................12
SETTING HOLD DOWN DELAY AND RELEASE DELAY:................................................................................13
MEMORY AND CHOOSING OVERLAYS:.............................................................................................................13
CHECKING THE VOCABULARY: «PLAY NEXT SMARTGUIDE»...................................................................14
DELETING SPEECH MESSAGES:.........................................................................................................................14
Deleting single speech messages:.............................................................................................................14
Deleting all speech messages in a SmartGuide:.....................................................................................14