manuals.online logo
Brands
  1. Home
  2. •
  3. Brands
  4. •
  5. Abus
  6. •
  7. Security Sensor
  8. •
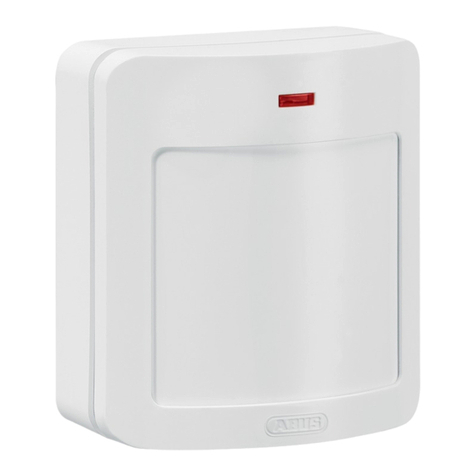
  9. Abus PLBW10000 User manual

Abus PLBW10000 User manual

QUICK
GUIDE
ABUS Security Center
GmbH & Co. KG
Linker Kreuthweg 5
86444 Aing, Germany
abus.com
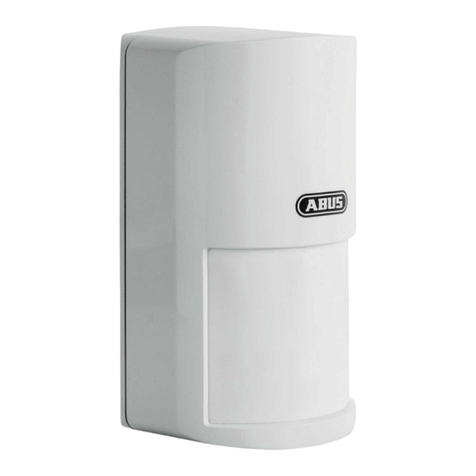
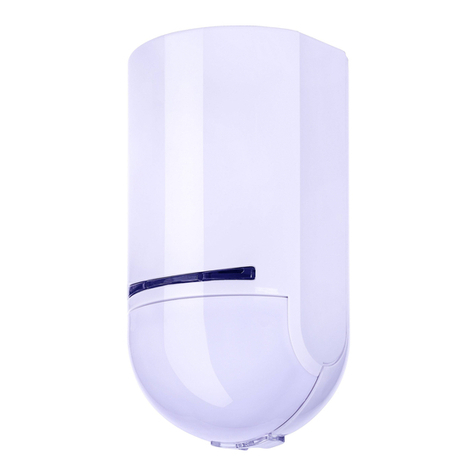
PLBW10000
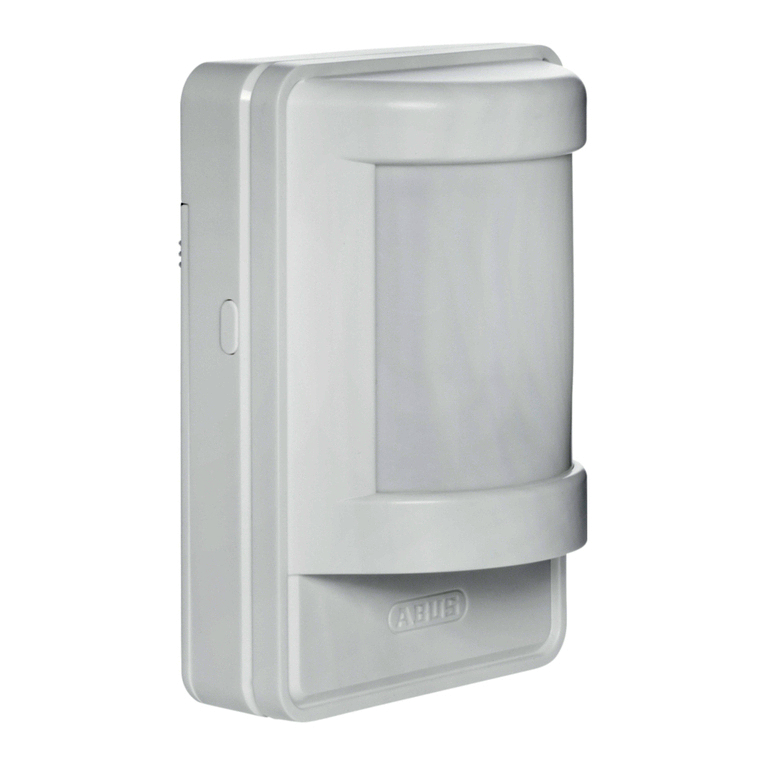
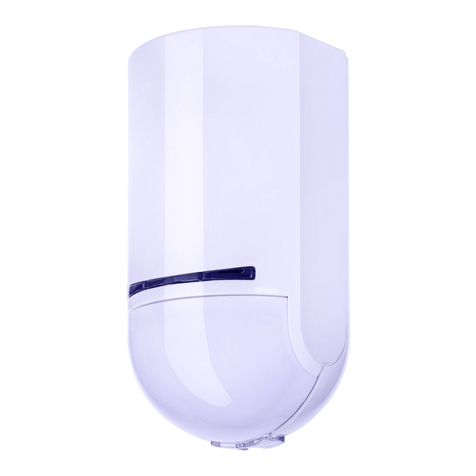
Nexello Dual
Bewegungsmelder
Nexello Dual
Motion Detector
Lieferumfang • Scope of delivery • Contenu
de la livraison • Leveromvang • Levering
Quick
Guide
1× 1×
1× 1×
Die ausführliche Bedienungs-
anleitung und technische Daten
nden Sie auf unserer Webseite.
Vous trouverez le manuel
d’utilisateur détaillé et les données
techniques sur notre site Internet.
De gedetailleerde
gebruikershandleiding en technische
gegevens vindt u op onze website.
Istruzioni d‘uso dettagliate e dati
tecnici sono disponibili sul nostro
sito web.
A full instruction manual and
technical data can be found on our
website.
De detaljerede
betjeningsvejledningen og tekniske
data ndes i på vores hjemmeside.
Szczegółowa instrukcja obsługi oraz
dane techniczne znajdują na naszej
stronie internetowej.
Las instrucciones de uso detalladas y
los datos técnicos se encuentran en
nuestra página web.
Den detaljerade bruksanvisningen
och tekniska data nns i på vår
hemsida.
Information
Range
Information
Reichweite
Overview
Übersicht
www.abus.com/
product/PLBW10000
Safety
Information
A. Vordere Abdeckung
Front Cover
B. Obere
Linse
Upper Lens
C. Untere Linse
Lower Lens
D. Sabotageschalter
Tamper Switch E. Link-Taste
Link Button F. Batteriefach
Battery Case
G. LED-Anzeige
LED Indicator
A
B
C
D
F
G
E
10m
0.0m
2.0m
0.0m
8m 12m
12m0.0m
0.0m
max 90
12m
12m
2.1
2 3
• Entfernen Sie vorsichtig die Rückabdeckung.
• Drücken Sie in ihrer Z-Wave App auf die + (Add) Taste und folgen den Anweisungen.
• Entfernen Sie den Sicherungsstreifen am Batteriefach. Wir empfehlen die ausschließliche
Verwendung der Original GP Batterien aus dem Lieferumfang.
• Das Gerät unterstützt automatische Inklusion, das heißt es geht automatisch in den Inklusionsmodus wenn
es mit Spannung versorgt wird und noch nicht mit einem Gateway verbunden ist. Die LED beginnt zu blinken.
Alternative Inklusion: Falls Sie die Batterien bereits vorab eingelegt haben bzw. der Sicherungsstreifen schon
entfernt wurde, drücken Sie stattdessen 3 mal schnell (innerhalb von 1,5 Sekunden) auf die Link Taste um die
Inklusion am Gerät zu starten.
• Die App zeigt an, dass der Einlernen-Vorgang erfolgreich war. Die Status LED blinkt nicht mehr.
• Gently lever the back cover by pulling it o.
• Click the + (Add) button in your Z-Wave App and follow the further instructions.
• Remove the safety strip from the battery compartment. We recommend the
usage of the original GP Batteries from the scope of delivery.
• The device supports automatic inclusion, i.e. it automatically goes into inclusion mode
when it is powered and not yet connected to a gateway. The LED starts ashing.
Alternative Inclusion: If you have already inserted the batteries or removed the security strip,
instead press the Link button 3 times quickly (within 1.5 seconds) to start the inclusion on the device.
• The App will show if the Add device process was successful. The Status LED does not ash anymore.
Add Device
(Inclusion)
Gerät
einlernen
• Befestigen Sie die Halterung mit den beiliegenden Schrauben und Dübeln an der Wand.
• Die Montage kann an der achen Wand oder in der Ecke erfolgen.
• Die ideale Montagehöhe für maximale Reichweite beträgt 2 Meter.
• Fix the Mounting plate on the wall by screws and dowels.
• The mounting position can be on the at wall or in the corner.
• The ideal mounting height for maximum range is 2 meters.
Installation
Installation
• Drücken Sie in ihrer Z-Wave App auf die -
(Remove) Taste und folgen den Anweisungen.
• Drücken Sie 3 mal schnell (innerhalb
von 1,5 Sekunden) auf die Link Taste.
• Die App zeigt an, dass der Auslern-
Prozess erfolgreich war.
• Click the – (Remove) button in your Z-Wave
App and follow the further instructions.
• Press the Link button 3 times
quickly (within 1.5 seconds).
• The App will show if the Remove
Device process was successful.
Installation
Installation
Factory Reset
Werksein-
stellungen
zurücksetzen
4
Remove Device
(Exclusion)
Gerät
auslernen
• Drücken Sie 3 mal schnell (innerhalb
von 1,5 Sekunden) auf die Link Taste.
• Drücken Sie schnell (innerhalb von 1 Sekunde)
ein viertes mal und halten die Link Taste
für mindestens 5 Sekunden gedrückt.
• Das Gerät ist jetzt auf Werksein-
stellungen zurückgesetzt.
• Press the Link button 3 times quickly
(within 1.5 seconds).
• Press the Link button quickly (within 1 second)
again and hold it for at least 5 seconds.
• The device is now restored to factory settings.
1
3x 3x + 5sec.
Other manuals for PLBW10000

2

Other Abus Security Sensor manuals

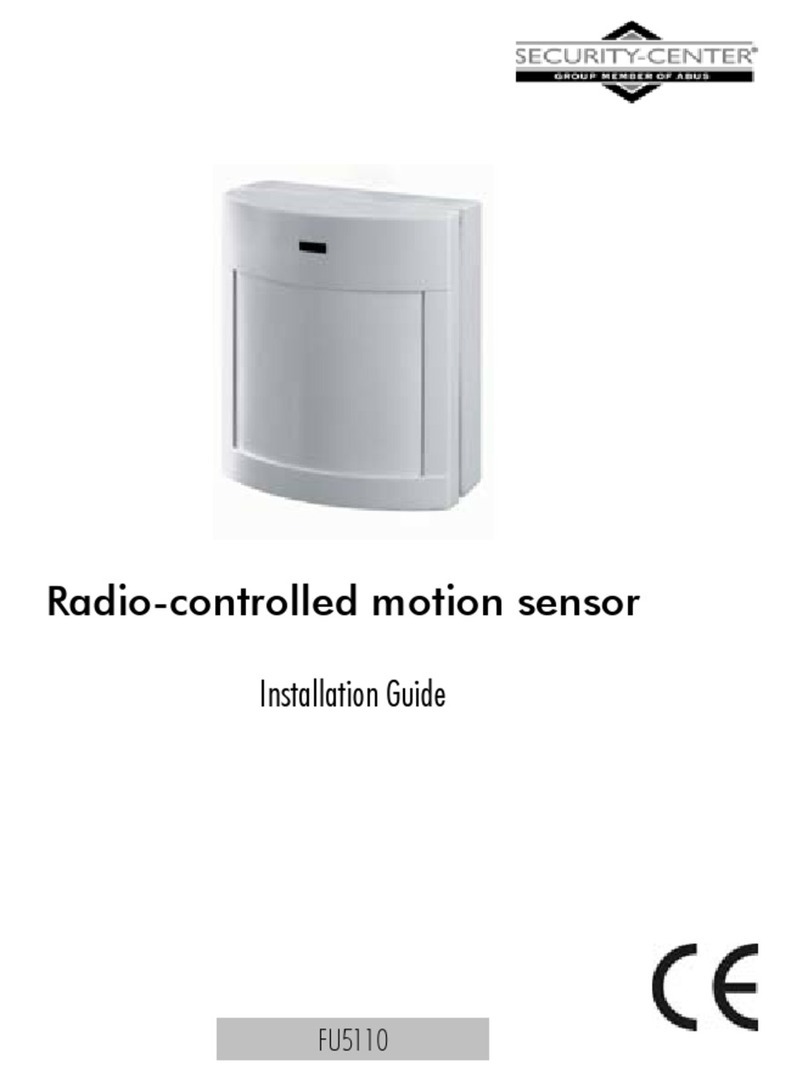
Abus FU5110 User manual

Abus

Abus FU5110 User manual

Abus FUBW50022 User manual

Abus

Abus FUBW50022 User manual

Abus PLBW10000 User manual

Abus

Abus PLBW10000 User manual

Abus FUGB60000 User manual

Abus

Abus FUGB60000 User manual

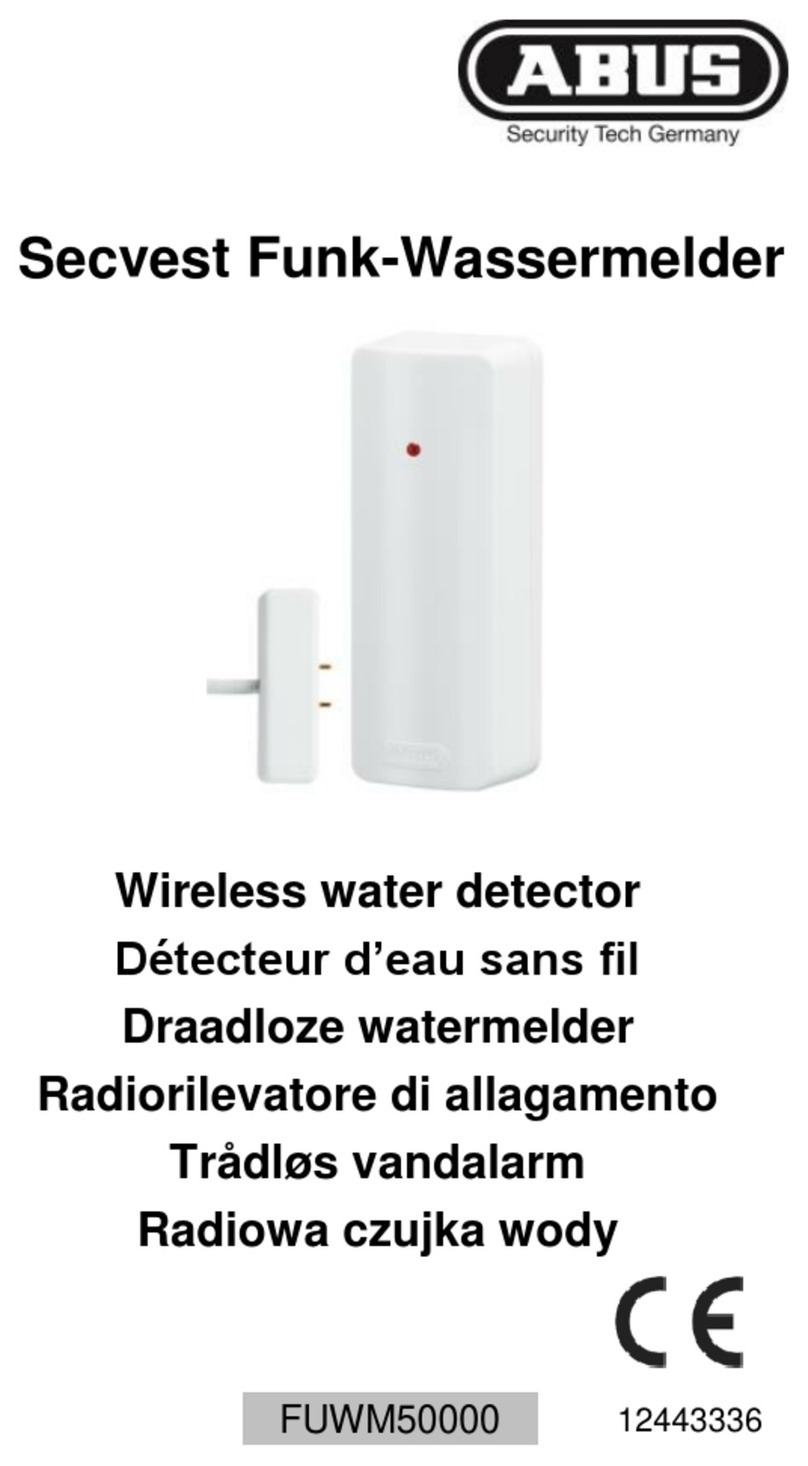
Abus FUWM50000 User manual

Abus

Abus FUWM50000 User manual

Abus FUBW35000A User manual

Abus

Abus FUBW35000A User manual

Abus FUBW35000A User manual

Abus

Abus FUBW35000A User manual

Abus PLSG10000 User manual

Abus

Abus PLSG10000 User manual

Abus FUMK50020W User manual

Abus

Abus FUMK50020W User manual

Abus FU8380 User manual

Abus

Abus FU8380 User manual

Abus Security-Center FU5130 User manual

Abus

Abus Security-Center FU5130 User manual

Abus FUBW50110 User manual

Abus

Abus FUBW50110 User manual

Abus RM 04 VdS Funk User manual

Abus

Abus RM 04 VdS Funk User manual

Abus FUBW50110-1 Manual

Abus

Abus FUBW50110-1 Manual

Abus FUEM50000 User manual

Abus

Abus FUEM50000 User manual

Abus Secvest 2WAY FU8360 User manual

Abus

Abus Secvest 2WAY FU8360 User manual

Abus FUBW35010A User manual

Abus

Abus FUBW35010A User manual

Abus PLBW10100 User manual

Abus

Abus PLBW10100 User manual

Abus FU8360 User manual

Abus

Abus FU8360 User manual

Abus FUEM50000 User manual

Abus

Abus FUEM50000 User manual

Abus PLBW10000 User manual

Abus

Abus PLBW10000 User manual

Abus FUEM60000 User manual

Abus

Abus FUEM60000 User manual

Abus SHWM10000 User manual

Abus

Abus SHWM10000 User manual

Abus PPIC46520 User manual

Abus

Abus PPIC46520 User manual

Popular Security Sensor manuals by other brands

ARVA NEO quick start guide

ARVA

ARVA NEO quick start guide

WITTUR USG-25P operating instructions

WITTUR

WITTUR USG-25P operating instructions

Theben thePassa P360-221 DALI UP WH manual

Theben

Theben thePassa P360-221 DALI UP WH manual

Crown GBD-II installation instructions

Crown

Crown GBD-II installation instructions

BUCKINGHAM MFG 488 Series Replacement instructions

BUCKINGHAM MFG

BUCKINGHAM MFG 488 Series Replacement instructions

Bushnell Speed RadaR Gun user manual

Bushnell

Bushnell Speed RadaR Gun user manual

Inficon Sensistor Sentrac SEN.122.164 operating instructions

Inficon

Inficon Sensistor Sentrac SEN.122.164 operating instructions

Toshiba GF630 instruction manual

Toshiba

Toshiba GF630 instruction manual

Samsung ADT SmartThings F-ADT-WTR-1 Setup guide

Samsung

Samsung ADT SmartThings F-ADT-WTR-1 Setup guide

Smart Bridge 9500N-000 Quick install guide

Smart Bridge

Smart Bridge 9500N-000 Quick install guide

Kistler 6052 Series instruction manual

Kistler

Kistler 6052 Series instruction manual

Inficon Modul1000 operating instructions

Inficon

Inficon Modul1000 operating instructions

Notifier B710LPA installation instructions

Notifier

Notifier B710LPA installation instructions

LST 2251CTLE Specification sheet

LST

LST 2251CTLE Specification sheet

Philips EasySense SNS200CMP Quick installation guide

Philips

Philips EasySense SNS200CMP Quick installation guide

CENS PROFLEX user guide

CENS

CENS PROFLEX user guide

Elecom LSN50v2-S31 user manual

Elecom

Elecom LSN50v2-S31 user manual

LST B312NL Specification sheet

LST

LST B312NL Specification sheet

manuals.online logo
manuals.online logoBrands
  • About & Mission
  • Contact us
  • Privacy Policy
  • Terms and Conditions

Copyright 2025 Manuals.Online. All Rights Reserved.