AccuBANKER AB1050 User manual

AB1050
Commercial Bill Counter
USER GUIDE www.AccuBANKER.com

Thank you for trusting AccuBANKER with your cash
handling needs. In order to optimize the performance
of your equipment, we encourage you to thoroughly
read this user guide prior to use.
®

3
Table of Contents
Table of Contents .............................................................................................3
Important Safety Instructions ...........................................................................4
Other Safety Considerations.............................................................................5
1. Introduction ..................................................................................................6
2. Box Contents ................................................................................................6
3. General Parts and Controls...........................................................................7
3.1 Parts Description.....................................................................................7
3.2 Control Panel ..........................................................................................8
4. Basic Operation ............................................................................................9
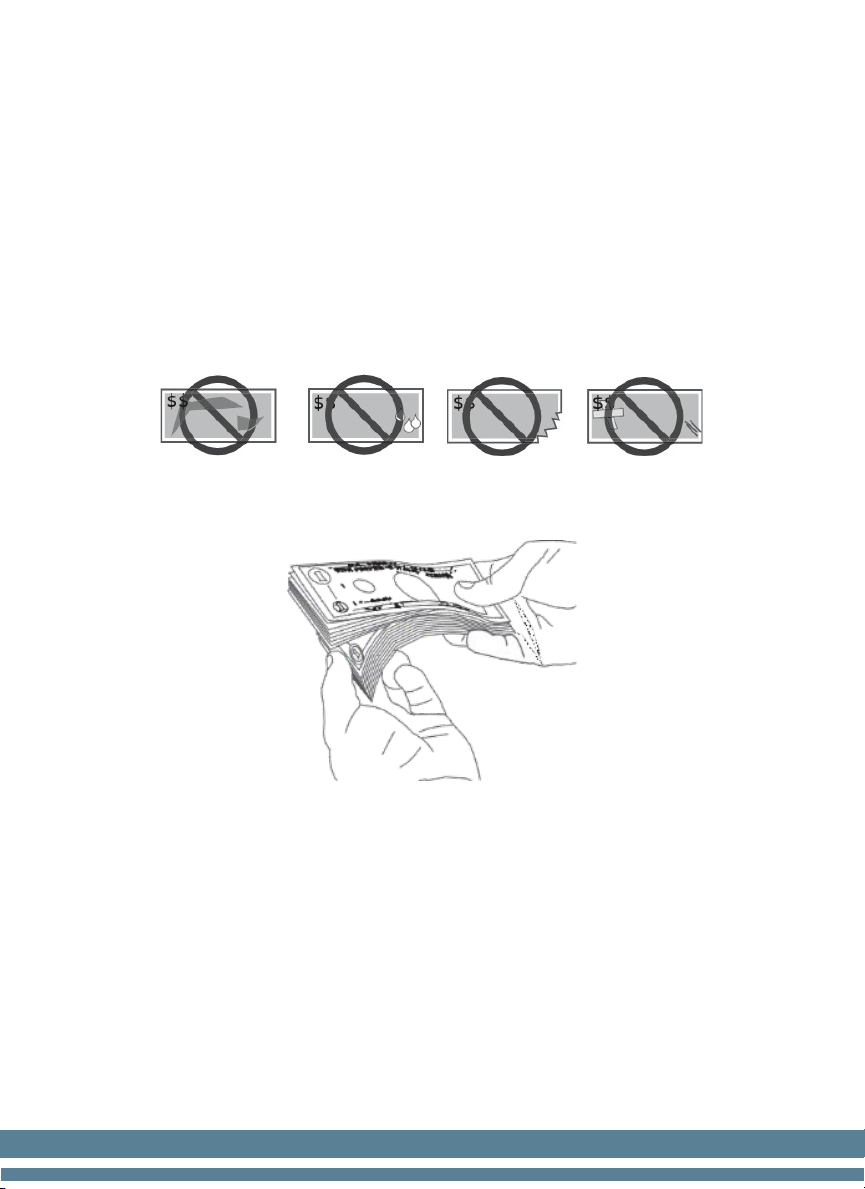
4.1. Notes Selection ......................................................................................9
4.2 Proper positioning of the notes on the Hopper .....................................10
4.3 Counting Mode .....................................................................................10
4.4 AUTO/ MANUAL Modes....................................................................11
4.5 Batch Function......................................................................................11
4.6 Counterfeit Detection functions (Optional)..........................................12
4.7 Size Detection (Width) .........................................................................13
5. Troubleshooting .........................................................................................14
5.1 Avoiding Problems ...............................................................................14
5.2 Miscounting Errors ...............................................................................14
5.3 Jamming................................................................................................15
6. Unit Maintenance .......................................................................................16
6.1 Cleaning the Optical Sensors................................................................16
6.2 Cleaning the Inside of the Machine Periodically..................................16
6.3 Additional Recommendations ..............................................................16
7. Warning and Error Messages .....................................................................17
8. Specifications .............................................................................................18

4
!
!
Important Safety Instructions
When using this bill counter, basic safety precautions should always be
followed to reduce the risk of fire, electric shock, or injury to persons;
including the following:
Warning
Do not use this product in areas where it may be exposed to water or other
liquids.
Unplug this product from the electric outlet before cleaning. Do not use liquid
oraerosol cleaners. To clean, use a damp cloth.
To reduce the risk of electric shock, do not disassemble this product. Take
it to qualified service personnel when service or repair work is required.
Opening or removing covers may expose you to dangerous voltages or other
risks. Incorrect reassembly can cause electric shock when the appliance is
subsequently used.
Only use the cable provided with the unit. The use of other cables may result
in electric shock, fire, or cause serious damage to the unit.
Do not operate the unit in areas with high temperature or high humidity sinceit
may prevent it from working correctly.
Caution
When unplugging the power cord, do not pull it by the cord, but rather grip the
plug to pull it out. Not following these instructions may result in electricshock,
fire, or damage to the unit.
Do not use the unit if the power cord is damaged or if the plug socket contactis
loose. Not following these instructions may result in electric shock, fire, or
other hazards.
Do not place heavy objects over the cord and do not bend it excessively since
it could get damaged. Not following these instructions may result in electric
shock, fire, or other hazards.
When not using the unit for a long time, remove the power plug from the electric
outlet.

5
Other Safety Considerations
•Read and understand all of the safety instructions.
•Follow all warnings and instructions marked on the unit.
•This product should never be placed near or over a radiator or heater
register. This product should not be placed in an enclosed space
unless there is proper ventilation.
•This product should be operated only from the type of power source
indicated in this User Guide. If you are not sure of the type of power
supply in your location, consult your dealer or local power company.
•Never push objects of any kind into the unit through the case slots or
openings, since they may touch dangerous voltage points or shortcut
parts, resulting in a risk of fire or electric shock.
•Never spill liquids of any kind on the product.
•Unplug this product from the electric outlet and refer to servicing by
qualified service personnel under the following conditions:
-When the power supply cord or plug is damaged or frayed*
-If liquid has been spilled into the unit or it has been exposed to
rain or water*
-If the unit has been dropped or the case has been damaged*
-If the equipment shows a noticeable change in performance
*Not covered under warranty
!
If the unit does not operate normally while following the
instructions, adjust only those controls covered by the operating
instructions. Improper adjustment of other controls may result in
damage and will often require extensive work by a qualified
technician to restore the product to normal operation.
** It is highly recommended to implement an operating mode of:
120 minutes ON / 20 minutes OFF

6
1. Introduction
The AB1050 Series is our newest back-loading model that provides a simple
and rapid way to count money. It is the perfect solution when fast, accurate,
and reliable banknote processing is the goal.
It is ready to tackle the most demanding tasks, from counting large amounts
of cash to batching custom bill quantities. This fact, combined with its
optional counterfeit detection functions of UV and MG authentication, makes
this unit an indispensable tool for the financial market of today and an
invaluable aid for banks, casinos, supermarkets, movie theaters, retail
locations, and many other environments where money is used constantly.
2. Box Contents
When opening the box, verify that all of the items described below are
included. If any item is damaged or missing, contact your provider.
1. Bill Counter unit AB1050
2. Power Cord
3. User Guide and Warranty documents
1.
2.
3.

7
3. General Parts and Controls
3.1 Parts Description
1. Hopper
2. Hopper Guiders
3. Retractable Handle
4. Control Panel
5. Stacker
6. Bill Thickness Adjustment Knob
7. Power Switch
8. Power Outlet
9. External Display jack
1
2
3
4
5
6
7
8
9

8
3. General Parts and Controls (continued)
3.2 Control Panel
UV: Ultraviolet Detection function ON / OFF. (Optional function)
MG: Magnetic Ink Detection function ON/ OFF. (Optional function)
Size: Size Detection function ON/ Off (Width).
ADD: Adding function ON / OFF.
Counts all the bills placed on the hopper and adds them to the total counted
earlier. Removing the counted bills from the stacker will not reset the
counting quantity displayed on the screen.
Numeric Keys (0-9): Batch setting.
They are used for selecting the batching number.
C: Clear Key.
It is used to clear any old data from the screen as well as any Error Code.
Set: Set Up the UV and MG levels from 1-9 (1-Lowest & 9-Highest).
Restart: Resume the counting. Automatic/Manual Mode Activation
Alarm: Advise any error or abnormal condition.

9
4. Basic Operation
4.1 Notes Selection
For ensuring a trouble-free operation:
1. Avoid counting wet, excessively dirty, spoiled, folded, or curved notes.
2. Check for foreign objects mixed up with the bills like paper clips, rubber
bands, pieces of paper, etc.
3. Fan each bundle before counting in case the notes are slightly glued to
one another.
4. Make sure to put the notes on the hopper in an orderly manner.

10
4. Basic Operation (continued)
4.2 Proper positioning of the notes on the Hopper
Back-loading machines are very sensitive to the good positioning of the bills
in the hopper, continuous errors may occur during the counting due to bad
positioning of the bills.
Proceed with the following instructions for placing the bills on the hopper.
a. Place the bills between the bill guiders slightly vertical.
b. Quickly, push the bills backward with your thumb to make them rest
on the hopper.
c. The unit will start counting the bundle immediately.
4.3 Counting Mode
The default mode of the machine is the Counting mode. All banknotes placed
in the hopper will be counted automatically as soon as they are sensed.

11
4. Basic Operation (continued)
4.4 AUTO/ MANUAL Modes
The unit comes from the factory with AUTO counting mode as default.
Pressing the RESTART button for 7 sec. until the unit's display shows A-1 or
A-0; this will activate or deactivate the Manual mode. In this mode, the user
can control when the unit starts counting the bills.
A-1 (Automatic mode activated)
A-0 (Automatic mode deactivated-MANUAL)
4.5 Batch Function
Selecting the desired quantity by the numeric keys can set up the batch
amount. The preset batch value is displayed on the left side of the screen and
the actual count will be displayed on the right side of the screen.
To remove and clear the preset batch just press the "C" key.

12
4. Basic Operation (continued)
4.6 Counterfeit Detection functions (Optional)
a. Ultraviolet Detection function (only available for the AB1050 UV
model)
UV function can check all types of banknotes containing UV features and
will alert the user in case it fails with the warning message "EE-1" and a
beeping alarm.
Press the UV key to activate or deactivate the UV function.
UV sensitivity adjustment
The user can customize the UV sensitivity to make this function more
accurate for any specific currency.
1. Press down the "Set" key on the control panel, and the "SE - #" code
will come out on the screen. "#" is the sensitivity level.
2. Select the desired level from the numeric keys 1-9.
1-Lowest Sensitivity and 9-Highest Sensitivity
3. Press RESTART to resume the count.
b. Magnetic Detection function (only available for the AB1050 MG/UV
model)
MG function can check all types of banknotes containing magnetic ink
and will alert the user in case it fails with a warning message "EE-2" and
a beeping alarm.
Press the MG key to activate or deactivate the MG function.

13
4. Basic Operation (continued)
4.6 Counterfeit Detection functions (Optional) (continued)
MG sensitivity adjustment
The user could customize the MG sensitivity to make this function more
accurate for a specific currency.
Press the MG key to activate or deactivate the MG function.
1. Press down the "Set" key twice on the control panel, and the "SD - #"
message will come out on the screen. "#" is the sensitivity level.
2. Select the desired sensitivity level from the numeric keys 1-9.
1-Lowest Sensitivity and 9-Highest Sensitivity
3. Press RESTART to resume the count.
4.7 Size Detection (Width)
This function allows the unit to memorize the Width size of the first bill
processed by the unit and uses it as a pattern to compare the rest of the notes
during the count. If a bill fails, it will alert the user with a warning message
"EE-8" and a beeping alarm.
This function is highly recommended to use when the currency to count
consists of denomination values of different sizes.

14
5. Troubleshooting
5.1 Avoiding Problems
Pre-select the notes you are going to count in the unit. Don't attempt to count
bills:
a. with staples, metal clips, rubber bands, or any other object
b. if torn, washed, or damaged
c. profusely stained
d. covered with any type of adhesive substance.
5.2 Miscounting Errors
In case the unit is not having an accurate counting, proceed as follow:
1. Ensure that the banknotes are placed orderly in the hopper (section
4.2).
2. Clean the dust or any other kind of dirt from the counting sensors.
3. Evaluate the bill thickness. Adjust the mechanism as needed to
improve the unit’s performance (section 5.3).

15
5. Troubleshooting (continued)
5.3 Jamming
Before beginning operating the machine, make sure there are no foreign
objects in any of the mechanisms such as silica bags, spare parts, etc.
• To avoid jamming, ensure that banknotes are placed correctly in the
hopper (section 4.2).
• If jamming occurs, turn off the machine before proceeding to remove
the bills. Carefully remove the jammed banknotes from the machine
with a wooden or rubber stick. Look for any foreign objects such as
paper clips, rubber bands, etc., and remove them if necessary.
•If the Jammed bills become a common event during the unit's
function, it means the unit needs to be calibrated. Having the correct
thickness adjustment knob position will ensure a smooth counting as
well as a trouble-free operation. Rotating the knob Clockwise or
Counterclockwise will vary the thickness of the bill grabbing system.
Clockwise rotating
- Decrease Thickness Gap (Increase bills friction)
Counterclockwise rotating
- Increase Thickness Gap (Decrease bills friction)
Decrease
Thickness Gap
Increase
Thickness Gap

16
6. Unit Maintenance
6.1 Cleaning the Optical Sensors
It is important to clean all of the sensors in the unit to avoid any paper
particles or dust from sticking to the sensors. This should be done every day
if possible. The glass surfaces of the sensors may be wiped with a soft cloth
soaked with alcohol (refer to the picture below).
6.2 Cleaning the Inside of the Machine Periodically
It is necessary to clean the inside of the machine once a week or when
needed. Unplug the machine and open the stacker. Use compressed air to
lightly blow out dust from the interior.
6.3 Additional Recommendations
Avoid operating the machine in a dusty or dirty room.
1. Hopper Sensor
2. Counting Sensors
3. Stacker Sensors

17
7. Warning and Error Messages
ERROR
CAUSE
SOLUTION
EE1 UV function alarm
Remove the bill and resume the
counting. Recheck the suspect bill
EE2 MG function alarm
Remove the bill and resume the
counting. Recheck the suspect bill
EE4
Half note detected
Remove the damaged bill
EE8
Size function alarm
Remove the bill
CODE
POSSIBLE CAUSE
SOLUTION
CE2
Speed Sensor
Clean dust and obstruction
from sensor or contact technical
support
CE3 Left Counting Sensor
Clean dust and obstruction
from sensor or contact technical
support
CE4 Right Counting
Sensor
Clean dust and obstruction
from sensor or contact technical
support
CE5 Hooper Sensor
Clean dust and obstruction
from sensor or contact technical
support
CE8 Stacker Sensor
Clean dust and obstruction
from sensor or contact technical
support

18
8. Specifications
Counting Speed: 1200 notes/min.
Counterfeit Detection: SIZE and UV-MG (optional)
Interfaces: External Display connection
Display: LEDs Display
Hopper Capacity: 200 notes (new)
Stacker Capacity: 200 notes (new)
Banknote size range: 100mm x 50mm – 185mm x 100 mm
Power Requirements: Single Phase 110V / 60 Hz.
Also available in 220V / 50 Hz
Power Consumption: < 40 W
Size (W x D x H): 10.5" x 11" x 7" (26.5 x 27.9 x 17.8 cm)
Weight: 13 lbs. (5.90 Kg)

AccuBANKER USA
7104 NW 50th St
Miami, FL 33166
9AM- 5PM ET Monday through Friday
www.AccuBANKER.com
Please give us a call at 1-888-993-2228
®
Table of contents
Other AccuBANKER Cash Counter manuals

AccuBANKER
AccuBANKER AB5800 User manual

AccuBANKER
AccuBANKER AB4000 User manual

AccuBANKER
AccuBANKER AB7500 User manual

AccuBANKER
AccuBANKER AB630 User manual

AccuBANKER
AccuBANKER D585 User manual

AccuBANKER
AccuBANKER LED420 User manual

AccuBANKER
AccuBANKER AB510 User manual

AccuBANKER
AccuBANKER AB7500 User manual

AccuBANKER
AccuBANKER AB550 User manual

AccuBANKER
AccuBANKER D585 User manual