manuals.online logo
Brands
  1. Home
  2. •
  3. Brands
  4. •
  5. AddBike
  6. •
  7. Bicycle Accessories
  8. •
  9. AddBike Carry'Dog User manual

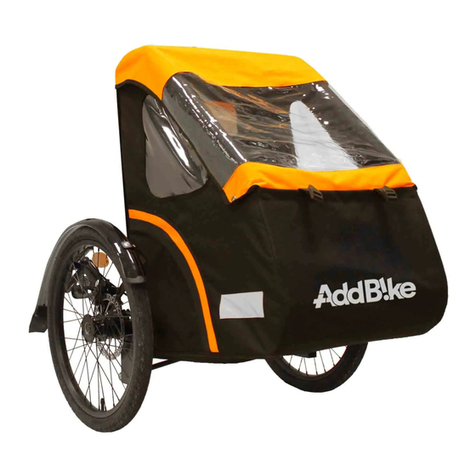
AddBike Carry'Dog User manual

User Guide
Guide d’instaIIation
Montageanleitung
Carry’Dog
This user guide provides basic information about
the assembly of the Carry’Dog module and its
installation. Please refer to the User and
Installation Guide for safety instructions and
additional information: https://add-
bike.com/en/customer-service/cargo-bike-
documentation/
Ce guide d'installation apporte des informations simplifiées
concernant l'assemblage du module Carry’Dog sur l’AddBike+.Pour
des questions de sécurité et des
informations complémentaires,
référez-vous à la notice de montage complète disponible sur notre
site : https://add-bike.com/service-client/documentation-velo-cargo/
In dieser Montageanleitung finden Sie alle Informationen
zum
Aufbau des Carry‘Dog-Moduls und dessen Installation auf dem
Fahrrad. Fragen bezüglich der Sicherheit und
zusätzliche
Informationen finden Sie im Benutzerhandbuch: https://add-
bike.com/de/kundenservice/lastenfahrrad-dokumentation/
Contents of the parcel
Contenu du carton
Verpackungsinhalt
Required tools Outils nécessaires
Erforderliche Werkzeuge
Allen wrench (size 3) Clef Allen (taille 3) Inbusschlüssel (Größe 3)
Crossbar
Tube
transverse
Querstange
Front
tubes
Tubes
avant
Vorderrohre
Upper
tubes
Tubes haut
Oberrohre
Compact
slat
Latte de
compact
Verbindungsleiste
Casing
Enveloppe
Hülle
Cover
Couvercle
Abdeckung
Front textile
Textile avant
Frontschutz
Floor mat
Tapis de fond
Teppichboden
Screws BHC M5
Vis BHC M5
BHC M5 Schrauben
Summary
Sommaire
Inhaltsverzeichnis
Textile
Textile
Textile
Fabric attachment and finishing
Attache du tissu et finition
Textilbefestigung und Verarbeitung
3
2
1
Frame
Bâti
Rahmen
Installation of the
frame
Mise en place du bâti
Aufbau des
Rahmens
Remove the 4 screws on each side
of the top of the backrest and seat of
the AddBike
Retirer ces 4 vis de chaque côté du
haut du dossier et de l’assise de
l’AddBike
Entfernen Sie diese 4 Schrauben an
jeder Seite der oberen Rückenlehne und
des Bodens des AddBikes
Installation of the compact slat on the
bottom of the front tubes with the 4 BHC
M5x20 screws
Mettre en place la latte de compact sur
le bas des tubes avant avec les 4 vis BHC
M5x20
Befestigen Sie die Verbindungsleiste mit
den 4 BHC M5x20 Schrauben an der Unterseite
der Vorderrohre
Insert the assembly into the seat
tubes and place the previously removed
screws back onto the seat
Insérer l’ensemble dans les tubes de
l’assise puis remettre les vis retirées
précédemment sur l’assise
Schieben Sie das Ganze in die Rohre des
Bodens und setzen Sie die zuvor entfernten
Schrauben wieder ein
Insertion of the
textile
Insertion du textile
Anbringung des
Textils
Insert the two upper tubes through
the elastic straps of the textile in the
direction shown here
Enfiler les deux tubes haut dans les
sangles élastiques du textile dans le sens
indiqué ici
Schieben Sie die beiden Oberrohre durch
die elastischen Bänder des Stoffes wie
abgebildet
Insert the end of the high tubes into
the last small upper rigid strap
Insérer l’extrémité des tubes haut dans
la dernière petite sangle rigide supérieure
Schieben Sie das Ende der Oberrohre in
die letzte obere nicht elastische Schlaufe
Install the textile by inserting the
two lower elastic bands into the front
tubes
Installez le textile en insérant les deux
bandes élastiques inférieures dans les
tubes avant
Bringen Sie das Textil an, indem Sie die
beiden unteren Gummizüge in die
Vorderrohre schieben
Tighten the fabric on both sides, centering the fabric on the backrest as much as
possible.
Bien tendre le tissu de chaque côté en centrant au mieux la partie textile sur le dossier.
Spannen Sie den Stoff auf jeder Seite und zentrieren Sie das textile Teil so gut wie möglich auf
der Rückenlehne.
Verify that no cables from the AddBike are caught in the strap clamps.
Aucun câble de l’AddBike ne doit être pris dans le serrage des sangles.
Beim Festziehen der Gurte darf kein AddBike-Kabel zerquetscht werden.
Insert the upper tubes into the backrest
and the front tubes and then replace the
backrest screws previously removed
Insérer les tubes haut dans le dossier et
dans les tubes avant puis remettre les vis du
dossier retirées précédemment
Schieben Sie die Rohre in die Rückenlehne
und in die vorderen Rohre ein und setzen Sie die
zuvor entfernten Schrauben der Rückenlehne
wieder ein
1
2
3
4
At the back of the module, hook the
lower strap, the upper strap, then the
leash retaining strap (vertical) and
finally the horizontal middle strap
A l’arrière du module, accrocher la
sangle du bas, la sangle supérieure, puis la
sangle de maintien de la laisse (verticale) et
enfin la sangle horizontale du milieu
Ziehen Sie die drei Gurte an der Rückseite
des Moduls in der gemäß Abbildung gezeigten
Reihenfolge fest
If you wish to use the Carry’Dog without its lid, you can roll it up and secure it inside the box
with the elastic straps.
Si vous souhaitez utiliser la Carry’Dog sans son couvercle, vous pouvez l’enrouler et le placer à
l’intérieur de la box à l’aide des bandes élastiques.
Wenn Sie das Carry'Dog ohne ihre Abdeckung verwenden möchten, brauchen Sie diese einfach nicht auf
der Textilhülle montieren. Sie können die Abdeckung aufrollen und mithilfe der elastischen Gurte am Boden
der Box befestigen.
Insertion of the crossbar into the
front textile sleeve
Insertion de la barre transverse dans le
fourreau du textile avant
Schieben Sie die Querstange in die Hülle
des Frontschutzes
Position the crossbar between the two
holes formed at the front of the module
between the upper and front tubes, then fix
these parts using 2 BHC M5x30 screws
Positionner la barre transverse entre les
deux trous formés à l’avant du module entre les
tubes haut et avant, puis fixer ces parties en
utilisant 2 vis BHC M5x30
Positionieren Sie die Querstange zwischen den
beiden Löchern der Ober- und Vorderrohre an der
Vorderseite des Moduls und befestigen Sie die
Stange mit den mitgelieferten BHC M5x30
Schrauben
Fabric attachment
and finishing
Attache du tissu et
finition
Anbringung des
Textils und Fertigstellung
Assemble the floor mat in the bottom of the
Carry'Dog by attaching the four press studs
Assemblez le tapis de sol dans le fond de la
Carry’Dog en fixant les quatre boutons pression
Montieren Sie den Teppichboden unten an dem
Carry'Dog, indem Sie die vier dafür vorgesehenen
Druckknöpfe benutzen
Assemble the front textile with the
Carry'Dog's cover using the Velcro
fasteners
Assembler le textile avant avec
l’enveloppe de la Carry’Dog à l’aide des
scratchs
Montieren Sie den Frontschutz mithilfe der
Klettverschlüsse auf der Hülle des Carry’Dogs
Then assemble the cover by attaching it to
the module using the press studs and Velcro
fasteners
Puis assembler le couvercle en venant fixer ce
dernier sur le module à l’aide des boutons
pression ainsi que des scratchs
Montieren Sie die Abdeckung, indem Sie diese mit
den Druckknöpfen und den Klettverschlüssen am
Modul befestigen

Other manuals for Carry'Dog

2

Other AddBike Bicycle Accessories manuals

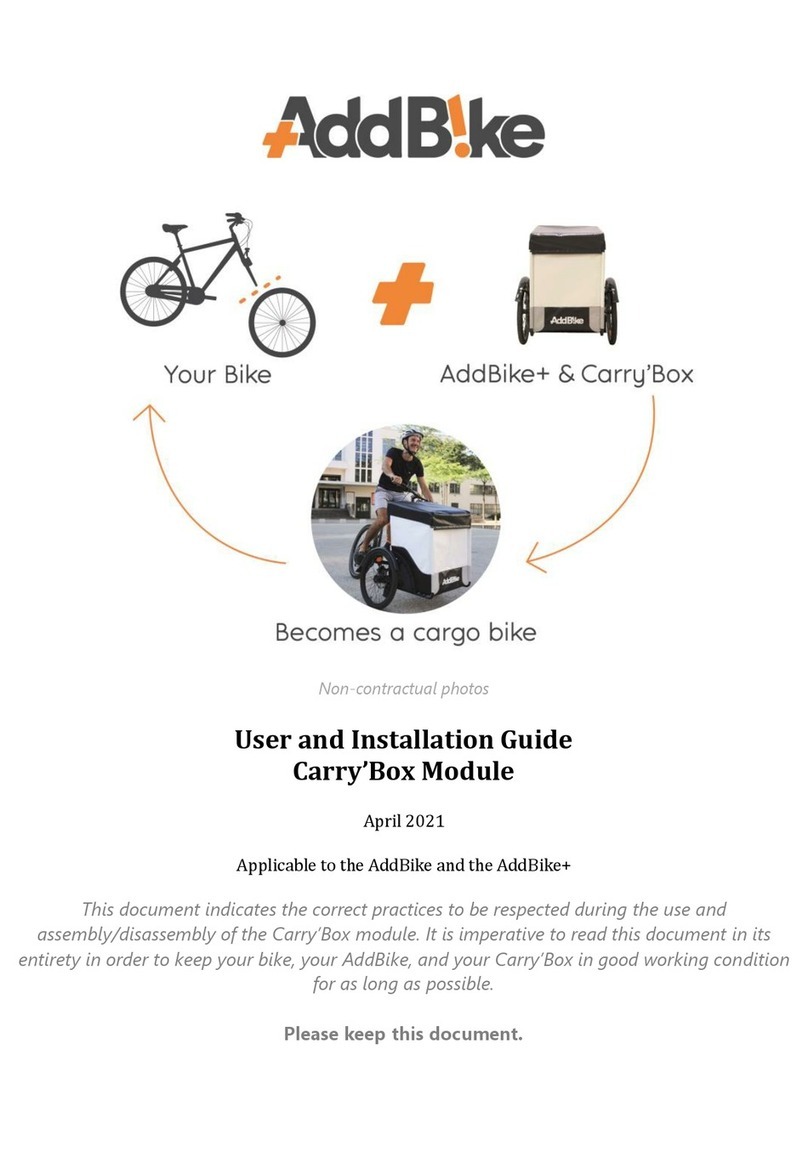
AddBike Carry'Box Module User manual

AddBike

AddBike Carry'Box Module User manual

AddBike U-Cargo User manual

AddBike

AddBike U-Cargo User manual

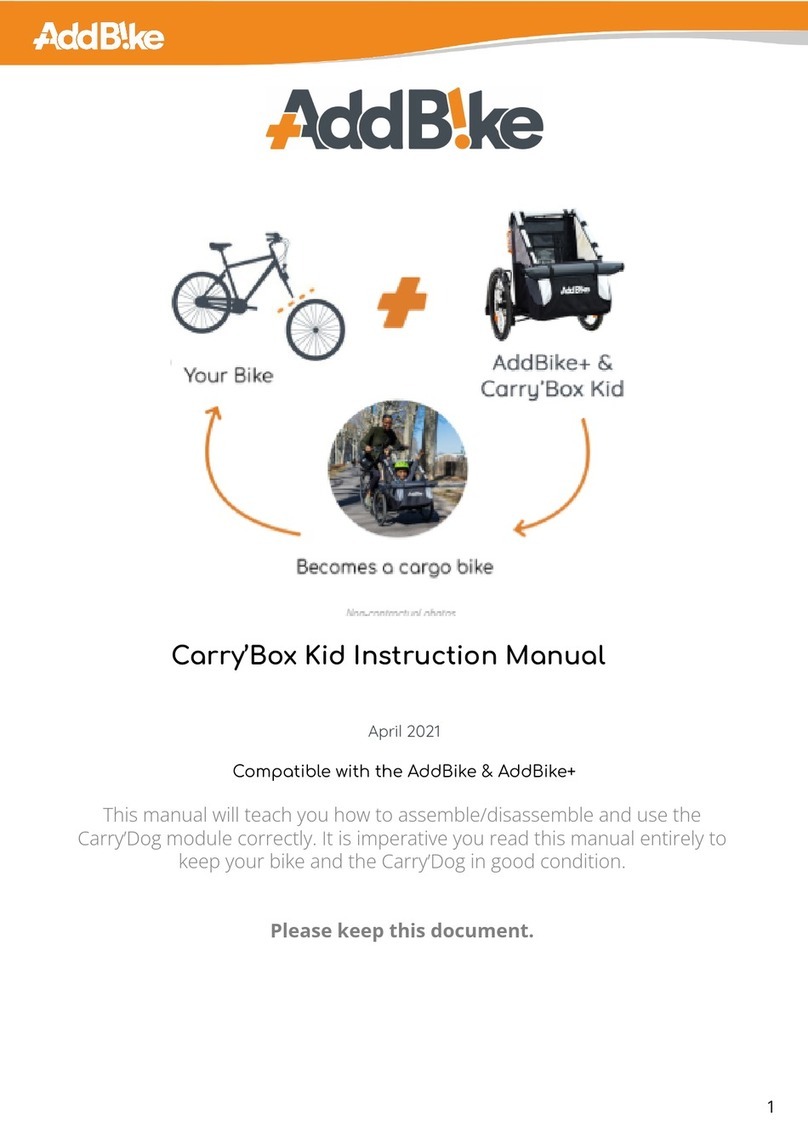
AddBike Carry'Box Kid Manual

AddBike

AddBike Carry'Box Kid Manual

AddBike AddBike+ Instruction sheet

AddBike

AddBike AddBike+ Instruction sheet

AddBike AddBike+ User manual

AddBike

AddBike AddBike+ User manual

AddBike AddBike+ User manual

AddBike

AddBike AddBike+ User manual

AddBike Carry'Box Module Manual

AddBike

AddBike Carry'Box Module Manual

AddBike Carry'Box Kid User manual

AddBike

AddBike Carry'Box Kid User manual

AddBike Carry'Box Kid User manual

AddBike

AddBike Carry'Box Kid User manual

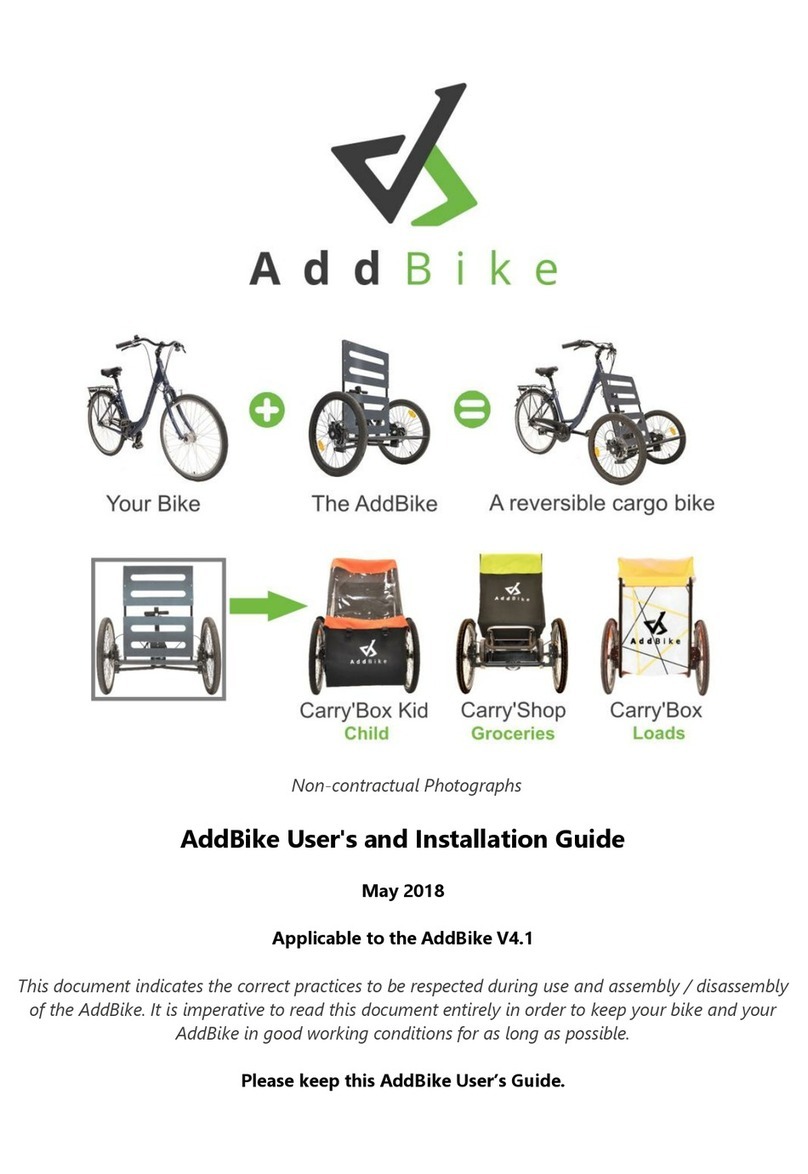
AddBike V4.1 Manual

AddBike

AddBike V4.1 Manual

AddBike Carry 'Box User manual

AddBike

AddBike Carry 'Box User manual

AddBike AddBike+ Manual

AddBike

AddBike AddBike+ Manual

AddBike AddBike+ User manual

AddBike

AddBike AddBike+ User manual
AddBike Carry'Box Module Manual

AddBike

AddBike Carry'Box Module Manual

Popular Bicycle Accessories manuals by other brands

Merida Procraft Lenker Installation and operating instructions

Merida

Merida Procraft Lenker Installation and operating instructions

Sigma BC1200 manual

Sigma

Sigma BC1200 manual

Bryton rider 530 user manual

Bryton

Bryton rider 530 user manual

Tern Market Basket quick start guide

Tern

Tern Market Basket quick start guide

Kelly KEB48200X user manual

Kelly

Kelly KEB48200X user manual

EKO White Brothers Cycling TM 1.0 owner's manual

EKO

EKO White Brothers Cycling TM 1.0 owner's manual

76 PROJECTS ASSBAG Assembly

76 PROJECTS

76 PROJECTS ASSBAG Assembly

Yeti ARC owner's manual

Yeti

Yeti ARC owner's manual

Bosch KETTLER KB064-ZAFT Series Translation of the original operating instructions

Bosch

Bosch KETTLER KB064-ZAFT Series Translation of the original operating instructions

EUFAB 11526 manual

EUFAB

EUFAB 11526 manual

LIGHTWEIGHT KEYKEG quick start guide

LIGHTWEIGHT

LIGHTWEIGHT KEYKEG quick start guide

Busch & Müller LUMOTEC IQ Cyo plus quick start guide

Busch & Müller

Busch & Müller LUMOTEC IQ Cyo plus quick start guide

Ascent 8FC owner's manual

Ascent

Ascent 8FC owner's manual

Shimano Steps E6000 Series Dealer's manual

Shimano Steps

Shimano Steps E6000 Series Dealer's manual

Darimo MTB instruction manual

Darimo

Darimo MTB instruction manual

Profile Design Carbon Stryke installation instructions

Profile Design

Profile Design Carbon Stryke installation instructions

Chariot Carriers CX 1 owner's manual

Chariot Carriers

Chariot Carriers CX 1 owner's manual

Kathmandu Cycle Computer instruction manual

Kathmandu

Kathmandu Cycle Computer instruction manual

manuals.online logo
manuals.online logoBrands
  • About & Mission
  • Contact us
  • Privacy Policy
  • Terms and Conditions

Copyright 2025 Manuals.Online. All Rights Reserved.