manuals.online logo
Brands
  1. Home
  2. •
  3. Brands
  4. •
  5. ADEMCO
  6. •
  7. Transmitter
  8. •
  9. ADEMCO 5817CB User manual

ADEMCO 5817CB User manual

1. Remove the transmitter cover by inserting
the flat blade of a small screwdriver into
the pry-off slot at the bottom end of the
unit (on the right side closest to the
cover’s decorative ribs and twisting).
2. Disengage the supplied mounting plate
from the unit by inserting the blade of a
small screwdriver into the mounting plate
release hole (see Diagram 2) and pushing
the locking tab out (see Diagram 1). Slide
the mounting plate downward along the
case back.
Note: For this application, the alignment
guide strip along one edge of the mounting
plate serves no function and may be
broken away, if desired.
3. If concealed wiring is to be used, feed the
wires through the concealed wiring entry
hole on one corner of the plate (surface
wiring is mentioned in step 5 below).
4. Install the mounting plate, with its case-
holding posts pointing up, in the location
selected as described in the installation
instructions. Use the two flat-head screws
supplied. Note: To ensure proper
operation of the unit’s back tamper (when it
is separated from the mountain plate), the
screws must be anchored to a wall stud or
other solid wood material.
5. Set the DIP switch (after the control panel
has enrolled the transmitter’s input ID’s) for
the desired primary loop characteristics, as
described in the table on the following
page.
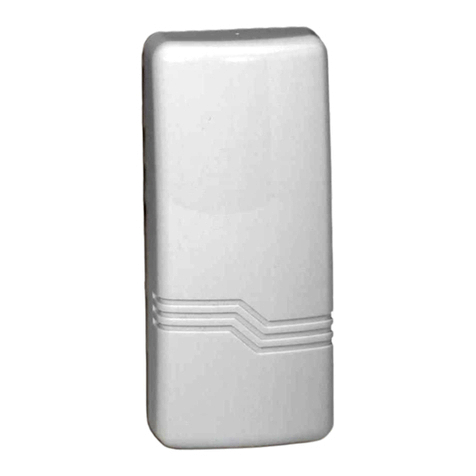
The 5817CB is a universal contact-monitoring transmitter that can be
used with household and commercial fire and burglary-initiating devices
such as door/window contacts, motion and glassbreak detectors,
sprinkler water flow switches, tamper switches, post indicator valves,
manual pull stations and remote duct detectors. Upon activation, it
emits an RF signal to a control panel, sending a burglary or fire alarm
to a central station.
MOUNTING:
For proper orientation of the unit in relation to its wall mounting plate and the loop wiring, read
entire section before installation. Before mounting the transmitter permanently, conduct Go/No
Go tests to verify adequate signal strength. When a satisfactory location is found, remove the
battery and proceed with installation.
5817CB
Wireless
Commercial
Transmitter
FEATURES:
• The 5817CB has three unique input loops (zones).
• The first loop (primary loop) is supervised and typically used for
high-priority alarm reporting such as commercial fire or burglary.
• The second loop is the built-in, normally closed reed switch used
in conjunction with magnet.
• The third loop is another normally closed household burglary loop.
All three loops may be used.
• A fourth (automatically enrolled) loop contains two tamper switches
to protect the 5817CB.
5817CB
165 Eileen Way, Syosset, NY 11791
Copyright ©2002 Pittway Corporation
ADEMCO is an ISO9001 Registered
Company
L/5817CB/D 4/01
Dimensions
• 1-9/16”W x 3-1/2”H x 1-3/16”D (40mm x 89mm x 30mm)
• Battery 3v Lithium (see BATTERY INSTALLATION AND REPLACEMENT).
UL Listings
Commercial Fire . . . . . . . . . . .UL864
Household Fire . . . . . . . . . . . .UL985
Household Burg . . . . . . . . . . .UL1023
Commercial Burg . . . . . . . . . .UL365,UL609,UL1076,UL1610
ORDERING:
Part No. Description
5817CB Wireless Commercial/Household Transmitter
5817CB-001-V0
MOUNTING
PLATE
HOLE CASE
HOLDING
POSTS
CONCEALED
WIRING
ENTRY
HOLE
MOUNTING
PLATE HOLES
TAMPER SWITCH
HOLD DOWN
LOCKING
TAB
SPECIFICATIONS:
Notes: a. In order for the control panel to enroll the transmitter, the DIP
switches must be Set to OFF-ON-ON-OFF (see Diagram 2).
b. The auxiliary loops are not affected by the DIP switch settings.
WIRING CONNECTIONS
Connect the loop wiring to the unit’s terminals before installing the battery (see Diagram 2).
Notes: a. Primary loop 1 is a supervised loop and must have an end-of-line (EOL) resistor
(470K ohms, supplied) placed across the sensor. Additionally, for primary loop 1,
a contact device may not be installed more than 20 feet from the transmitter.
b. If loop 2 is not going to be used, the magnet is not necessary.
c. If loop 3 is not going to be used, no connection is needed across its terminals.
For UL household burglary and fire installations, the loop 3 contact device
(if used) may not be more than 3 feet from the transmitter.
Diagram 2. Transmitter, Cover Removed
Diagram 1. Mounting Plate
Note: For UL commercial and
household fire installations, only
one initiating device may be
connected to this transmitter.
For UL commercial burglary
installations, multiple initiating
devices may be used as long as
the devices all service the same
function such as door/window
contacts, motion or glassbreak
detectors. All initiating devices
must be located within the
same room.
PRIMARY LOOP OPTIONS TABLE
SWITCH DIP SWITCH POSITION
SETTING 1 2 3 4
ON REPEATING
TRANSMISSION
(every 4 sec.)
UPON PRIMARY
LOOP FAULT
Use for high priority
alarm, such as fire.
OFF SINGLE
TRANSMISSION
PER PRIMARY
LOOP CHANGE-
OF-STATE
SWITCH MUST
ALWAYS BE
IN THE
ON
POSITION
SWITCH MUST
ALWAYS BE
IN THE
ON
POSITION
SWITCH MUST
ALWAYS BE
IN THE
OFF
POSITION
Wireless
Commercial
Transmitter

Other ADEMCO Transmitter manuals

ADEMCO 5817CB User manual

ADEMCO

ADEMCO 5817CB User manual

ADEMCO 413 User manual

ADEMCO

ADEMCO 413 User manual
ADEMCO 5820 Assembly instructions

ADEMCO

ADEMCO 5820 Assembly instructions

ADEMCO 5817CB Assembly instructions

ADEMCO

ADEMCO 5817CB Assembly instructions
ADEMCO 5804H User manual

ADEMCO

ADEMCO 5804H User manual

ADEMCO 5817CB Assembly instructions

ADEMCO

ADEMCO 5817CB Assembly instructions
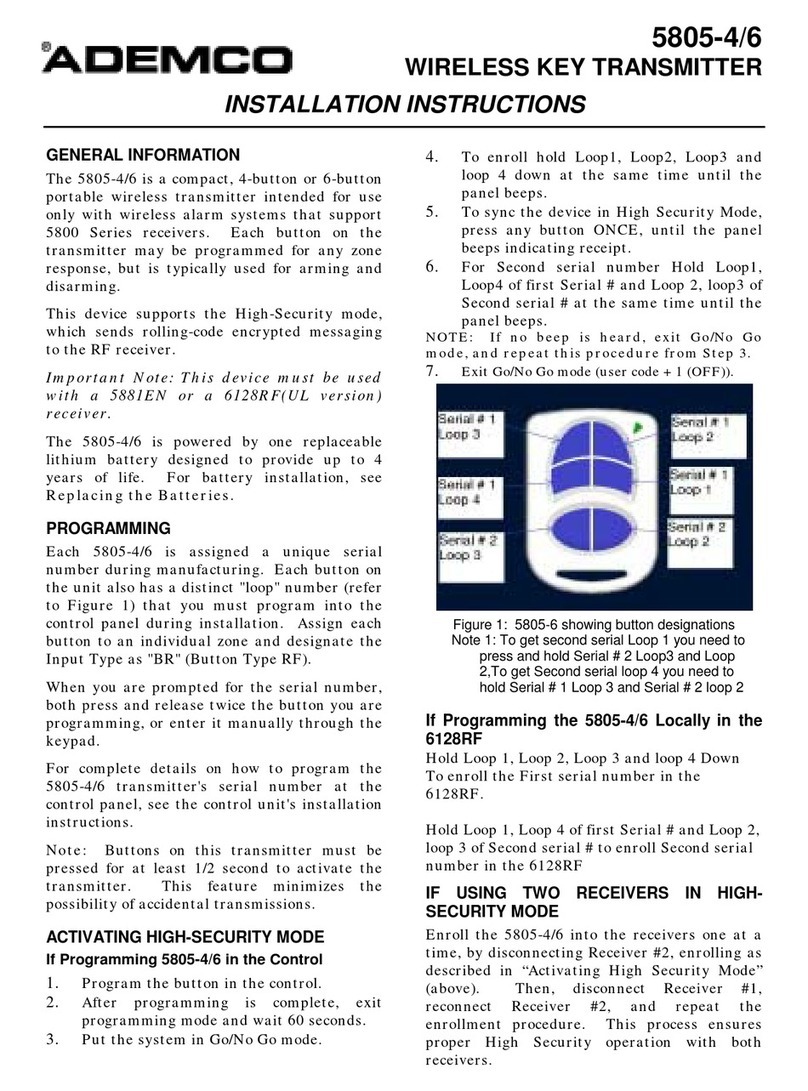
ADEMCO 5805-4 User manual

ADEMCO

ADEMCO 5805-4 User manual

ADEMCO 5804BDV User manual

ADEMCO

ADEMCO 5804BDV User manual

ADEMCO 5716 User manual

ADEMCO

ADEMCO 5716 User manual
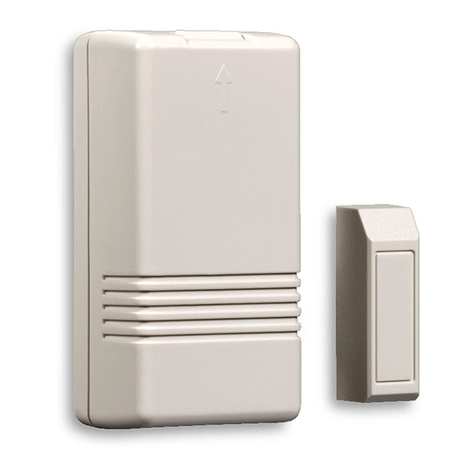
ADEMCO 5819WHS - Ademco Wireless Shock Processor User manual

ADEMCO

ADEMCO 5819WHS - Ademco Wireless Shock Processor User manual

ADEMCO 5816TEMP User manual

ADEMCO

ADEMCO 5816TEMP User manual
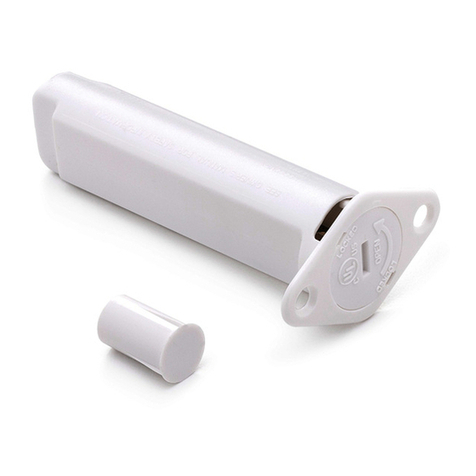
ADEMCO 5818 User manual

ADEMCO

ADEMCO 5818 User manual
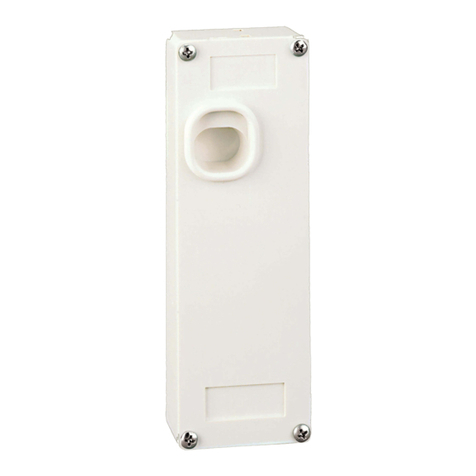
ADEMCO 5869 Assembly instructions

ADEMCO

ADEMCO 5869 Assembly instructions
ADEMCO 5879 Assembly instructions

ADEMCO

ADEMCO 5879 Assembly instructions

ADEMCO 5817CB User manual

ADEMCO

ADEMCO 5817CB User manual

ADEMCO 5804 User manual

ADEMCO

ADEMCO 5804 User manual
ADEMCO 5819 Operation and maintenance manual
ADEMCO

ADEMCO 5819 Operation and maintenance manual

ADEMCO Ademco 5802WXT User manual

ADEMCO

ADEMCO Ademco 5802WXT User manual

ADEMCO 5816MN User manual

ADEMCO

ADEMCO 5816MN User manual

ADEMCO 5817 User manual

ADEMCO

ADEMCO 5817 User manual

ADEMCO 5802WXT User manual

ADEMCO

ADEMCO 5802WXT User manual

Popular Transmitter manuals by other brands
Trikdis T16 Series installation manual

Trikdis

Trikdis T16 Series installation manual

GEIGER Remote AIR GF2900 Original assembly and operating instructions

GEIGER

GEIGER Remote AIR GF2900 Original assembly and operating instructions

Jamara Compa X3 Evo Instruction

Jamara

Jamara Compa X3 Evo Instruction

DLO TuneStik quick start guide

DLO

DLO TuneStik quick start guide

Kramer TP-185 user manual

Kramer

Kramer TP-185 user manual

Inovonics EN1722 installation instructions

Inovonics

Inovonics EN1722 installation instructions

Siemens SITRANS TH100Slim Compact operating instructions
Siemens

Siemens SITRANS TH100Slim Compact operating instructions

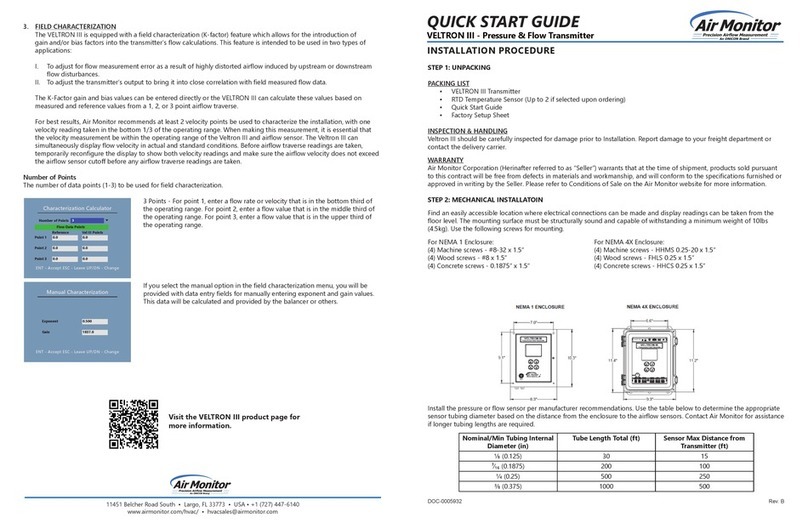
Air Monitor VELTRON III quick start guide
Air Monitor

Air Monitor VELTRON III quick start guide

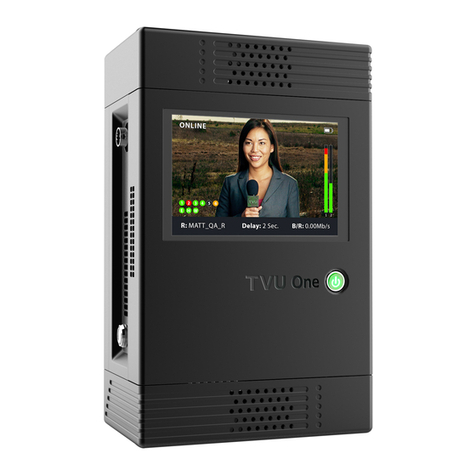
TVU networks One TM1000 v2 Set up and operating guide
TVU networks

TVU networks One TM1000 v2 Set up and operating guide

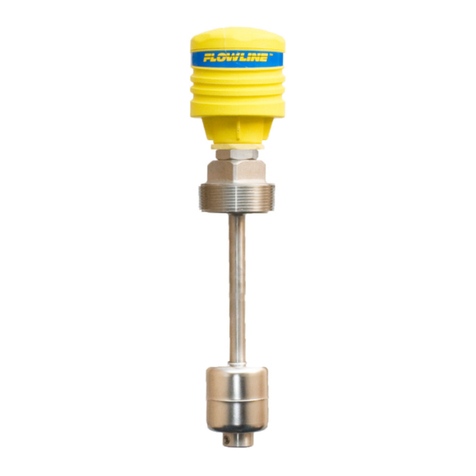
FlowLine FloaTek LV55 Series manual

FlowLine

FlowLine FloaTek LV55 Series manual
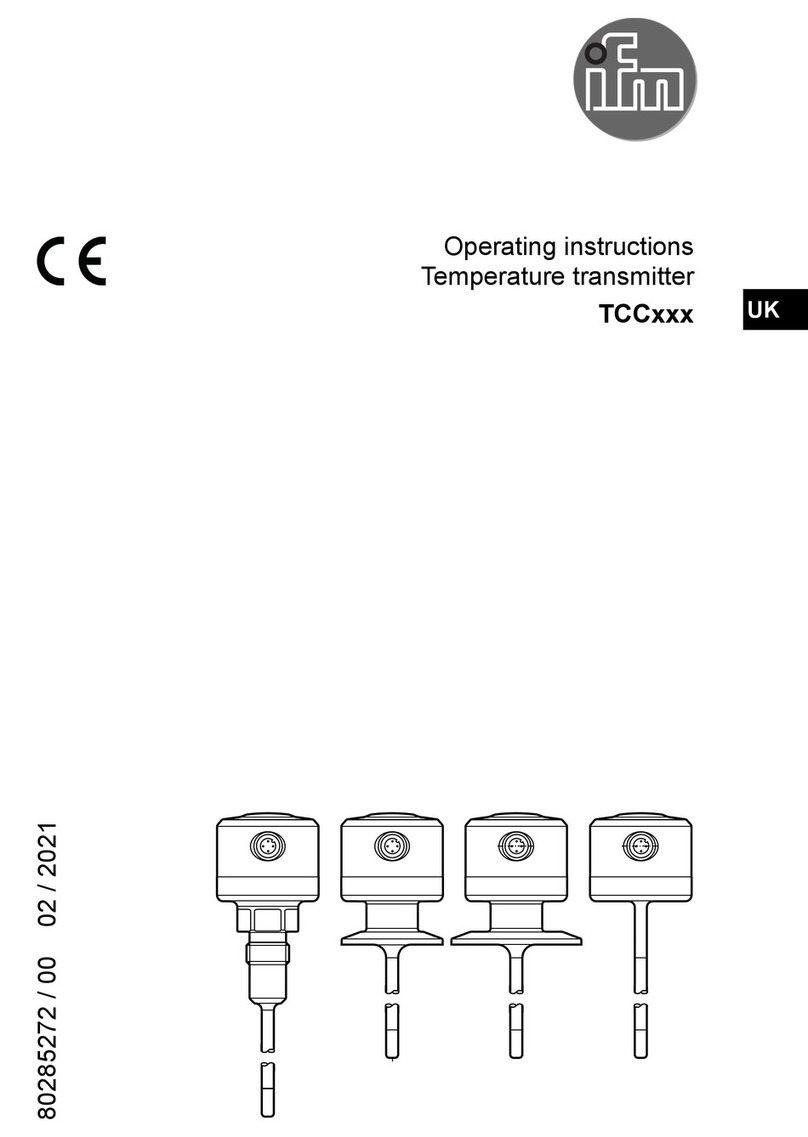
IFM TCC8 Series operating instructions
IFM

IFM TCC8 Series operating instructions

HETRONIC NOVA XL quick reference

HETRONIC

HETRONIC NOVA XL quick reference
Huba Control 401 operating instructions
Huba Control

Huba Control 401 operating instructions

Nice MYGO4 Instructions and warnings for installation and use
Nice

Nice MYGO4 Instructions and warnings for installation and use

Greenheck VARI-GREEN SERIES Installation, operation and maintenance manual
Greenheck

Greenheck VARI-GREEN SERIES Installation, operation and maintenance manual

CMOSTEK CMT2189C User guideline

CMOSTEK

CMOSTEK CMT2189C User guideline
RIDGID NAVITRACK Operator's manual

RIDGID

RIDGID NAVITRACK Operator's manual
DoorKing Microplus quick start guide

DoorKing

DoorKing Microplus quick start guide

manuals.online logo
manuals.online logoBrands
  • About & Mission
  • Contact us
  • Privacy Policy
  • Terms and Conditions

Copyright 2025 Manuals.Online. All Rights Reserved.