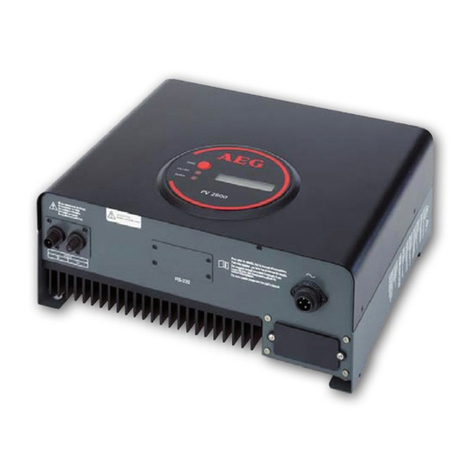
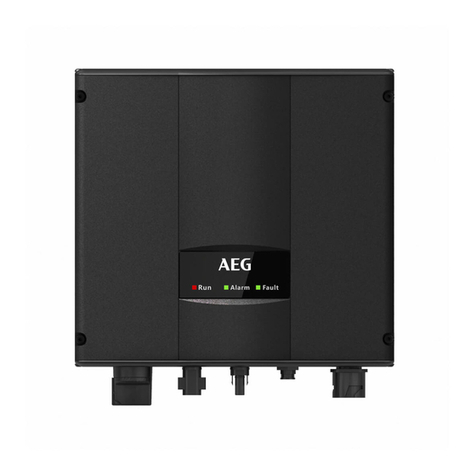
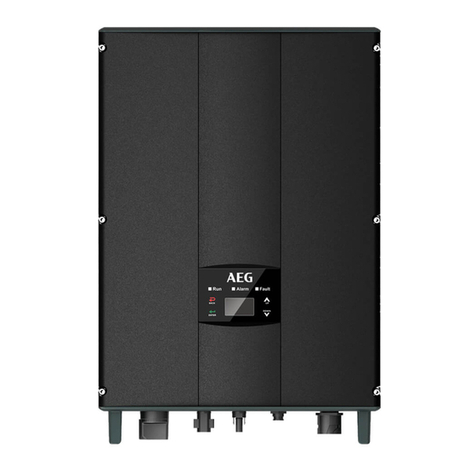
THREE-PHASE
GRID-TIED OLAR INVERTER
QUICK INSTALLATION GUIDE
AS-IC01-2 SERIES
THANK YOU FOR CHOOSING AEG
Follow these instructions to successfully install your
AEG solar inverter of the series AS-IC01-2:
AS-IC01-2 three-phase grid-tied solar inverter, 2 MPPT:
AS-IC01-4000-2/5000-2/6000-2/8000-2/10000-2
CONTENTS
1. Safety Recommendations
2. Product unpacking and inspection
3. Before installation
4. Mechanical installation
5.. Electrical installation
6. Operation
7. More information / Contacts
1. SAFETY RECOMMENDATIONS
General safety recommendations
• Only qualied electricians are allowed to install the
inverter.
• Make sure the installation site is not accessible to
children or non-authorized personnel.
• Remove metal accessories such as rings or bracelets
before installation and electrical connection to avoid
electric shock.
Product safety recommendations
• Do not put and install the inverter on or close to
combustible materials.
• Install the inverter far from devices with strong
electromagnetic interference.
• To avoid product damage, ensure the inverter input
voltage does not exceed the maximum input voltage.
• Ensure a stable installation and a reliable electrical
connection, as well as proper grounding of the inverter;
improper connection or no grounding may cause the
inverter to stop functioning.
• To avoid irreparable damage, ensure that the positive
and negative poles of solar modules are not grounded.
!
2. PRODUCT UNPACKING AND INSPECTION
2.1 Product inspection
Double-check the order information and the product na-
meplate to ensure the products are of the ordered type
and that the package is not damaged. Should you nd
any problems, contact your supplier as soon as possible.
In the packaging of your AEG inverter you will nd:
Model
AS-IC01-xxx-2
4000-2
5000-2
6000-2
8000-2
10000-2
Inverter 1
Installation bracket 1
Quick installation guide 1
Communication connector 1
Expansion bolts 4 (M6*60)
DC connector 1
AC connector 1
Table 1: Three-phase inverter packing list
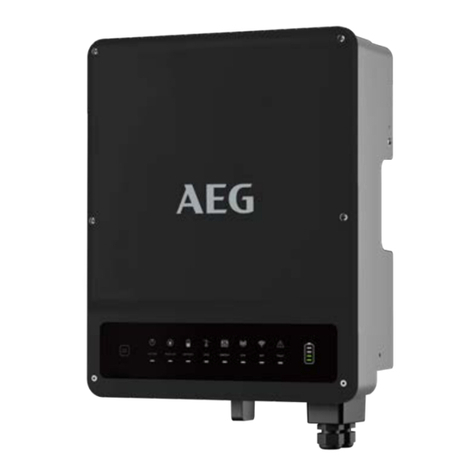
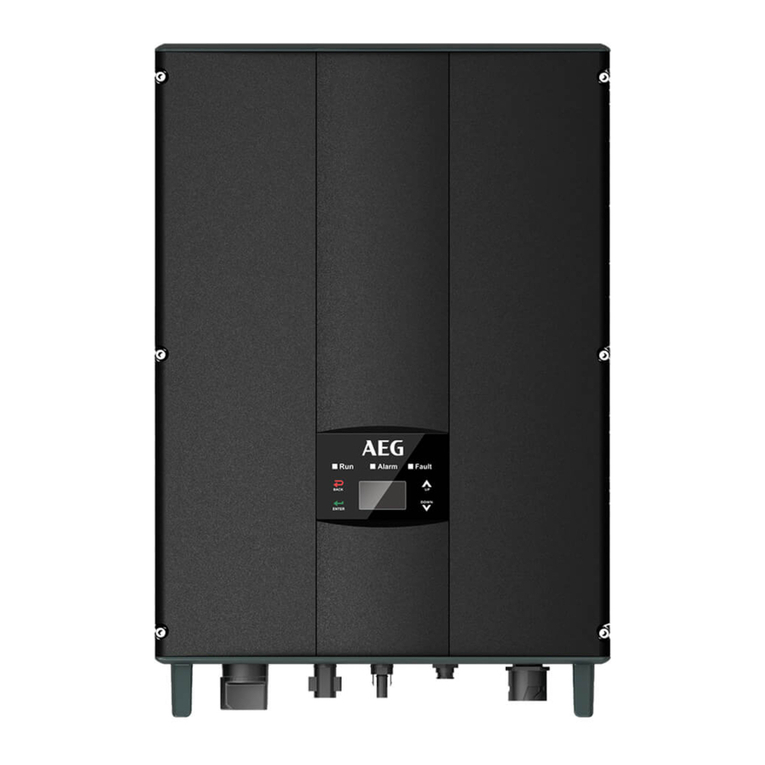
2.2 Product look
Front and side view of AEG AS-IC01-2 three-phase grid-
tied solar inverter
3. BEFORE INSTALLATION
Before installing your AEG grid-tied solar inverter, please
take in consideration the following aspects:
3.1 Installation place
Select the installation place considering that:
1- The environment temperature should be between
-25°C and 60 °C.
2- The insatllation surface should be perpendicular to the
horizontal line. Please refer to gure 2 here below.
Figure 1: Installation space (mm)
Figure 2: Installation position
3.2 Cable specications
Select connection cables according to the below table:
Model
DC side AC side
Cross-section Mini cross-section
AS-
IC01-4000-2/
5000-2/
6000-2/
8000-2/
10000-2
4 mm2
(12 AWG)
4 mm2
(12 AWG)
Table 2: Cable specications
12
34
4. MECHANICAL INSTALLATION
We take as reference a typical installation environment,
such as a concrete wall.
Figure 3: Installation brackets, AS-IC01-2 4000 to 10000
Model
Installation hole
A x B
AS-
IR01-4000-2/
5000-2/
6000-2/
8000-2/
10000-2
260 mm x 45 mm
Table 3: Size of installation bracket
Follow these steps to install your AEG inverter:
1- Dene the installation hole with aid of the installation
bracket, and use the expansion bolts to x the installation
brackets to the designed location on the wall.
2-Lift the inverter to suspend it to the installation
brackets and fasten with M8 hex socket cap screws.
3- Fasten the M5 screws and fasten the inverter to the
bracket. Make sure the inverter is fastened rmly to the
bracket.
Figure 4: Installation brackets, AS-IC01-2 4000 to 10000
5 . ELECTRICAL INSTALLATION
Follow the next step to carry out the electrical wiring of
your AEG inverter:
1- Before connecting the three-phase AC grid cable to
the inverter, take lightning and short circuit protection
measures in accordance with the local electrical safety
codes.
2- As shown in Figure 6 below, connect and fasten L1, L2,
L3, N (optional) and PE conductors of the three-phase
common grid to the AC terminal, and then connect the
terminal to the inverter´s AC port.
3- Fix and connect the DC output cables of the PV
module with the matching DC connectors, and then
connect the connectors to the inverter´s DC port.
Figure 5: Electrical wiring of the inverter
Figure 6: Connection of the AC to the inverter
DOCUMENT REVISION: PL201803 EN V.1-18
6. OPERATION
6.1 Pre-operation inspection
Before starting inverter operations, please make sure to:
1- Check that the voltage of the components is in the
allowed input voltage range of the inverter.
2- Check that the voltage of the AC grid is regular.
3- Check that the inverter is well grounded.
4- Ensure that all the switches are positioned on „OFF“
5- Ensure that all electrical safety precautions are clearly
identiable at the installation site.
6- Make sure that the WiFi stick (if used) is well
connected.
6.2 Commissioning
To start the inverter:
1- Switch on the integrated DC switch.
2- Should you wish to change the default country,
currency and time settings (Netherlands, EUR, GMT+1)
of the inverter, you can use the External Display or the
WiFi Stick (local monitoring mode via the app AEG
InverterControl).
In this case Install the WiFi Stick and the App as
described in chapter 3 and 4.1 (page 6) of this guide,
then connect your phone with the wireless network „AEG
WiFi“ (generated by the WiFi Stick). Launch the App and
select: Local Monitoring > click on your WiFi Stick picture
> More > Parameter > change the individual parameters)
3- Switch on the breakers at the AC side
4- Check the LED indicators and the information
displayed on the LCD screen / on the external display:
Run Alarm Fault
The green indicator blinks, the
other indicators are o: the
inverter is on and is in self-
inspection mode
Run Alarm Fault
The green indicator is on, the other
indicators are o: the inverter is
in power generation mode after
self-inspection. The inverter was
successfully commissioned
Run Alarm Fault
Run Alarm Fault
„Alarm“ or „Fault“ indicators are on
or blinking: the inverter is on, but
faults are occurring
For the complete list of errors and warnings, see the
extended version of the installation manual at
www.aeg-industrialsolar.de/aeg-inverter-service
6.3 Accessories (Complements) and wiring
Complements to the inverter are :
-the External Display (optional)
-the WiF Sticki
Figure 8: Complements to the inverter
6.4 Regular maintenance
To carry out maintenance, inspection or troubleshooting
operations on the inverter, stop the device as follows:
1- Switch o the breakers at the AC side.
2- Switch o the integrated (inverter´s) DC switch
3- Contact your local distributor or the AEG Inverter
Service.
7. MORE INFORMATION / CONTACTS
You can download the extended version of the AEG grid-
tied three-phase solar inverter and the related Warranty
Conditions at www.aeg-industrialsolar.de/aeg-inverter-
service.
Solar Solutions GmbH
Schneckenhofstrasse 19
60596 Frankfurt am Main
Germany
Last updated: March 2018
AEG is a registered trademark used under license from Electrolux AB (publ).
