manuals.online logo
Brands
  1. Home
  2. •
  3. Brands
  4. •
  5. AFX MOTORSPORTS
  6. •
  7. Automobile Accessories
  8. •
  9. AFX MOTORSPORTS CAN006-S User manual

AFX MOTORSPORTS CAN006-S User manual


THIS PRODUCT IS FOR OFF ROAD USE ONLY CAN006-S
SPORT ROOF RACK
INSTALLATION MANUAL
CAN AM X3 MAX
4 SEEATERS
SPORT ROOF RACK
THANK YOU!
FOR PURCHASING AT AFX MOTORSPORTS
HOW TO INSTALL
Pieces included:
AFX
Motorsports
products
are
designed
to
best
fit
user’s
ATV/UTV
under
stock
conditions.
Adding,
modifying,
or
fabricating
any
factory
or
aftermarket
parts
will
void
any
warranty
provided
by
AFX
Motorsports
and
is
not
recommended.
AFX
Motorsports
products
could
interfere
with
other
aftermarket
accessories.
If
user
has
aftermarket
products
on
machine,
contact
AFX
Motorsports
to
verify
that
they
will
work
together.
Although
AFX
Motorsports
has
thousands
of
satisfied
customers,
user
should
be
aware
that
installing
bumpers,
rock
sliders,
spare
tire
carriers,
etc.
will
change
the
ride
of
machine
and
may
increase
maintenance
and
part
wear.
Operating
any
off-road
machine
while,
or
after,
consuming
alcohol
and/or
drugs
increases
risk
of
bodily
harm
or
death.
No
warranty
or
representation
is
made
as
to
this
product’s
ability
to
protect
user
from
severe
injury
or
death.
AFX
Motorsports
urges
operators
and
occupants
to
wear
a
helmet
and
appropriate
riding
gear
at
all
times.
By
purchasing
and
installing
AFX
Motorsports
products,
user
agrees
that
should
damages
occur,
AFX
Motorsports
will
not
be
held
responsible
for
loss
of
time,
use,
labor
fees,
replacement
parts,
or
freight
charges.
AFX
Motorsports,
nor
any
3rd
party,
will
not
be
held
responsible
for
any
direct,
indirect,
incidental,
special,
or
consequential
damages
that
result
from
any
product
purchased
from
AFX
Motorsports.
The
total
liability
of
seller
to
user
for
all
damages,
losses,
and
causes
of
action,
if
any,
shall
not
exceed
the
total
purchase
price
paid
for
the
product
that
gave
rise
to
the
claim.
AFX
Motorsports
will
warranty
only
parts
provided
by
AFX
Motorsports.
Any
damage
or
problems
with
OEM
housings,
bearings,
seals,
or
other
manufacturers’
products
will
not
be
covered
by
AFX
Motorsports.
AFX
Motorsports
parts
and
products
are
not
warrantied
if
item
was
not
installed
properly, misused, or modified.
Liability Statement
Tools needed (Not included):
5/32” Allen Key.
7/16” or 14mm Combination Wrench.
(26x) 1/4” x 1/2” Bolts with nuts
(12x) 1/4” x 1” Bolts with washers and nuts
(28x) 1/4” x 3/4” Bolts with lock nuts
Al bar
Rear Roof Rack
Bracket
Rear Legs
Front Roof Rack
Front Legs
(12x) 1/4” Flat washer
Hardware:
Legs
Roof 1/4” x 1” screws
with nuts and
washers
1/4” x 1/2” Screw
Laterals
Rear Roof Rack
3/16 x 1/2” Flat
Head Screw
1/4” x 1/2” screw
Laterals
3/16” x 1/2” Flat
Head Screw
Rear Roof
Rack Assembly
Frontal Roof
Rack Assembly
Align
Bracket
1/4 x 1/2” screw
Bracket
Direction
Repeat steps from 1 to 3 on the driver’s side. Tighten all the
screws to align the legs with the roof and proceed with the
rack installation. As it is shown in the image.
4
5Install rear frame assembly into rear side rails (as it shown in
the image). Use four 1/4” x 1/2” screws with nut. (Do not
tighten yet).
6Align 3 central rails with the perforations (as it shown in the
image). Use twelve 1/42 x 3/4” flat head screws with nuts,
inserting them bottom-up. (Do not tighten yet)
Install front assembly into front rails (as it is shown in the
image). Use four 1/4” x 1/2” screws with nut. (Do not
tigthen yet)
7
Align 3 central rails with the perforations (as it is shown in
the image). Use twelve 1/4” x 3/4” flat head screws with
nut, inserting them bottom-up. (Do not tighten yet)
8
Place the rear rack assembly with the front rack assembly,
aligning the Bracket with the perforations (as it is shown in
the image), using six 1/4 x 1/2” screws with nut. (Do not
tighten yet).
9
1
2
3
1/4” Washer
1/4” x 1” Screw
Check step 3
(3x) 1/4” x 1/2” Screw
1/4” nut
1/4” Washer
1/4” x 1” Screw
1/4” nut
1/4” Washer
1/4” x 1” Screw
1/4” nut
1/4” Washer
1/4 x 1” Screw
1/4” nut
1/4” x 3/4” screws
Central rail
1/4” x 3/4” screws
with nuts and
washers
Perforations of the
central rails
Align the last central rail with the perforations of the Bracket
(As it is shown in the image). Use four 1/4” x 3/4” screws
with nut, inserting them bottom-up.
Settle the whole rack over the legs aligning with the 28
perforations of the central rails. Use eight 1/4” x 3/4” screws
with nuts and washers. As it is shown in the image.
10
11
12
Hold the front leg of the passenger´s side aligning it with the
leg at the rear from the passenger´s side.
Check that the central perforations matc, use three 1/4” x 1/2”
screws with the nut it is shown in the image. (Do not thighten
yet)
Settle the leg over the roof (only with the original roof), place
a washer over the perforations as it shown in the image,
using 1/4” x 1” screws. (Do not tighten yet)

Other AFX MOTORSPORTS Automobile Accessories manuals
AFX MOTORSPORTS CAN AM X3 User manual

AFX MOTORSPORTS

AFX MOTORSPORTS CAN AM X3 User manual
AFX MOTORSPORTS CAN020 User manual

AFX MOTORSPORTS

AFX MOTORSPORTS CAN020 User manual
AFX MOTORSPORTS CAN028 User manual

AFX MOTORSPORTS

AFX MOTORSPORTS CAN028 User manual
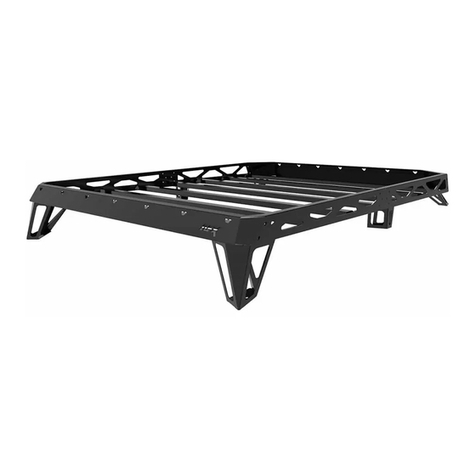
AFX MOTORSPORTS CAN006-F User manual

AFX MOTORSPORTS

AFX MOTORSPORTS CAN006-F User manual
AFX MOTORSPORTS DEF060 User manual

AFX MOTORSPORTS

AFX MOTORSPORTS DEF060 User manual

AFX MOTORSPORTS CAN AM X3 User manual

AFX MOTORSPORTS

AFX MOTORSPORTS CAN AM X3 User manual

AFX MOTORSPORTS CAN035 User manual

AFX MOTORSPORTS

AFX MOTORSPORTS CAN035 User manual
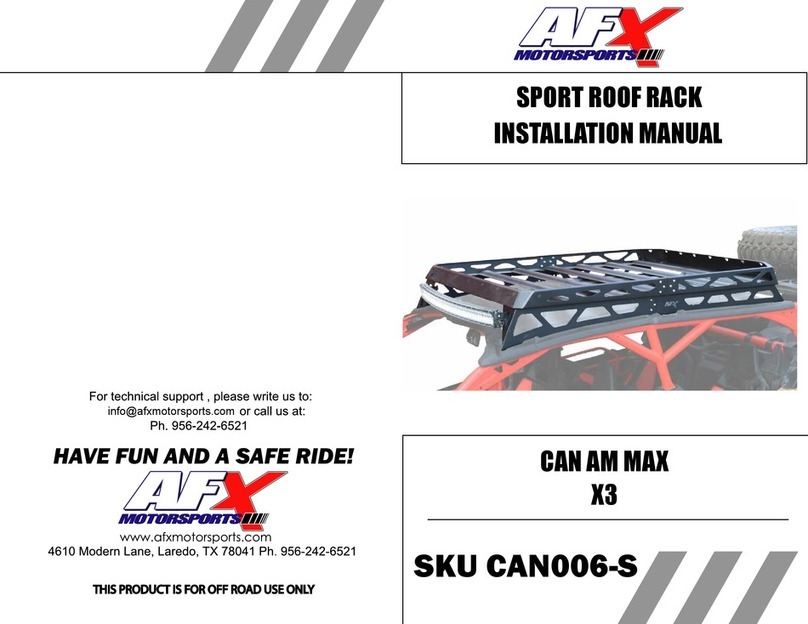
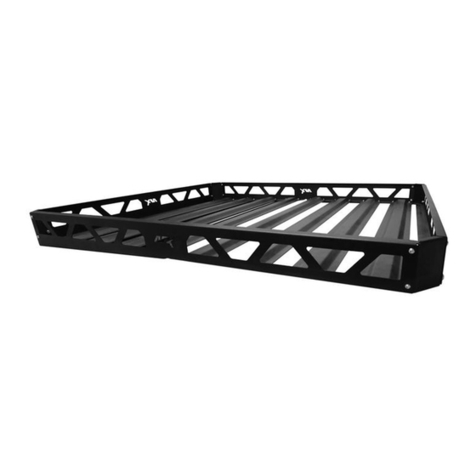
AFX MOTORSPORTS CAN AM MAX X3 User manual
AFX MOTORSPORTS

AFX MOTORSPORTS CAN AM MAX X3 User manual

AFX MOTORSPORTS CAN030 User manual

AFX MOTORSPORTS

AFX MOTORSPORTS CAN030 User manual
AFX MOTORSPORTS SKI064-A User manual

AFX MOTORSPORTS

AFX MOTORSPORTS SKI064-A User manual

AFX MOTORSPORTS Polaris XP Turbo S 2 Seater User manual

AFX MOTORSPORTS

AFX MOTORSPORTS Polaris XP Turbo S 2 Seater User manual

AFX MOTORSPORTS CAN AM MAVERICK 2 SEATER User manual

AFX MOTORSPORTS

AFX MOTORSPORTS CAN AM MAVERICK 2 SEATER User manual

Popular Automobile Accessories manuals by other brands

Magneti Marelli AC161 Installation instruction

Magneti Marelli

Magneti Marelli AC161 Installation instruction

FDI uEZ GUI Start here

FDI

FDI uEZ GUI Start here

JCROffroad JT Install instructions

JCROffroad

JCROffroad JT Install instructions

Rostra VOXXElectronics 250-1930 owner's guide

Rostra

Rostra VOXXElectronics 250-1930 owner's guide

TOP VEHICLE TECH GR3FORD5 installation manual

TOP VEHICLE TECH

TOP VEHICLE TECH GR3FORD5 installation manual

Safe Fleet PRIME DESIGN AR-2000-BLK manual

Safe Fleet

Safe Fleet PRIME DESIGN AR-2000-BLK manual

Skoda Fabia Combi 5J Fitting instructions

Skoda

Skoda Fabia Combi 5J Fitting instructions

Camcar 40077 Al Mounting instructions

Camcar

Camcar 40077 Al Mounting instructions

Camcar 40089 AL Mounting instructions

Camcar

Camcar 40089 AL Mounting instructions

Impac Tradesman 2000 installation manual

Impac

Impac Tradesman 2000 installation manual

DVB OFFROAD BRSB-01 installation manual

DVB

DVB OFFROAD BRSB-01 installation manual

Safari Snorkel SS385HF installation guide

Safari Snorkel

Safari Snorkel SS385HF installation guide

ULTIMATE SPEED 279746 Assembly and Safety Advice

ULTIMATE SPEED

ULTIMATE SPEED 279746 Assembly and Safety Advice

SSV Works DF-F65 manual

SSV Works

SSV Works DF-F65 manual

ULTIMATE SPEED CARBON Assembly and Safety Advice

ULTIMATE SPEED

ULTIMATE SPEED CARBON Assembly and Safety Advice

Witter F174 Fitting instructions

Witter

Witter F174 Fitting instructions

WeatherTech No-Drill installation instructions

WeatherTech

WeatherTech No-Drill installation instructions

TAUBENREUTHER 1-336050 Installation instruction

TAUBENREUTHER

TAUBENREUTHER 1-336050 Installation instruction

manuals.online logo
manuals.online logoBrands
  • About & Mission
  • Contact us
  • Privacy Policy
  • Terms and Conditions

Copyright 2025 Manuals.Online. All Rights Reserved.