manuals.online logo
Brands
  1. Home
  2. •
  3. Brands
  4. •
  5. AJAX
  6. •
  7. Security System
  8. •
  9. AJAX StreetSiren User manual

AJAX StreetSiren User manual

StreetSiren
1. FEATURES
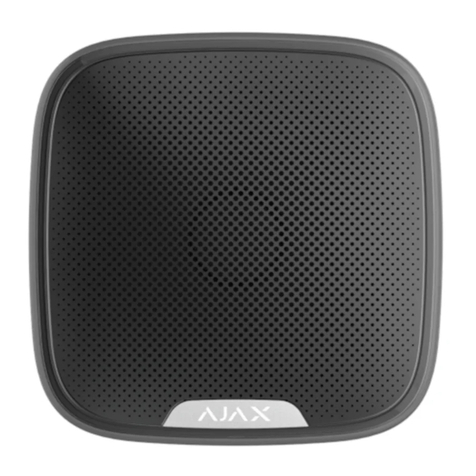
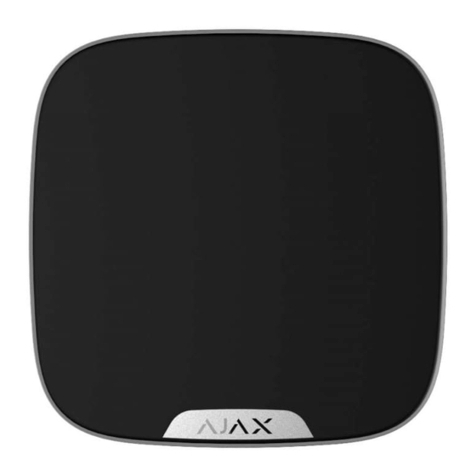
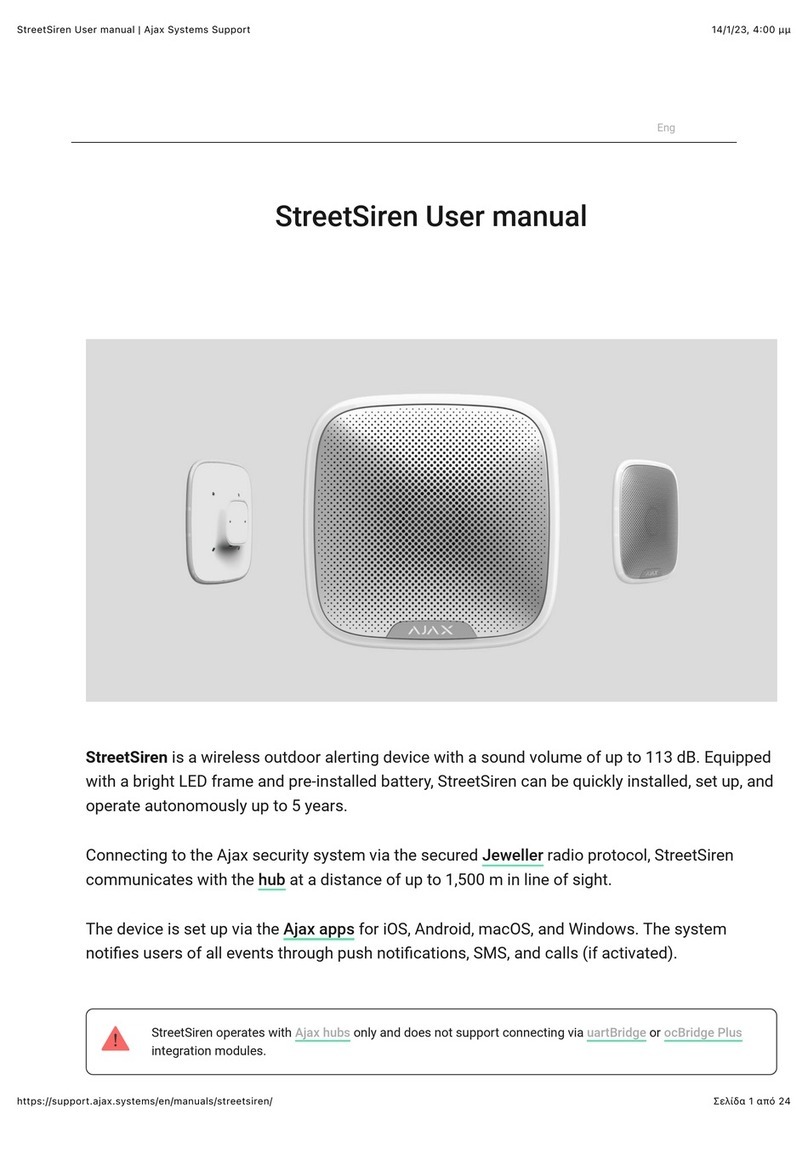
Wireless outdoor siren Ajax StreetSiren is intended for light and sound alerting.
Works as a part of Ajax security system. Be sure to check the signal strength! You can run signal test from Ajax mobile
application or web browser by clicking on «Signal level test» in the siren
settings.
Test results are displayed in a mobile application or a web browser as 3-bar-
indicators, as well as on a siren itself. Signal level test results may be as
follows:
5. INSTALLATION
5.1 Install siren in the chosen location. Siren has a high class of dust and
humidity protection IP54 that allows outdoor installation. It is recommended
to install a siren at the height of 2.5m for to complicate offenders’ access
to it. Before final installation, it is required to check siren functioning in the
supposed installation place! Do not place the siren in location where its
sound signal can be deafened - inside furniture, behind thick curtains, behind
furniture, etc.
2. SPECIFICATIONS
SPECIFICATION MEANING
Device type Wireless
Use Indoor/outdoor
Alarm type Light and sound
Sound alarm volume Adjustable: 85-113 dB at the dis-
tance of 1m
Working frequency of piezo buzzer 3,5±0,5 kHz
Light alarm LED light ring
Arming/disarming indicator Yes
Power supply From on-board batteries / or exter-
nal 12V DC
Battery type 4 CR123A batteries, 3V
Battery indicator Yes
Battery life Up to 5 years
External power supply DC 12V±20%
Standby current 70 µA (when polling every36 sec)
Maximum alarm current (external
source) 1,45 А (max volume)
Maximum power consumption From batteries – 4,35 W
External source DC 12V – 13.5 W
Tamper protection Available
Dismount protection Accelerometer
Radio signal power 25 mW
Communication protocol Jeweller (868 or 915 MHz depending
on the country of distribution)
Max distance between siren and
Hub Up to 2000 m (6500 ft) (in open area)
Radio monitoring Synchronization with the Hub every
12 to 300 sec (customizable)
Alarm triggering time Less than a second
Customizable alarm duration Between 3 sec and 3 min
Ingress protection IP54
Operating temperature range From -20°С (-4°F) to +50°С (+140°F)
Operating humidity Up to 95%
Dimensions 200х200х51 mm
Weight 502 g
3. PACKAGE CONTENTS
4. GETTING STARTED
4.1 Before siren installation, you must register it in Ajax security system. To
register a siren you need to open the tab «Devices» and click «Add Device» in
the Ajax mobile application or web browser, and then perform the tips of add
device dialog. During process of adding the device you will need to switch on
siren. The siren is turned on / off by holding down power button “1” (PICTURE
1) for three seconds. At the time of turning on siren should blink with red
light ring. Siren’s registration request is transmitted only at the moment
when siren is switching on! If registration of a siren in the security system,
for whatever reason, did not complete, after switching on siren will blink 6
times with LED light at intervals once every second, after that it switches off
automatically having quickly blink 3 times with it’s light ring. After that the
siren can be switched on again. If siren was removed from list of registered
devices in the security system, it also blinks 6 times with one LED and then
switches off automatically.
If it is necessary to turn off the siren hold power button for more than 1 second.
Siren will switch on light ring for 1 second, then blink with light ring 3 times
quickly and then will be switched off.
4.2 After siren’s successful registration, select optimal location for its
installation.
5.2. For siren installation turn plastic SmartBracket fastening panel (PICTURE
2) counterclockwise and remove. Pay attention, on fastening panel there must
be «Up» sticker, showing right way to place it.
5.3. If external 12V power supply will be connected to siren, in the SmartBracket
an opening for wires must be drilled. Then you can install fastening panel by
sliding wires into drilled opening and making sure that wires don’t have an
damaged insulation.
5.4. Secure SmartBracket fastening panel on the wall using supplied dowels
and screws. SmartBracket panel is provided with screw hampering its
unauthorized removal.
APPLICATION SIREN’S LIGHT DESCRIPTION
3 indication
bars lights almost constantly, with
short breaks every 1.5 seconds excellent signal level
2 indication
bars blinks 5 times per second medium signal level
1 indication bar blinks twice per second bad signal level
0 bars short flashes each 1.5 seconds no signal
1 – Power button
2 – SmartBracket holders
3 – DC 12V power input
(«+» left, «–» right)
4 – fixing screws
5 – LED light ring;
6 – LED light;
7 – SmartBracket’s fixing screw hole
IMPORTANT!
Radio communication tests for the siren don’t start instantly. Some time is
needed for the Hub to send a request for test to a siren, and for siren to send
confirmation of its readiness to be tested. Usually, test start can take up to 5
seconds.
IMPORTANT!
StreetSiren works only with Ajax Hub. Siren connection to Ajax ocBridge
wireless sensors receiver or Ajax uartBridge module is not provided!
PICTURE 1. Siren
3
6
5
2
7
1
4
4
Siren, 4 batteries CR123A (pre-installed), manual, installation kit
IMPORTANT!
Make sure the selected location for siren installation will ensure stable radio
communication with the Hub! Maximum distance between the siren and Hub
- 2000 m (6500 ft), is shown for comparison with other devices and obtained
by tests in an open area. The quality and range of communication between
siren and Hub can vary depending on installation place, presence of walls,
partitions, ceilings, as well as their thickness and material. Passing through
the obstacles, signal loses some power. For example, the communication
distance between siren and Hub, which are separated by two concrete walls,
will be approximately 30 m. Also we draw your attention that by moving siren
even to 10 cm, you can improve quality of signal reception a lot.
PICTURE 2.
SmartBracket fastening panel
AJAX Systems Inc.,
www.ajax.systems
[email protected]
IMPORTANT!
Be careful when installing the fastening panel. Excessive force during its
fixation may lead to deformation and, as a consequence, the impossibility to
install a siren or insecure fixing. Secure fastening panel only with supplied
mounting tools! Use of other fasteners, such as screws of larger diameter
may result in fastening panel damage.
Do not use double-sided tape to secure siren! The tape eventually dries out
and loses its properties. It may cause siren’s fall, what will not allow it to
perform its function and can result in damage to the device
IMPORTANT!
When working outdoor or in unheated premises, if ambient temperature
is below zero degrees Celsius, the battery level may be reduced by a few
percent. This is due to temperature reaction of chemical components
of lithium batteries. Siren battery life depends on batteries quality and
frequency of the siren alarms. At the average battery works for about 3
years. In light and sound alarm mode new batteries charge is sufficient for
continuous siren sound at full volume for approximately 2 hours.
IMPORTANT!
By default, the siren is not activated when it’s accelerometer detects
movement (dismount alarm), because it is very likely that device will be
installed and removed during installation several times. To activate siren’s
dismount alarm, you need to specify appropriate option (Alert if Moved) in the
siren settings using mobile application or web browser. Apply these settings
only after final siren installation!
Built-in accelerometer needs about a minute to stabilize the position!
Therefore, to check alarm operation when you try to remove it is possible not
earlier than one minute after the final siren installation!
During siren body opening the alarm is always generated and it is impossible
to disable it in the siren settings! When removing back cover of the siren to
replace the batteries, first switch off the siren with power button ‘1’ (PICTURE
1), holding it for 3 seconds. When you switching off the siren, it will switch on
light ring for 1 second, then quickly blink 3 times and then will be switched
off. In armed mode when you try to remove or open the siren alarm (light and
sound) is generated immediately! Sirens’ light and sound alarm operating
time (from 3 seconds to 3 minutes) is configured in a mobile application or
a web browser.
5.5. Put the siren on SmartBracket, firmly attaching it to the fastener and
turning it clockwise. The siren is installed!
1 – tamper button
2 – siren’s buzzer
3 – СR123А batteries
4 – antenna
PICTURE 3. Battery compartment
8.2 Replace batteries with new in time! When battery discharges, the siren
transmits the “battery low” signal to the Hub. Also, when the batteries are low,
arming or disarming is accompanied by siren’s LED light one-time activation
and smooth dimming.
6. WORK INDICATION
6.1 When the siren is in armed mode, it signals about it by LED light «6»
(PICTURE 1), briefly blinking every 30 seconds. By default, blinking is off; you
can enable it in the siren settings using mobile application or browser.
6.2 If a siren is connected to a 12V wire power supply, in case of a stationary
power loss the siren will automatically start working on batteries. At this
moment alert about stationary power loss is coming to mobile application.
LED indication on stationary power supply loss is not performed not to
discharge the batteries.
6.3 When switching on armed mode the siren briefly beeps once and light ring
blinks for 1 second. When switching to disarmed mode the siren briefly beeps
twice and blinks with light ring twice. This feature is switched off by default.
7. VOLUME SETTING
7.1 Siren volume can be adjusted in the siren settings through a mobile
application or a web browser. Volume slider allows to change the siren volume
from 85 dB to 113 dB.
7.2 To check siren volume it is recommended to set sounding time to a
minimum (3 sec) and press keyfob’s alarm button.
8. MAINTENANCE
8.1 Once in 6 months clean the siren body from dust, cobwebs and other
possible contaminants.
9. WARRANTY
9.1 The warranty period for the siren is 24 months. Warranty does not apply
to the batteries!
1
2
3
3
4
To replace the batteries first disable the “Alert if Moved” option in siren
settings, then remove siren and switch it off by holding the power button for
3 seconds. Then unscrew 4 screws on the back side of the body and remove
top cover of the siren. Change 4 batteries (PICTURE 3) to new (CR123A type),
following polarity. After replacing batteries, test the siren operability!

Other manuals for StreetSiren

9

Other AJAX Security System manuals

AJAX HomeSiren User manual

AJAX

AJAX HomeSiren User manual

AJAX StreetSiren User manual

AJAX

AJAX StreetSiren User manual

AJAX Hub 2 Plus User manual

AJAX

AJAX Hub 2 Plus User manual

AJAX StreetSiren User manual

AJAX

AJAX StreetSiren User manual

AJAX KeyPad Plus User manual

AJAX

AJAX KeyPad Plus User manual

AJAX KeyPad User manual

AJAX

AJAX KeyPad User manual

AJAX Hub 2 Plus User manual

AJAX

AJAX Hub 2 Plus User manual

AJAX KeyPad User manual

AJAX

AJAX KeyPad User manual

AJAX Ajax Hub User manual

AJAX

AJAX Ajax Hub User manual

AJAX StreetSiren User manual

AJAX

AJAX StreetSiren User manual

AJAX StreetSiren DoubleDeck User manual

AJAX

AJAX StreetSiren DoubleDeck User manual

AJAX ManualCallPoint Jeweller User manual

AJAX

AJAX ManualCallPoint Jeweller User manual

AJAX Button User manual

AJAX

AJAX Button User manual

AJAX Hub Hybrid User manual

AJAX

AJAX Hub Hybrid User manual

AJAX DoubleButton User manual

AJAX

AJAX DoubleButton User manual

AJAX HomeSiren User manual

AJAX

AJAX HomeSiren User manual

AJAX HomeSiren User manual

AJAX

AJAX HomeSiren User manual

AJAX HomeSiren User manual

AJAX

AJAX HomeSiren User manual

AJAX MotionProtect User manual

AJAX

AJAX MotionProtect User manual

AJAX StreetSiren User manual

AJAX

AJAX StreetSiren User manual

AJAX Hub 2 User manual

AJAX

AJAX Hub 2 User manual

AJAX DoubleButton User manual

AJAX

AJAX DoubleButton User manual

AJAX Hub 2 Plus User manual

AJAX

AJAX Hub 2 Plus User manual

AJAX StreetSiren User manual

AJAX

AJAX StreetSiren User manual

Popular Security System manuals by other brands

Tiras PRIME 8L installation manua

Tiras

Tiras PRIME 8L installation manua

Swann 4 Channel DVR4-2000 specification

Swann

Swann 4 Channel DVR4-2000 specification

Bosch DS860 Series installation instructions

Bosch

Bosch DS860 Series installation instructions

D+H RT 45 Original instructions

D+H

D+H RT 45 Original instructions

Vlinder D2R2 manual

Vlinder

Vlinder D2R2 manual

Tekelec EAGLE 5 System manual

Tekelec

Tekelec EAGLE 5 System manual

Simplex TrueAlert 4906-9208 instructions

Simplex

Simplex TrueAlert 4906-9208 instructions

Voyager PoolView user guide

Voyager

Voyager PoolView user guide

MG Mini-M M2SED instruction manual

MG

MG Mini-M M2SED instruction manual

Cisco C195 Maintenance and Upgrade

Cisco

Cisco C195 Maintenance and Upgrade

Upgrading everyday security iConnect 2-Way Quick start installation guide

Upgrading everyday security

Upgrading everyday security iConnect 2-Way Quick start installation guide

GDS Combi Operating handbook

GDS

GDS Combi Operating handbook

Uniden GUARDIAN G766 user guide

Uniden

Uniden GUARDIAN G766 user guide

Lund Industries SFGH-100 Installation & operation

Lund Industries

Lund Industries SFGH-100 Installation & operation

ELRO CS87T user guide

ELRO

ELRO CS87T user guide

Paso PAW5500-VES Series quick start guide

Paso

Paso PAW5500-VES Series quick start guide

URIPHON Classic instructions

URIPHON

URIPHON Classic instructions

UTC Fire and Security interlogix Concord 4 installation manual

UTC Fire and Security

UTC Fire and Security interlogix Concord 4 installation manual

manuals.online logo
manuals.online logoBrands
  • About & Mission
  • Contact us
  • Privacy Policy
  • Terms and Conditions

Copyright 2025 Manuals.Online. All Rights Reserved.