7
Paging
If the Parent Unit is misplaced, you can use the page button on the
Baby Unit to locate the Parent Unit.
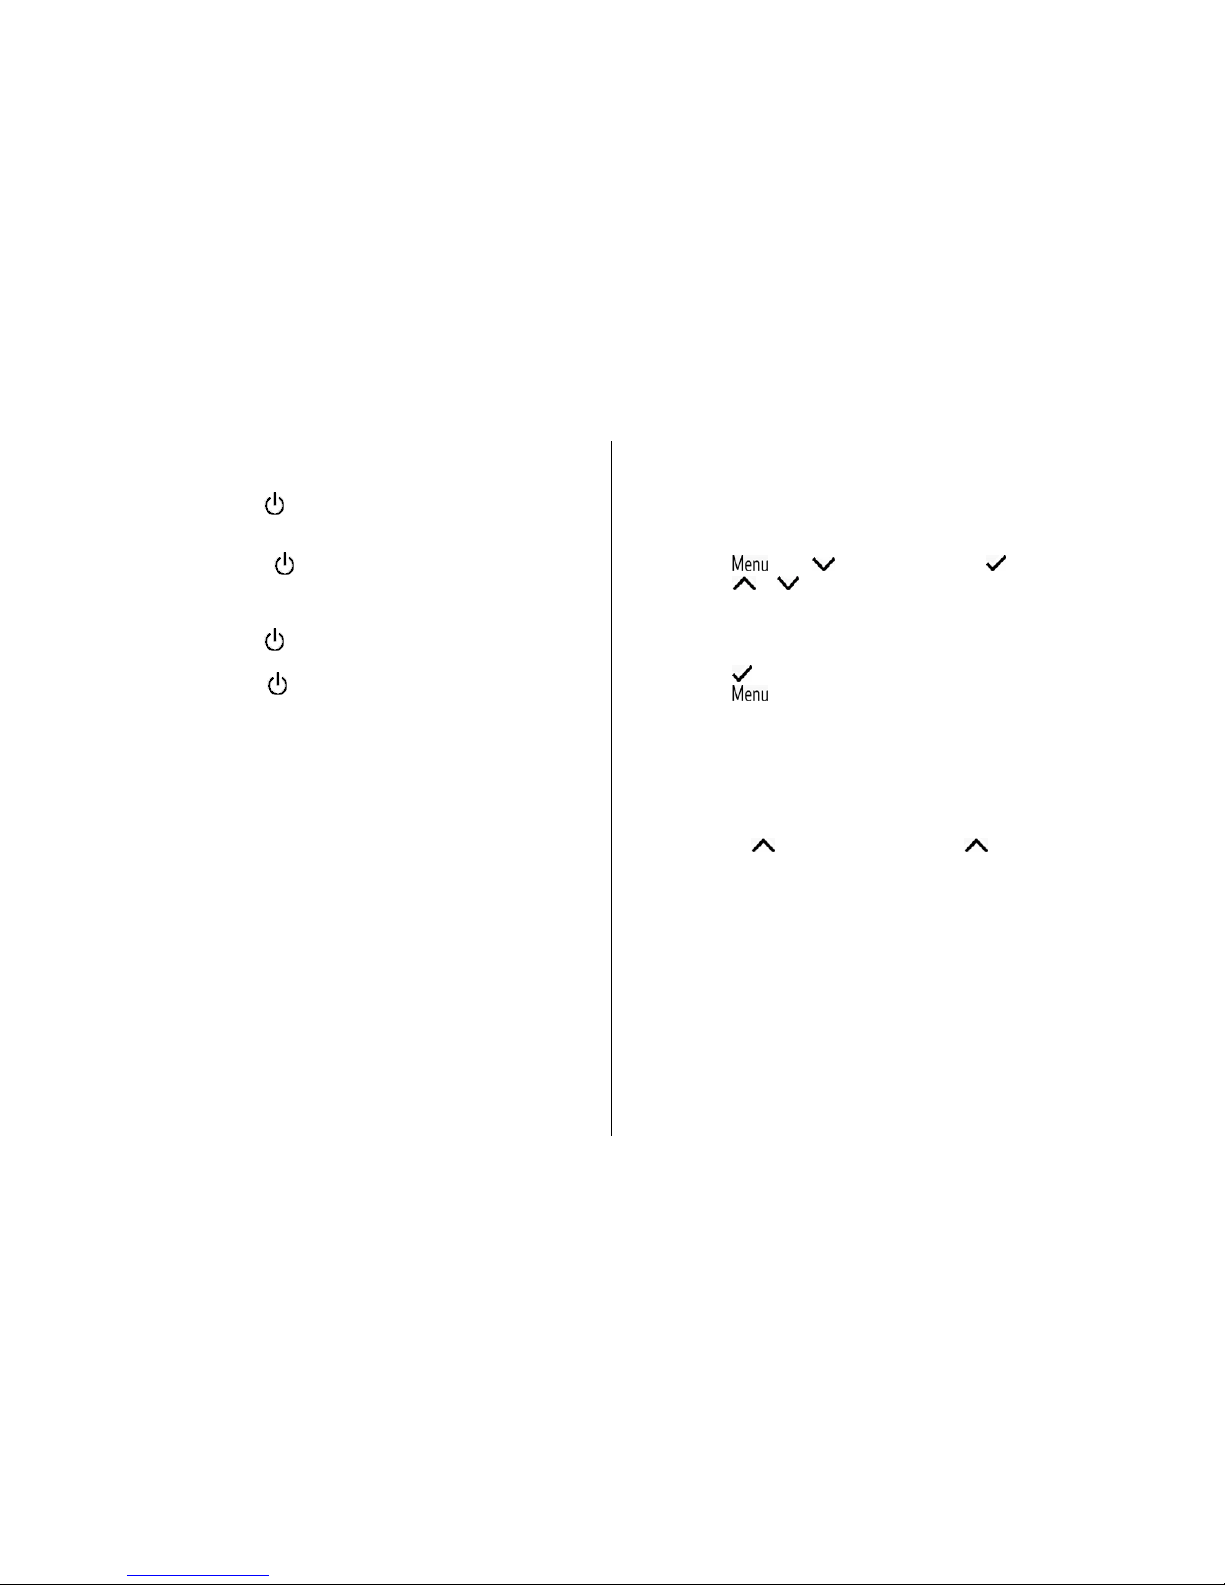
•Press on the Baby Unit. The Parent Unit will automatically
reset to mid volume and the paging alert will sound.
•PAGING is displayed on the LCDs of both units.
•To stop the Page alert, press any button on the Parent Unit, or
press again on the Baby Unit.
Note: If no button is pressed, the paging tone will stop after 2 minutes.
If the Parent Unit volume is off, the Parent Unit volume will reset
to mid-volume.
Torch
Press TORCH to switch the torch on and off.
Nightlight
The nightlight on the baby unit can be turned on or off from either the
baby unit or the parent unit.
Baby Unit
If the nightlight is off,
•press and release to turn nightlight on.
•Press repeatedly to select the brightness settings.
If the nightlight is on,
•press and release Nightlight button to turn nightlight off.
Parent Unit
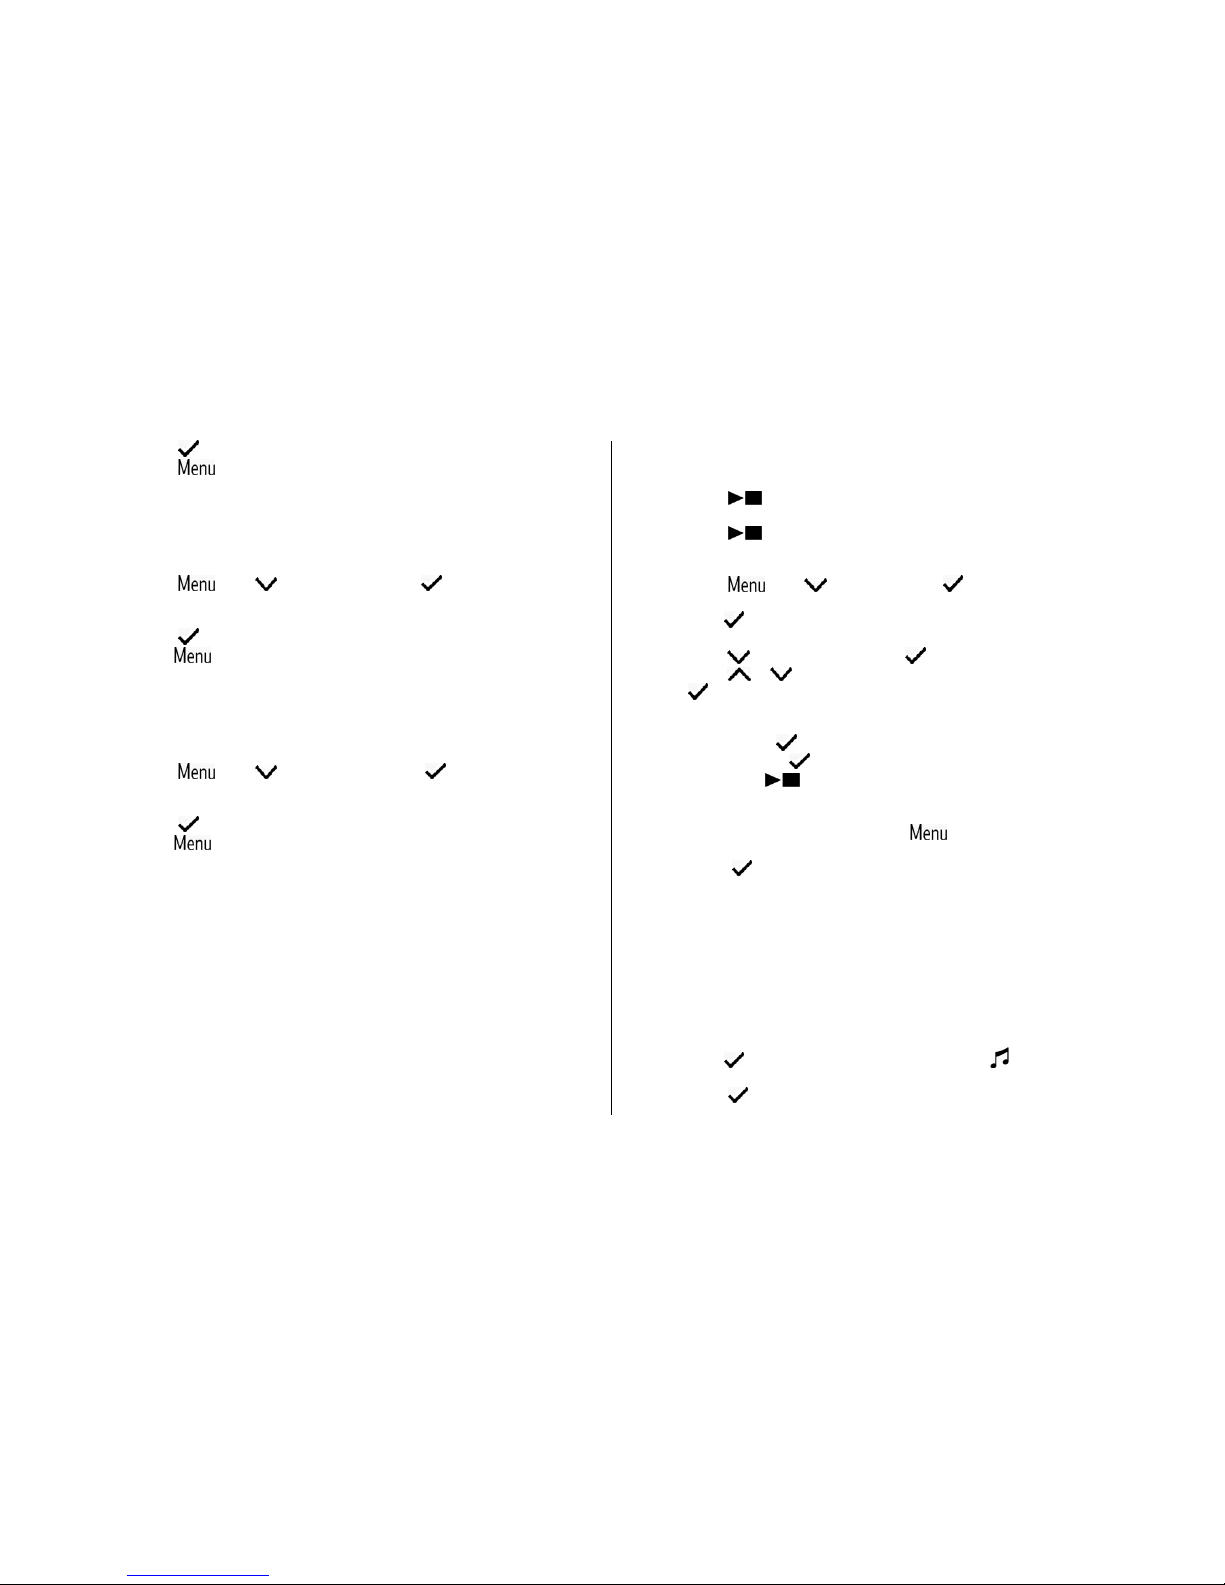
If the nightlight on the baby unit is off,
•Press scroll to Light On?
•Press to confirm.
If the nightlight on the baby unit is on,
•Press scroll to Light Off?
•Press to confirm.
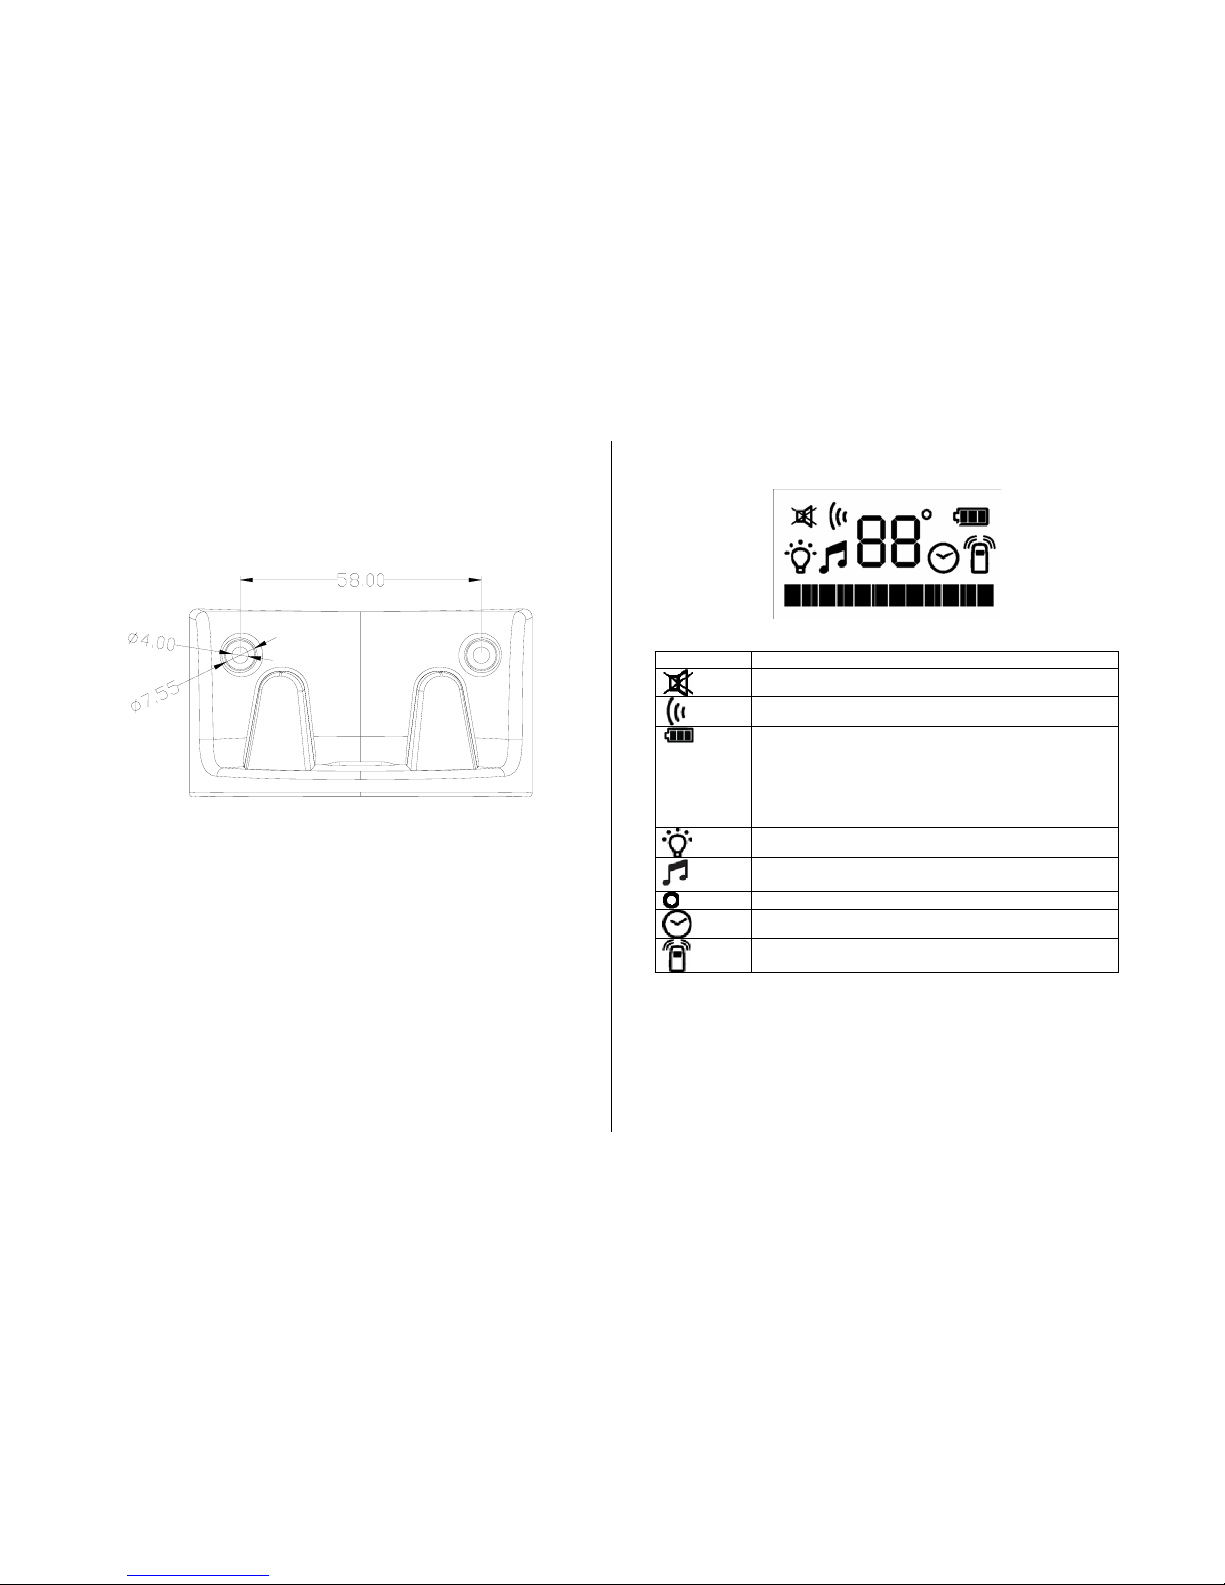
Temperature
You can monitor the temperature in the baby’s room. The room
temperature is constantly displayed in Celsius on both Units. Alert will
be sounded when the room temperature is raised or dropped out of the
pre-set temperature range.
Setting the Temperature Range
You can select your own minimum and maximum room temperatures.
The minimum temperature can be anywhere between 10˚C and 19˚C
and the maximum temperature anywhere between 22˚C and 30˚C.
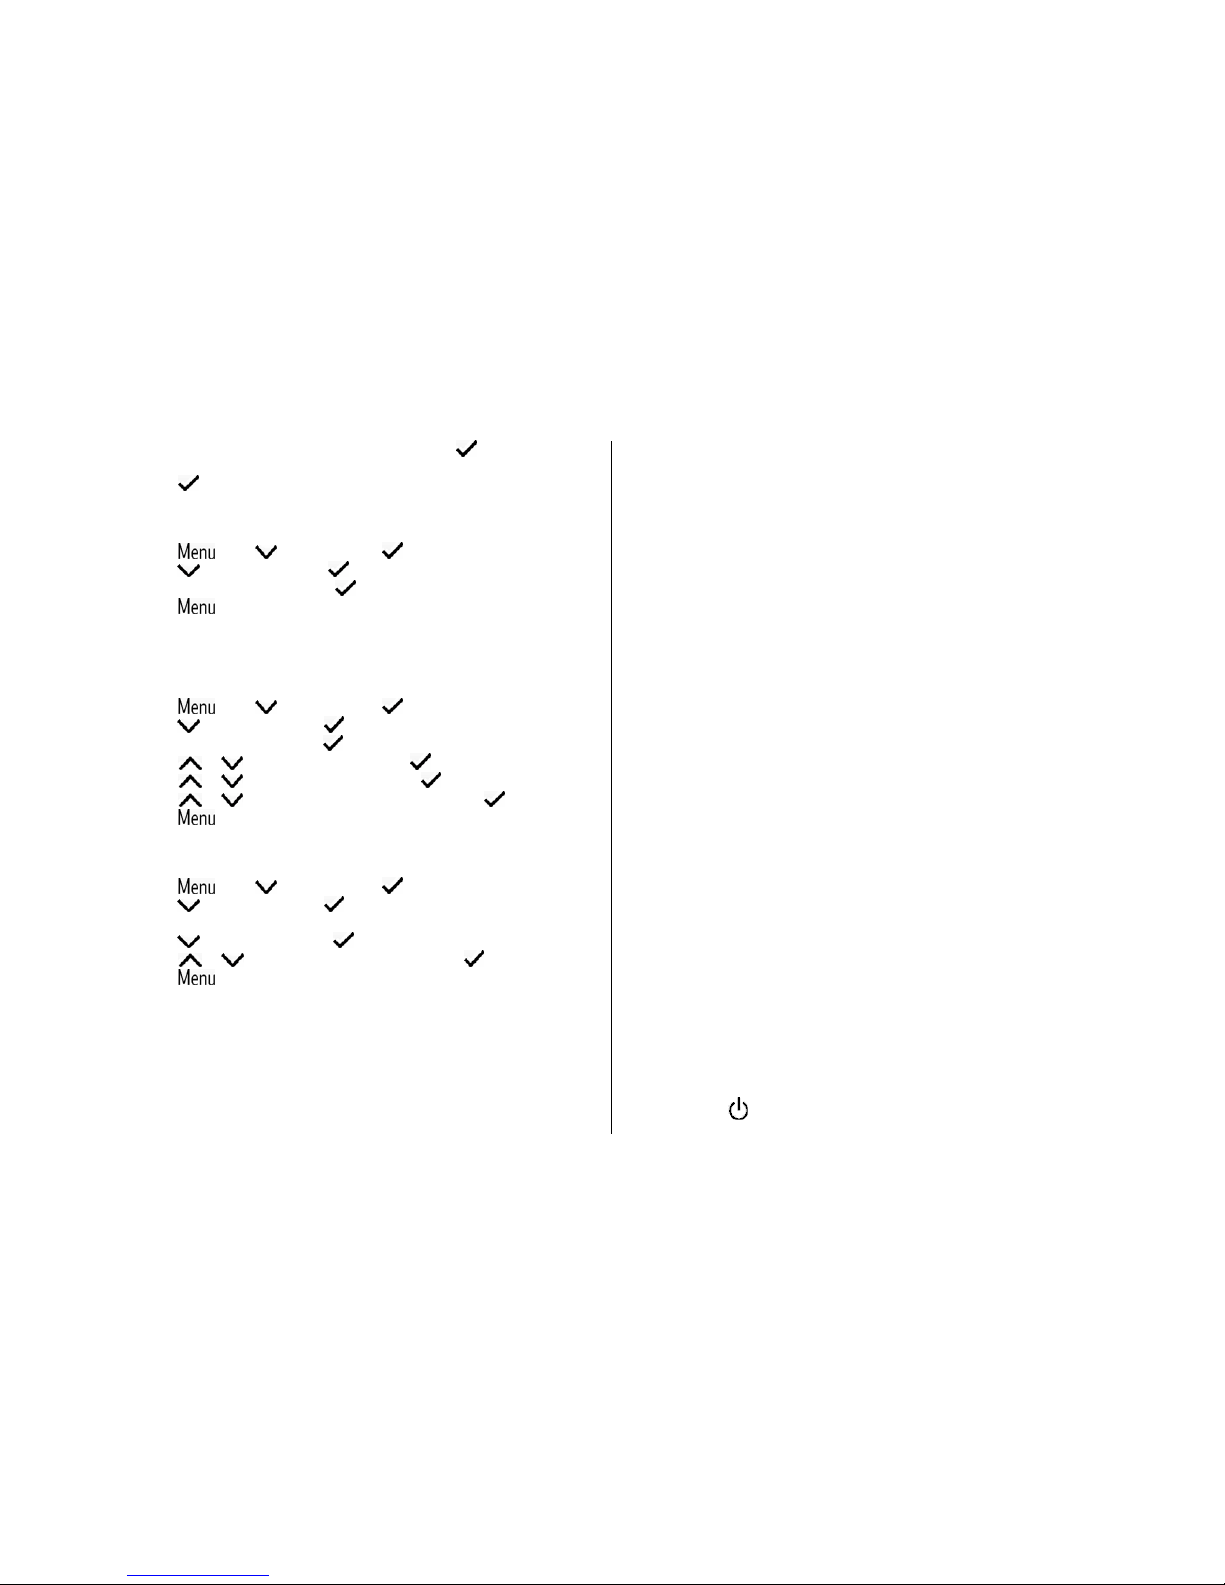
•Press . Use or button to scroll until Temperature is
displayed.
•The current temperature is also displayed.
•Press .
•Scroll until Range is displayed.
•Press . Press or to change the minimum temperature
setting.
•Press .
•Press or to change the maximum temperature setting.
•Press to confirm.
•Press to return the display to standby.
Note: If the temperature goes beyond the minimum or maximum level,
“Low” or “High” indication displays and the current temperature
flashes in the displays of both Units. If the Temperature alert is
set to On, an alert will be sounded at the Parent Unit. The alert
sound will goes off automatically when the temperature falls
within the pre-set range.
If the Temperature falls below 7˚C or rises above 33˚C, -- will be
flashing on the 7-segment.
Setting the Temperature Alert
•Press . Use or button to scroll until Temperature is
displayed.
•Scroll until Alert On/Off is displayed.
•If the temperature alert is currently off, Alert On? is displayed.
•If the temperature alert is currently on, Alert Off? is displayed.