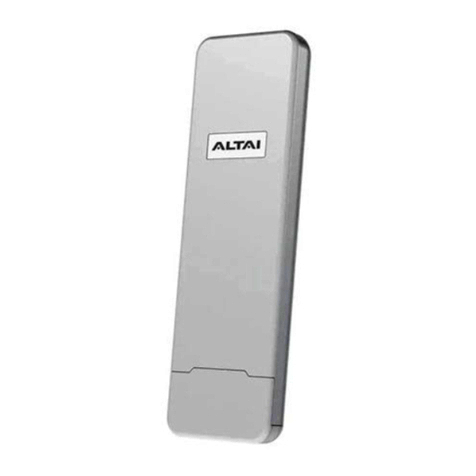
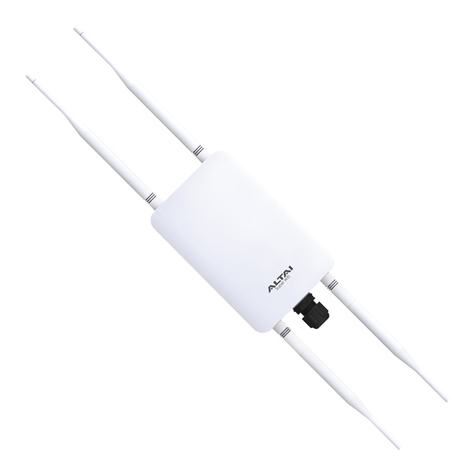
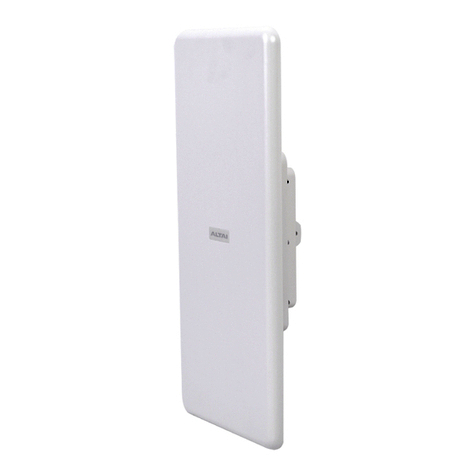
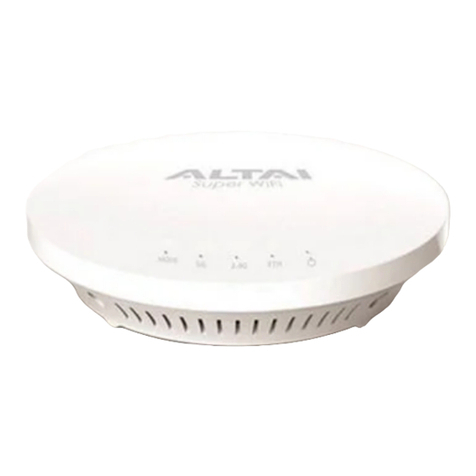
ALTAI C260 User manual

1
Altai Technologies Ltd. All rights reserved
Quick Setup Guide
_________________________________________________
Quick Setup Guide
Version 0.1
Altai C260 2x2 802.11ax
Super Wi-Fi AP/CPE

2
Altai Technologies Ltd. All rights reserved
Quick Setup Guide
Introduction
instructions to install the product and set it up as AP with minimal effort.
Package Contents
Back Cover
(For Outdoor Installation)
Wall/Pole Mount Kit
-Mount Base x 1
-Anchors (For Concrete Wall) x 2
-Screws (For Concrete Wall) x 2
-Cable Tie (For Pole) x 2
Back Cover
(For Indoor Installation)
Mounting and installation
C260 Main Unit x 1
Screws x 4
Cable Tie x 2
Thank you for purchasing the Altai C260 product. This guide provides

3
Altai Technologies Ltd. All rights reserved
Quick Setup Guide
Hardware Overview
LED Indicator
Power/Booting
Status
Off
AP Powered Off
AP Booting Up
AP Boot Up Finished and Ready for Service
2.4G Radio
Enabled Only
(AP/Station/
Repeater)
1. AP Mode on but with no Client Association; OR
2. Station Mode on but not connected to Remote AP; OR
3. Repeater Mode on but not connected to Remote AP
Data Transmitting/Receiving
5G Radio Enabled
Only
(AP/Station/
Repeater/Bridge)
1. AP Mode on but with no Client Association; OR
2. Station Mode on but not connected to Remote AP; OR
3. Repeater Mode on but not connected to Remote AP; OR
4. Bridge Mode on but not connected to Remote Peer
Data Transmitting/Receiving
2.4G and 5G
Radios Enabled
(AP/Station/
Repeater/Bridge)
Solid White
AP/Station/Repeater/Bridge Mode on but with no
connection with Client/Remote AP/Remote Peer
Data Transmitting/Receiving on 2.4G, but
no connection with Client/Remote AP/Remote Peer for 5G
Alternate Flashing
Data Transmitting/Receiving on 5G, but
no connection with Client/Remote AP/Remote Peer for 2.4G
Alternate Flashing
Data Transmitting/Receiving on both 2.4G and 5G
Flashing
Solid
Solid
Alternate Flashing
Solid
Alternate Flashing
Alternate Flashing
LED Indicator

4
Altai Technologies Ltd. All rights reserved
Quick Setup Guide
Ethernet Port:
DC Power Jack:
option.
Reset Button:
Base Slot
Red LED Indicator
0s
1-2s
5-8s
Factory Reset
Reboot
It serves two functions:
•Reboot: Press and hold the
Reset Button for 2-3 seconds
.
•Factory Reset: Press and hold
the Reset Button for 5-8
twice consecutively.
Reset
Button
Ethernet
Port (ETH1)
Ethernet
Port (ETH0)
DC Power Jack
until the LED blinks once
seconds until the LED blinks
Ethernet Port DC Power Jack and Reset Button
ETH0 can to connect to 802.3af or 48VDC to 56CDV power source (PoE)
and provides 10/100/1000 Mbps network interface for LAN (ETH1) and WAN (ETH0)
connection.
Option to connect to DC power source of 12VDC/1.25A as another power

8
Altai Technologies Ltd. All rights reserved
Quick Setup Guide
Setup Requirements and Preparation
•A computer with Web Browser: Google Chrome, Mozilla Firefox, or Microsoft
Internet Explorer 8 (or above)
•Two Cat 5e/6 Ethernet cables
•
•AltaiCare account (Optional) for cloud AP management and user service
Power Options and Cable Connection Instructions
2. Connect a computer to the switch.
3. Make sure the LED indicator turns into a solid light for AP configuration.
Option 2: DC Power Adapter
3. Make sure the LED indicator turns into a solid light for AP configuration.
PoE Switch
Ethernet Cable
(PoE + Data)
Ethernet Cable
(Data)
IX500 AP
AC Outlet
Ethernet Cable
(Data)
Power
Adapter
Compliant802.3af
C260 AP
802.3af-compliant PoE switch
with an Ethernet cable.
Option 1: 802.3af-compliant PoE switch
1. Connect the C260 Ethernet port to an 802.3af-compliant PoE switch
1. Connect the power adapter to the C260, then plug it into an AC outlet.
2. Connect a computer to the C260 with an Ethernet cable.

9
Altai Technologies Ltd. All rights reserved
Quick Setup Guide
1. Change TCP/IP Setting on Your Computer
For Windows 7 users,
1. Go to Control Panel, click Network and Sharing Center and then choose the
“Local Area Connection” is in connection with
Properties.
2. Under the Networking tab, click Internet Protocol Version 4 (TCP/IPv4) in the
list box “This connection uses the following items”, and then click Properties.
3. Type in the following IP address and Subnet mask:
•
•Subnet mask: 255.255.255.0
4. Click OK to close the Internet Protocol Version 4 (TCP/IP) Properties dialog
box and click OK again to close the Local Area Connection Properties
dialog box.
C260. Click it and then click
IP address: 192.168.188.2
adapter that you want to connect to C260 unit. In this example, adapter
188

10
Altai Technologies Ltd. All rights reserved
Quick Setup Guide
2. Access to Web Interface
Enter
2. Login page will come up and you are required to enter username and
password. By default, the credentials are:
•
•Password
in the address bar and then hit192.168.188.253
: admin
: admin
. Make sure you've set the PC IP address of the TCP/IP properties of the
Username
1. Open a web browser. Type
3. Click Login.
wireless network card to 192.168.188.X (X can be any number between 2 to 252).

11
Altai Technologies Ltd. All rights reserved
Quick Setup Guide
Network Scenario
Go to
Internet
ISP
Modem
Ethernet
Cable
Gateway/Router
Modem
Cable
Ethernet
Cable
(AP Mode)
2.4G + 5G
Coverage
C260
Wizard
1. Make sure select AP Mode.
3. Configure AP Mode (2.4G/5G)
2. By default it's in thin AP Mode page. You need to click the symbol in the
upper right corner of the page to switch to fat AP mode.

12
Altai Technologies Ltd. All rights reserved
Quick Setup Guide
Scenario. The SSID should now be
broadcast from IX500 and can be seen in
the computer for wireless connection.
3. Fat AP mode front page as shown below:
4. Click the AP mode setting page, select " Get IP from AC" , and select " Next" .
5. Enter WiFi Configuration page and set the parameters as shown below:

13
Altai Technologies Ltd. All rights reserved
Quick Setup Guide
IX500_1 (AP)
IX500_2 (AP)
ISP Modem
Local Gateway/
Router
2. Status check: Manually set the IP address of the PC to 192.168.188. X to access
the working state you set. Set the PC's IP to obtain automatically. The PC and
management page of the wireless AP and view the status, as shown above.
1. IP setting: After complete configuration, the wireless AP will restart and enter
AP to achieve internet access.
4. Internet Access Setting and Status Check
and other wireless device can connect to the upper level through the wireless

14
Altai Technologies Ltd. All rights reserved
Quick Setup Guide
.
.
modify web login password, firmware upgrade, time management and
5. Setting Management
for dial-up internet access or dynamic or static IP address for internet access.
1. In Menu " Manage" , you can backup, restore factory default, soft restart,
1. Gateway mode: ETH0 port has to connected to modem (ADSL/Fiber Optic)
2. AP mode: NAT, DHCP, firewall and all WAN-related functions will be turned
get system log, etc.
5. Other operation modes:
off . All wireless interfaces and wired interfaces are bridged together, without
distinguishing between LAN and WAN.

15
Altai Technologies Ltd. All rights reserved
Quick Setup Guide
Federal Communication Commission Interference Statement (FCC) –USA
This equipment has been tested and found to comply with the limits for a Class B digital device, pursuant to
Part 15 of the FCC Rules. These limits are designed to provide reasonable protection against harmful
interference in a residential installation. This equipment generates, uses and can radiate radio frequency
energy and, if not installed and used in accordance with the instructions, may cause harmful interference to
radio communications. However, there is no guarantee that interference will not occur in a particular
installation. If this equipment does cause harmful interference to radio or television reception, which can be
determined by turning the equipment off and on, the user is encouraged to try to correct the interference by
one of the following measures:
•Reorient or relocate the receiving antenna.
•Increase the separation between the equipment and receiver.
•Connect the equipment into an outlet on a circuit different from that to which the receiver is
connected.
•Consult the dealer or an experienced radio/TV technician for help.
FCC Caution: Any changes or modifications not expressly approved by the party responsible for compliance
could void the user's authority to operate this equipment.
This device complies with Part 15 of the FCC Rules. Operation is subject to the following two conditions: (1)
This device may not cause harmful interference, and (2) this device must accept any interference received,
including interference that may cause undesired operation.
This transmitter must not be co-located or operating in conjunction with any other antenna or transmitter.
IMPORTANT NOTE:
FCC Radiation Exposure Statement:
This equipment complies with FCC radiation exposure limits set forth for an uncontrolled environment. This
equipment should be installed and operated with minimum distance 36cm between the radiator & your body.
European Conformity (CE) –EU
This is a Class B product. In a domestic environment, this product may cause radio interference, in which case
the user may be required to take adequate measures.

16
Altai Technologies Ltd. All rights reserved
Quick Setup Guide
Warning
Operations in the 5.15-5.25 GHz band are restricted to indoor usage only.
Disclaimer
All specifications are subject to change without prior notice. Altai Technologies assumes no responsibilities for
any inaccuracies in this document or for any obligation to update information in this document. This
transfer, or otherwise revise this publication without notice.
ALL RIGHTS RESERVED.
Altai Technologies Limited
Unit 209, 2/F, Lakeside 2,
10 Science Park West Avenue,
Hong Kong Science Park,
Shatin, New Territories,
Hong Kong
Telephone: +852 3758 6000
Fax: +852 2607 4021
Web: www.altaitechnologies.com
Customer Support Centre:
Email: support@altaitechnologies.com
C260 may require professional installation depending on the deployment scenario.
Only use 12VDC power adaptor or PoE rated 48VDC to 56VDC.
document is provided for information purposes only. Altai Technologies reserves the right to change, modify,
Copyright © 2023 Altai Technologies Limited
Table of contents
Other ALTAI Wireless Access Point manuals
Popular Wireless Access Point manuals by other brands

Yunlink
Yunlink HWAP80-P48 user manual

D-Link
D-Link xtreme n duo dap-1522 Specifications

ZyXEL Communications
ZyXEL Communications NWA1120 Series user guide

DragonWave
DragonWave AirPair 100-UL product manual

Cisco
Cisco Aironet AIR-AP1252AG-A-K9 Hardware installation guide

Aruba Networks
Aruba Networks IAP-175 installation guide