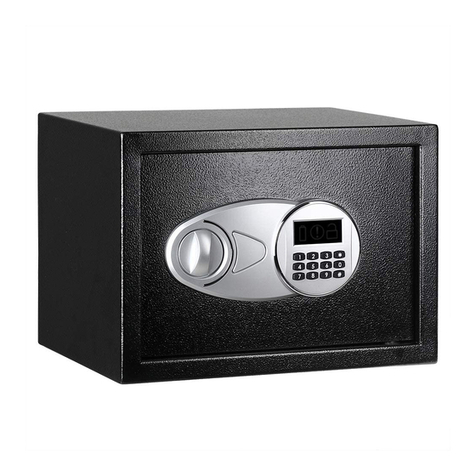
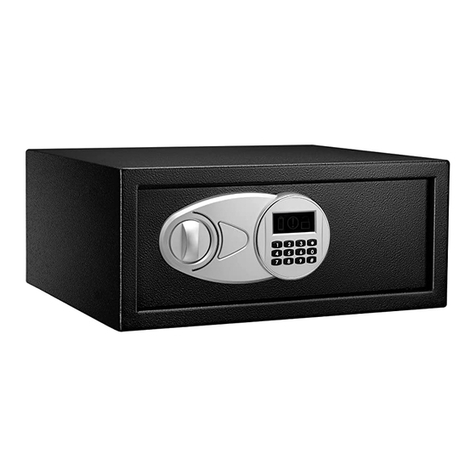
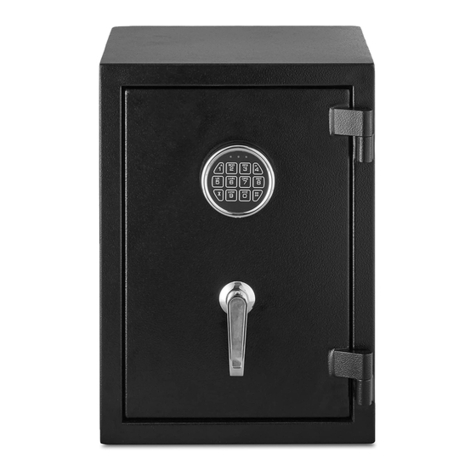
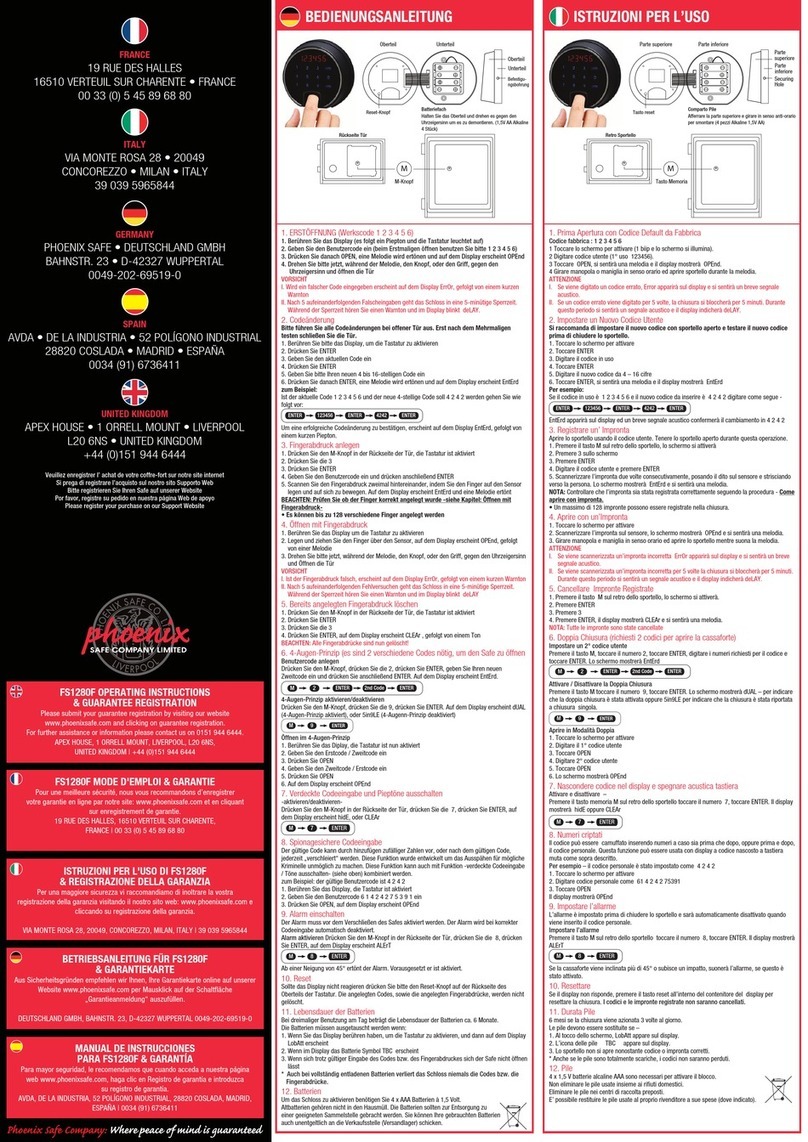
AmazonBasics B00UG9HB1Q User manual

EN . . . . . . . . . . . . . . . . . . . . Page 2
FR . . . . . . . . . . . . . . . . . . . . Page 14
DE . . . . . . . . . . . . . . . . . . . . Seite 26
IT . . . . . . . . . . . . . . . . . . .Pagina 38
ES . . . . . . . . . . . . . . . . . . .Página 50
NL . . . . . . . . . . . . . . . . . . .Pagina 62
日本語 .................ページ74
B00UG9HB1Q B01BGY010C B01BGY043Q B01BGY6GPG
Security Safe 0.45 ft3(14 L) 0.7 ft3(19.8 L) 1 ft3(28.3 L) 1.2 ft3(33.9 L)
Core-Fort 0,45 ft3(14 L) 0,7 ft3(19,8 L) 1 ft3(28,3 L) 1,2 ft3(33,9 L)
Tresor 0,45 ft3(14 L) 0,7 ft3(19,8 L) 1 ft3(28,3 L) 1,2 ft3(33,9 L)
Cassaforte 0,45 ft3(14 L) 0,7 ft3(19,8 L) 1 ft3(28,3 L) 1,2 ft3(33,9 L)
Caja Fuerte 0,45 ft3(14 L) 0,7 ft3(19,8 L) 1 ft3(28,3 L) 1,2 ft3(33,9 L)
Inbraakwerende Kluis 0,45 ft3(14 L) 0,7 ft3(19,8 L) 1 ft3(28,3 L) 1,2 ft3(33,9 L)
金庫 0,45 ft3(14 L) 0,7 ft3(19,8 L) 1 ft3(28,3 L) 1,2 ft3(33,9 L)

EN
2
1. Safety and Compliance
»Read this instruction manual carefully before using the appliance. Familiarize yourself
with the operation, adjustments and functions of switches. Understand and follow
the safety and operation instructions in order to avoid possible risks and hazards.
Keep for future reference. If you give this device to someone else, this instruction
manual must be included too.
»To reduce the risk of theft, the safe must be xed to a wall or oor.
»Store the emergency keys in a secret and safe place.
»Do not store the emergency keys inside the safe. If the battery runs out you will not
be able to open the safe.
»The preset passcode should be changed before using the safe.
»Place the product on a stable, secure place, possibly not elevated, lest it may fall over
and suer damages or cause injury to people.
»Keep liquids away from the control panel and battery compartment. Liquids spilling
over the electronic parts may cause damage and lead to malfunctioning.
»Never attempt to dismantle the product by yourself.
»If maintenance is required, please contact the local service center or local distributor.
1.1 Battery safety advice
»Danger of explosion if the battery is replaced with one of the wrong type.
»Replace the battery only with the same or equivalent type.
WARNING
The batteries (battery block or built-in batteries) must not be exposed to excessive
heat, i.e. direct sunlight, re or the likes.
WARNING
Do not swallow the battery, there’s risk of chemical burns.
»The product contains batteries. If a battery gets swallowed, can cause internal burns
and cause death within 2 hours.
»Keep new and used batteries out of the reach of children.
»If the battery compartment doesn’t close properly, stop using the product and keep it
out of the reach of children.
»If you think that the batteries were swallowed or introduced in any part of the body,
seek medical attention immediately.
»Leaking battery acid may cause harm.
»If batteries should leak, remove them with a cloth from the battery compartment.
Dispose of batteries according to the regulations.
»If battery acid has leaked avoid contact with skin, eyes and mucous membranes.
Rinse aected areas immediately after contact with the acid and wash with plenty of
clean water. Visit a physician.
»Do not allow children to replace batteries without adult supervision.
DANGER Danger of explosion!
Batteries may not be charged, re-activated by other means, disassembled, thrown into
re or short-circuited.
EN
3
»Always insert batteries correctly with regard to the polarities (+and –) marked on the
battery and the battery compartment.
»Batteries shall be stored in well-ventilated, dry and cool conditions.
»Exhausted batteries should be immediately removed from equipment and properly
disposed of.
»Use the correct type (AA battery).
»Remove the battery if you will not be using the appliance for an extended period of
time.
2. Product Description
BA
EF
G
H
C
D
AReset button EEmergency lock
BBattery compartment FKnob
CDoor bolts, x2 GExpansion bolts, x4
DBackup supply socket HEmergency key, x2

EN
4
3. Setting Up the Product
NOTICE To open the safe the rst time you will need to use the emergency
key (H).
NOTICE The default preset passcode is “159”, change it immediately.
1. Remove the cover of the emergency Iock (E).
E
1
2

EN
5
2. Insert the emergency key (H) and turn it counterclockwise.
3
H
3. Turn the knob (F) clockwise to open the door.
4
F
5

EN
6
4. Open the battery compartment (B) and insert 4 x AA batteries (not included).
B
6
NOTICE When the batteries run out, the icon will turn on. Replace the batteries
then.
NOTICE In the event of battery failure, connect a suitable external power source
(5 V ) to the backup supply socket (D) for supplying power to the safe.
7
D

EN
7
5. With the door open, press the reset button (A). The safe will emit two beeps.
A
8
6. Choose a new passcode (3-8 digits), punch it on the keypad and press the # key
to conrm. If the icon turns on, the new passcode is successfully set.
9
NOTICE If the icon ashes, the safe failed to set the new passcode. Repeat the
steps above until successful.
NOTICE Test the new passcode with the door open before locking the door.

EN
8
4. Securing to a Floor or Wall
NOTICE
»Select a stable, dry and secure location for your safe.
»If bolting to a wall, make sure that your sale is resting on a supporting surface
(such as the oor or a shelf). Do not bolt your safe to both the oor and wall.
1. Place the safe on the selected location. Use a pencil to mark the mounting holes on
the oor or wall.
2. Move the safe and drill 2-inch-deep mounting holes (~50 mm) using a 12 mm drill
bit.
3. Move the safe back in place, align the mounting holes to the openings in the safe.
Insert the expansion bolts (G) through the holes and into the mounting holes and
tighten them securely.
G
10

EN
9
5. Operation
5.1 Opening the safe using your passcode
1. Input your passcode (3 to 8 digits) on the keypad. Press # key to conrm. The icon
turns on.
NOTICE The default preset passcode is “159”, change it immediately.
2. Rotate the knob (F) clockwise and open the door.
11
F
12
5.2 Locking the safe
Close the door, then turn the knob (F) counterclockwise to lock it.

EN
10
5.3 Setting the master code
NOTICE Should you forget your passcode, the safe can still be accessed with the
master code.
1. With the door open, press 0key twice and then press the reset button (A).
A
13
2. Input the new code (3-8 digits), then press # key to conrm. The icon turns on. The
master code is set.
NOTICE If the icon doesn’t turn on, the safe failed to set the new master code.
Repeat the steps above until successful.
14
6. Automatic Lockout
»The safe will enter a 30-second lockout if the wrong passcode is entered
3 consecutive times.
»After the 30-second lockout it will automatically unlock.
NOTICE Entering the wrong passcode 3 more times will lock the safe for
5 minutes.

EN
11
7. Cleaning and Maintenance
»If necessary wipe the outside and inside of the product with a slightly damp cloth.
»Avoid contact with corrosive substances like acids, alkaline or similar substances.
8. Troubleshooting
Problem Solution
The safe won’t open
when entering the
passcode.
»Make sure you entered the correct passcode.
»Press the #key after entering the passcode.
»The safe might be in lockout. Wait 5 minutes and try again.
»Replace the batteries.
The door won’t shut. »Make sure there are no obstructions.
»If the door bolts (C) are extended, re-enter the passcode
and turn the knob (F) clockwise to retract them.
The icon turns on. Replace the batteries.
The icon is ashing. »Make sure you entered the correct passcode.
»Press the #key after entering the passcode.
9. Environmental Protection
This marking indicates that this product should not be disposed with other
household wastes throughout the EU. To prevent possible harm to the
environment or human health from uncontrolled waste disposal, recycle
it responsibly to promote the sustainable reuse of material resources. To
return your used device, please use the return and collection systems or
contact the retailer where the product was purchased. They can take this
product for environmental safe recycling.
Used batteries must not be disposed of through household garbage, since
they might contain toxic elements and heavy metals that can be harmful
to the environment and human health.
Consumers are therefore obligated to return batteries to retail or local
collection facilities free of charge. Used batteries will be recycled.
They contain important raw materials such as iron, zinc, manganese or nickel.
The crossed-out wheelie bin symbol indicates: Batteries and rechargeable
batteries must not be disposed of through household garbage.
The symbols below the wheelie bin indicate:
Pb: Battery contains lead
Cd: Battery contains cadmium
Hg: Battery contains mercury
The packaging consists of cardboard and correspondingly marked plastics
that can be recycled. Make these materials available for recycling.

EN
12
10. FCC – Supplier’s Declaration of Conformity
Unique Identier B00UG9HB1Q, B01BGY010C, B01BGY043Q, B01BGY6GPG
- Security Safe
Responsible Party Amazon.com Services LLC.
U.S. Contact Information 410 Terry Ave N. Seattle, WA 98109 USA
Telephone Number (206) 266-1000
10.1 FCC Compliance Statement
1. This device complies with Part 15 of the FCC rules. Operation is subject to the
following two conditions:
(1) this device may not cause harmful interference, and
(2) this device must accept any interference received, including interference that may
cause undesired operation.
2. Changes or modications not expressly approved by the party responsible for
compliance could void the user’s authority to operate the equipment.
10.2 FCC Interference Statement
This equipment has been tested and found to comply with the limits for a Class B digital
device, pursuant to part 15 of the FCC Rules. These limits are designed to provide reasonable
protection against harmful interference in a residential installation. This equipment generates,
uses and can radiate radio frequency energy and, if not installed and used in accordance
with the instructions, may cause harmful interference to radio communications. However,
there is no guarantee that interference will not occur in a particular installation. If this
equipment does cause harmful interference to radio or television reception, which can be
determined by turning the equipment o and on, the user is encouraged to try to correct
the interference by one or more of the following measures:
»Reorient or relocate the receiving antenna.
»Increase the separation between the equipment and receiver.
»Connect the equipment into an outlet on a circuit dierent from that to which the
receiver is connected.
»Consult the dealer or an experienced radio/TV technician for help.
11. Disposal
The Waste Electrical and Electronic Equipment (WEEE) Directive aims to minimize
the impact of electrical and electronic goods on the environment, by increasing
re-use and recycling and by reducing the amount of WEEE going to landll. The
symbol on this product or its packaging signies that this product must be
disposed separately from ordinary household wastes at its end of life. Be aware that this
is your responsibility to dispose of electronic equipment at recycling centers in order to
conserve natural resources. Each country should have its collection centers for electrical
and electronic equipment recycling. For information about your recycling drop o area,
please contact your related electrical and electronic equipment waste management
authority, your local city oce, or your house hold waste disposal service.

EN
13
12. Specications
Model No. B00UG9HB1Q B01BGY010C B01BGY043Q B01BGY6GPG
Power supply 4 x 1.5 V , (AA) (not included)
5 V (backup supply)
Dimensions 9.8 x 13.8 x
9.8”
(250 x 350 x
250 mm)
7.1 x 16.9 x
14.6”
(180 x 428 x
370 mm)
8.9 x 16.9 x
14.6”
(226 x 430 x
370 mm)
10.6 x 16.9 x
14.6”
(270 x 430 x
370 mm)
Weight 18.3 lbs
(8.3 kg)
19.8 lbs
(9 kg)
24 lbs
(10.9 kg)
26.9 lbs
(12.2 kg)
Capacity 0.45 ft3 (14 L) 0.7 ft3(19.8 L) 1 ft3(28.3 L) 1.2 ft3(33.9 L)
12.1 Importer Information
For UK
Postal: Amazon EU SARL, UK Branch,
1 Principal Place, Worship St,
London EC2A 2FA, United Kingdom
Business Reg.: BR017427
13. Feedback and Help
Love it? Hate it? Let us know with a customer review.
Amazon Basics is committed to delivering customer-driven products that live up to your
high standards. We encourage you to write a review sharing your experiences with the
product.
US: amazon.com/review/review-your-purchases#
UK: amazon.co.uk/review/review-your-purchases#
US: amazon.com/gp/help/customer/contact-us
UK: amazon.co.uk/gp/help/customer/contact-us

FR
14
1. Sécurité et Conformité
»Lisez attentivement ce manuel d’utilisation avant d’utiliser l’appareil. Familiarisez-
vous avec l’utilisation, les réglages et les fonctions des commutateurs. Comprenez et
respectez les instructions de fonctionnement et de sécurité an d’éviter tous risques
et dangers potentiels. À conserver pour consultation ultérieure. En cas de cession de
cet appareil à un tiers, vous devez également y joindre ce manuel d’utilisation.
»An de réduire tous risques de vol, le core-fort doit être xé à un mur ou au sol.
»Rangez les clés de secours dans un endroit secret et sûr.
»Ne pas conserver les clés de secours à l’intérieur du core-fort. En cas d’épuisement
des piles, vous ne serez pas en mesure d’ouvrir le core-fort.
»Le code d’accès prédéni doit être modié avant utilisation du core-fort.
»Placez le produit dans un endroit stable et sûr, éventuellement peu élevé, de peur
qu’il ne tombe et ne subisse des dommages ou n’entraîne des blessures corporelles.
»Gardez tous liquides à l’écart du panneau de commande et du compartiment à piles.
Des liquides renversés sur les composants électroniques risquent de provoquer des
dommages et d’entraîner un dysfonctionnement.
»Ne tentez jamais de démonter le produit par vous-même.
»En cas de nécessité de réparation, veuillez contacter le centre de réparation local ou
le distributeur local.
1.1 Consignes De Sécurité Relatives Aux Piles
»Danger d’explosion en cas de remplacement des piles par des piles de type incorrect.
»Remplacez les piles exclusivement par des piles de type identique ou équivalent.
AVERTISSEMENT
Les piles (le bloc-batterie ou les piles intégrées) ne doivent pas être exposées à des
températures excessives telles que les rayons du soleil, le feu ou autres.
AVERTISSEMENT
Ne pas ingérer les piles, car cela présente des risques de brûlures chimiques.
»Ce produit comporte des piles. En cas d’ingestion d’une pile, cela peut entraîner des
brûlures internes, voire la mort en l’espace de 2 heures.
»Tenez piles neuves et usagées hors de la portée des enfants.
»Si le compartiment à piles ne se ferme pas convenablement, cessez d’utiliser le
produit, puis gardez- le hors de la portée des enfants.
»Si vous pensez que des piles ont été ingérées ou introduites dans une quelconque
partie du corps, consultez immédiatement un médecin.
»Les fuites d’acide des piles peuvent entraîner des blessures.
»En cas de fuite des piles, retirez-les du compartiment à piles à l’aide d’un chion.
Mettez les piles au rebut conformément aux réglementations en vigueur.
»En cas de fuites d’acide des piles, évitez tout contact avec la peau, les yeux et les
muqueuses. Rincez immédiatement les zones aectées après un contact avec l’acide,
puis nettoyez-les à grande eau avec de l’eau propre. Consultez un médecin.
»Ne laissez pas des enfants remplacer les piles sans la surveillance d’un adulte.

FR
15
DANGER Danger d’explosion !
Les piles ne peuvent pas être chargées, réactivées d’autres moyens, désassemblées,
incinérées ou court-circuitées.
»Insérez toujours les piles correctement en respectant les polarités (+et -) indiquées
sur la pile et le compartiment à piles.
»Les piles doivent être rangées dans un endroit bien aéré, sec et frais.
»Les piles usées doivent être immédiatement retirées de l’appareil, puis mises au rebut
de façon adéquate.
»Utilisez le type correct (piles « AA »).
»Retirez la pile si vous ne comptez pas utiliser l’appareil pendant une longue période.
2. Vue D’ensemble Du Produit
BA
EF
G
H
C
D
ABouton Reset (Réinitialiser) ESerrure d’urgence
BCompartiment à piles FBouton
CBoulons de la porte, x2 GBoulons expansibles, x4
DPrise d’alimentation de secours HClé de secours, x2

FR
16
3. Préparation Du Produit
REMARQUE Pour la première ouverture du core-fort vous devrez utiliser la clé de
secours (H).
REMARQUE Le code d’accès par défaut est « 159 ». Il convient de le changer
immédiatement.
1. Retirer le couvercle de la serrure d’urgence (E).
E
1
2

FR
17
2. Introduisez la clé de secours (H), puistournez-la dans le sens inverse des aiguilles
d’unemontre.
3
H
3. Tournez le bouton (F) dans le sens des aiguilles d’une montre pour ouvrir la porte.
4
F
5

FR
18
4. Ouvrez le compartiment à piles (B), puis insérez-y 4 x piles de type « AA » (non
fournies).
B
6
REMARQUE Lorsque les piles sont déchargées, l’icône s’allume. Remplacez alors
les piles.
REMARQUE En cas de défaillance des piles, connectez une source d’alimentation
externe adaptée (5 V ) à la prise d’alimentation de secours (D) pour alimenter le
core.
7
D

FR
19
5. Lorsque la porte est ouverte, appuyez sur le bouton Reset (Réinitialiser) (A). Le core-
fort émet deux signaux sonores.
A
8
6. Choisissez un nouveau code d’accès (3 à 8 chires), saisissez-le sur le clavier
numérique, puis appuyez sur la touche # pour conrmer votre choix. Si l’icône
s’allume, cela indique que le nouveau code d’accès est déni avec succès.
9
REMARQUE Si l’icône clignote, cela signie que le core-fort n’a pas réussi
à dénir le nouveau code d’accès. Exécutez à nouveau les étapes ci-dessus jusqu’à la
dénition avec succès du code d’accès.
REMARQUE Testez le nouveau code d’accès lorsque la porte est ouverte avant de
verrouiller celle-ci.

FR
20
4. Fixation à Un Plancher Ou à Un Mur
REMARQUE
»Choisissez un endroit stable, sec et sûr pour y installer votre core-fort.
»En cas de boulonnage à un mur, assurez-vous que votre core-fort repose sur une
surface d’appui (notamment le sol ou une étagère). Ne boulonnez pas votre core-
fort à la fois au mur et au sol. Positionnez le core-fort à remplacement choisi.
1. Marquez la position des trous de montage sur le mur ou le sol à l’aide d’un crayon.
2. Déplacez le core-fort, puis percez les trous de montage de 50 mm (~ 2 pouces) de
profondeur à l’aide d’une mèche de 12 mm de diamètre.
3. Remettez le core-fort en place, puis alignez les trous de montage sur les ouvertures
situées dans le core-fort. Insérez les boulons expansibles (G) dans les trous de
montage à travers ces trous, puis serrez-les solidement.
G
10
Other manuals for B00UG9HB1Q
1
This manual suits for next models
3
Table of contents
Languages:
Other AmazonBasics Safe manuals

AmazonBasics
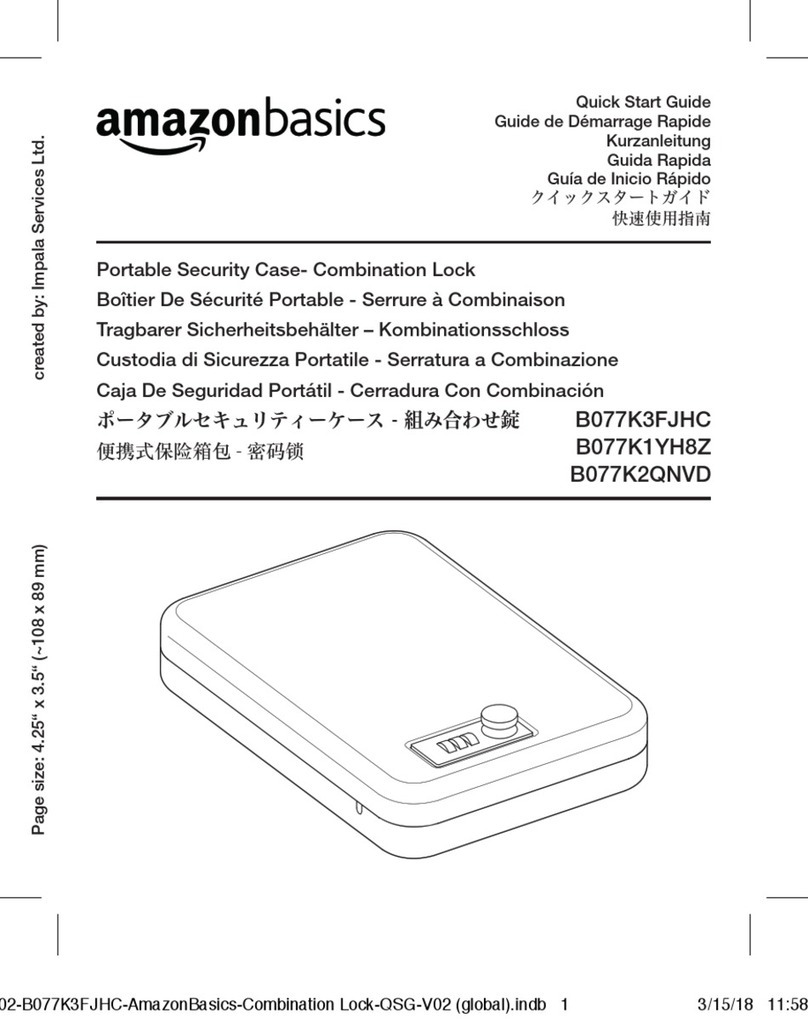
AmazonBasics B077K3FJHC User manual

AmazonBasics
AmazonBasics B00UG9HB1Q User manual

AmazonBasics
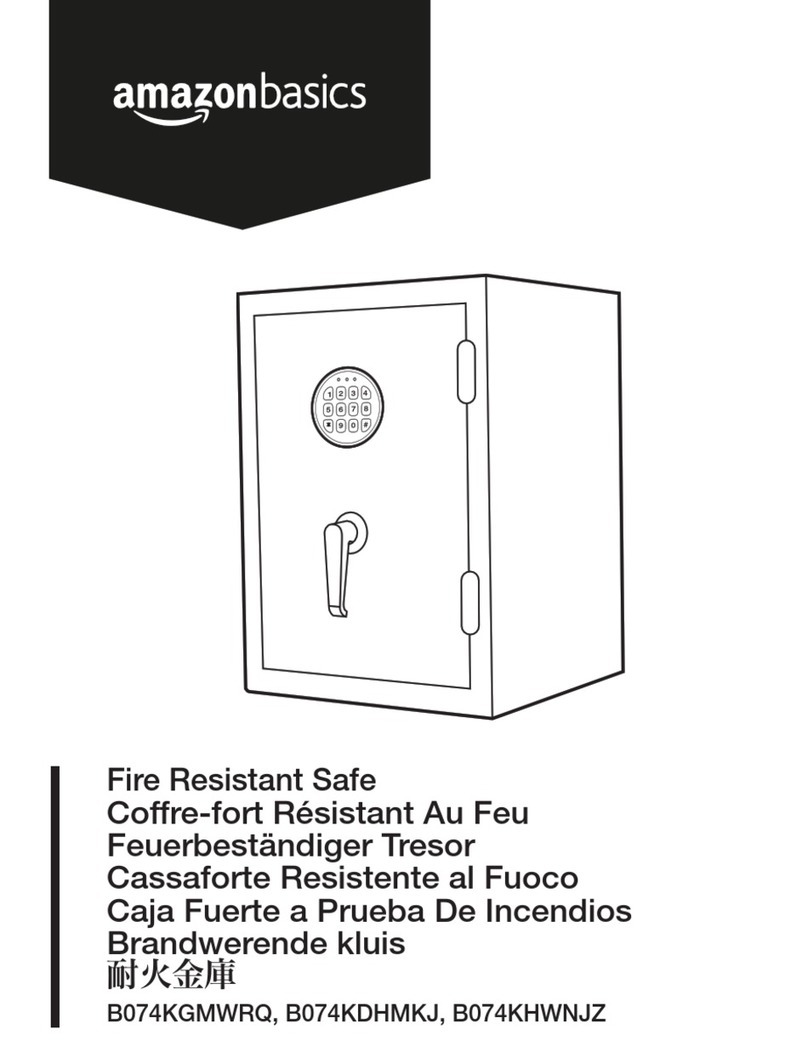
AmazonBasics B074KGMWRQ User manual

AmazonBasics
AmazonBasics B078HDDS9Y User manual

AmazonBasics
AmazonBasics B01BGY010C User manual

AmazonBasics
AmazonBasics B074KDHMKJ Operating and safety instructions