AMQ Amobi User manual

Amobi Desk installation guide

AMOBI DESK INSTALLATION GUIDE | 2 amqsolutions.com
LED Task Light
Components.............................3
FCC Statement...........................4
Attaching Led Task Light To Amobi Desk.......5
LED Task Light control buttons ..............6
How to remove the LED Task Light from
Amobi Desk .............................7
Amobi Desk LED Task Light Specifications .....8
Magnetic Side Panels
Components.............................9
Magnetic Side Panels ................. 10-16
Modesty Panel
Components............................17
Installing Modesty Panel to Amobi Desk ... 18-19
Removing Modesty Panel from Amobi Desk ...20
Monitor Arm
Components............................21
Important Safety Instructions ...............22
Removing the Monitor Arm Cover ...........23
Installing the Monitor Arm .............. 24-25
Adjusting the Monitor Arm .................26
Removing the Monitor Display for stowing ....27
Control Box Replacement
Components............................28
Replacing the Control Box .............. 29-32
CONTENTS

AMOBI DESK INSTALLATION GUIDE | 3 amqsolutions.com
LED TASK LIGHT
LED Task Light
x 1
54" : 47"(L) x 2"(W) x 1"(H)
60" : 53"(L) x 2"(W) x 1"(H)
L
W
H
COMPONENTS

AMOBI DESK INSTALLATION GUIDE | 4 amqsolutions.com
This device complies with part 15 of the FCC rules. Operation is subject to the following two
conditions: (1) This device may not cause harmful interference, and (2) this device must accept any
interference received, including interference that may cause undesired operation.
Note: This equipment has been tested and found to comply with the limits for a Class A digital
device, pursuant to part 15 of the FCC Rules. These limits are designed to provide reasonable
protection against harmful interference when the equipment is operated in a commercial
environment. This equipment generates, uses, and can radiate radio frequency energy and, if not
installed and used in accordance with the instruction manual, may cause harmful interference to
radio communications. Operation of this equipment in a residential area is likely to cause harmful
interference in which case the user will be required to correct the interference at his own expense.
Important: Changes or modifications to this product not authorized by AMQ could void your authority
to operate the product.

AMOBI DESK INSTALLATION GUIDE | 5 amqsolutions.com
Step 1
Using both hands, position the LED Task Light with the magnets facing upwards.
ATTACHING LED TASK LIGHT TO AMOBI DESK
Step 1
Using both hands, position the LED Task Light with the magnets facing upwards.
Step 2
Align the LED Task Light magnets and connectors to the magnet and connector locators on the Amobi Desk.
Lift the LED Task Light upwards until a “click” is felt.
Step 3
ON/OFF button controls can be found on the LED Task Light itself and on the front handset controls. In order
for the Occupancy Sensor to work, the LED Task Light must be first switched ON and in Standby mode.
ATTACHING LED TASK LIGHT TO AMOBI DESK
Magnets facing
upwards
Magnet Locators
Connector Locators
Occupancy
Sensor
ON/OFF button

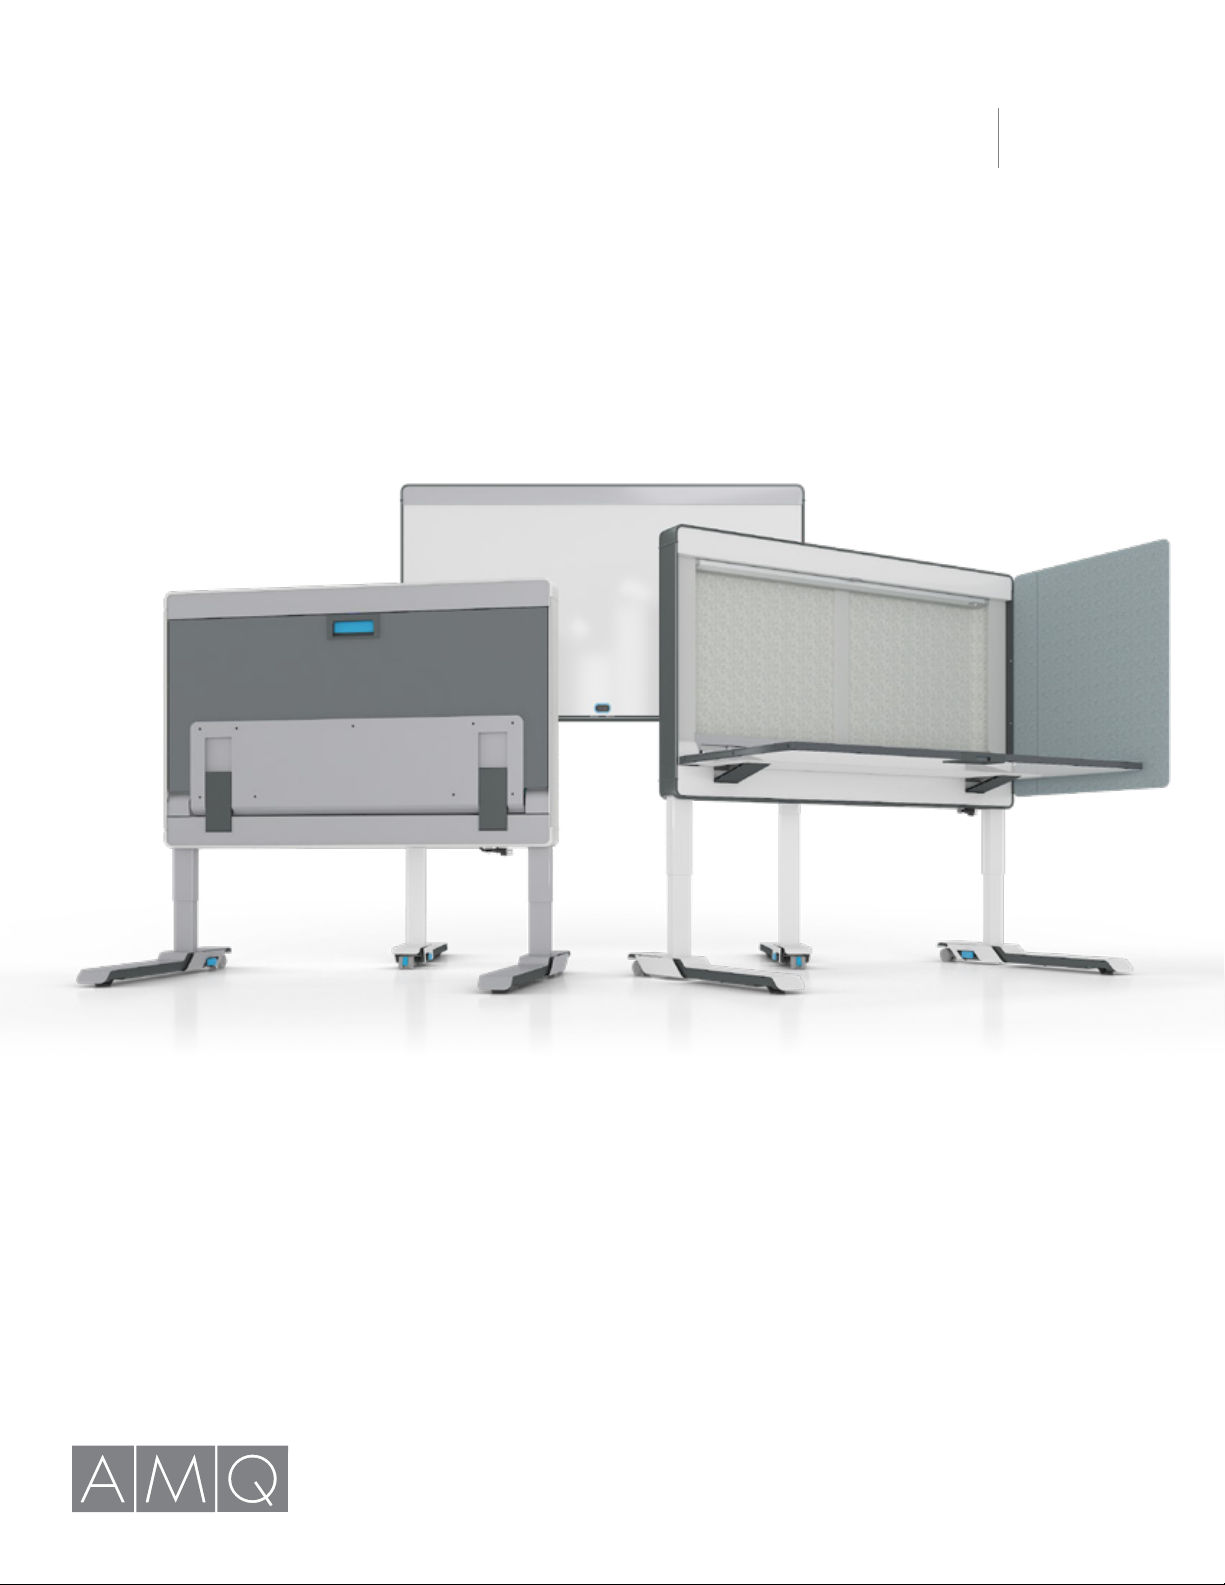
AMOBI DESK INSTALLATION GUIDE | 6 amqsolutions.com
Using controls on LED Task Light
1. Press the button with the bulb icon once to either
switch the LED light on or off.
2. Long press the button with the bulb icon to adjust the
brightness of the LED light. Brightness will go from
100% to 5% and then 5% to 100%. Let go of the button
if desired brightness is achieved.
3. When the LED light is switched on later again, the light
brightness will be the last programmed brightness
setting.
Using LED Task Light controls on Amobi Desk front handset
1. Press the ON/OFF button on the front handset once to either switch the LED light on or off.
2. Long press the Variable Dimmer button to adjust the brightness of the LED light. Brightness will go from
100% to 5% and then 5% to 100%. Let go of the button if desired brightness is achieved.
Occupancy Sensor
1. Occupancy Sensor will only function after the LED Task Light is switched ‘ON’ and is in Standby mode.
2. When a person moves within the range of 0 - 8.2 ft at an angle of 120°, the LED light will automatically
switch on.
3. When the Occupancy Sensor do not detect any activities within 30 minutes, the LED light will
automatically switch off.
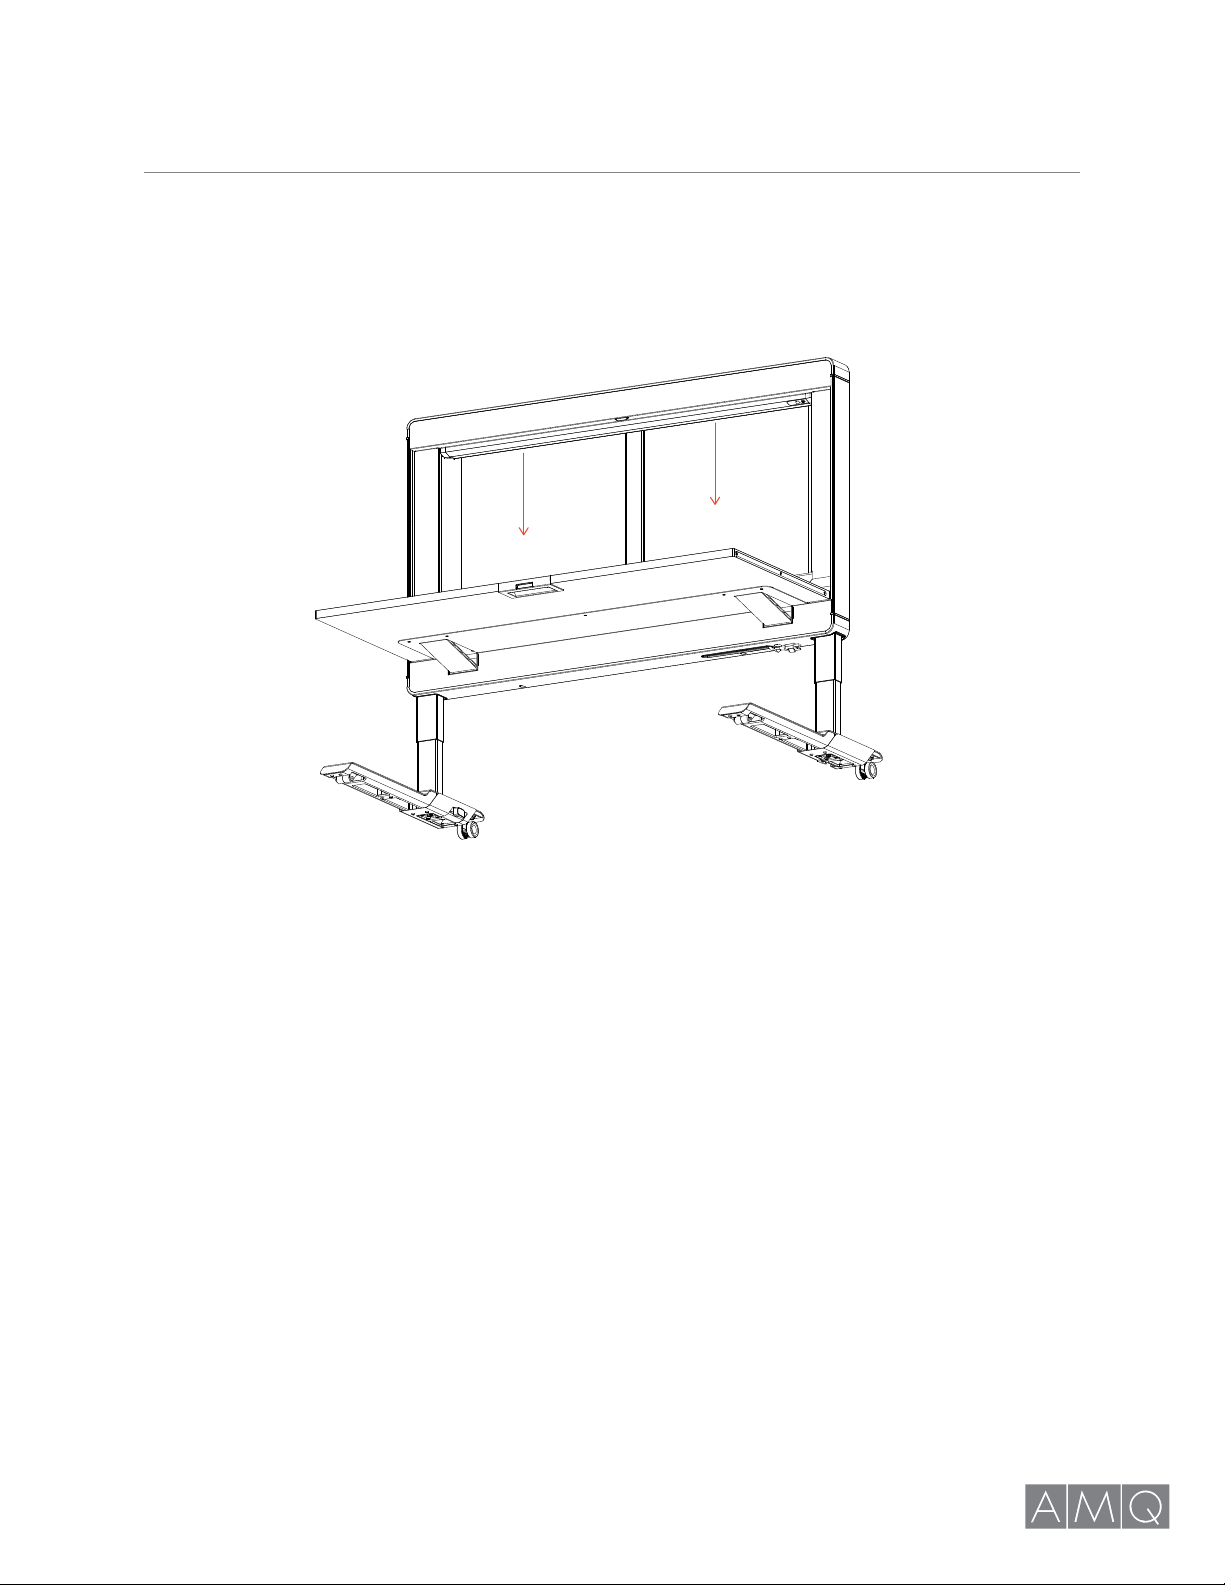
LED TASK LIGHT CONTROL BUTTONS
ON/OFF
button
ON/OFF button
Variable Dimmer
LED
120°
8.2 ft

AMOBI DESK INSTALLATION GUIDE | 7 amqsolutions.com
Step 1
Remove the LED Task Light by applying even force downwards with both hands.
NOTE: Please use care when pulling down the LED Task Light, ensuring not to use too much force.
HOW TO REMOVE THE LED TASK LIGHT FROM AMOBI DESK

AMOBI DESK INSTALLATION GUIDE | 8 amqsolutions.com
AMOBI DESK LED TASK LIGHT SPECIFICATIONS
LED Illumination 200-800LUX
LED Color Temperature 2700k
LED Efficacy 120lm/W
Input Voltage DC33V
LED Wattage 54": 9W / 60": 12W
LED Lifespan 35,000 hours
PIR Automatic Induction Effective Range 0 - 8.2 ft
Dimmer Setting Variable Dimming Control
Control Interface Tactile Switch
Attachment Method 4x Button Magnets
Power Connection Interface 3x Non-Magnetic Pogo-Pins Conduction
Dimensions 54": 46.85” L x 2.09” W X 1.06” H
60": 52.87” L x 2.09” W X 1.06” H
Weight 54": 2.76 lbs
60": 3.09 lbs

AMOBI DESK INSTALLATION GUIDE | 9 amqsolutions.com
MAGNETIC SIDE PANELS
COMPONENTS
Magnetic Side Panels
(Left & Right)
x 1 set
28"(L) x 33.22"(H)
H
L

AMOBI DESK INSTALLATION GUIDE | 10 amqsolutions.com
Step 1
Remove Whiteboard or Felt Tackboard (Refer to Amobi Desk User Guide on how to remove the boards) to
access the screws.
NOTICE: To avoid damage please use two people while installing the whiteboard or felt tackboard.
Step 2
Remove all 4 pieces of Side Trim screws.
MAGNETIC SIDE PANELS

AMOBI DESK INSTALLATION GUIDE | 11 amqsolutions.com
Step 3
To create space for the Trim Filler to be removed, slightly adjust the Side Trim up when removing the
bottom Trim Filler and down when removing the top Trim Filler.
Step 4
Remove Side Trim by sliding it forward.
As shown in the diagram above, to
remove the Trim Filler easily, press the
middle part of the Trim Filler in place
while pulling the 2 sides outwards
simultaneously.
Remove all 4 Trim Filler Covers on
both sides.
MAGNETIC SIDE PANELS
Trim Filler
Cross
Section
View
Cross
Section
View
Press
here
Trim Filler
Pull
here
Pull
here

AMOBI DESK INSTALLATION GUIDE | 12 amqsolutions.com
Step 5
1. Unfasten Side Trim Clamp.
Lettering must be
facing upright
and outwards.
Step 6
The Magnetic Side Panels has Left and Right directions. Labels are attached on the Panels to indicate which
direction.
2. Disassemble the Side Trim into 3 parts
(Side Trim Clamp, Side Trim Clamp Spacer
and Side Trim) by removing the 4 screws.
3. Discard Side Trim Clamp Spacer.
MAGNETIC SIDE PANELS
1
2
Side Trim
Clamp
Side Trim
Screw
Side Trim
Clamp
Spacer

AMOBI DESK INSTALLATION GUIDE | 13 amqsolutions.com
Step 6 (cont.)
1. Install Magnetic Side
Panels to Side Trim.
3. Repeat same steps for the other Magnetic Side Panels.
2. Secure the Magnetic Side Panels to the Side Trim by
fastening the Side Trim Clamp with 4 screws as shown.
MAGNETIC SIDE PANELS
Screw
Magnetic
Side Panels
Magnetic
Side Panels
Side Trim
Filler
Side Trim
1”
4. Adjust the position of Side Trim Filler. 5. Adjust the distance between side trim
and side trim filler to about 1 inch.

AMOBI DESK INSTALLATION GUIDE | 14 amqsolutions.com
Step 7
Install Side Trim with Magnetic Side Panels attached
back to Amobi Desk.
Slide Side Trim in. Ensure that hook is engaged.
First put the Side Trim Filler
inside the Bottom Trim.
MAGNETIC SIDE PANELS
Cross
Section
View
Bottom
Trim
Side
Trim
Filler
Bottom
Trim
Side
Trim
Filler

AMOBI DESK INSTALLATION GUIDE | 15 amqsolutions.com
Step 8
Move the Side Trim upwards to install the bottom Trim Filler to Amobi Desk first, then move the Side Trim
downwards to install the top Trim Filler one. When installing both bottom & top Trim Covers, the direction of
the arrow on the Trim Fillers should point to the Magnetic Side Panel.
Step 9
After the Side Trim is installed. Fasten the 4 screws to secure the Side Trim in place.
Step 9
Adjust the position of Side Trim Filler so that it touches Collaboration Board Back Strip.
MAGNETIC SIDE PANELS
Trim
Filler
Screen
Arrow
Cross section view
1
2
Side
Trim
Filler
Collaboration
Board Back Strip

AMOBI DESK INSTALLATION GUIDE | 16 amqsolutions.com
After the Magnetic Side Panels installation is completed, install back the
Whiteboard or Felt Tackboard (Refer to Amobi Desk User Guide on how to
install the boards) and then remove the sticker on the screen.
NOTICE: To avoid damage please use two people
while installing the Whiteboard or Felt Tackboard.
MAGNETIC SIDE PANELS
Remove sticker

AMOBI DESK INSTALLATION GUIDE | 17 amqsolutions.com
MODESTY PANEL
COMPONENTS
Modesty Panel
H
L
x 1
54’’Modesty Panel 44.8’’(L) x 13’’(H)
60’’Modesty Panel 50.8’’(L) x 13’’(H)

AMOBI DESK INSTALLATION GUIDE | 18 amqsolutions.com
Step 1
Ensure that there is at least 15 inches (38.1 cm) clearance from the ground.
Step 2
Align the Modesty Panel Stud to the Key-Hole under the Amobi Desk using both handles simultaneously.
Step 3
Pull the Modesty Panel towards you until a “click” is felt.
INSTALLING MODESTY PANEL TO AMOBI DESK
15”
Handles
Stud

AMOBI DESK INSTALLATION GUIDE | 19 amqsolutions.com
Step 4
Test if the Stud is engaged into the Internal Catch properly by gently moving the Modesty Panel at the
mounting point back and forth. It should be firm.
Step 5
Installation complete.
READ ALL INSTRUCTIONS BEFORE USING THIS FURNISHING
INSTALLING MODESTY PANEL TO AMOBI DESK
Internal Catch

AMOBI DESK INSTALLATION GUIDE | 20 amqsolutions.com
Step 1
Using both handles simultaneously, push the
Modesty Panel towards the back of the Amobi
Desk until both Studs dismount from the internal
catch.
Step 2
Pull down Modesty Panel from Amobi Desk.
Step 3
IRemoval completed.
REMOVING MODESTY PANEL FROM AMOBI DESK
Handles
Table of contents
Other AMQ Office Equipment manuals