Txx2672 EVM
Quick Start Guide
Rev 1.1
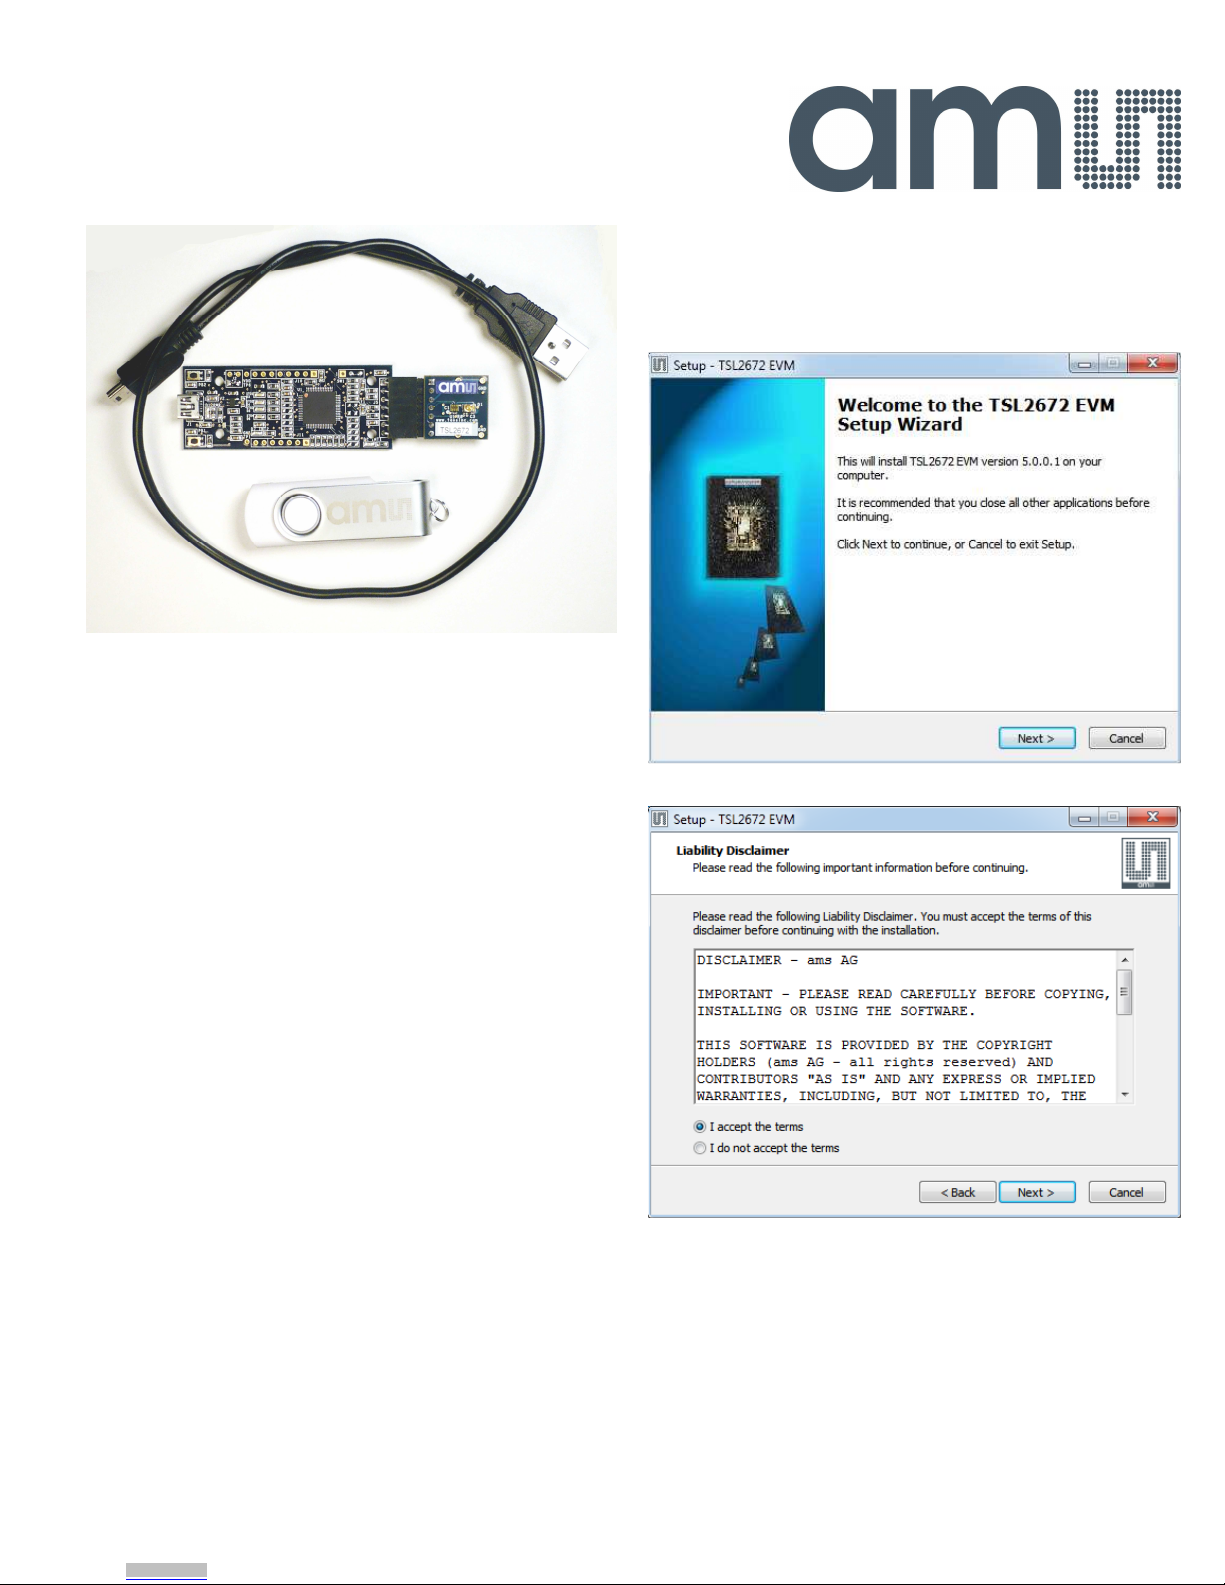
Figure 1: TSL2672 EVM Kit (shown)
This Quick St rt Guide pplies to the TSL2672 nd TMD2672 EVM
kits. The illustr tions in this guide show the TSL2672 EVM kit, but
the instructions pply to ll of the kits.
O
UT OF THE
B
OX
E ch Txx2672 EVM comes with the following components:
•Controller bo rd v2.1
•Txx2672 D ughterbo rd
•USB C ble with A connector nd mini B connector
•Fl sh Drive with Applic tion Softw re nd Documents
•Quick St rt Guide (not shown)
S
OFTWARE
I
NSTALLATION
Most PCs should h ve one or more Univers l Seri l Bus (USB)
ports. Inst ll the
ams
fl sh drive into n unused USB port.
1. Double-click the Setup.exe file on the fl sh drive, or
2. Click St rt -> Click Run -> Type E: setup.exe nd press
Enter. IMPORTANT: Use the ppropri te drive letter in
the bove comm nd to inst ll the softw re. Fl sh Drive
will commonly be ssigned the next v il ble drive letter
for ex mple C: h rd drive D: CD-ROM E: fl sh drive
The Digit l Light Sensor Setup Wiz rd will open nd guide you
through the inst ll tion of the Txx2672 host softw re. (Figures 2
through 8). To re-inst ll, run the setup.exe file g in. To remove
the softw re from your computer (Figure 9), select
ams
->
Txx2672 EVM -> Uninst ll Txx2672 EVM (where “xx” is repl ced
with “SL” or “MD” s ppropri te) or use the Windows Control
P nel.
Connect Hardware
Plug the Txx2672 D ughterbo rd into the Controller bo rd. (Figure
1) Alw ys use ESD procedures when h ndling the EVM.
Using the enclosed USB c ble, plug the mini-B connector into the
EVM module. Using the other end of the c ble, plug the USB A-
connector into USB port on the computer.
Start Appl cat on
Click the Digit l Light Sensors icon on the desktop.
Figure 2: Welcome Screen
Figure 3: Li bility Discl imer
Downloaded from Arrow.com.


