manuals.online logo
Brands
  1. Home
  2. •
  3. Brands
  4. •
  5. AMX
  6. •
  7. Batteries Charger
  8. •
  9. AMX NXA-BASE/1 User manual

AMX NXA-BASE/1 User manual

Other AMX Batteries Charger manuals

AMX Rechargeable Upgrade Kit and Charging Base... User manual

AMX

AMX Rechargeable Upgrade Kit and Charging Base... User manual

AMX MVP-TCS-52 User manual

AMX

AMX MVP-TCS-52 User manual

AMX NXA-BASE/1 User manual

AMX

AMX NXA-BASE/1 User manual

AMX NXT-BP User manual

AMX

AMX NXT-BP User manual

AMX MVP-TCS-52 User manual

AMX

AMX MVP-TCS-52 User manual

AMX Mio-RCC User manual

AMX

AMX Mio-RCC User manual

AMX Mio-RCC User manual

AMX

AMX Mio-RCC User manual

AMX Battery Base and Accessories NXA-BASE/B User manual

AMX

AMX Battery Base and Accessories NXA-BASE/B User manual

AMX MVP-WCS-52 User manual

AMX

AMX MVP-WCS-52 User manual

AMX MVP-WCS-52 User instructions

AMX

AMX MVP-WCS-52 User instructions

Popular Batteries Charger manuals by other brands

EVBox BusinessLine manual

EVBox

EVBox BusinessLine manual

Goobay 71808 user manual

Goobay

Goobay 71808 user manual

Kogan KACRDQIS4XA user manual

Kogan

Kogan KACRDQIS4XA user manual

Sealey WCB3 quick start guide

Sealey

Sealey WCB3 quick start guide

Vanner SP00143/181 owner's manual

Vanner

Vanner SP00143/181 owner's manual

KeyOuest KO037515 quick start guide

KeyOuest

KeyOuest KO037515 quick start guide

Enplus Silk Series user manual

Enplus

Enplus Silk Series user manual

Intermec SF51 user guide

Intermec

Intermec SF51 user guide

Colorovo PowerBox 6800 user guide

Colorovo

Colorovo PowerBox 6800 user guide

Smartech WBC-250 Operator's manual

Smartech

Smartech WBC-250 Operator's manual

PIXO C-USB instruction manual

PIXO

PIXO C-USB instruction manual

Gunson G4104 quick start guide

Gunson

Gunson G4104 quick start guide

Dometic NDS SCE320 Short Operating Manual

Dometic

Dometic NDS SCE320 Short Operating Manual

ABB HT572708 Operation manual

ABB

ABB HT572708 Operation manual

EVOline Square80 manual

EVOline

EVOline Square80 manual

Redarc SBC24025 Operating instructions and owner's manual

Redarc

Redarc SBC24025 Operating instructions and owner's manual

Absaar HV04 manual

Absaar

Absaar HV04 manual

DazeTechnology Cover Dazebox Home installation manual

DazeTechnology

DazeTechnology Cover Dazebox Home installation manual

manuals.online logo
manuals.online logoBrands
  • About & Mission
  • Contact us
  • Privacy Policy
  • Terms and Conditions

Copyright 2025 Manuals.Online. All Rights Reserved.

Quick Start Guide
NXA-BASE/1 Modero Battery Base and Accessories
For more detailed installation, configuration, programming, file transfer, and
operating instructions, refer to the touch panel’s instruction manual,
available on-line at www.amx.com.
ATTENTION!
Verify that the Modero panel is using the latest firmware. Verify that the
battery base is loaded with the latest NXA-BASE/1 firmware. These recent
builds of firmware incorporate the necessary updates for using the Modero
with the NXA-BASE/1.
Overview of the NXA-BASE/1 Kit
The NXA-BASE/1 Kit (FG2255-05K) contains one battery and one battery
base. The NXA-BASE/1 (FIG. 2) is a Modero accessory that allows an
NXT-CV7 touch panel to function off the charge from a single internally
connected NXT-BP battery. The base provides both power and battery
information to the panel via the panel interface connector. The NXT-BP
battery can be charged through either the base (only when connected to
the NXT-CV7 touch panel) or through an optional NXT-CHG Modero Power
Station. When used with the optional battery base, the CV7 panels will
charge the battery during full operation.
Specifications
Checking the NXT-BP Charge
1. Press the Battery Life Indicator button (FIG. 3) once to illuminate the
Battery Life LEDs and display the percent charge remaining on the
battery (this indication lasts a few seconds).
2. Charge the NXT-BP battery by either inserting it into the battery base
or from within the optional NXT-CHG charger (which can sequentially
charge up to two batteries).
Note: It is recommended to fully charge this battery before using it to power
an NXT-CV7 panel.
AT T E N T I O N !
If the 25% LED indicator is blinking, recharge your battery immediately.
This blinking indicates there is less than 5% of a charge remaining on the
battery.
Installation of an NXT-BP into the NXA-BASE/1
The base does not directly connect to a power supply. Instead, it receives
the power necessary to charge the battery from the Modero panel (through
the Panel Interface connector).
1. Install the NXT-BP battery into the base’s battery compartment with
the label-side facing up.
2. Align the battery connector with its corresponding battery connector
port (located in the battery compartment shown in FIG. 4).
3. Carefully insert the NXT-BP into the base until the battery securely fits
onto the Battery Connector Port.
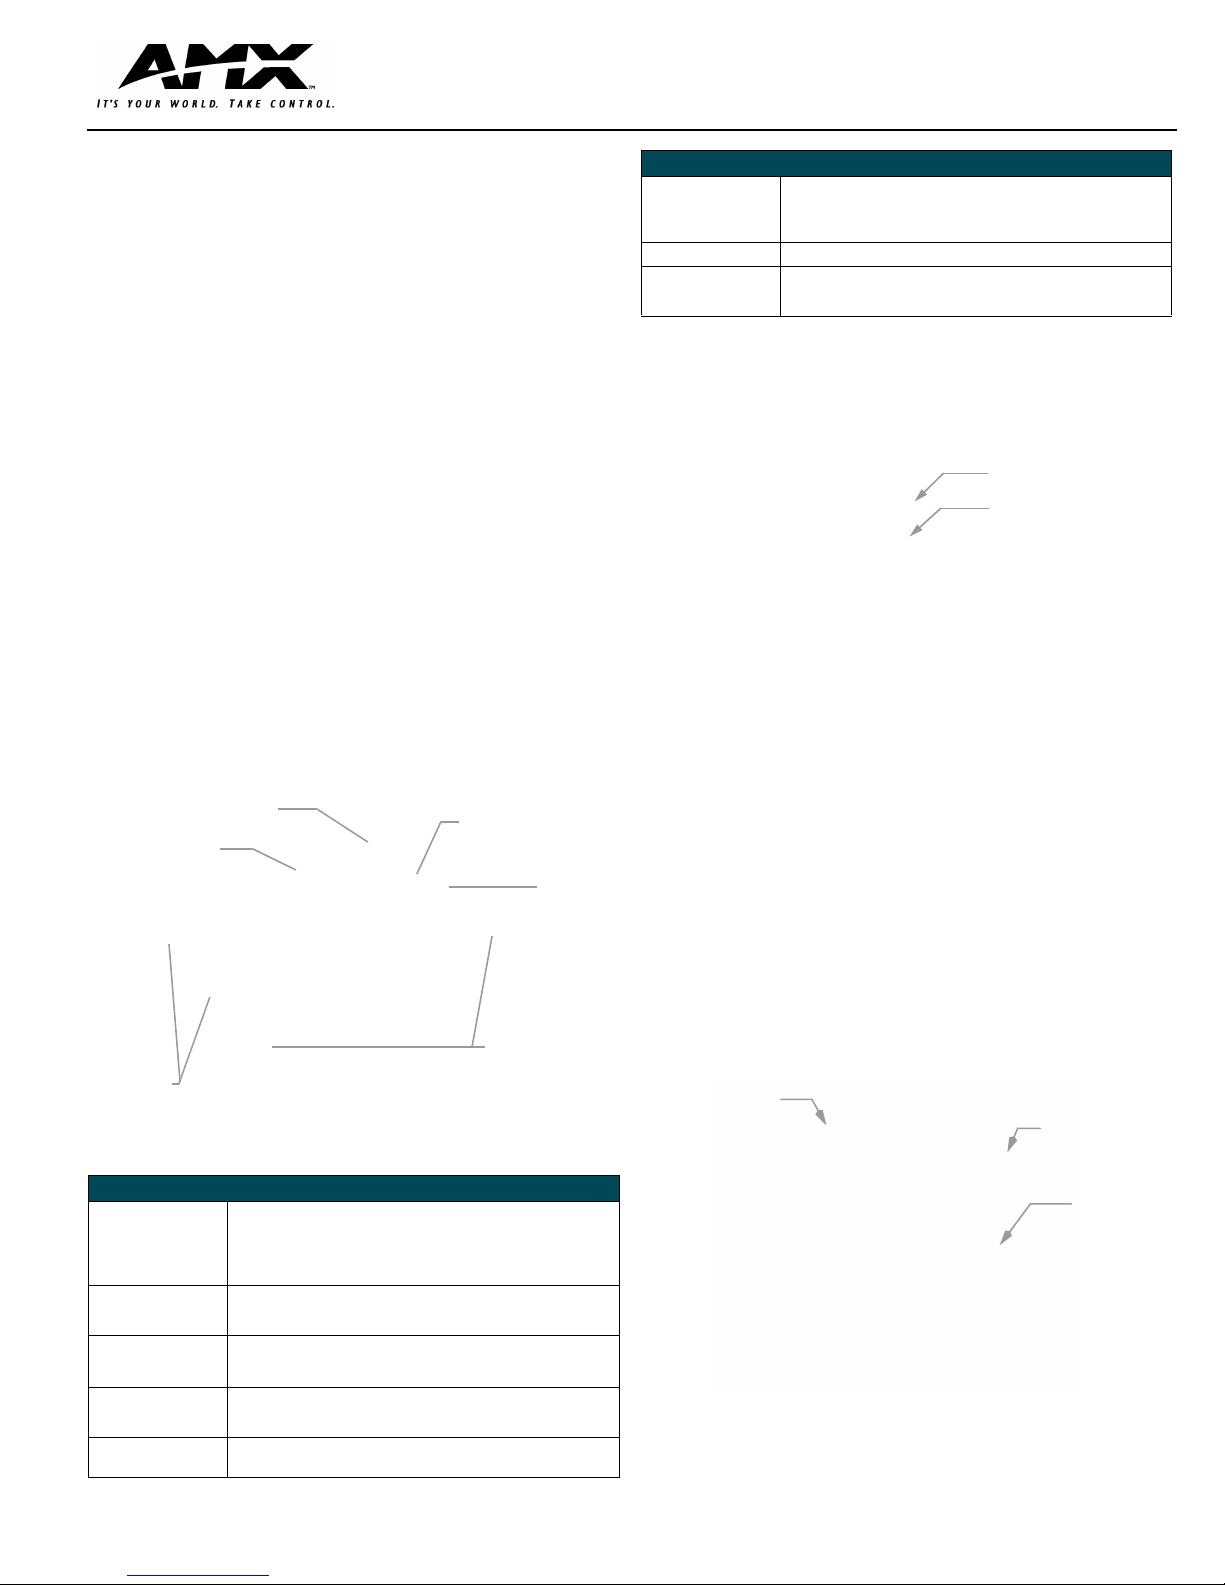
FIG. 1 NXA-BASE/1 Kit (consists of one BASE/1 and a single NXT-BP)
FIG. 2 NXA-BASE/1 showing Panel Interface and connector locations
NXA-BASE/1 Kit Specifications
Dimensions (HWD):
NXA-BASE/1
(FG2255-05K)
NXT-BP
(FG2255-10)
• 0.93" x 5.96" x 6.89" (2.36 cm x 15.14 cm x 17.51 cm)
• 0.69" x 3.50" x 5.81" (1.75 cm x 8.89 cm x 14.76 cm)
Power: • NXA-BASE/1: 1.4 A @ 12 VDC (max power draw while charging a
single battery)
• NXT-BP: Voltage - 11.1 Volts (nominal)
Weight: • Base unit: 0.75 lbs (0.34 kg)
• NXT-BP: 1.0 lbs (0.45 kg)
• Base and 1 battery: 1.75 lbs (0.79 kg)
NXA-BASE/1:
Features:
• Charge time for single depleted battery: ~ 5 - 8 hours
• Must be connected to a Modero unit utilizing a PSN4.4 power supply
(or higher)
NXT-BP Features: • Battery Usage: 4 to 8 hours (time is usage dependant)
• Charge Capacity: 6300mAh
NXA-BASE/1 NXT-BP
Battery Base Modero Power Pack
Panel Interface
connector (male)
Securing
pegs (2)
Front
Back Battery
locking
mechanism
Battery
latch
Insert holes for
NXT-CV7 feet
Alignment
pegs (2)
slider
NXA-BASE/1 Kit Specifications (Cont.)
Operating / Storage
Environment:
• Operating Temperature: 0° C (32° F) to 40° C (104° F)
• Operating Humidity: 20% - 85% RH
• Storage/Discharge Temperature: -20° C (-4° F) to 60° C (140° F)
• Storage Humidity: 5% - 85% RH
Included Accessories: •N/A
Optional Accessories: • NXT-CHG Kit (FG2250-50K):
1 charger and 2 NXT-BP batteries
• NXT-BP batteries (FG2255-10) (additional)
FIG. 3 NXT-BP Modero Power Pack (showing Battery Life Indicator and button)
FIG. 4 Battery installation procedure
Battery Life Indicator
Battery Life (Charge)
button
Its recommended to
fully charge the
batteries before their
initial use
NXT-BP Battery
Battery
Connector
Battery
Connector
Port
FRONT
AMX Corporation reserves the right to alter specifications without notice at any time.
For full warranty information, refer to the AMX Instruction Manual(s) associated with your Product(s).
036-004-2744 4/06 ©2006
AMX Corporation. All rights reserved. The AMX logo is a trademark of AMX Corporation.
3000 RESEARCH DRIVE, RICHARDSON, TX 75082 • 800.222.0193 • fax 469.624.7153 • technical support 800.932.6993 • www.amx.com
93-2255-05 REV: C
Attaching the NXT-BASE/1 to an NXT Modero Panel
1. Power Off the panel before attempting to attach the NXA-BASE/1.
2. Place the battery base (with battery) onto a flat/level surface.
3. Turn the battery locking slider (FIG. 5) to one side until the locking
mechanism is horizontal to the base (going left to right) and the rear
battery latch is pointing directly outward (away from the LCD).
4. Carefully angle the NXT-CV7 panel over the front alignment pegs
(FIG. 6). The pegs assist in both aligning and securing the panel to
the base (the locking mechanism secures the base to panel when
done).
5. Insert the alignment pegs into their corresponding holes below the
front of the panel.
6. Verify the alignment of the Panel Interface connectors between the
panel (female connector) and base (male connector) (FIG. 6).
7. Align the rear pegs and gently push the rear of the panel downwards
until it is mounted atop the battery base.
8. Slide the rear battery locking slider in the opposite direction. This
turns the latching mechanism and secures the panel to the base.
ATTENTION!
The battery base CANNOT be hot-swapped. An NXT can not be receiving
power (through a connected power supply) and then be connected to a
battery base. Always POWER OFF the panel before installing the
NXA-BASE/1.
9. Upon successful connection, the AMX logo appears on the panel to
indicate that the panel is properly connected and receiving power.
Charging the NXT-BP using the NXA-BASE/1
1. Insert the single battery into the battery compartment shown in
FIG. 5.
2. Follow the procedures from the previous sub-section to attach the
NXT-CV7 to the NXA-BASE/1.
3. Insert a 2-pin connector from a power supply to the rear PWR
connector on the NXT-CV7 Modero panel.
FIG. 5 NXA-BASE/1 showing Panel Interface and connector locations
FIG. 6 NXA-BASE/1 shown aligning with an NXT-CV7 panel
Panel Interface
connector (male)
Securing
pegs (2)
Front
Back
Battery
locking
mechanism
Battery
locking slider
Insert holes for
NXT-CV7 feet
Alignment
pegs (2)
Panel Interface
connector
Alignment
pegs
Battery
locking
mechanism
(female)
(with locking
slider)