manuals.online logo
Brands
  1. Home
  2. •
  3. Brands
  4. •
  5. AMX
  6. •
  7. Server
  8. •
  9. AMX MAX-HT04 User manual

AMX MAX-HT04 User manual

Other manuals for MAX-HT04

3

This manual suits for next models

4

Other AMX Server manuals

AMX MAX-AOM User manual

AMX

AMX MAX-AOM User manual

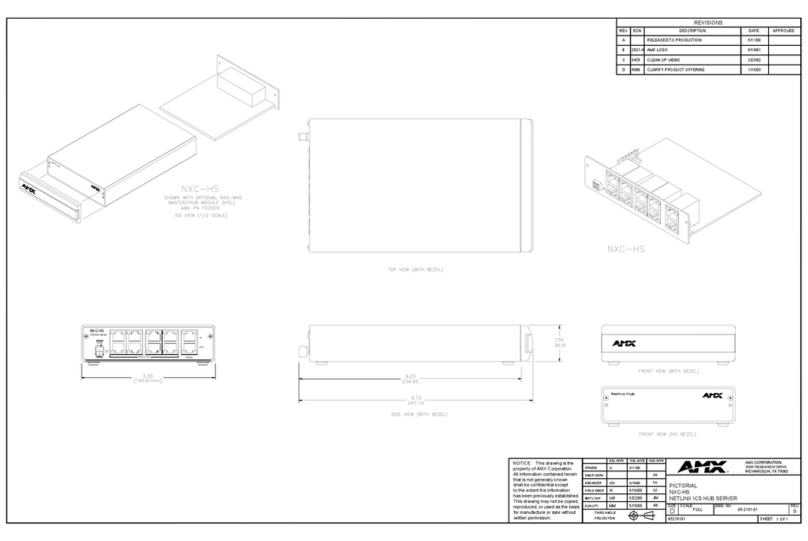
AMX NXC-HS Guide

AMX

AMX NXC-HS Guide

AMX AVB-APWEB User manual

AMX

AMX AVB-APWEB User manual

AMX VISION2 V2-MASTER-0300 Operator's manual

AMX

AMX VISION2 V2-MASTER-0300 Operator's manual

AMX MAX-HT04 User manual

AMX

AMX MAX-HT04 User manual

AMX MAX-HT04 Parts list manual

AMX

AMX MAX-HT04 Parts list manual

AMX AXC-S Guide

AMX

AMX AXC-S Guide

AMX MAX-AOM User manual

AMX

AMX MAX-AOM User manual

AMX MAX-MMS400M User manual

AMX

AMX MAX-MMS400M User manual

AMX MMS-12S User manual

AMX

AMX MMS-12S User manual

AMX MAX-IMS Series User manual

AMX

AMX MAX-IMS Series User manual

AMX AXF-S AXCESS SERVER CARDFRAME (WITH AXC-S... User manual

AMX

AMX AXF-S AXCESS SERVER CARDFRAME (WITH AXC-S... User manual

AMX DTV VISION2 INTEGRATION - DIAGRAM Parts list manual

AMX

AMX DTV VISION2 INTEGRATION - DIAGRAM Parts list manual

AMX MAX-BSM User manual

AMX

AMX MAX-BSM User manual

AMX LiveMedia IS-PLAYER-200LM User manual

AMX

AMX LiveMedia IS-PLAYER-200LM User manual

AMX V2-MASTER-0300 User manual

AMX

AMX V2-MASTER-0300 User manual

AMX MAX-HT-04T User manual

AMX

AMX MAX-HT-04T User manual

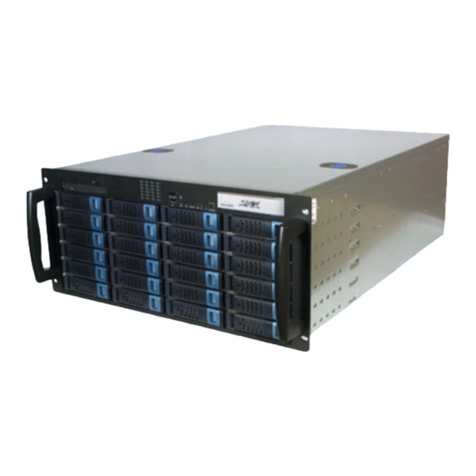
AMX MAX Servers Parts list manual

AMX

AMX MAX Servers Parts list manual

AMX Multimedia Server MAX-MMS400 User manual

AMX

AMX Multimedia Server MAX-MMS400 User manual

AMX AXR-NWS User manual

AMX

AMX AXR-NWS User manual

AMX MAX-HT12T User manual

AMX

AMX MAX-HT12T User manual

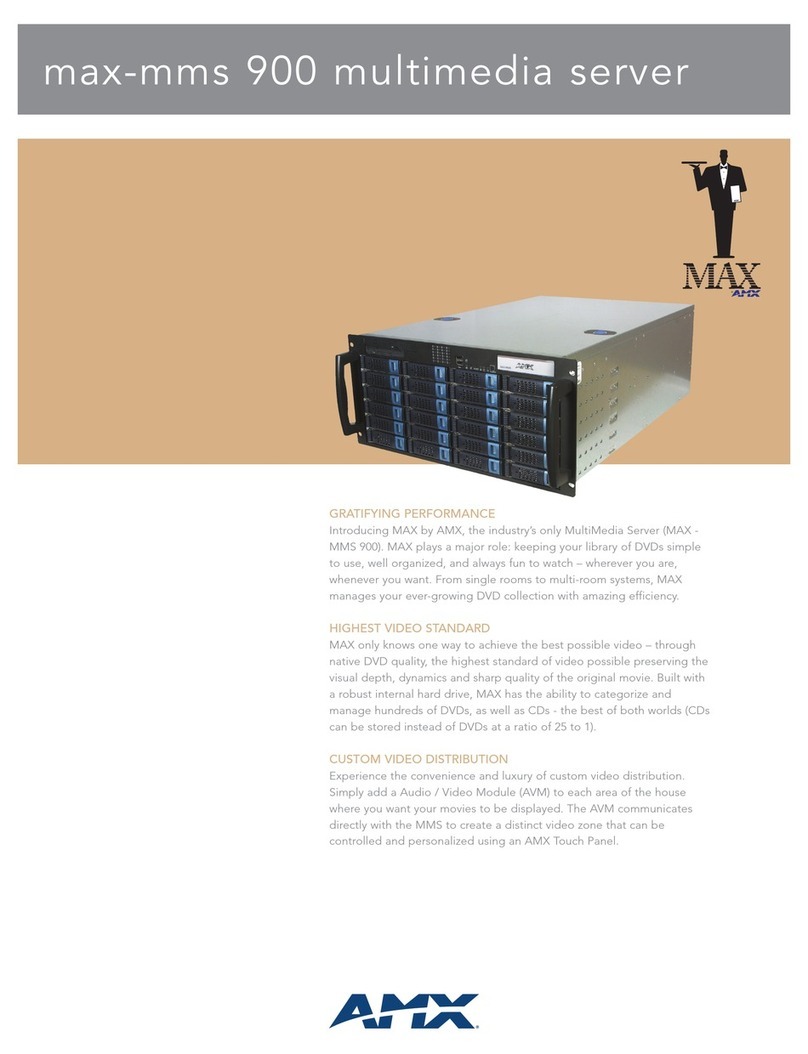
AMX MAX-HT SERVERS User manual

AMX

AMX MAX-HT SERVERS User manual

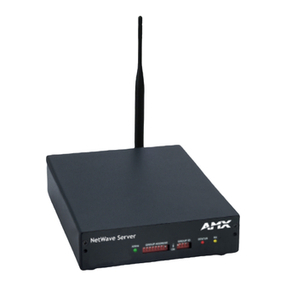
AMX NetWave Server AXR-NWS User manual

AMX

AMX NetWave Server AXR-NWS User manual

AMX MAX-HT04 User manual

AMX

AMX MAX-HT04 User manual

Popular Server manuals by other brands

HP Tc2120 - Server - 256 MB RAM installation guide

HP

HP Tc2120 - Server - 256 MB RAM installation guide

Lenovo ThinkServer RD230 manual

Lenovo

Lenovo ThinkServer RD230 manual

Avocent CPS810 Installer/user guide

Avocent

Avocent CPS810 Installer/user guide

Dell PowerEdge R6615 Installation and service manual

Dell

Dell PowerEdge R6615 Installation and service manual

FreeWave HT2+ installation guide

FreeWave

FreeWave HT2+ installation guide

GIGA-BYTE TECHNOLOGY G492-Z50 user manual

GIGA-BYTE TECHNOLOGY

GIGA-BYTE TECHNOLOGY G492-Z50 user manual

Lanner HTCA-E400 user manual

Lanner

Lanner HTCA-E400 user manual

Bull NovaScale T840 E2 user guide

Bull

Bull NovaScale T840 E2 user guide

Asus RS740-E70RS24-EG Configuration guide

Asus

Asus RS740-E70RS24-EG Configuration guide

Meinberg LANTIME M300/TCR manual 

Meinberg

Meinberg LANTIME M300/TCR manual 

HP ProLiant SL335s G7 Maintenance and service guide

HP

HP ProLiant SL335s G7 Maintenance and service guide

ZyXEL Communications VANTAGE RADIUS 50 user guide

ZyXEL Communications

ZyXEL Communications VANTAGE RADIUS 50 user guide

Lantronix xDirect-IAP quick start guide

Lantronix

Lantronix xDirect-IAP quick start guide

Fujitsu PRIMEQUEST 2400E3 General description

Fujitsu

Fujitsu PRIMEQUEST 2400E3 General description

IBM 9040-MR9 manual

IBM

IBM 9040-MR9 manual

IBM 306m - eServer xSeries - 8849 user guide

IBM

IBM 306m - eServer xSeries - 8849 user guide

green hippo Hippotizer Nevis+ quick start guide

green hippo

green hippo Hippotizer Nevis+ quick start guide

IBM 8203-E4A Brochure & specs

IBM

IBM 8203-E4A Brochure & specs

manuals.online logo
manuals.online logoBrands
  • About & Mission
  • Contact us
  • Privacy Policy
  • Terms and Conditions

Copyright 2025 Manuals.Online. All Rights Reserved.

Installation Guide
Upgrading MAX-HT Servers
Overview
The MAX-HT04 Upgrade Kit (FG 2178-31) consists of four 400GB hard drives
(HDDs).
MAX HT-04 Home Theater Servers can be upgraded to 2.4TB capacity by
adding an Upgrade Kit of four 400GB hard disk drives (HDDs), increasing its
storage capacity by nearly double.
Further, two kits - eight 400GB HDDs can be added to upgrade to 3.6TB
capacity.
IMPORTANT - Because MAX servers utilize a RAID disk management system,
some storage space is consumed to accommodate the RAID system. The
following table indicates the storage space available:
MAX-HT04 Upgrade Kit (FG 2178-31)
The MAX-HT04 Upgrade Kit consists of four 400GB HDDS (FIG. 1).
Only HDDs provided by AMX can be used as replacements in HT servers, and in
order to replace a HDD in an HT server, the drive must be installed and
authenticated according to the steps outlined in this document.
There are several operations that are required to successfully replace an HDD in
an HT server, all of which are described in this document:
1. Add each HDD’s serial number to the system, via the MAX Admin Menu.
2. Physical installation of the HDDs.
3. Generate RAID discs to support the new HDDs.
Step One: Add the New HDDs to the System
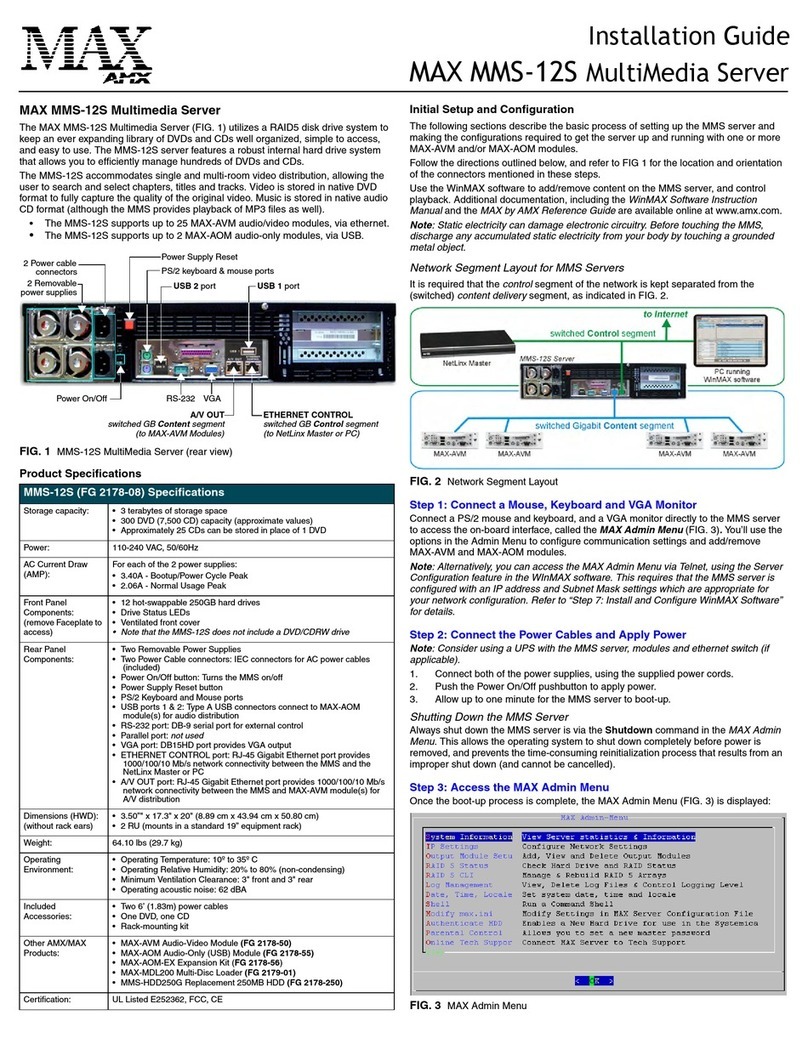
Before an HDD is physically installed in an HT server, it must first be added to
the system via the MAX Admin Menu (FIG. 2).
There are two pieces of data that you must provide to complete the process of
adding the replacement HDD: The new HDD’s Serial Number, and Key.
• The 12-digit Serial Number is printed on a label placed on the top of the
HDD, located directly beneath the barcode (see FIG. 1).
• The 16-digit Key is printed on a slip of paper included with the HDD.
Be sure to record the Serial Number before inserting the new drive into the
server.
Note: To access the MAX Admin Menu, you can either connect a VGA monitor
and PS/2-style keyboard directly to the server using the connectors on the rear
panel, or you can use the Server Configuration option in WinMAX (located in the
System Information tab) to establish a Telnet session with the server.
1. In the Admin Menu, select Authenticate HDD (FIG. 3).
2. Select Add, then select OK to proceed to the Add HDD window.
3. Enter the Serial Number for the new drive.
• The Serial Number for each HDD is printed on a decal placed on the top
panel of the disk.
• When entering the Serial Number, use the following syntax (no quotes):
“WD-WXXXXXXXXXXX”.
4. Enter the 16-digit Key supplied by AMX for this HDD (printed on a slip of
paper included with each HDD).
Repeat these steps for the remaining three HDDs in the set.
MAX-HT04 MAX-HT04 + 1
Upgrade Kit
MAX-HT04 + 2
Upgrade Kits
Content Storage 1.2 TBs 2.4 TBs 3.6 TBs
Max # of DVDs 250 500 750
Notes:
• The number of DVDs is based on an average of 4.8 GB per DVD.
• DVD capacity is based on typical commercial DVDs.
• DVD size is based on total DVD image, not the length of the movie.
The actual server capacity will vary depending on specific mix of DVDs and CDs in
the library,
FIG. 1 MAX HT04 Server Upgrade Kit
Serial Number
FIG. 2 MAX Admin Menu
FIG. 3 Adding an HDD to the system
1
2
3
For full warranty information, refer to the AMX Instruction Manual(s) associated with your Product(s).
6/07
©2006 AMX. All rights reserved. AMX and the AMX logo are registered trademarks of AMX.
AMX reserves the right to alter specifications without notice at any time.
3000 RESEARCH DRIVE, RICHARDSON, TX 75082 • 800.222.0193 • fax 469.624.7153 • technical support 800.932.6993 • www.amx.com
93-2178-35 REV: B
Step Two: Install the New HDDs
Once the HDD serial numbers and keys have added to the system, you can
physically install the new drives:
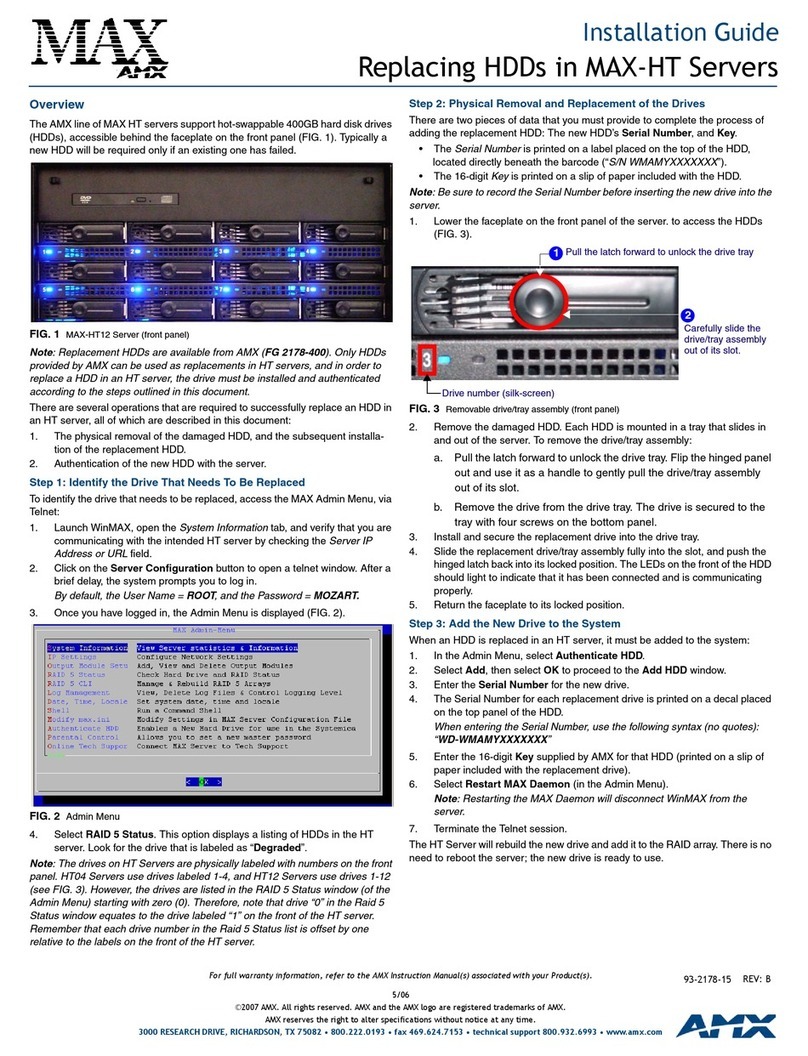
1. Lower the faceplate on the front panel of the server to access the HDDs
(FIG. 4).
2. Install the first HDD in the set into the next available slot.
For example, if you are upgrading an HT04 to 2.2 TB, the first drive
should be installed in to slot #5. In this case, the four HDDs in the
Upgrade kit should occupy slot numbers 5,6,7, and 8.
a. To remove the drive tray, pull the latch forward to unlock the drive
tray. Flip the hinged panel out and use it as a handle to gently pull the
drive tray out of its slot (FIG. 5).
b. Install and secure the new drive into the drive tray. The drive is
secured to the tray with four screws on the bottom panel (FIG. 6).
c. Slide the replacement drive/tray assembly fully into the slot, and
push the hinged latch back into its locked position. The LEDs on the
front of the HDD should light to indicate that it has been connected
and is communicating properly.
3. Return the faceplate to its locked position.
Step Three: Generate RAID Discs
1. In the MAX Admin Menu, select Add Raid Disks.
2. Select OK.
The server will rebuild the new drives and add it to the RAID array. There is no
need to reboot the server; the new drives are ready to use.
Note: The drives on HT Servers are physically labeled with numbers on the
front panel. HT04 Servers use drives labeled 1-4, and HT12 Servers use drives
1-12 (see FIG. 5).
However, the drives are listed in the RAID 5 Status window (of the Admin
Menu) starting with zero (0). Therefore, note that drive “0” in the Raid 5 Status
window equates to the drive labeled “1” on the front of the HT server.
Remember that each drive number in the Raid 5 Status list is offset by one
relative to the labels on the front of the HT server.
FIG. 4 MAX-HT Server (front panel)
FIG. 5 Removable drive tray assembly (front panel)
Pull the latch forward to unlock
1
Drive number (silk-screen) Carefully slide the tray out of its slot
2
Secure the new HDD to the tray
3
4
Slide the tray/disk assembly in until
it snaps into place
the drive tray FIG. 6 Mounting the HDD in the Drive Tray
(front)
Disc Tray
(top view)