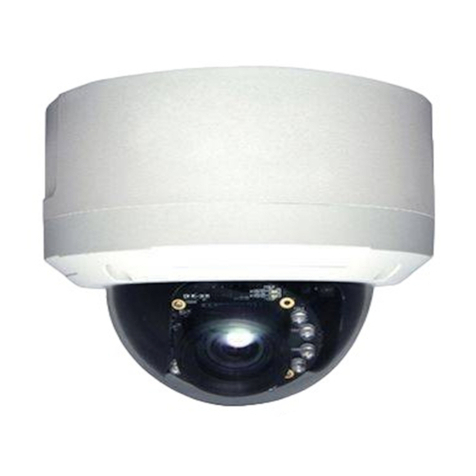
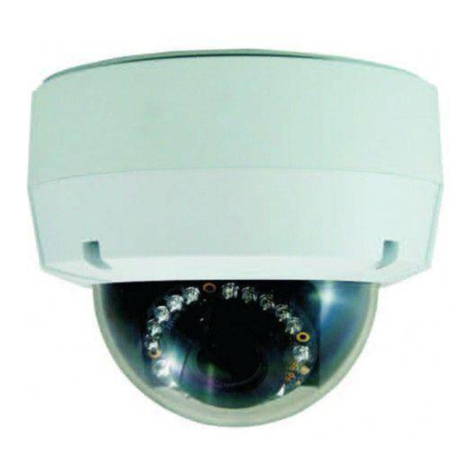
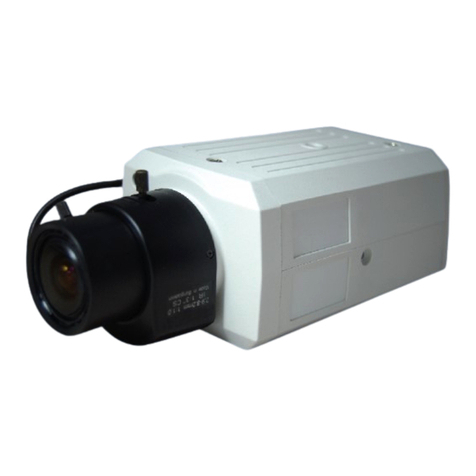
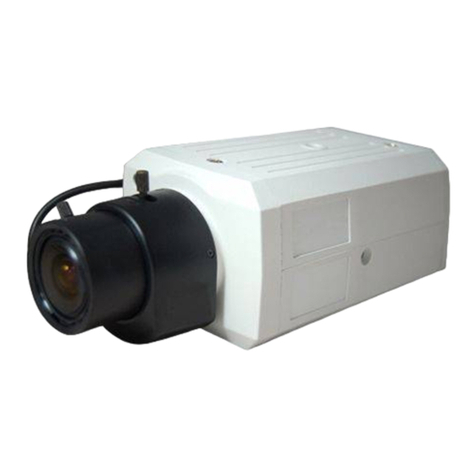
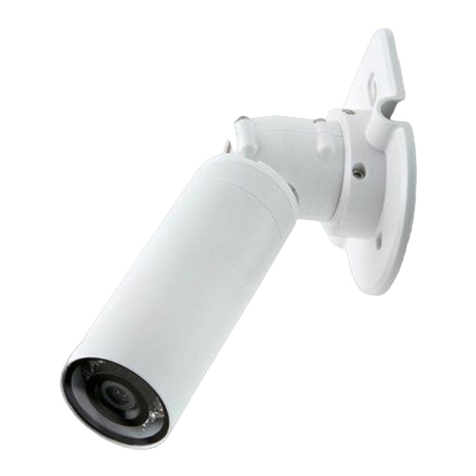
Appro LC-6740B User manual

UserManual
Beforetryingtoconnectoroperatethisproduct,pleasereadthismanualcompletely.

Table Of Contents
1PRODUCT FEATURES..........................................................................4
PRODUCT INSTRUCTIONS...........................................................................4
PRODUCT FEATURES .................................................................................4
2DESCRIPTION OF THE SURFACE.......................................................5
THE HARDWARE VIEW ...............................................................................5
How to install an SD card?.........................................................................................................7
THE RESET BUTTON ..................................................................................7
3INSTALLATION......................................................................................8
HARDWARE INSTALLATION..........................................................................8
WPS - PUSH BUTTON SETUP ....................................................................8
SOFTWARE INSTALLATION ..........................................................................9
Where to download.....................................................................................................................9
Configuration—Android Operating System ............................................................................10
Configuration—iOS Operating System....................................................................................14
MOUNTING AND POSITIONING THE COMPACT DOME ...................................18
Camera Positioning...................................................................................................................20
UPDATING SYSTEM SOFTWARE ................................................................21
4Network Configuration .......................................................................22
CABLE CONNECTIONS..............................................................................22
CONFIGURE YOUR IP CAMERA NETWORK SETTINGS .................................22
Set IPAddress...........................................................................................................................22
TCP/IP COMMUNICATION SOFTWARE.......................................................24
TCP/IP INSTALLATION .............................................................................26
TCP/IP CONFIGURATION SETTING ............................................................27
CONNECTION TESTING.............................................................................28
1
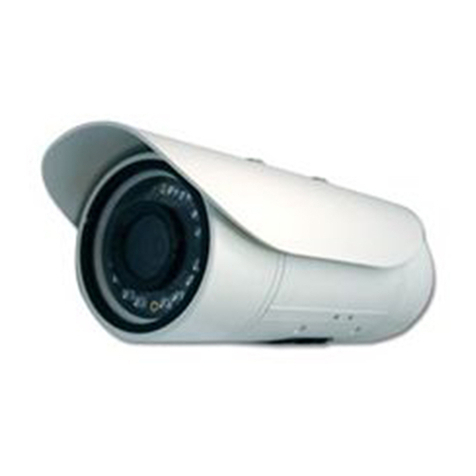
Table of Contents
1PRODUCT FEATURES..........................................................................4
PRODUCT INSTRUCTIONS...........................................................................4
PRODUCT FEATURES .................................................................................4
2DESCRIPTION OF THE SURFACE.......................................................5
THE HARDWARE VIEW ...............................................................................5
How to install an SD card?.........................................................................................................7
THE RESET BUTTON ..................................................................................7
3INSTALLATION......................................................................................8
HARDWARE INSTALLATION..........................................................................8
WPS -PUSH BUTTON SETUP.....................................................................8
SOFTWARE INSTALLATION ..........................................................................9
Where to download.....................................................................................................................9
Configuration—Android Operating System ............................................................................10
Configuration—iOS Operating System....................................................................................14
MOUNTING AND POSITIONING THE COMPACT DOME ...................................18
Camera Positioning...................................................................................................................20
UPDATING SYSTEM SOFTWARE ................................................................21
4Network Configuration .......................................................................22
CABLE CONNECTIONS..............................................................................22
CONFIGURE YOUR IPCAMERA NETWORK SETTINGS .................................22
Set IPAddress...........................................................................................................................22
TCP/IPCOMMUNICATION SOFTWARE.......................................................24
TCP/IPINSTALLATION..............................................................................26
TCP/IPCONFIGURATION SETTING.............................................................27
CONNECTION TESTING.............................................................................28
1
2
5Configuration Using A Web Browser................................................31
WEB CONFIGURATION PAGES ...................................................................32
Connecting the IP camera.........................................................................................................32
Live Video.................................................................................................................................34
Setup..........................................................................................................................................36
6FREQUENTLY ASKED QUESTIONS..................................................90
7SPECIFICATIONS................................................................................93
Appendix: The Playback Utility Tool-- CMS............................................95
INTRODUCTION TO THE CMS....................................................................95
INSTALL THE CMS IN YOUR PC.................................................................95
START TO USE THE CMS..........................................................................96
OPERATION.............................................................................................98
Live View..................................................................................................................................98
Playback..................................................................................................................................100
Settings....................................................................................................................................101

SAFETY PRECAUTIONS
All the following safety and operational instructions to prevent harm or injury to the operator(s) or other
persons should be read carefully before the unit is activated.
WARNING
xTo prevent fire or shock hazard, avoid exposing this unit to rain or moisture.
xDo not block ventilation openings.
xDo not place anything on top of the unit that might spill or fall into it.
xDo not attempt to service this unit yourself, as opening or removing covers may expose you to
dangerous voltage or other hazards. Please refer all servicing to your distributor/ retailer.
xDo not use liquid cleaners or aerosols for cleaning.
xTo prevent fire or electric shock, do not overload wall outlets or extension cords.
xPlease only select a power adapter or power certified by UL and marked at 24Vac / 60 Hz, minimum
1A, class 2 or LPS.
CAUTION
Risk of explosion if battery is replaced by an incorrect type. Dispose of used batteries according to the
instructions.
3

4
1 PRODUCT FEATURES
Product Instructions
Here's a new series from us -- cameras that act as basic watchguards in your premises --
lightweight, simple formatted, inexpensive, and no fuss to install.
These watchkeepers are the ideal stuff for the safety of your home and office interiors.
Our compact dome camera LC-6740 brings you dependable video surveillance in a focused &
targetted environment.
The dynamically effective sensor has a resolution of 720P. Our compact dome camera comes with
a Fixed Focal Board Lens f:3.6mm/ F1.8 ranging over a spectrum of indoor and outdoor
applications. It's your genuine plug n play device with easily adjusted settings.
Smooth to configure and operate, our camera comes with the Universal Plug -n -Play feature which
gets computers running on Windows XP / Vista / 7 to automatically recognize the camera and add it
to the network.
The compact dome camera offers support for Power over Ethernet (PoE ), so you can put the
device in places which have no power outlets close by.
In addition it provides an intelligent web based interface, remote monitoring, and motion detection
for comprehensive and affordable residence -cum -office security and safety.
Its wireless capability means you can site your camera in any place within range of your wireless
network. In addition it provides an intelligent web based interface, remote monitoring, and motion
detection for comprehensive and affordable residence -cum -office security and safety.
Product Features
xSimultaneous H.264 and MJPEG video compressions.
xMulti-profile applications: Selectable resolutions, frame rates, video qualities, and
compression.
xAdvanced motion detection (512 zones, sensitivity: 0~100 %).
xSupports ONVIF.
xSupports Wi-Fi.

2 DESCRIPTION OF THE SURFACE
The Hardware View
Camera ( the external view ).
1
2
34
5
1. Speaker: Connector is used to connect the audio output from other devices to the camera.
2. WPS button (for the Wi-Fi model only).
3. Microphone: The built-in microphone records audio of the surrounding area.
4. LED indicator: The Power and network indicator.
5. LED indicator: The WPS indicator (for the Wi-Fi model only).
5

The component parts ( the internal view ). 1
2
3
4
5
678
9
10
1. Screw holes: Guide to assist correct casing alignment with the cable channel.
2. ETHERNET 10/100 Connector: This is a standard RJ-45 connector for 10/100 Mbps
Ethernet networks. PoE (Power over Ethernet) function: Provides power to the device via the
same cable as used for the network connection.
3. WPS button (for the Wi-Fi model only).
4. Reset button: Recover to factory default.
5. Speaker: Connector is used to connect the audio output from other devices to the camera.
6. Microphone: The built-in microphone records audio of the surrounding area.
7. LED indicator: The Power and network indicator.
8. LED indicator: The WPS indicator (for the Wi-Fi model only).
9. Micro SD CARD slot: Insert a Micro SD card for Local storage for storing recorded image and
video. This is used for updating system software and archiving / accessing critical images.
10. DC-in: Connects to 12V DC power.
6

How to install an SD card?
Step 1: Place the camera face down on a non-slip flat surface.
Step 2: Open the camera enclosure. Lift the dome off the base of the camera.
Step 3: Push the SD card into the camera with the gold contacts oriented towards the base of the
camera. To eject the SD card, push the SD card into the slot.
Step 4: Replace the dome enclosure ensuring a tight fit.
NOTE: To ensure that the camera stays weatherproof, users are advised to ensure that the
weatherproof sheath is secured firmly in place.
The Reset Button
You can use the Reset button to reset the camera operations back to default. Press the Reset
button for about 10 seconds. Blue screens of the analog output are displayed, and a text saying
RESETTING… appears.
7

3 INSTALLATION
Please follow the instructions and the diagram below to set up the system.
Hardware Installation
1. Connect Ethernet cable to the rear panel of the camera.
2. Plug in the power connection to the camera.
3. Confirm the correct network connection status.
WPS - Push Button Setup
To create a WPS connection:
1. Press and hold the WPS button for about 5~6
seconds. The WPS status LED will flash.
2. Press the WPS button on your router within 60
seconds. The camera will automatically create a
wireless connection to your router. While
connecting, the status LED will flash.After the
connection process is complete, the status LED will turn solid.
Note
Please make sure that your router supports WPS, then you can use the WPS button on the
camera to easily create a secure wireless connection to your network.
On some routers, you may need to log in to the web interface and click on an on-screen
button to activate the WPS feature.
8

Software Installation
Before installing the apps to your mobile phone for remote surveillance, make sure that you have
checked the following:
1. Your mobile platform is iOS or Android.
2. You might be charged for Internet access via wireless or 3G/4G networks. For the Internet
access rate details, please check with your local network operator or service provider.
3. Your IP camera is powered on and connected to Internet/ Intranet.
Where to download
App for Android App for iOS
QR-code
QR-code
9

Configuration—Android Operating System
Browse to where AppPro is installed by default on your mobile phone when the installation is
completed. Find AppPro and activate it.
Add Camera Camera List
Two methods to add a new camera.
1. Scan QR code of the camera: You can
just scan the QR code to add a camera.
Select “+” (Add) on the screen to add the
new camera.
2. Manually type in the camera ID and
password: Enter the information needed
to access your device, such as the
DeviceID and Password (default:9999).
Select “+” (Add) on the screen to add the
new camera.
Start to monitor.
1. Choose the camera you want to access
on the camera list. Your mobile phone will
start connecting to your camera.
2. Select the to enter the camera
configuration setting page.
10

Configuration- Setting Configuration- Change Password
Change the settings of resolution, video mode,
video area, FPS, audio mode and enable/disable
everse Image function. Then click ✔.R
You can change the Password here. Click Yes to
activate it. Please use the new password to
connect the camera by using this app next time.
Configuration- Notification Setup Configuration- Local Storage
Please set the SD card Remote Record Type,
Alert Type, Sensibility, and the Push Notification
functions first. Then click ✔.
You can view the saved video clips and images in
your mobile device here.
11

Configuration- Remote Storage (SD card) Remote Storage- Normal/ Alert Record List
You can view/ download the saved video clips
and images in the SD card here.
Note: Please insert an SD Card to the camera
first.
This allows you to search a recorded video
stored in the SD card of the camera. Click the
date and press the hour button to proceed.
Remote Storage- Downloaded Files Delete Camera
You can manage the exported SD card video
clips to your mobile device here. Select and click Delete to remove the camera on
the list.
12

Info Live
Set the Video time limit from 1, 3 and 5.
Enable/disable 2-way audio function.
Live- the icons Live- Screen Orientation
xClick on to record a video clip.
xClick on to take a snapshot.
xClick on to start/stop audio
out.
xClick on to start/stop two-way
audio.
xClick to select the Day & Night mode
from: (Auto mode),
(Night mode) and (Day mode).
xThe ePTZ control
panel. Click to control the camera’s
directions.
Mobile devices generally offer two screen orientations:
portrait and landscape. Users can simply rotate the device
to initiate a change from one orientation to another. And
the functions of the icons are the same with they described
above.
13

Configuration—iOS Operating System
Browse to where AppPro is installed by default on your mobile phone when the installation is
completed. Find AppPro and activate it.
Add Camera Camera List
Two methods to add a new camera.
1. Scan QR code of the camera : You
can just scan the QR code to add a
camera. Select “ ” (OK) on the screen
to add the new camera or click on “ ” to
cancel.
2. Manually type in the camera ID and
password: Enter the information needed
to access your device, such as the
DeviceID and Password (9999). Select
“” (OK) on the screen to add the new
camera or click on “ ” to cancel.
Start to monitor.
1. Choose the camera you want to access
on the camera list. Your mobile phone will
start connecting to your camera.
2. Select the to enter the camera
function setting page.
3. You can click on the “ ” icon to add a
new camera or select “ ” to delete a
chosen camera.
14

Camera Functions- Revise Password Camera Functions- Local Storage
You can change the Device ID and Password
here. Select “ ” on the screen to activate it.
You can view the saved video clips and images in
your mobile device here.
Camera Functions- Camera Settings Camera Functions- Notification Setup
Change the settings of resolution, video mode,
video area and FPS. Then click Save. When push notification is enabled, the user can
receive a push message on their device whenever
motion is detected. Please set the SD card remote
Recording mode,Alert Type, Sensibility, and the
Push Notification functions first. Then click Save.
15

Camera Functions- Notification Events Camera Functions- Remote Storage (SD card)
This page shows the event list of your camera. You can view/ download the saved video clips
and images in the SD card here.
Note: Please insert an SD Card to the camera
first.
Remote Storage- Normal/ Alert Record List Remote Storage- Downloaded Files
This allows you to search a recorded video
stored in the SD card of the camera. Click the
date and press the hour button to proceed.
You can manage the exported SD card video
clips in your mobile device here.
16

Live Live- the icons
The function of icons:
xClick to record a video clip.
xClick to start/stop audio out function.
xClick to start/stop two-way audio.
xClick to take a snapshot.
xClick to select the Day & Night mode from:
(Auto mode), (Night mode) and
(Day mode).
x
xThe ePTZ control panel. Click
to control the camera’s directions.
Live- Screen Orientation Info
Mobile devices generally offer two screen
orientations: portrait and landscape. Users can
simply rotate the device to initiate a change from
one orientation to another. And the functions of
the icons are the same with they described
above.
Set the Video time limit from 1, 3 and 5.
Enable/disable 2-way audio function.
17

Mounting and Positioning the Compact dome
Camera Mounting:
(refer to Figure3.2.1~3.2.6)
Step 1
Position the alignment sticker in the desired location for the camera.
Step 2
Use a 6mm drill bit to make required holes approximately 25mm deep.
Step 3
Insert wall anchors.
Step 4
Affix the camera base using the screws provided.
Step 5
Adjust the Lens.
Step 6
Affix the dome using the screws provided.
Step 7
Insert the weatherproof rubber screw coverings over the screws ensuring a tight seal.
Step 8
Using the Ethernet cable connect to the Ethernet port. Connect the other end of the Ethernet cable
your network. If you are using a PoE hub, connect the IP camera to the hub via an Ethernet cable,
which will provide transmission of both power and data over a single cable.
Step 9
Connection with 12V DC Power Adaptor.
18
Table of contents
Other Appro Security Camera manuals

Appro
Appro LC-6770 User manual

Appro
Appro LC-7233 User manual

Appro
Appro BV-7105 User manual

Appro
Appro LC-7533D User manual

Appro
Appro LC-7411 User manual

Appro
Appro LC-7514 User manual

Appro
Appro LC-7516 User manual

Appro
Appro LC-7513 User manual

Appro
Appro LC-6760 User manual

Appro
Appro TC-2183-E13 User manual