LS-860 User Manual
5www.arec.com
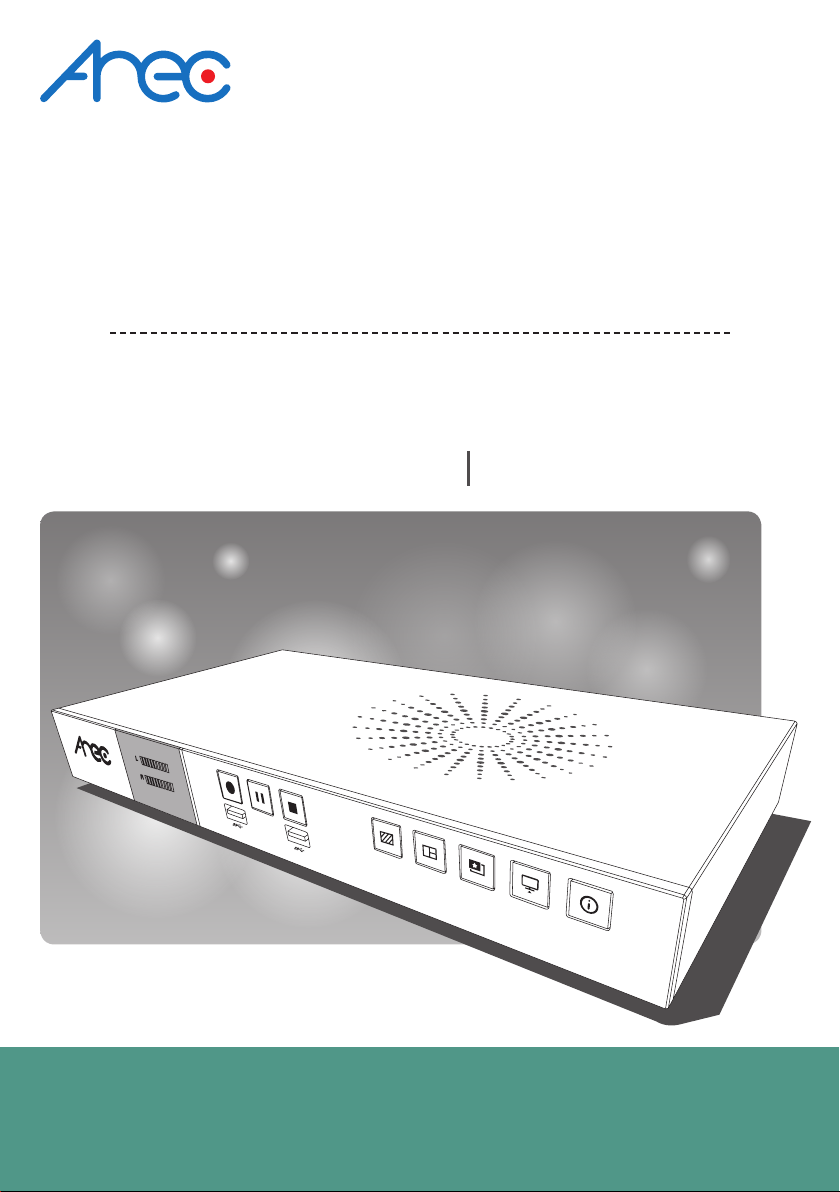
Product Appearance
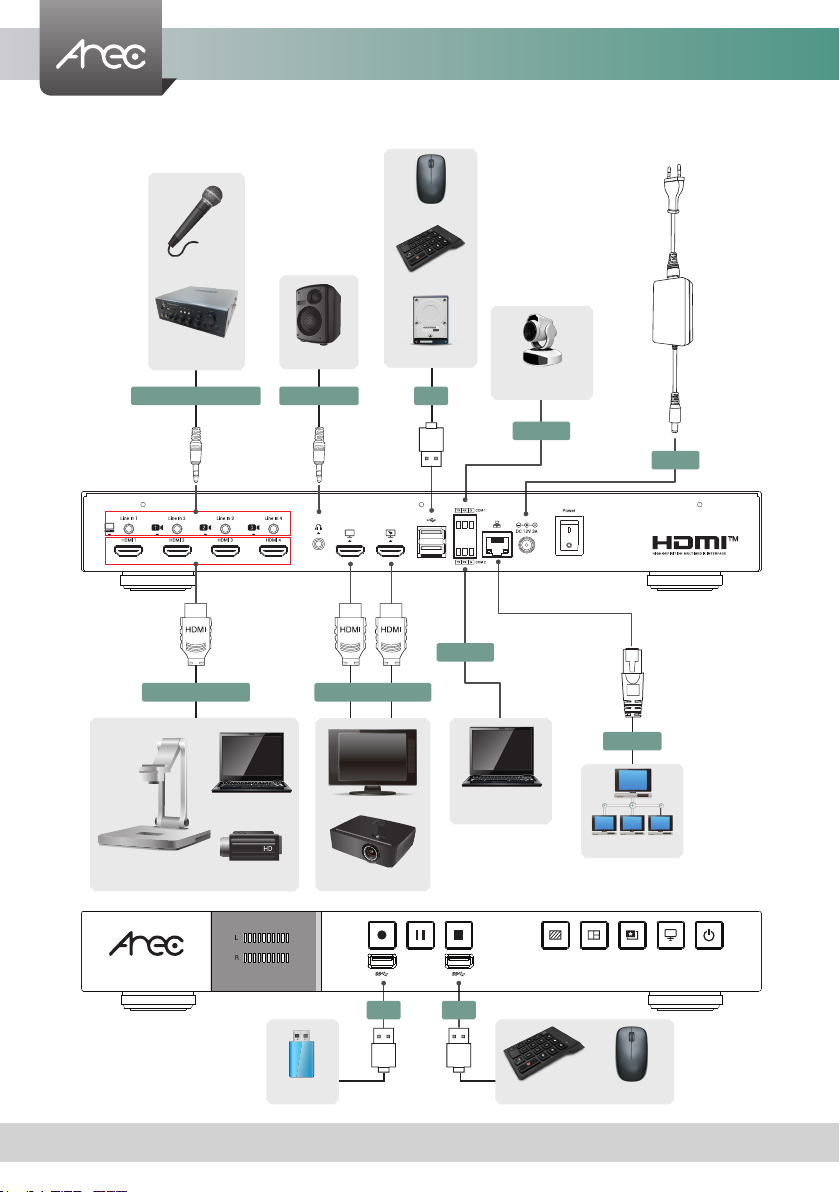
No. Name Brief introduction
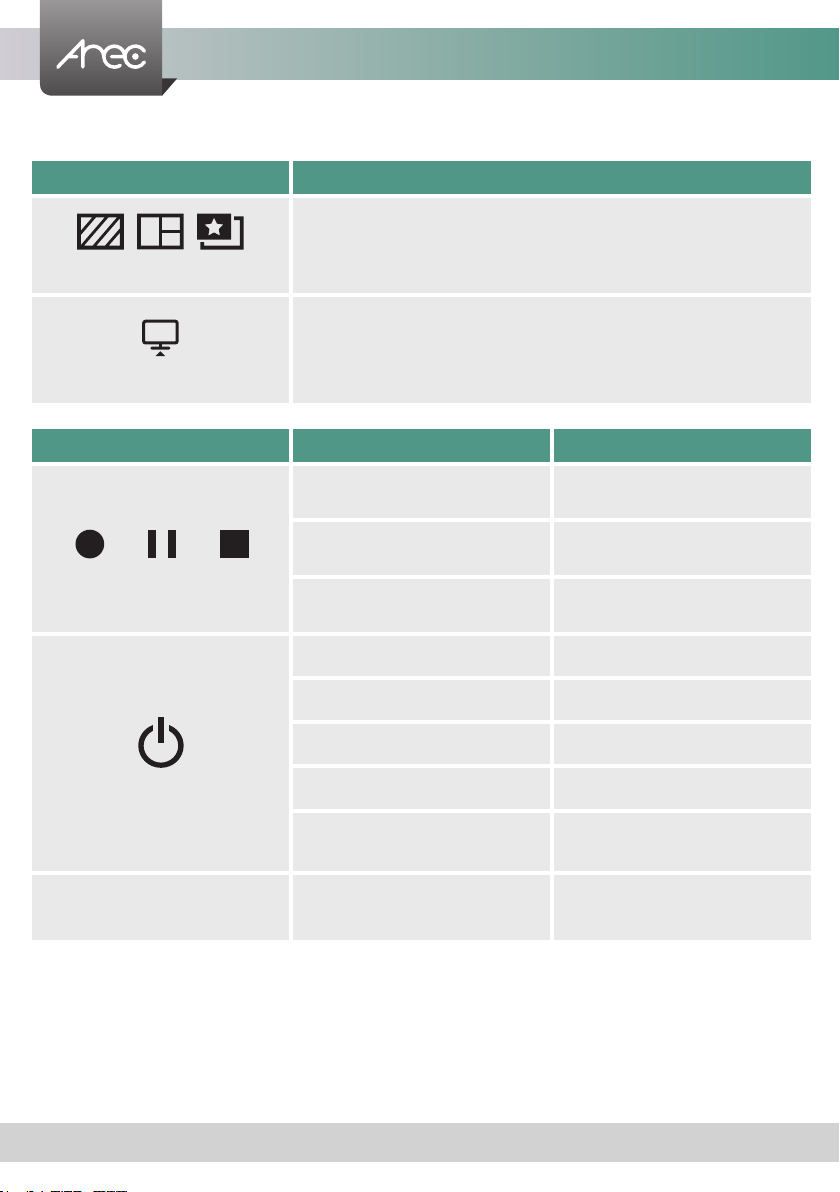
1Audio meter Audio volume bar
2Record function keys Control the Record, Pause, Stop function
3Front USB port 1
For external USB storage device
NOTE: The LS-860 can detect and record to USB storage devices using FAT32,
NTFS, Ext3, Ext4, exFAT le systems.
4Front USB port 2 Connect mouse, keyboard
5Background function key Control the Background function
6Layout function keys Control the Layout function
7Power Switch LS-860 into power-on mode and standy mode
8Audio input Line/Mic audio input
9Video input HDMI input source for PC [ ]、Camera [ ]
10 Audio output Line audio output
11 Video output HDMI output (inputs monitoring or multi-source display)
12 Video output HDMI output (preview recording with on-screen GUI)
13 Back USB port Connect mouse, keyboard, USB Storage mount for recording
14 COM 1 RS-232 for Camera Control
15 COM 2 RS-232 for External Control
16 Network port RJ-45 Ethernet connector for network connection
17 Power port 12V/ 3A
18 Power Switch The device powers on when the button is pressed "I" and powers off when the
button is pressed "O".
Front
Back
15
9
17
2
3 4
5 6