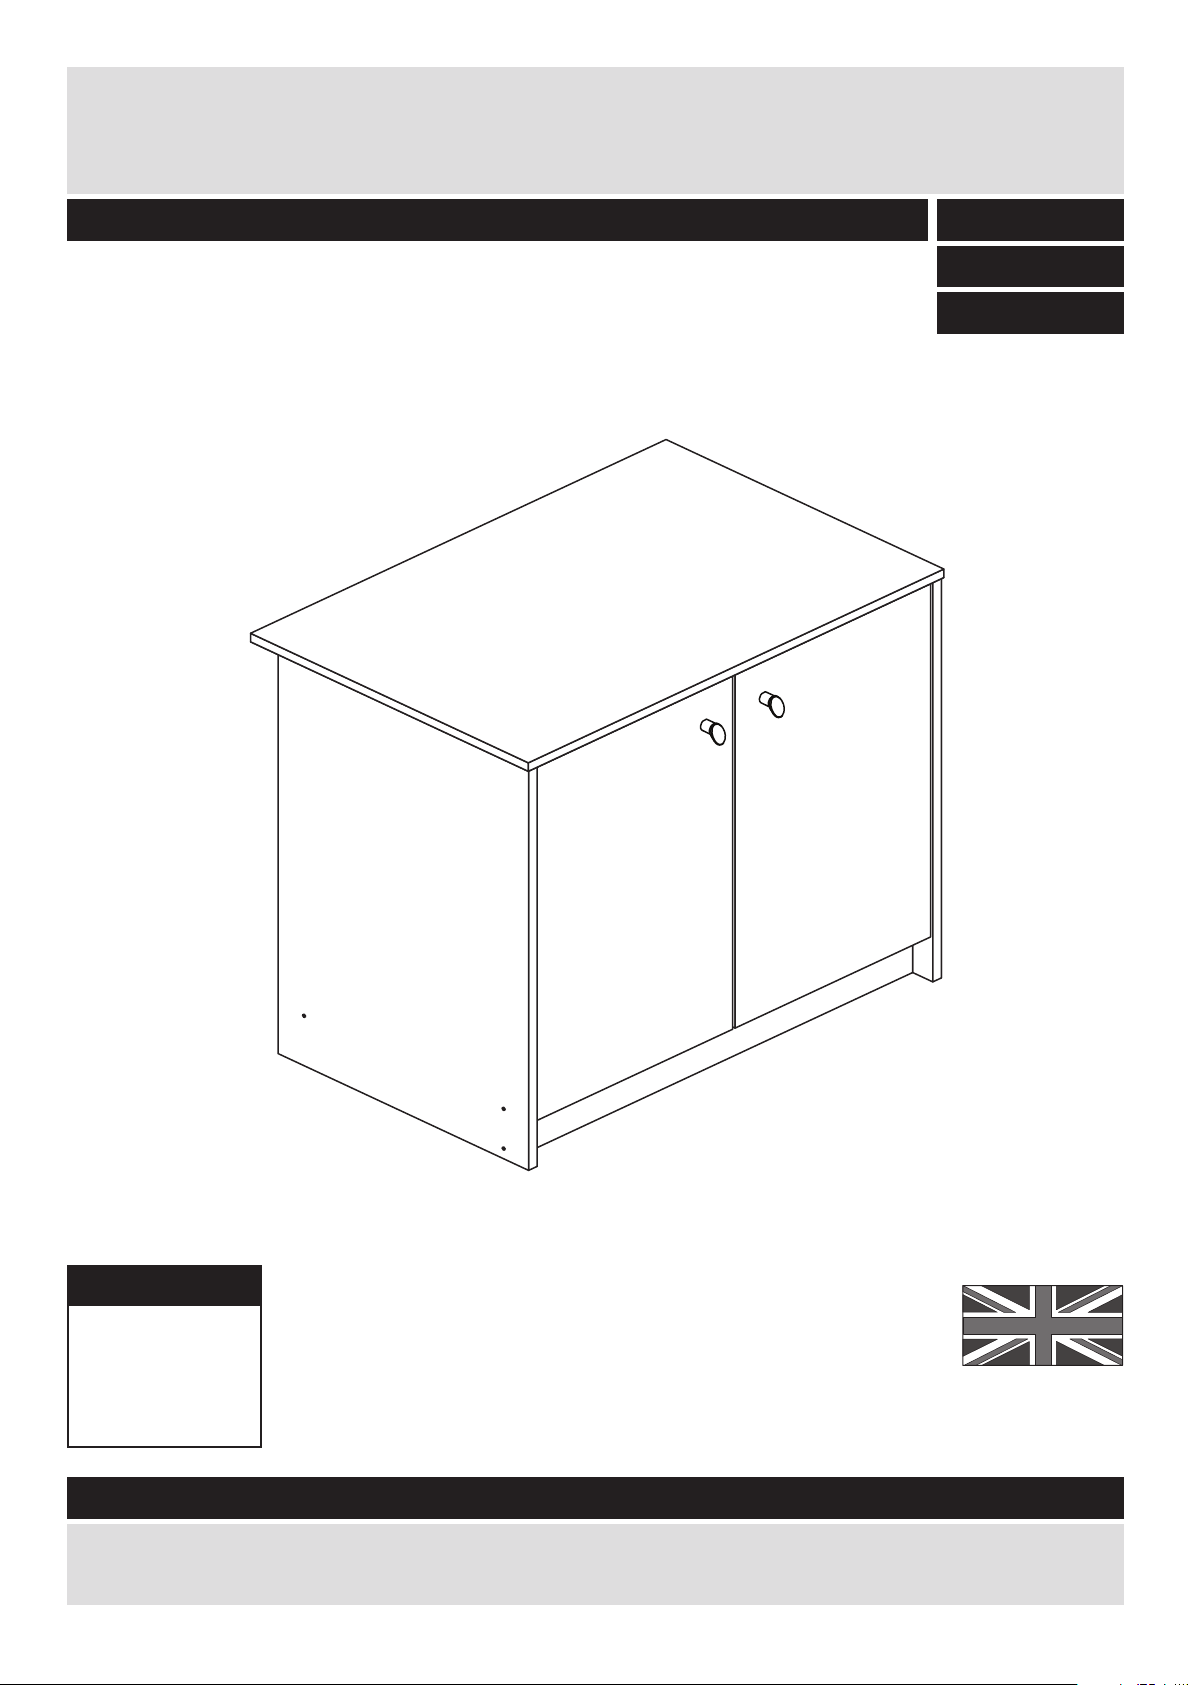
Argos Malibu Double Cupboard MK2 User manual
Other Argos Indoor Furnishing manuals

Argos
Argos Single Metal Futon User manual

Argos
Argos 609/2263 User manual

Argos
Argos Hygena 600/5968 User manual

Argos
Argos 618/2915 User manual

Argos
Argos Amersham 706/1262 User manual

Argos
Argos 1866968 User manual

Argos
Argos 435/6152 User manual

Argos
Argos Stakka 475/9955 User manual

Argos
Argos Camden 259/4947 User manual

Argos
Argos Chrome Tidy Rail 875/8457 User manual

Argos
Argos FWA00161C User manual

Argos
Argos SAN DIEGO 412/7893 User manual

Argos
Argos Anderson 609/6489 User manual

Argos
Argos Denver 339/9622 User manual

Argos
Argos Theo Folding Bar Stool 600/0262 User manual

Argos
Argos Darcy 428/5890 User manual

Argos
Argos Aruba 614/3837 User manual

Argos
Argos 875/2886 User manual

Argos
Argos Glass Laptop Table 402/9616 User manual

Argos
Argos 8146643 User manual


Popular Indoor Furnishing manuals by other brands


Coaster
Coaster 4799N Assembly instructions

Stor-It-All
Stor-It-All WS39MP Assembly/installation instructions

Lexicon
Lexicon 194840161868 Assembly instruction

Next
Next AMELIA NEW 462947 Assembly instructions

impekk
impekk Manual II Assembly And Instructions

Elements
Elements Ember Nightstand CEB700NSE Assembly instructions