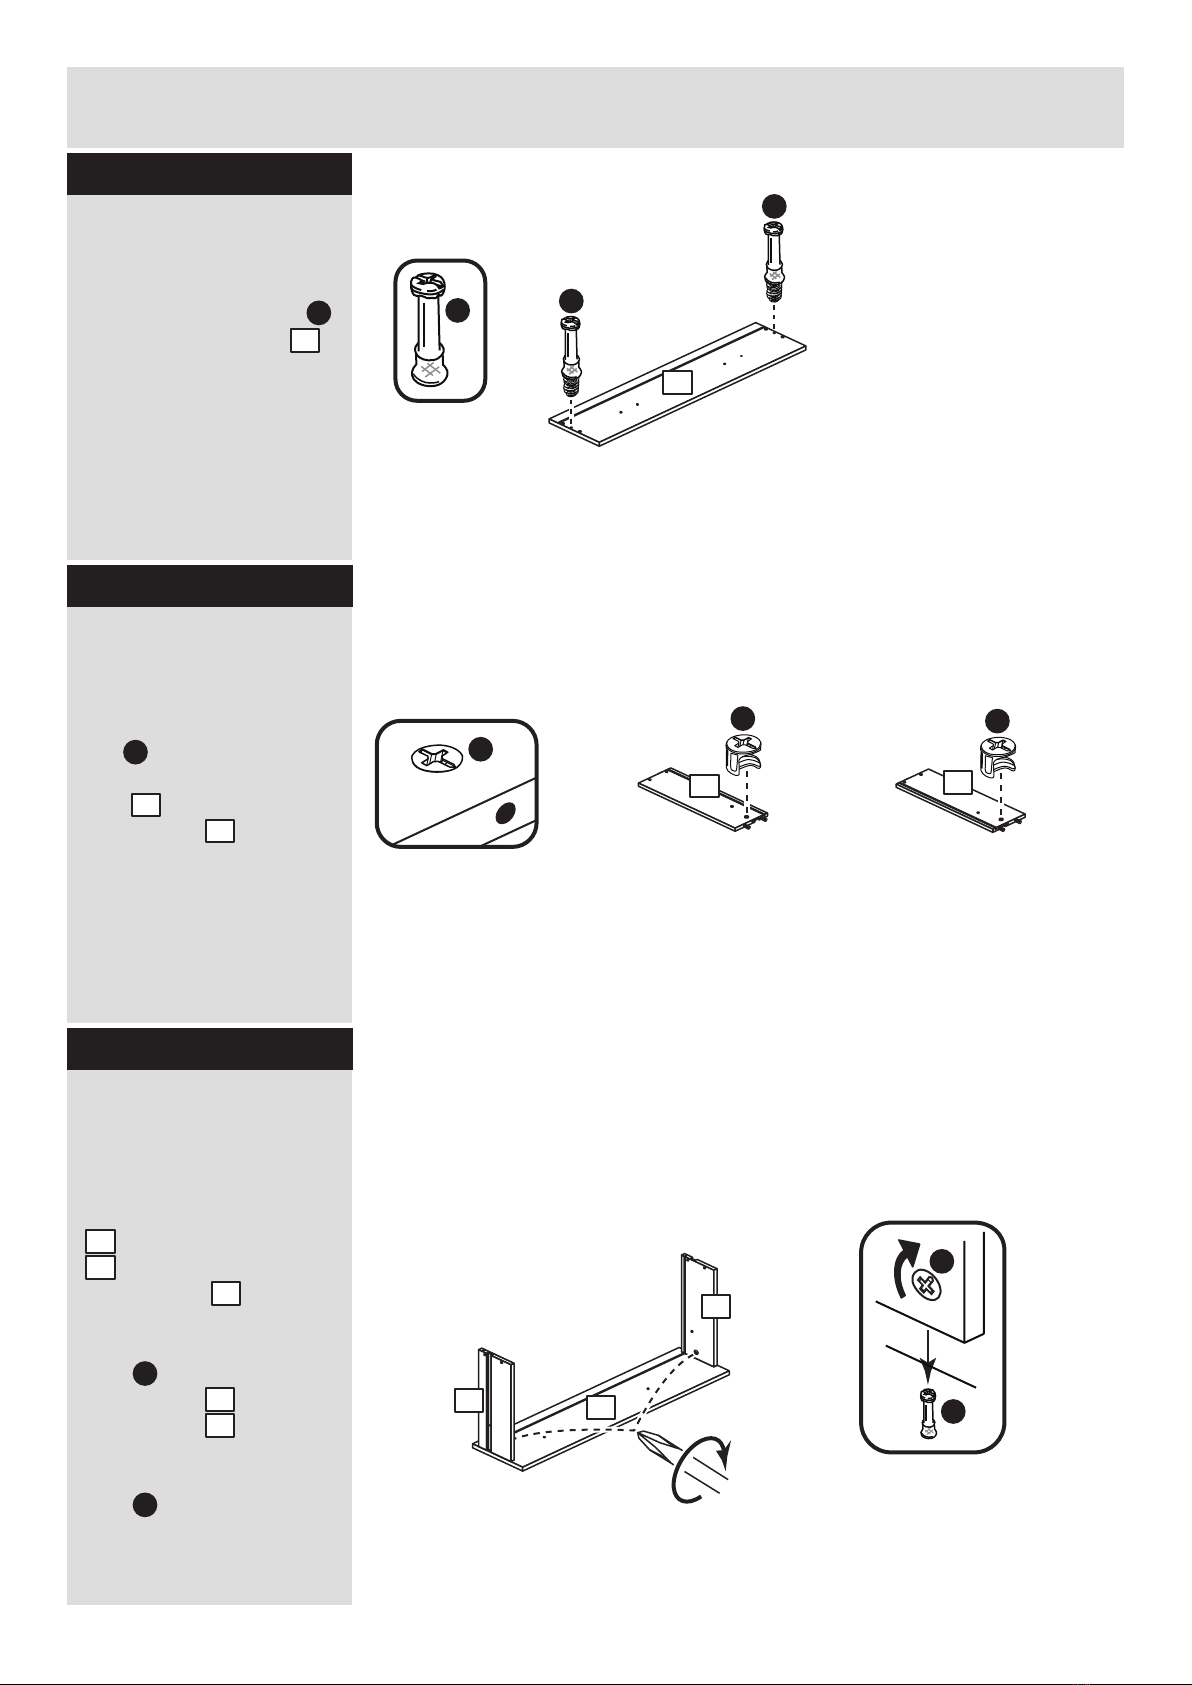
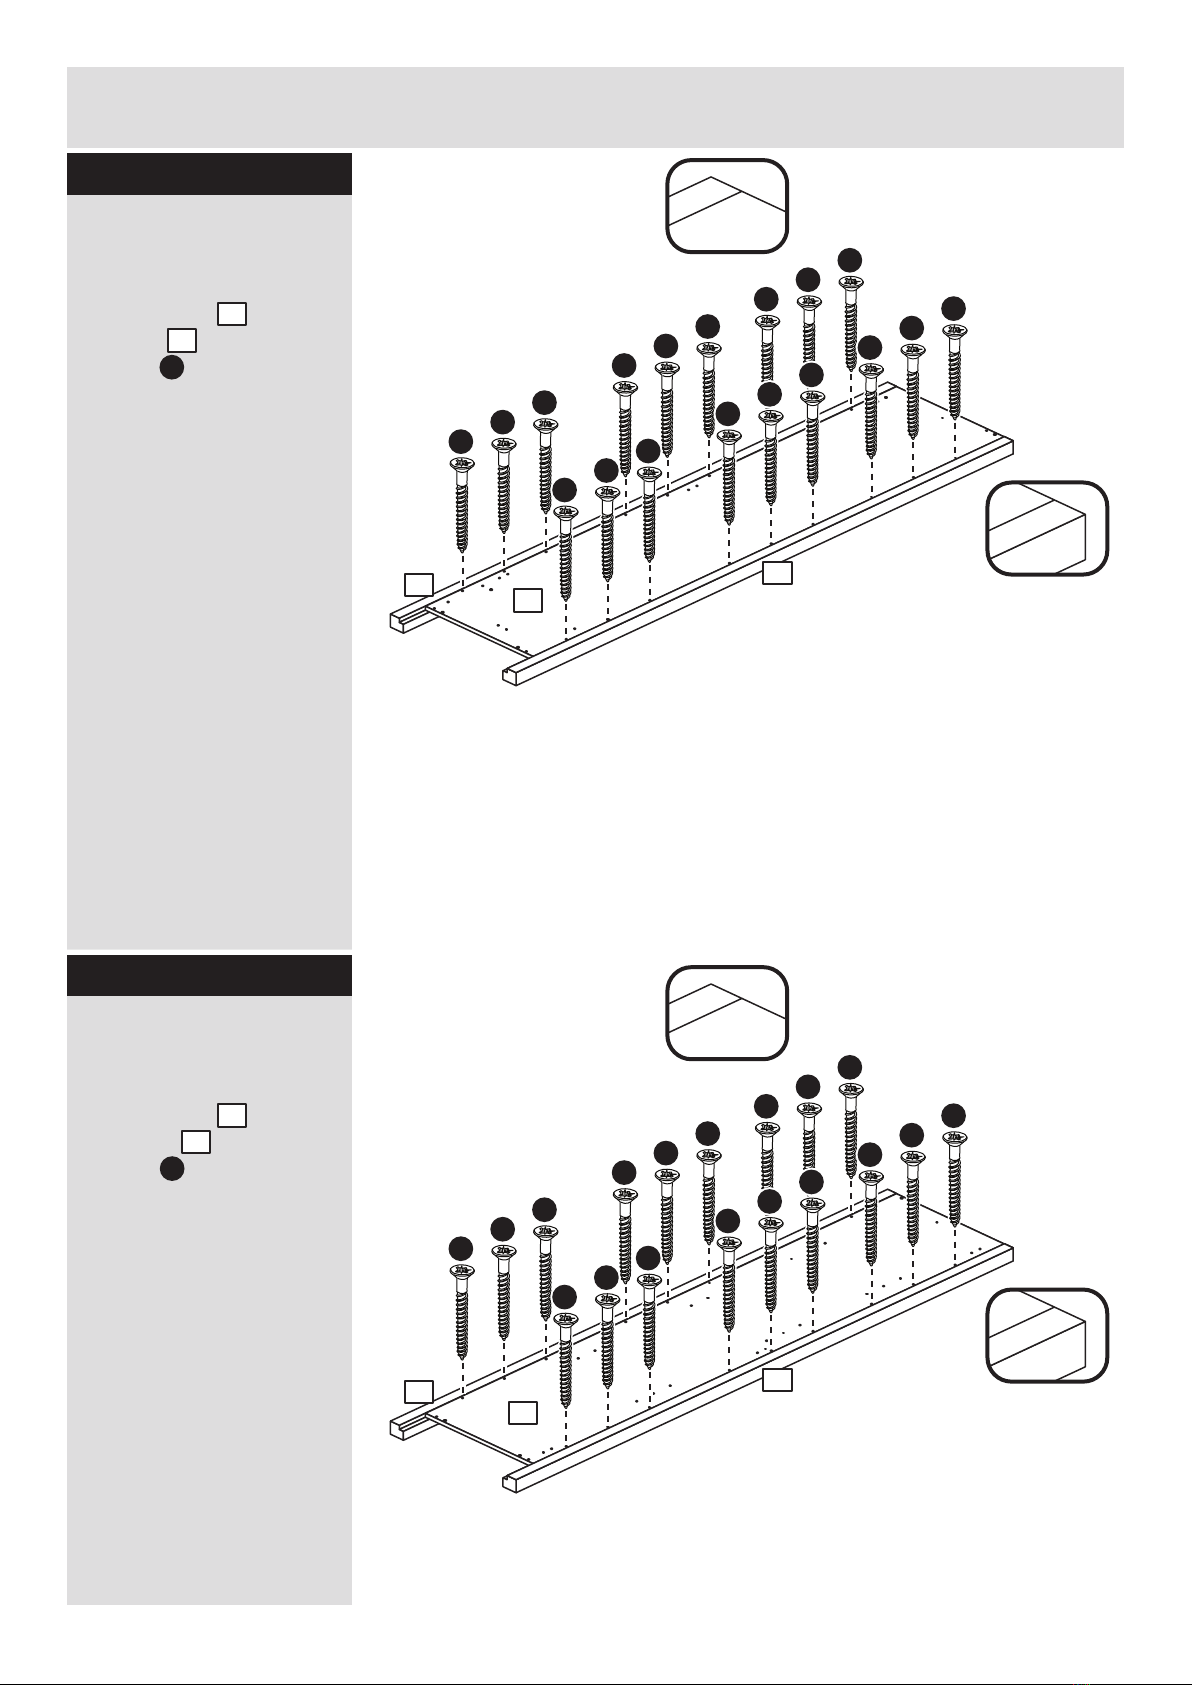
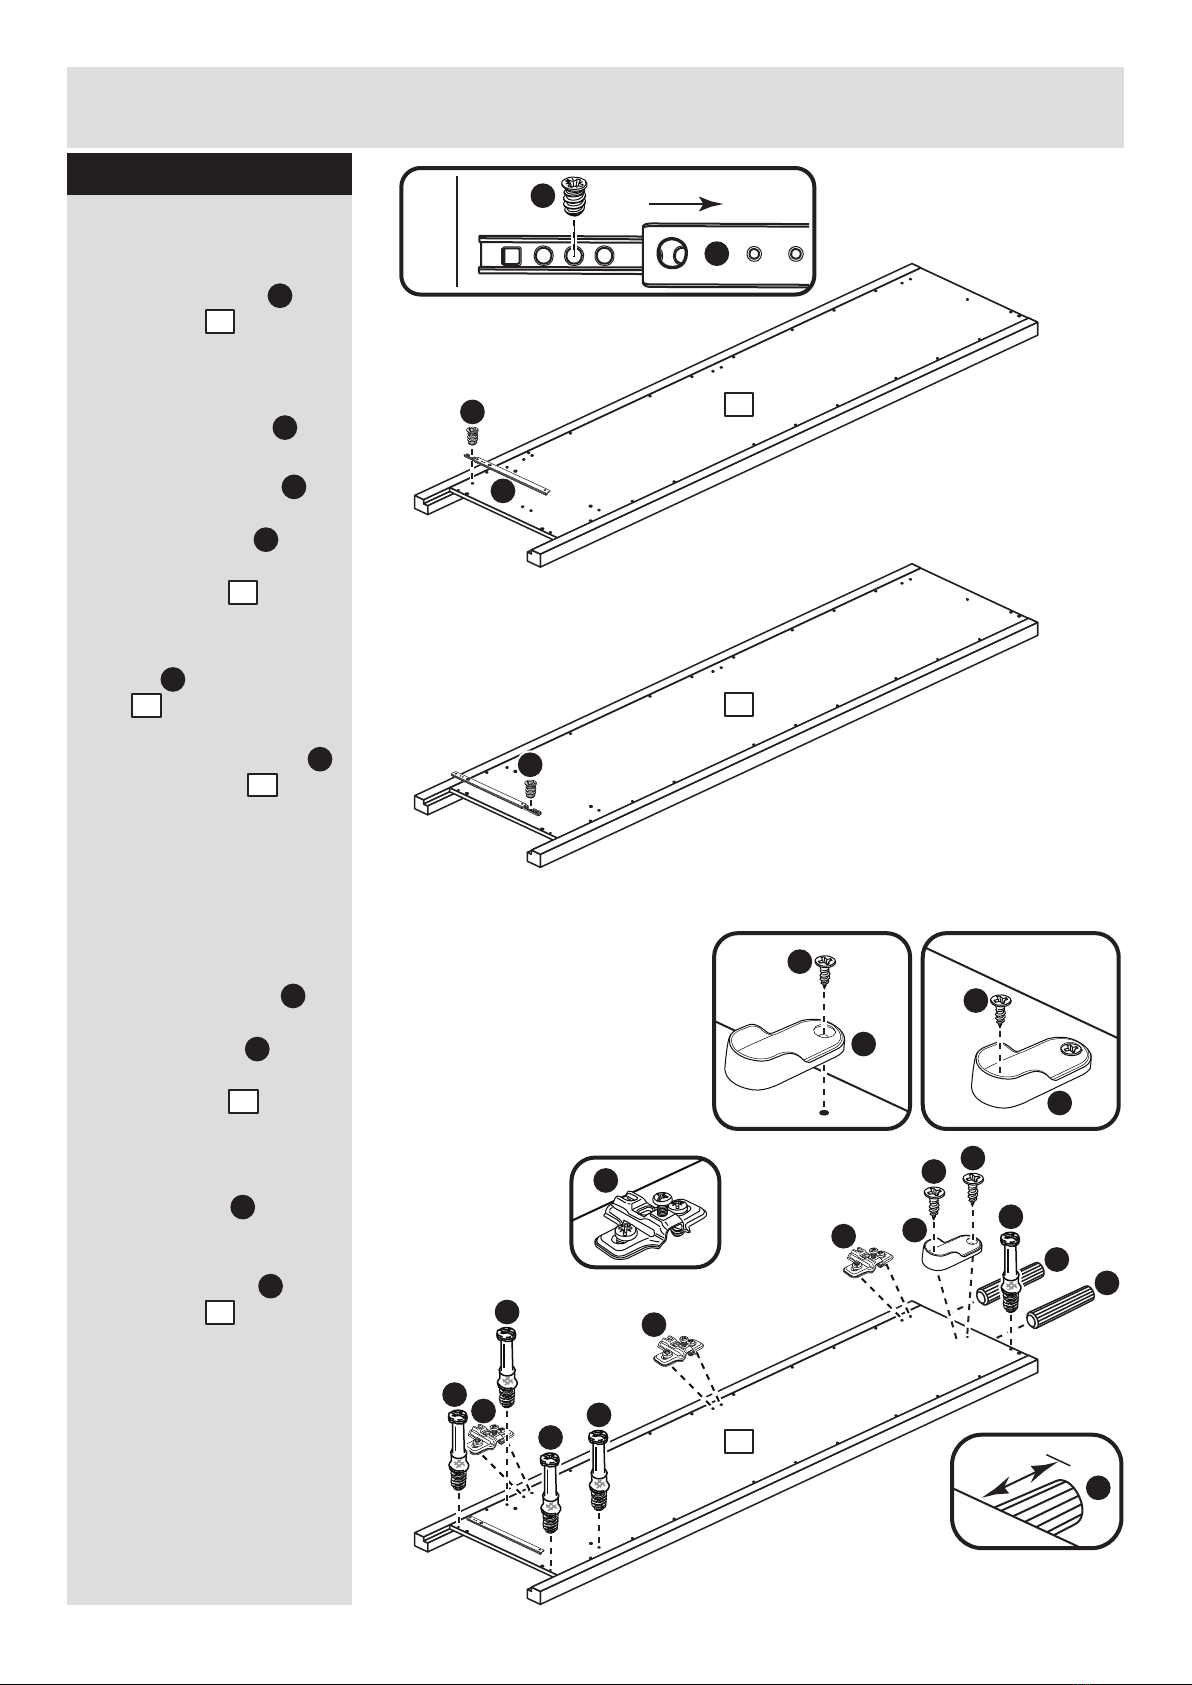
Argos Marlow 425/8009 User manual
Other Argos Indoor Furnishing manuals

Argos
Argos Westminster 424/3485 User manual

Argos
Argos Mix and Match 709/0439 User manual

Argos
Argos Home Arlon 452/8454 User manual

Argos
Argos HOME 631/1494 User manual

Argos
Argos Malibu Series User manual

Argos
Argos 464/4084 User manual

Argos
Argos MADRID SPRING CUSHION CHAIR 6187862 User manual

Argos
Argos Brixham 617/9131 User manual

Argos
Argos HOME Chesterfield Sofa Manual

Argos
Argos habitat DAXTON 941/1834 User manual

Argos
Argos 411/3883 User manual

Argos
Argos Double Tidy Rail User manual

Argos
Argos Finland 656/1770 User manual

Argos
Argos Montana 395/6883 User manual

Argos
Argos Nordic 3 Drawer Chest User manual

Argos
Argos Camden 259/3773 User manual

Argos
Argos Matrix 609/0399 User manual

Argos
Argos Hygena Charlie 323/2349 User manual

Argos
Argos Napoli 600/6266 User manual

Argos
Argos WILTSHIRE OAK 150 User manual


Popular Indoor Furnishing manuals by other brands


Coaster
Coaster 4799N Assembly instructions

Stor-It-All
Stor-It-All WS39MP Assembly/installation instructions

Lexicon
Lexicon 194840161868 Assembly instruction

Next
Next AMELIA NEW 462947 Assembly instructions

impekk
impekk Manual II Assembly And Instructions

Elements
Elements Ember Nightstand CEB700NSE Assembly instructions