ARIESAUTOMOTIVE.COM • NEED ASSISTANCE? • 877.287.8634 • 2074110-INS-RD• PAGE 2
Step 1
Starting on the driver-side, locate
the three mounting locations
underneath the vehicle.
Step 2
Locate the driver-side front mounting
point. Using a utility knife, cut
and remove the tape plug covering
the third mounting point for the
front mounting bracket.
Note: Older model vehicles may not
have support brackets (indicated by the
red arrow) at this location. In this case,
use the provided spacer plates between
the front mounting brackets and the
rocker panel.
Step 3
Insert an M12 bolt plate into the opening.
Slide a plastic bolt retainer over
the thread of the bolt to hold the
bolt in place.
Repeat steps 2 and 3 to install the
bolt plates into each of the driver-side
mounting points.
Step 4
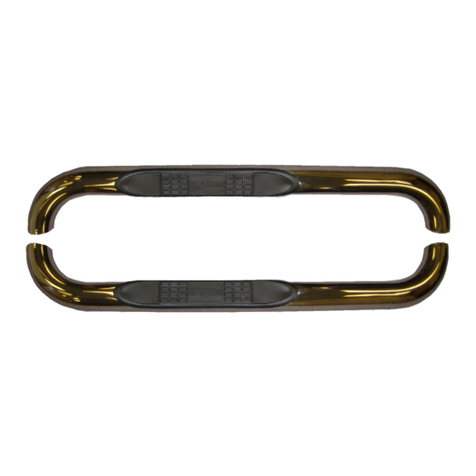
With help, lift the rocker step into position.
Secure the front mounting bracket using
an M12 flat washer, M12 lock washer and
M12 hex nut on the stud of the bolt plate.
Finish securing the bracket by inserting
two M8 hex bolts, two M8 lock washers
and two M8 flat washers into the bottom
holes of the mounting brackets.
Note: On vehicles not equipped with M8
thread inserts, align the M10 nut on the
M12 bolt plate with either hole location
on the bracket. Secure the M10 hex bolt,
lock washer and flat washer.
