EnglishDeutsch
 logo
Brands
  1. Home
  2. •
  3. Brands
  4. •
  5. Aries
  6. •
  7. Automobile Accessories
  8. •
  9. Aries S223046-2 User manual

Aries S223046-2 User manual

Other Aries Automobile Accessories manuals

Aries 2074150 User manual

Aries

Aries 2074150 User manual

Aries 3020000 User manual

Aries

Aries 3020000 User manual

Aries S223015-2 User manual

Aries

Aries S223015-2 User manual

Aries 35700 User manual

Aries

Aries 35700 User manual

Aries 3069 User manual

Aries

Aries 3069 User manual

Aries 2051179 User manual

Aries

Aries 2051179 User manual

Aries 203015 User manual

Aries

Aries 203015 User manual

Aries 2055122 User manual

Aries

Aries 2055122 User manual

Aries 203039 User manual

Aries

Aries 203039 User manual

Aries 4520 User manual

Aries

Aries 4520 User manual

Aries 2164003 User manual

Aries

Aries 2164003 User manual

Aries P2066 User manual

Aries

Aries P2066 User manual

Aries S223044 User manual

Aries

Aries S223044 User manual

Aries 2074142 User manual

Aries

Aries 2074142 User manual

Aries 205045-2 User manual

Aries

Aries 205045-2 User manual

Aries 200101 User manual

Aries

Aries 200101 User manual

Aries 205041 User manual

Aries

Aries 205041 User manual

Aries 2082082 User manual

Aries

Aries 2082082 User manual

Aries 1500100 User manual

Aries

Aries 1500100 User manual

Aries 4504 User manual

Aries

Aries 4504 User manual

Aries 203014 User manual

Aries

Aries 203014 User manual

Aries 205008-2 User manual

Aries

Aries 205008-2 User manual

Aries 1501250 User manual

Aries

Aries 1501250 User manual

Aries 204001 User manual

Aries

Aries 204001 User manual

Popular Automobile Accessories manuals by other brands

James Baroud Odyssey user guide

James Baroud

James Baroud Odyssey user guide

Motorola i50sx owner's manual

Motorola

Motorola i50sx owner's manual

Yakima 9MM STANDARD BIKE MOUNT instructions

Yakima

Yakima 9MM STANDARD BIKE MOUNT instructions

Feniex T3 instruction manual

Feniex

Feniex T3 instruction manual

Kia E8300-4D000 manual

Kia

Kia E8300-4D000 manual

Brink 756843 installation instructions

Brink

Brink 756843 installation instructions

Whispbar K085W Fitting instructions

Whispbar

Whispbar K085W Fitting instructions

v.link CI-VL2-PC-HSD manual

v.link

v.link CI-VL2-PC-HSD manual

Viking Stack-Rack Assembly and use instructions

Viking

Viking Stack-Rack Assembly and use instructions

Choetech AT0005 user manual

Choetech

Choetech AT0005 user manual

ZZ2 ZZAIR-PRO instruction manual

ZZ2

ZZ2 ZZAIR-PRO instruction manual

Holman 4A80L installation guide

Holman

Holman 4A80L installation guide

Thule 2075 parts manual

Thule

Thule 2075 parts manual

Motorola T325 quick start guide

Motorola

Motorola T325 quick start guide

TAUBENREUTHER 16-3950 FITTING INSTRUCTION

TAUBENREUTHER

TAUBENREUTHER 16-3950 FITTING INSTRUCTION

DV8 FBJL-02 Product installation manual

DV8

DV8 FBJL-02 Product installation manual

Prorack K1163 manual

Prorack

Prorack K1163 manual

Curt Manufacturing A25 installation instructions

Curt Manufacturing

Curt Manufacturing A25 installation instructions

https://manuals.online logo
https://manuals.online logoBrands
  • About & Mission
  • Contact us
  • Privacy Policy
  • Terms and Conditions

Copyright 2026 Manuals.Online. All Rights Reserved.

ARIESAUTOMOTIVE.COM •PRODUCT SUPPORT: 877.287.8634 •S223046-2-INS-RA •04/17/2020 •ECN6919 •PAGE 1
Product Registration and Warranty
ARIES stands behind our products with industry-leading warranties. To get copies of the product
warranties, register your purchase or provide feedback, visit: warranty.curtgroup.com/surveys
INSTALLATION MANUAL S223046-2
Parts List
Qty Description
1Driver / left side bar
1Passenger / right side bar
2Mounting bracket, front
4Mounting bracket, universal
12 Hex bolt, M10 x 30mm
12 Flat washer, M10,
small outer diameter
24 Lock washer, M10
12 Hex bolt, M10 x 25mm
12 Flat washer, M10,
large outer diameter
Tools Required
Ratchet Level
Socket, 16mm --
Maintenance
Mild automotive detergent may be used to clean the product. Do not use dish detergent, abrasive
cleaners, abrasive pads, wire brushes or other similar products that may damage the finish.
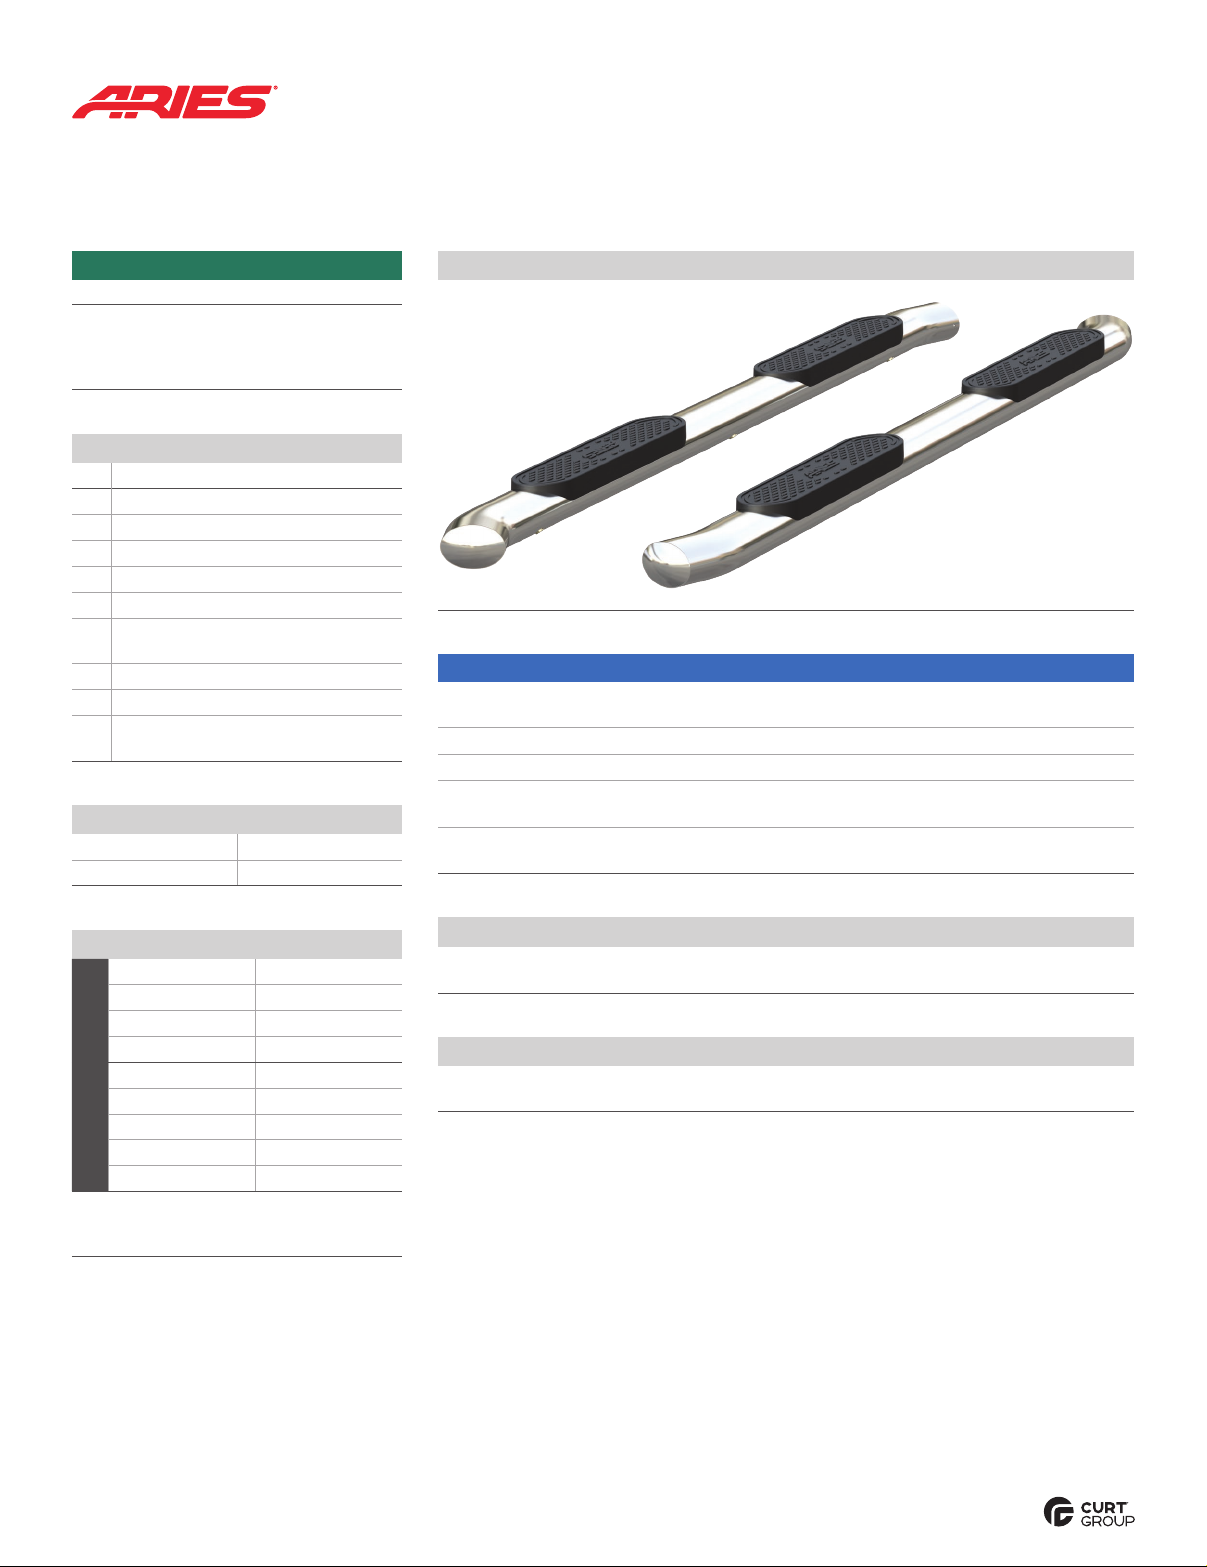
Product Photo
Front
Rear
Torque Specifications*
Metric
M6 bolt 3 ft-lbs.
M8 bolt 7 ft-lbs.
M10 bolt 16 ft-lbs.
M12 bolt 28 ft-lbs.
SAE
1/4" bolt 3 ft-lbs.
5/16" bolt 7 ft-lbs.
3/8" bolt 16 ft-lbs.
7/16" bolt 20 ft-lbs.
1/2" bolt 28 ft-lbs.
* Above specifications are general guidelines.
If purchasing hardware use the torque
specifications provided with that hardware.
Level of Difficulty
Easy
Installation difficulty levels are based on time
and effort involved and may vary depending on
the installer level of expertise, condition of the
vehicle and proper tools and equipment.
NOTICE
Visit www.ariesautomotive.com for a full-color copy of this
instruction manual, as well as helpful videos, guides and much more!
Before you begin installation, read all instructions thoroughly.
Proper tools will improve the quality of installation and reduce the time required.
Periodic inspection of your product should be performed
to ensure all hardware and / or components remain secure.
To help prevent damage to the product or vehicle, refer to the specified
torque specifications when securing hardware during the installation process.
ARIESAUTOMOTIVE.COM •PRODUCT SUPPORT: 877.287.8634 •S223046-2-INS-RA •04/17/2020 •ECN6919 •PAGE 2
Step 1
Starting at the front driver side mounting
location, locate the threaded holes on the
inside of the body panel and remove the
rubber plugs.
Attach a front mounting bracket to the
body panel using two M10 x 25mm hex
bolts with a lock washer and large
outside diameter flat washer.
Step 4
Secure the side bar to the brackets using
an M10 x 30mm hex bolt, lock washer and
small outside diameter flat washer at each
mounting location.
Snug the hardware, but do not fully tighten.
Step 2
Locate the threaded holes for the middle
mounting location on the inside of the body
panel and remove the rubber plugs.
Attach a universal mounting bracket to
the body panel using two M10 x 25mm
hex bolts with a lock and large outside
diameter flat washer.
Snug the hardware, but do not fully tighten.
Repeat for the rear mounting location.
Step 3
Place the side bar onto the mounting
brackets and alight the mounting points.
Note: If the holes on the side bar do not match
up with the brackets, ensure all brackets have
been installed in the correct locations and the
correct side bar is being used.
ARIESAUTOMOTIVE.COM •PRODUCT SUPPORT: 877.287.8634 •S223046-2-INS-RA •04/17/2020 •ECN6919 •PAGE 3
Step 5
Adjust and level the side bar.
With the side bar in position, it is recommended
to tighten all brackets to the vehicle first,
followed by the side bar connections.
Repeat steps 1 through 5 on the
passenger side of the vehicle.
Congratulations on the installation
of your new ARIES 4" oval side bars.
With the side bars installed, periodic
inspections should be performed to ensure
all mounting hardware remains tight.
To protect your investment, see the
‘Maintenance’ section on the first page
of this instruction manual.