ARIESAUTOMOTIVE.COM • NEED ASSISTANCE? • 800.798.0813 • 205008-2-INS-RA • PAGE 2
1. Begin installation by working on the driver-side
of the vehicle, see figures 1.1 To 1.5.
2. From underneath truck, loosen and remove the
body mount bolts that run upward through the mounts
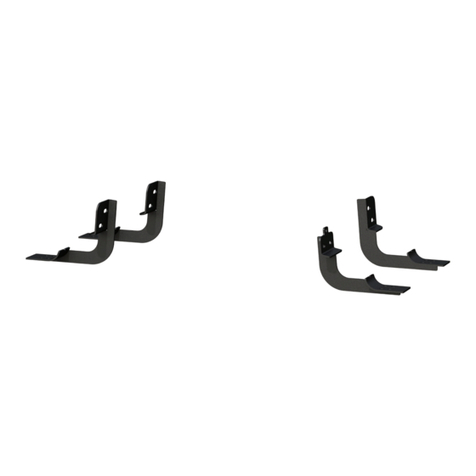
into floorboard. Attach and secure the front mounting
bracket to the underside of the vehicle's front body
mount (see figure 1.3).
Re-use the isolator, but replace the factory bolt with
one 12mm x 120mm half-tooth hex bolt, one 12mm lock
washer and one 12mm flat washer. Snug the hardware,
but do not fully tighten.
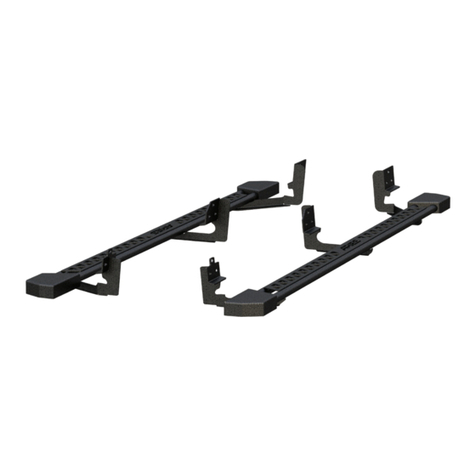
3. Attach and secure the rear mounting bracket to the
underside of the vehicle's rear body mount in the same
manner as the front mounting bracket.
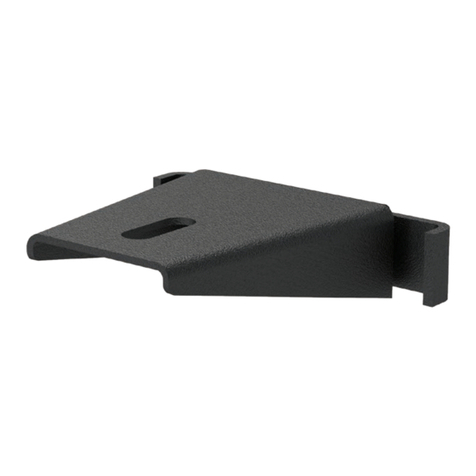
4. Locate the T-bolt plate and place it into the opening
on the bottom front frame rail.
5. Select 5A, 5B or 5C based on the model of your vehicle.
5A. Ram 1500 Series 02 - 10:
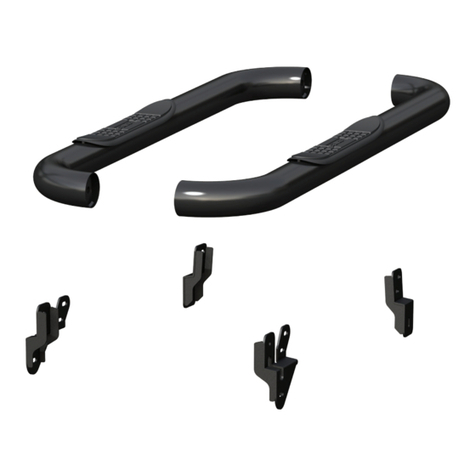
Locate the correct brackets. Secure the brace bracket
to the T-bolt plate with one 10mm flat washer, one
10mm lock washer and one 10mm nut. Snug the
hardware, but do not fully tighten (see figure 1.2)
Note: the slot on the short arm of the bracket
should now line up with the mounting bracket slot.
5B. Ram 2500 / 3500 Series 02 - 05:
Locate the correct brackets. Secure the brace bracket
to the side of the mounting bracket using one 10mm x
40mm hex bolt, two 10mm flat washers, one 10mm
lock washer and one 10mm nut (see figure 1.5).
Secure the T-bolt plate to the mounting bracket with
one 10mm flat washer, one 10mm lock washer and one
10mm nut. Snug the hardware, but do not fully tighten.
Procedure
5C. Ram 2500 / 3500 Series 06 - 10:
Locate the correct brackets. Note: This is the shorter
set of brackets. Secure the brace bracket to the side of
the mounting bracket using one 10mm x 40mm hex bolt,
two 10mm flat washers, one 10mm lock washer and
one 10mm nut (see figure 1.5).
Secure the T-bolt plate to the mounting bracket with one
10mm flat washer, one 10mm lock washer and one
10mm nut. Snug the hardware, but do not fully tighten.
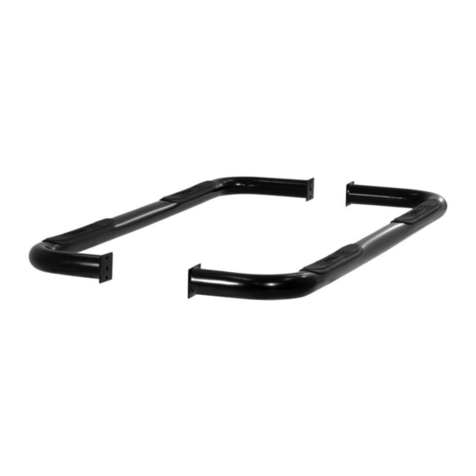
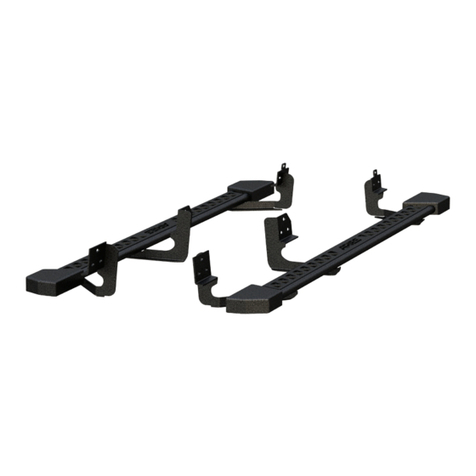
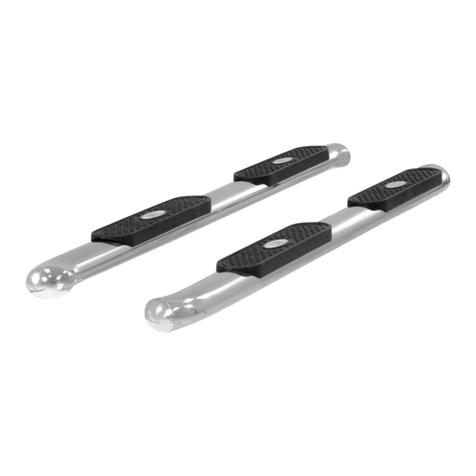
8. Attach the driver-side side bar to the front and rear
mounting brackets using one 12mm x 60mm hex bolt,
one 12mm lock washer and one 12mm flat washer for
each bracket. Hand tighten.
9. Adjust the side bar so that it is level and centered.
Torque all 12mm bolts first to 65 ft-lbs. Tighten all
remaining fasteners to complete the driver-side install.
10. Repeat steps 3 through 10
for the passenger-side of the vehicle.
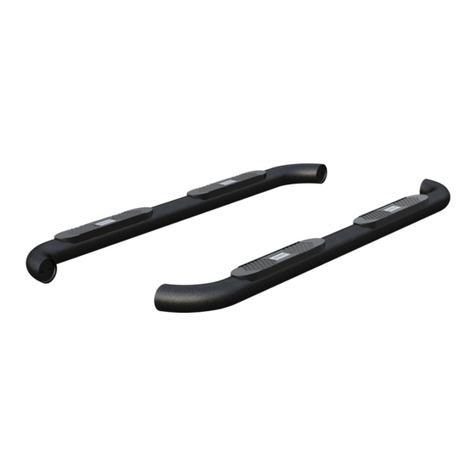
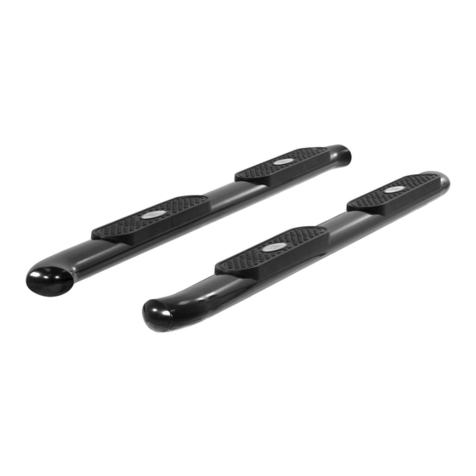
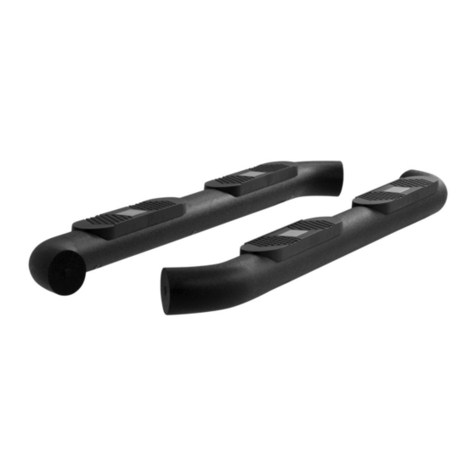
11. Congratulations on the installation of your new
aries 3" round side bars. With the side bars installed,
periodic inspections should be performed to ensure all
mounting hardware remains tight.
To protect your investment, see the 'notes and maintenance'
section on the first page of this instruction manual.
