manuals.online logo
Brands
  1. Home
  2. •
  3. Brands
  4. •
  5. Arrow
  6. •
  7. Indoor Furnishing
  8. •
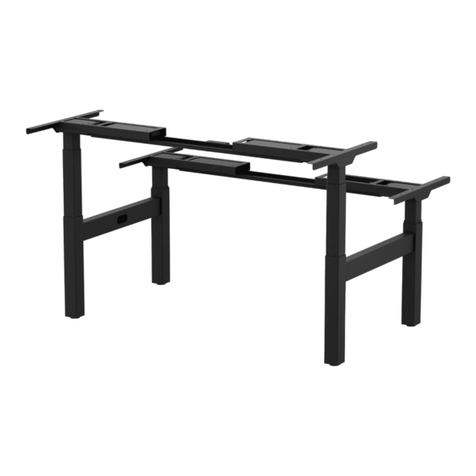
  9. Arrow HAFS121 User manual

Arrow HAFS121 User manual

2 Stage Height Adjustable Desk (HAFS121)
Assembly Instructions
Manufactured for Arrow Group Global Ltd support@arrowgroup.com | +44 (0)1502 533433
PARTS LIST
Carefully open the carton, and lay out the parts
on a protective surface to avoid damage. Check
pack contents against the parts list to ensure all
components have been recieved. Do not use damaged
or defective parts. Carefully read all instructions before
starting assembly of the desk.
UNPACKING INSTRUCTIONS
PARTS OVERVIEW
Part Description Qty Part Description Qty
1
Base Foot
212
Control Panel
1
2
Slave Column
113
Switch Cord
1
3
Motor Column
114
Control Box
1
4
Adjustable Length
Support Beam 1A
M6
12
5
Adjustable
Drive Shaft 1B
M8
4
6
Desktop Cross
Beam 2C
Allen Key
4mm/5mm 1
7
Power Adaptor
1D
Allen Key
2.5mm 1
8
Drive Shaft Cover
Plate 2E
M4
4
9
Mains Power Lead
1F
ST4.2
15
10
Cable Tie
4G
Wrench
1
11
Power
Adaptor
Bracket 1
Install base foot to each column.
Install (1) & (2)(3) together, use 5mm allen key (C) to tighten the screws (A).
Loosen
Install adjustable length support beam (4).
Install (5) & (2)(3), use 2.5mm allen
key (D) & wrench (G) to tighten.
Install adjustable drive shaft.
Loosen screws on beam (4) with 4mm allen
key (C), then stretch supporting beam.
Install beam on the columns (2)(3),
tighten screw (B) with 5mm allen key (C).
TOP TIP
For each component, always start
all screws in their threads before
tightening any screw fully.
Loosen
STEP 1
STEP 2
STEP 3
D
2.5mm
C4mm
5mm
C
5mm
Bx4
Ax8
Rotate and tighten gently, until the
screw contacts, then tighten by up to
⁄ of a turn. DO NOT OVERTIGHTEN.
C
G
C
G
C
G
2.5mm
Install desktop cross beams.
Fit power adaptor bracket (11).
Install (6) & (2)(3), use 5mm allen
key (C) to tighten screw (A).
Install drive shaft cover plate.
Install (8), use 2.5mm allen key (D)
to tighten the screws (E).
11
Install desktop.
Overhang (X) distance
must not exceed 200mm.
Install desktop
with screw (F),
use pistol drill
to tighten.
Install control panel and control box.
X
X
STEP 4
STEP 5
STEP 6
C
5mm
Ax4
D
2.5mm
Ex4
Fx10
STEP 7
Install control panel (12) and
control box (14) with screw (F),
use pistol drill to tighten.
Connect all the cables to the power adaptor (7).
Use the cable ties (10) to x all the
connection cables to the desk.
STEP 9
Switch
Cord Port
Control
Panel Port
Motor
Cable Port
Install power adaptor.
STEP 8
Attach power adaptor (7) into power
adaptor bracket (11) and secure
cables using cable ties (10).
G
C
Tighten screws on supporting
beam with 4mm allen key (C).
Align the frame with pre-drilled holes in desktop at one end of the
frame, then expand the length beam and drive shaft to align the
frame with the pre-drilled holes at the other end of the desktop.
Fx4
4mm
Tighten drive shaft
with wrench (G).
C
G
Assembly
• Only to be assembled by a competent person - check carefully for complete and correct assembly before use.
• Dispose of packaging in an environmentally-friendly manner. Recycle cardboard and paper.
• Keep plastic and small parts out of the reach of children. Danger of suocation/choking.
Product care
• Unplug before servicing and cleaning.
• Wipe surfaces with a damp microbre cloth - do not spray cleaner near electrical parts or connections.
• Do not use chemical or abrasive cleaners.
• Do not leave work surface wet.
• Use a drinks coaster to prevent marks.
• Use a mouse mat to prevent abrasion of the work surface.
End of life disposal
• This product must be recycled in accordance with WEEE directives.
Column Number 2
Maximum Load 70kg
Maximum Speed 25mm/second
Input Voltage 100-240v
Lowest Position 710mm
Highest Position 1210mm
Desktop Size Width 1000-1600 mm
Depth 500-800 mm
Duty Cycle Continuous operation for
2 minutes at most after
pause for 18 minutes
Operating Temperature Range 0-40°C
DOWN button
UP button
Press the UP button to lift the desk.
Press the DOWN button to lower the desk.
Symptom Possible Cause Remedy
1No response from a long press of the DOWN
button after power is connected.
Cables not connected properly. Check connections and retry.
Power supply o. Check power supply.
Other fault. Contact your supplier.
2Desk does not lift when up button is pressed.
Overloaded (maximum load 70kg
including desktop). Check and lighten load if necessary.
Power or connection fault. Check power supply and connections
in Symptom 1.
Other fault. Contact your supplier.
3Cuts out during use.
Duty cycle exceeded 2 minutes on
- 18 minutes o.
Wait 30 minutes for the motor to cool
and retry.
Other fault. Contact your supplier.
4No response from pressing the UP or DOWN
buttons, after working for a period of time.
Duty cycle exceeded 2 minutes on
- 18 minutes o.
Wait 30 minutes for the motor to cool
and retry.
Other fault. Contact your supplier.
5During lifting the desktop automatically returns
Overloaded (maximum load 70kg
including desktop). Check and lighten load if necessary.
Desk is shaking too much.
TROUBLESHOOTING
SAFETY
HEIGHT CONTROL INSTRUCTIONS TECHNICAL DATA
Reset
When the desk is at the lowest position press the DOWN button
for 5 seconds.
Anti-collison
The control box includes a built-in sensor which detects
resistance. When encountering any object underneath the desk
the motor instantly stops and reverses. To turn o the anti-
collision function hold down the UP & DOWN buttons together
for 5 seconds.
Other Arrow Indoor Furnishing manuals

Arrow JUDY 101 User manual

Arrow

Arrow JUDY 101 User manual

Arrow QB101 User manual

Arrow

Arrow QB101 User manual

Arrow HAFS233 User manual

Arrow

Arrow HAFS233 User manual

Arrow HAFD233 User manual

Arrow

Arrow HAFD233 User manual

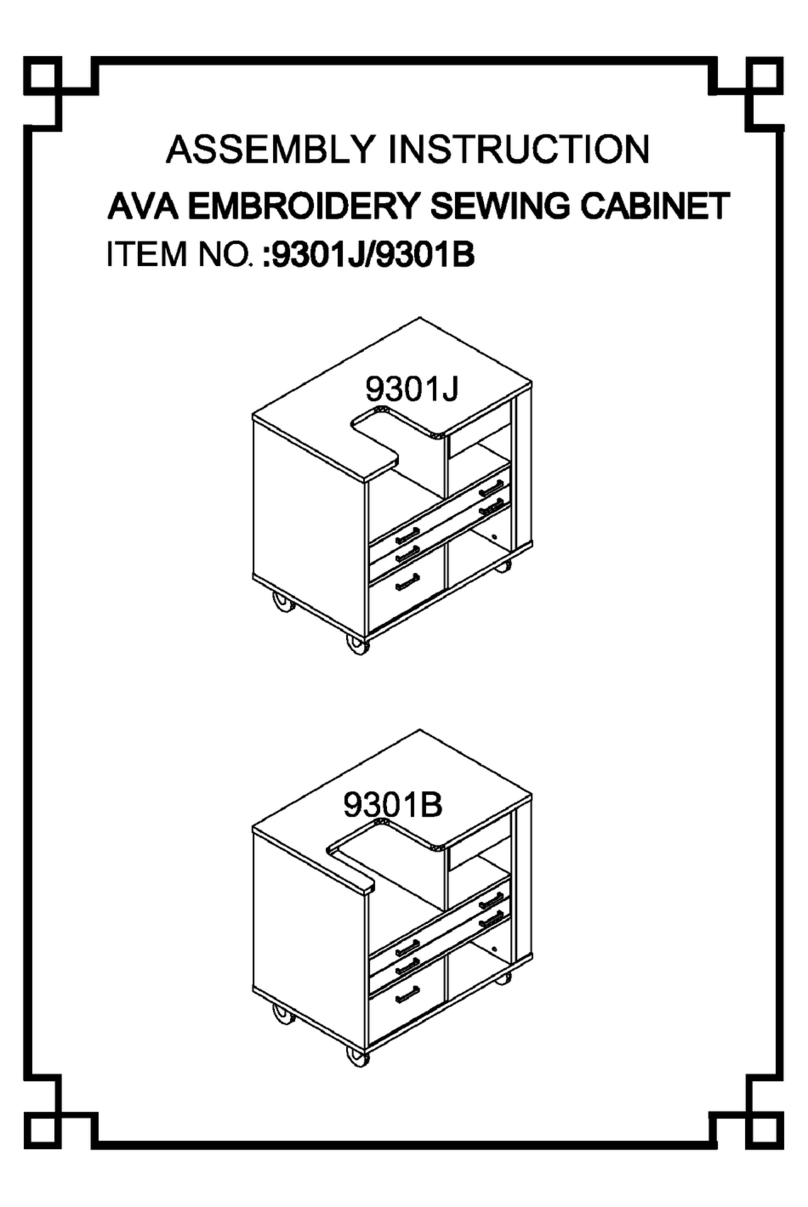
Arrow 9301J User manual

Arrow

Arrow 9301J User manual

Arrow Laverne 451 User manual

Arrow

Arrow Laverne 451 User manual

Arrow SUZI 800 User manual

Arrow

Arrow SUZI 800 User manual

Arrow Dixie 3401 White User manual

Arrow

Arrow Dixie 3401 White User manual

Arrow Christa 1401 User manual

Arrow

Arrow Christa 1401 User manual

Arrow Alice 205 User manual

Arrow

Arrow Alice 205 User manual

Arrow AT101 Use and care manual

Arrow

Arrow AT101 Use and care manual

Arrow Shirley 441 User manual

Arrow

Arrow Shirley 441 User manual

Arrow 3531 User manual

Arrow

Arrow 3531 User manual

Arrow Hobby Craft Desk X1001 User manual

Arrow

Arrow Hobby Craft Desk X1001 User manual

Arrow Harriet 305 User manual

Arrow

Arrow Harriet 305 User manual

Arrow 81100 User manual

Arrow

Arrow 81100 User manual

Arrow Auntie 900 User manual

Arrow

Arrow Auntie 900 User manual

Arrow DIXIE 3401 User manual

Arrow

Arrow DIXIE 3401 User manual

Arrow JUDY 101 User manual

Arrow

Arrow JUDY 101 User manual

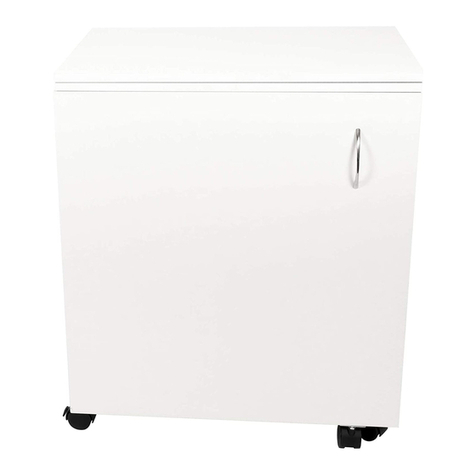
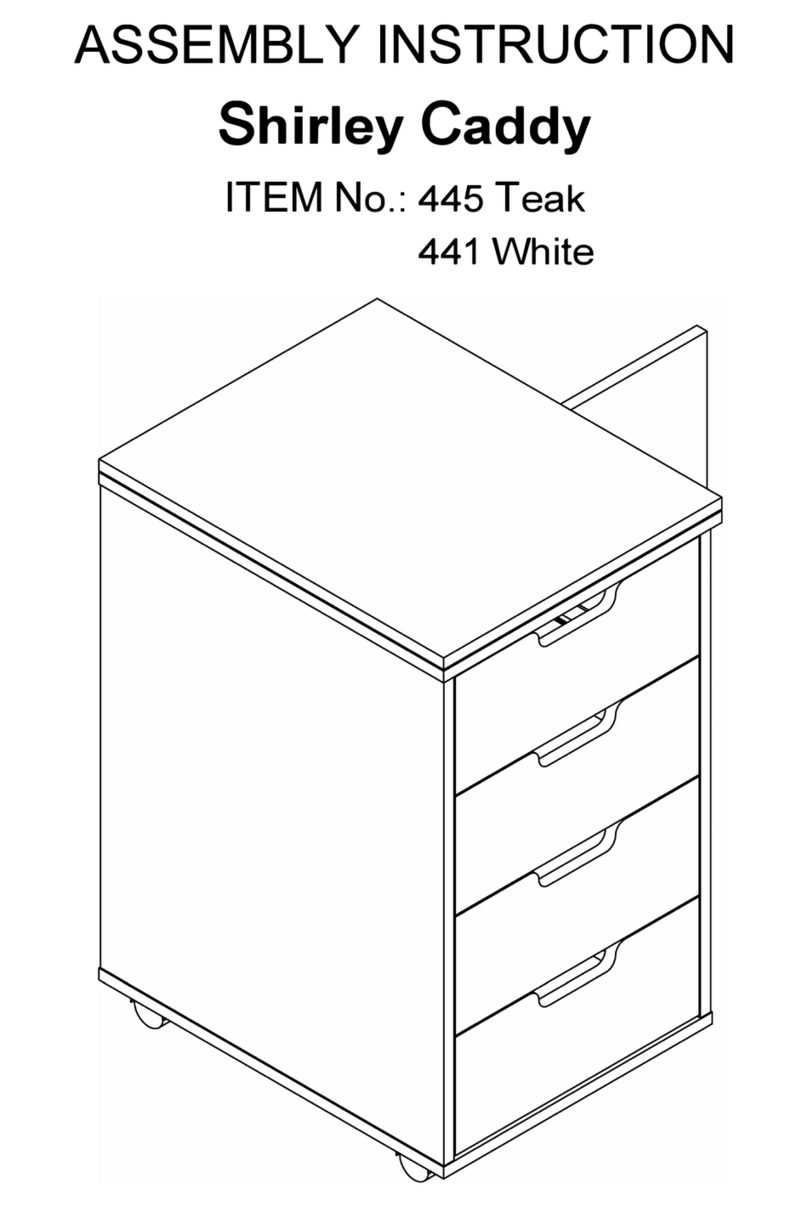
Arrow Shirley Caddy 445 User manual

Arrow

Arrow Shirley Caddy 445 User manual

Arrow Millie 3311 User manual

Arrow

Arrow Millie 3311 User manual

Arrow SS900-B Use and care manual

Arrow

Arrow SS900-B Use and care manual

Popular Indoor Furnishing manuals by other brands

Furniture of America CM-BK602F Assembly instructions

Furniture of America

Furniture of America CM-BK602F Assembly instructions

SVANE MOTION 5000 ADJUSTABLE BED Aassembly Instructions

SVANE

SVANE MOTION 5000 ADJUSTABLE BED Aassembly Instructions

Init PR-MS10265 Assembly instructions

Init

Init PR-MS10265 Assembly instructions

John Lewis Ollie 80346601 instruction manual

John Lewis

John Lewis Ollie 80346601 instruction manual

Blackfire BLOCKSHUTTER EW120 Installation - use - maintenance

Blackfire

Blackfire BLOCKSHUTTER EW120 Installation - use - maintenance

FAB GLASS AND MIRROR Kilimanjaro BC125-B Assembly instruction

FAB GLASS AND MIRROR

FAB GLASS AND MIRROR Kilimanjaro BC125-B Assembly instruction

Exclusive Heritage CL-10048S-WMTP installation guide

Exclusive Heritage

Exclusive Heritage CL-10048S-WMTP installation guide

Costway HW62366 user manual

Costway

Costway HW62366 user manual

Konig & Meyer 18879 INFORMATION FOR USE

Konig & Meyer

Konig & Meyer 18879 INFORMATION FOR USE

SIT&MORE STARDUST 1311-13(FIX) Assembly Instructions Instruction Manual

SIT&MORE

SIT&MORE STARDUST 1311-13(FIX) Assembly Instructions Instruction Manual

MAJA Möbel YOLO 1528 Assembling instructions

MAJA Möbel

MAJA Möbel YOLO 1528 Assembling instructions

Next ELISE Assembly instructions

Next

Next ELISE Assembly instructions

Next LOUIS 649878 Assembly instructions

Next

Next LOUIS 649878 Assembly instructions

Better Homes and Gardens Mercer BH15-084-299-03 manual

Better Homes and Gardens

Better Homes and Gardens Mercer BH15-084-299-03 manual

Costway HV10105 user manual

Costway

Costway HV10105 user manual

Walker Edison BS64BELHUT Assembly instructions

Walker Edison

Walker Edison BS64BELHUT Assembly instructions

burgbad Sana M1153 Instructions and operating manual

burgbad

burgbad Sana M1153 Instructions and operating manual

Randalsa NYMPHE instructions

Randalsa

Randalsa NYMPHE instructions

manuals.online logo
manuals.online logoBrands
  • About & Mission
  • Contact us
  • Privacy Policy
  • Terms and Conditions

Copyright 2025 Manuals.Online. All Rights Reserved.