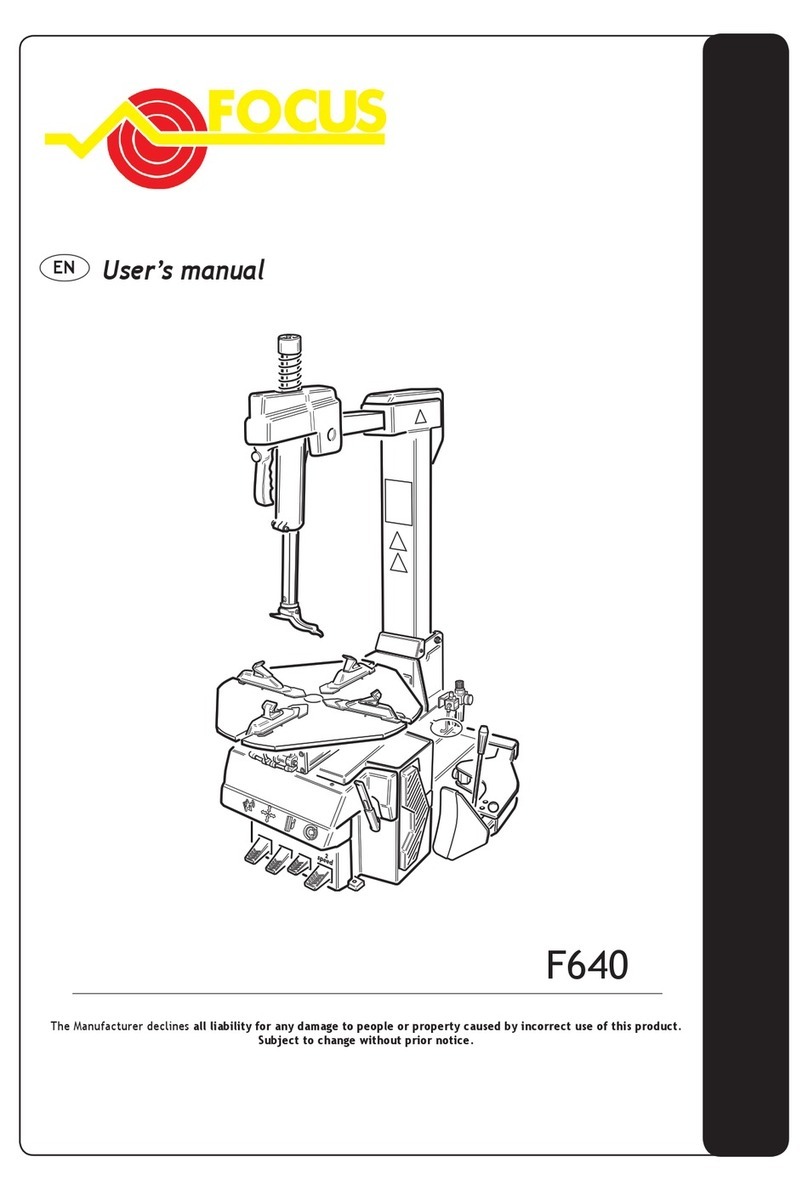
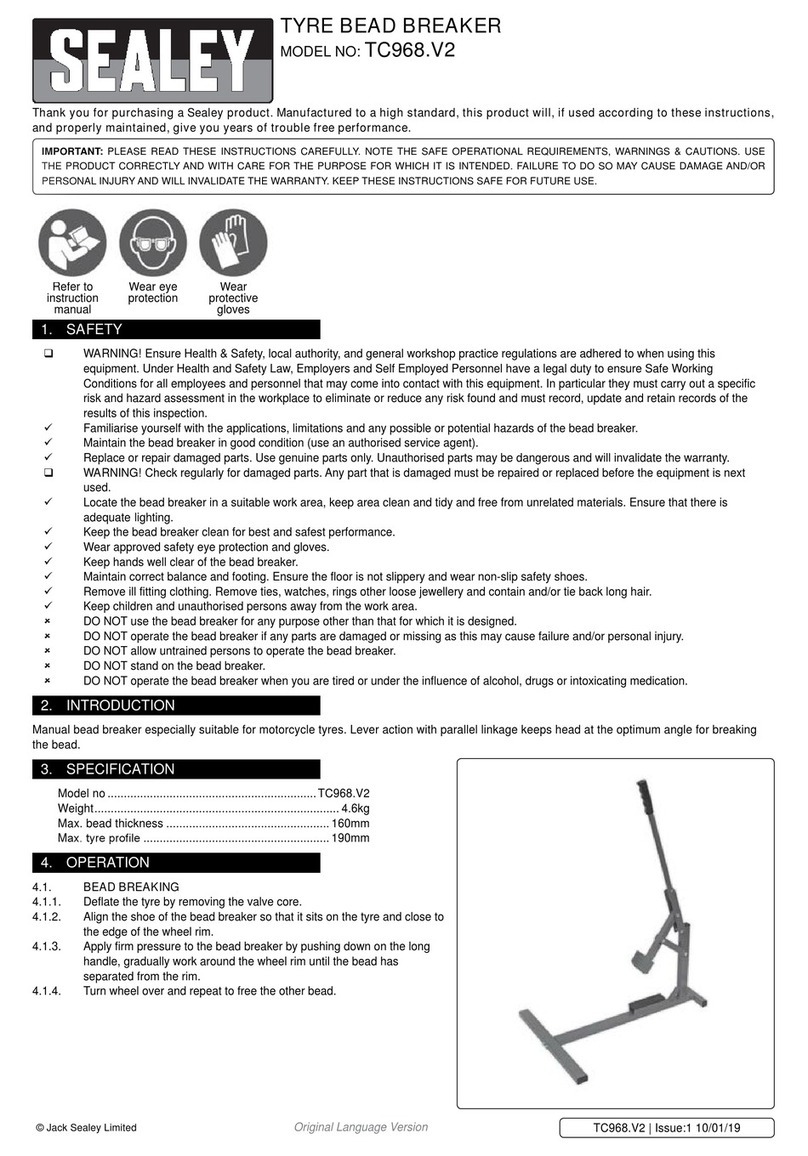
Aston Global ATC-1600 User manual

USER’S MANUAL
Aston Tire Changer Model# ATC-1600
Aston Technologies, Inc.

Aston Tire ChangerATC-1600 User’s Manual
www.astontechusa.com
1

Aston Tire ChangerATC-1600 User’s Manual
www.astontechusa.com
2
Warning!
FAILURE TO OPERATE THIS EQUIPMENT AS DIRECTED MAY CAUSE INJURY OR DEATH. PLEASE
READ THIS ENTIRE MANUAL PRIOR TO INSTALLATION AND OPERATION. BY USING THIS
PRODUCT, YOU AGREE THAT YOU FULLY UNDERSTAND AND COMPREHEND THE FULL
CONTENTS OF THIS MANUAL. MAKE SURE ALL OPERATORS READ AND UNDERSTAND. KEEP
YOUR INVOICE WITH THIS MANUAL FOR FUTURE REFERENCE. MANUFACTURER SHALL NOT BE
LIABLE FOR ANY INJURY TO PERSONS ON DAMAGE TO THINGS CAUSED BY FAILURE TO COMPLY
WITH THESE REGULATIONSAND CAN CANCEL WARRANTY COVERAGE.
Failure to follow danger, warning, and caution instructions may lead to serious personal injury or death to operator
or bystander or damage to property. Do not operate this machine until you read and understand all the dangers,
warnings and cautions in this manual.
OWNER’S RESPONSIBILITY
To maintain machine and user safety, the responsibility of the owner is to read and follow these instructions:
•Follow all installation instructions.
•Make sure installation conforms to all applicable Local, State, and Federal Codes, Rules, and Regulations;
such as State and Federal OSHARegulations and Electrical Codes.
•Carefully check the unit for correct initial function.
•Read and follow the safety instructions. Keep them readily available for machine operators.
•Make certain all operators are properly trained, know how to safely and correctly operate the unit, and are
properly supervised.
•Allow unit operation only with all parts in place and operating safely.
•Carefully inspect the unit on a regular basis and perform all maintenance as required.
•Service and maintain the unit only with authorized or approved replacement parts.
•Keep all instructions permanently with the unit and all decals on the unit clean and visible.
IMPORTANT SAFETY INSTRUCTIONS READ BEFORE OPERATING UNIT
•Read and understand all safety warning procedures before operating the machine.
•Before performing any services or maintenance, always disconnect the machine from its air supply source.
Pump the bead breaker pedal several times to evacuate all compressed air from the machine and disconnect the
unit from its electrical supply source.
•Keep hands and feet clear. Remove hands and feet from any moving parts.
•Keep work area clean and dry. Cluttered, damp or wet work areas invite injuries.
•Keep children away from work area. Do not allow children to handle this machine.
•Consider work area environment. Do not expose equipment to rain. DO NOT use in damp or wet
locations. Keep area well lighted.
•Only trained operators should operate this equipment. All non-trained personnel should be kept away
from work area. Never let non-trained personnel come in contact with or operate machine.
•Use machine correctly. Use machine in the proper manner. Never use adapters other than what is
approved by the manufacturer.
•Do not override or disable safety valves and/or devices.
•Always insure that all safety procedures are followed before any attempt is made to work on or near the
equipment.
•Dress properly. Non-skid steel-toe footwear is recommended when operating machine.

Aston Tire ChangerATC-1600 User’s Manual
www.astontechusa.com
3
•Guard against electric shock. This equipment must be grounded while in use to protect the operator from
electric shock. Never connect the green power cord wire to a live terminal. This is for ground only.
•DANGER! The motor on this machine contains high voltage. Disconnect power at the receptacle before
performing any electrical repairs. Secure plug so that it cannot be accidentally plugged in during service.
•WARNING! RISK OF EXPLOSION. This equipment has internal arcing or sparking parts which should
not be exposed to flammable vapors. This machine should not be located in a recessed area or below floor
level.
•Maintain with care. Keep unit clean for better and safe performance. Follow manual for proper
lubrication and maintenance instructions. Keep control pedals and/or buttons dry, clean and free from
grease and oil.
•STAY ALERT. Watch what you are doing. Use common sense. Do not use tools when you are tired or
distracted from the job at hand.
•Check for damaged parts. Check for condition of all moving parts, breakage of parts or any condition that
may affect the machines operation. Do not use if any component is broken or damaged. Replace or repair
damaged or worn parts immediately.
•Never remove safety related components or device from the machine. Do not use if safety related
components are damaged or missing.
•To reduce fire hazard, keep engine/motor exterior free of oil, solvent, or excessive grease.
•Illegible and missing warning labels must be replaced immediately. Do not use the tire changer if one or
more labels are missing. Do not add any object that could prevent the operator from seeing the labels.
TIRE AND WHEEL SERVICE SAFETY INSTRUCTIONS
Only properly trained personnel should service tires and wheels. Read all safety and operating instructions
thoroughly before use. The following safety instructions are for one-piece wheels only.
•Always refer to the manufacturer’s procedures for multi-piece wheels.
•The machine must be connected to a power supply line circuit bracket set for 30mA.
•Always keep all working surfaces clean and free of debris.
•Always wear durable personal protective work clothing and safety gear during tire service activity.
•To avoid personal injury and/or machine damage, always make sure the tire rim is firmly secured on the tire
changer with the jaws.
•Always remove all wheel weights and the valve core to deflate the tire before servicing.
•Never place your hands between the vehicle wheel rim and the jaws during the locking/clamping stage.
•Always be aware of what each person is doing and what they will do before attempting any two-person
operation.
•Always cover the electric motor and switch box before cleaning the tire changer. Be sure water or cleaner
does not enter the motor or switch box.
•Always disconnect the electric power and air supply before attempting any maintenance.
Demounting & Mounting
•Always clean and inspect the wheel prior to any service.
•Never stand on the frame or work table while demounting or mounting a tire.
•Always keep hands, feet, and other objects away from moving parts while the machine is turned on.
•Always place the narrow bead seat to the outside when clamping. Failure to demount the tire from the narrow
bead seat side may cause damage to the tire beads.
•Always apply an approved rubber lubricant to rim flanges and both tire beads before demounting or mounting

Aston Tire ChangerATC-1600 User’s Manual
www.astontechusa.com
4
and seating the beads.
•Never mount a tire on a damaged or rusty wheel as tire or wheel failure may result during inflation. Explosion
from failure may result in severe injury or death of the operator and bystanders.
Inflation
•Always be sure the bead opposite the tool is in the drop center before rotating the tire when demounting or
mounting to avoid damage to the tire beads.
•Always follow all applicable Local, State, and Federal Codes, Rules, and Regulations; such as the Federal
OSHAStandard Number 1910.177.
•Always use an approved inflation chamber or inflation cage equipped with a self-gripping chuck and remote
inflation gauge and valve.
•Always inflate the tire to manufacturer’s recommended cold operating pressure.
•DO NOT OVER INFLATE! Tire or wheel failure during and after inflation may result in an explosion capable
of causing severe injury or death.
•Never reinflate a tire that has been run under inflated or flat without first demounting the tire and checking for
wheel and tire damage.
•Always inspect the tire interior for loose or broken cords, cuts, penetrating objects, and other damage. Discard
tires that cannot be properly repaired.
•Never rework, weld, heat or braze wheels.
•Never strike the tire or wheel with a hammer.
•Always be sure the tire diameter exactly matches the wheel diameter.
Danger!
Tire failure under pressure can be hazardous. When possible, always place wheels inside an approved inflation chamber
or cage before inflating. Use an approved remote inflation valve, hose, and gauge. Always wear safety goggles for eye
protection. Do not stand beside the wheel or cage during inflation. Keep hands and other parts of the body out of the
cage during inflation. Observe the tire pressure frequently. Do not exceed the manufacturer’s recommended maximum
inflation pressure. Failure to follow these instructions may cause the tire and rim to separate with tremendous force,
resulting in serious personal injury or death.

Aston Tire ChangerATC-1600 User’s Manual
www.astontechusa.com
5
TABLE OF CONTENTS
1. General Information...…………………………………………………………………………………………….6
2. Specifications……………………………………………………………………………………………………..6
3. General Safety Regulation………………………………………………………………………………………..6
4. Safety Devices…………………………………………………………………………………………………….6
5. Transportation……………………………………………………………………………………………………..7
6. Unpacking…………………………………………………………………………………………………………8
7. Installation………………………………………………………………………………………………………...8
8. Identifying Warning Signs……………………………………………………………………………………….10
9. Identification of Control…………………………………………………………………………………………10
10. Working Position……………………………………………………………………………………………….11
11. Correct Operation Checks………………………………………………………………………………………11
12. Operation……………………………………………………………………………………………………….12
13. Maintenance……………………………………………………………………………………………………27
14. Troubleshooting………………………………………………………………………………………………..28
15. Moving the Machine……………………………………………………………………………………………28
16. Storage………………………………………………………………………………………………………….29
17. Warranty………………………………………………………………………………………………………..29

Aston Tire ChangerATC-1600 User’s Manual
www.astontechusa.com
6
1. GENERAL INFORMATION
Tire changer has been specifically designed to demount high-speed bus and truck tires with rims
form 14"to 26"and a maximum 1600mm diameter. Any other use is improper and therefore not
authorized. Before beginning any kind of work on or with this machine, carefully read and
understand the contents of these operating instructions. Shall not liable for any injury to persons or
damage to things caused by improper use of this machine.
Keep this manual near the machine and consult it as needed during operations.
2. SPECIFICATIONS
Pump motor
1.5KW
Gear-box motor
1.8KW
Handles rim form
14"-26"
Max. wheel diameter
63"/1600mm
Max. wheel width
31"/780mm
Weight (with standard accessories)
1256 lbs./570kg
Acoustic pressure level (at work)
LPA<70dB(A)
3. GENERAL SAFETY REGULATION
The use of this machine is reserved to specially trained and authorized personnel. Any unauthorized
changes or modifications to the machine, in particular to its electrics system, relieve form all
liability.
Removing or tampering with the safety devices installed on this machine is in violation of European
safety Regulations.
4. SAFETY DEVICES
Tire changer has a number of safety devices designed to guarantee the utmost operator safety:
1. Check valve on the spindle opening hydraulic line (inside the swivel connector, see fig. B/1).
This prevents the wheel form falling form the spindle if the hydraulic is accidentally broken.
2. pilot operated dual seal check valve (see Fig.B/2)
This prevents the spindle carrier arm from dropping if the hydraulic circuit accidentally breaks.
3. Pressure relief valve factory set at 130 bar ±5% (see Fig. B/3).
This limits the pressure in the hydraulic circuit and ensure correct operation of the plant.
4. pump motor overload cut-out (inside the electric enclosure).
This cuts in if the motor overheats to prevent it from burning out.
5. Mechanical tool arm tip lock device (see Fig.B/4).
Any work, however minor, on the electric system must be
done exclusively by professionally qualified personnel.

Aston Tire ChangerATC-1600 User’s Manual
www.astontechusa.com
7
Prevents the arm form being moved to its “non-working position” if the tool has been removed.
CAUTION!
Removing or tampering with safeties is in violation of European Safety Regulations and relieves
manufacturer of any and all liability for injury to persons to damage to things caused or referable to
such acts.
5. TRANSPORTATION
Depending on customer request, the machine is delivered in 3 packing versions:
1-in a wooden crate with pallet
2-fixed to a pallet
3-no packing
In all cases the machine is protected by a plastic covering.
In the first and second case, the machine must be handled with a fork-lift truck with the forks
positioned as shown in the figure.

Aston Tire ChangerATC-1600 User’s Manual
www.astontechusa.com
8
6. UNPACKING
Once the packing material has been removed. Check the machine visually for any signs of damage.
Keep the packing materials out of the reach of children as they can be a source of danger.
N.B.: Keep the packing for possible future transport.
7. INSTALLATION
INSTALLATION PLACE
Choose the place the machine is to be installed in compliance with current work place safety
regulations. The floor should not be broken or uneven so that the machine will be stable, and the
platform rollers can move freely. If the installation is outdoor, it must be protected by some kind of
roofing against rain. The following work environment conditions are applicable: Relative humidity: form 30-95%
without condensation; Temperature: form 32 ℉-131 ℉ (0-55℃).
WORKPLACE REQUIREMENTS
Maximum machine space requirements are 77"x63"(1950×1600mm) with a minimum distance
from walls as shown in the diagram.
Caution! These measurements are also the tire changers working range. persons other than
specially trained and authorized operators are expressly forbidden to enter this area.
Position the tire changer lifting it with the specific bracket (1, fig. A) with the tool carrier arm (2,
Fig. A) lowered all the way. the spindle (3, Fig. A) closed and the tool carrier slide (4, Fig. A) at its
stop close to the arm. It is not essential to anchor the machine to the floor however; the floor must
be smooth and permit the platform rollers to move freely.
ATTENTION!
The machine must not be operated in explosive atmospheres.

Aston Tire ChangerATC-1600 User’s Manual
www.astontechusa.com
9
ELECTRIC HOOK UP
Before making any electric hook up, check to be certain that the mains voltage corresponds to
that stamped on the voltage tag (attached to the cord near the tire changer’s plug).
It is absolutely essential that:
•the system is equipped with a good grounding circuit.
•The machine is connected to a power supply line circuit breaker set for 30 mA.
•The current instate is adequately protected against overcurrent with fuses or
automatic switch with rated values as showing in the table.
Note the required power draw as highlighted on the data plate fixed to the tire changer.
Check to make sure the shop electric wiring circuit is dimensioned sufficiently to carry this.
Manufacturer shall not be liable for any injury to persons or damage to things caused by
failure to comply with these regulations and can cancel warranty coverage.
SENSE OF ROTATION CHECKS
Connect the machine to the mains, switch “ON” (5, fig. B/7) and check that the gearbox motor
rotation corresponds to the indicating arrow (6, fig. B/6).
power supply
Rated current
Fuse
Switch
380v-3ph-50/60Hz.
10A
16A
Work on the electric system, even if minor, must be done
exclusively by professionally qualified personnel.

Aston Tire ChangerATC-1600 User’s Manual
www.astontechusa.com
10
8. IDENTIFYING WARNING SIGNS
9. IDENTIFICATION OF CONTROL
The mobile control center (fig. c) enables the operator to work at any position around the machine.
On this mobile control center, the following controls are located:
•The lever (8 fig. c) which in position a lift the chuck arm and in position b lowers it; in
position c moves the tool holder arm and in position dmoves them away. (Note: in order to
memories this operation, there is a hole in the lever guard corresponding to position c).
WARNING!
Unreadable and missing warning labels must be replaced
immediately.
Don’t interpose any object which could prevent the operator
from seeing the labels.
Use the code in this table to order labels that you might need.

Aston Tire ChangerATC-1600 User’s Manual
www.astontechusa.com
11
•The chuck switch (9, fig.c) when moved upwards, opens the arms of the self-centering
chuck (LOCKING), and when moved down, close the arm of the self-centering chuck
(UN-LOCKING).
•The pedal (10, fig.c) when pressed on the left or right side rotates the self-centering chuck
in the same direction as shown by the arrows placed on the foot pedal.
NOTE: all the controls are very sensitive and small movements of the machine can be done with
precision.
The tire changer also has:
•Lever (15, Fig.D) to tip the tool carrier arm (14, Fig.4) form its work to its non-working
position and vice-versa.
•Handle (19, Fig.D) that permits alternative use of the bead-breaking disk (17, Fig.D) or the
hooked tool (18, Fig.D).
10. WORKING POSITION
The diagram shown here illustrates the various working positions (A, B, C, D) referred to in the
following pages describing how to use the tire changer. Use of these positions ensures greater
precision, speed and safety for those using the machine.
11. CORRECT OPERATION CHECKS
Before using the tire changer, a number of checks should be made to ensure it works correctly.
CAUTION! The operations described here should be done with the tool carrier arm in its
non-working position. First use lever (15, Fig.d) to tip the arm to this position.
Lifting arm lift or lower and hydraulic chuck open or close, there is
always a potential for crushing anything in its movement range.
Always work form the position given in the instructions keep well
out of the working range.

Aston Tire ChangerATC-1600 User’s Manual
www.astontechusa.com
12
1) Move the joystick (8, Fig.c) up (a): the spindle carrier arm (2, Fig.a) should lift; move the
joystick down (b): the arm should lower. Move the joystick towards the left (C): the tool carriage
and the mobile platform (13, Fig.D) should move towards the spindle (3, Fig.A); move the joystick
towards the right (d) the carriage and platform should move away from the spindle.
2) Tum switch lever (9, Fig.C) towards the top: the spindle arm should open; (2, Fig.A) move the
lever down and the spindle arms should close.
3) Depress the right pedal (10, Fig.C): the spindle (2, Fig.A) should turn clockwise; depress the left
pedal: the spindle should turn anticlockwise.
4) Check to be certain the hydraulic circuit is working correctly:
•move switch lever (9, Fig.c) towards the top until the spindle arms are fully extended.
•hold the switch lever in this position (Top) and check if the pressure shown on the gauge on
the swivel fitting is 130 bar 5%.
If the pressure shown in not as indicated here, do not use the tire changer and call your
nearest Aston’s distributors.
12. OPERATION
CAUTION!
Do not move your face close to the tool carrier arm when you
release it to tip it as needed.
DANGER!
When the spindle carrier arm is lowered. There is
always a potential for crushing anything in its
movement range. Always work from the position
given in the instructions keep well out of the
working range of the various moving arms.
DANGER!
When the spindle arms open or closed, there is
always a potential for crushing anything in their
movement range. Always work form the position
given in the instructions keep well out of the
spindle’s working range.
WARNING!
During all operations, keep hands and the other parts of the body
as possible form moving parts of the machine.
Necklaces, bracelets and too large clothes can be dangerous for
the operator.

Aston Tire ChangerATC-1600 User’s Manual
www.astontechusa.com
13
LOCKING THE WHEEL
Always remember that the safest locking is on the central flange.
N.B. for rims with channel, clamp the wheel so that the channel is near the outside of the rim (fig/1)
WARNING!
In locking the wheel, make sure that clamps are properly
positioned on the rim, so as to prevent the tire form falling.
1)take the mobile control unit to work position B.
2)pull the tool-holder arm (14, Fig) into the upright position.
3) Operating form the mobile control center, move the sliding table (13, fig.
D) away from the self-centering chuck and place the wheel in vertical
position on the sliding table.
4) Continuing to operate form the mobile control center, lift or lower the
arm in order center the self-centering chuck (3, fig. a) relative to the rim.
5) With the jaws (22, fig. A) in the closed position, move the wheel on the
sliding table to the self-centering chuck. Operate the chuck switch (9, fig)
to open the self-=centering chuck and lock onto the inside wheel rim. The
most convenient locking position on the rim may be selected according to
fig/1-E/2-E/3-E/4-E/5 and E/6.

Aston Tire ChangerATC-1600 User’s Manual
www.astontechusa.com
14
TUBELESS AND SUPERSINGLE WHEELSBEAD BREAKING
•Look the wheel on the self-centering chuck, as previously described, and ensure that the tire
is deflated.
•Take the mobile control unit to work position C.
•LOWER THE TOOL-HOLDER ARM (14, Fig.F) into is working position and allow it to
lock.
•Operating form the mobile center, rotate the wheel until the outside of the rim skims the
bead-breaker disk(fig.F).
•Rotate the wheel and at the same time, advance the bead-breaker plate with small forward
movements following the profile of the rim, with the plate.
•Continue until the first bead is fully detached. To facilitate this operation, lubricate the bead
and the edge of rim with tire lubricant whilst the wheel is rotated.
DANGER!
This operation can be extremely dangerous. Do it manually only
if you are certain you can keep the wheel balanced. For large and
heavy tires an adequate lifting device must be used.
DANGER!
Do not very the area with a wheel clamped on the tire changer
and lifted up from the floor.
DANGER!
Always check to be certain that the arm is corrected hooked to
the carriage.
DANGER!
The bead breaker disk must NOT be pressed against the rim but
against the bead.

Aston Tire ChangerATC-1600 User’s Manual
www.astontechusa.com
15
Remember that the stronger the tire’s adherence to the rim. the slower must be the disk’s
penetration.
•Bring the tool carrier arm (14,Fig.F) back form the edge of the rim. Release the hook, raise
the arm to its non-working position, shift it and re-hook it in its second work
position(Fig.G).
•Push the double headed tool lever (19,Fig.G)and turn the head 180º until it locks
automatically.
Then slide the tool-holder arm along the sliding table and lock it in position.
Repeat the operation previously described until the second bead is completely broken.
N.B.: During the bead breaking. The claw(18,Fig.G) can be lowed so that it is out of the way.
DEMOUNTING
Tubeless tires can be demounted in two ways:
1) If the tire is not difficult to demount, once the beads have been loosened, use the bead disk to
push against the inside plane of the tire until both beads come off the rim (see Fig.H)
2) With super single or very hard tires the procedure described above cannot be used. The hook
tool will have to be used as follows:
•Transfer the tool carrier arm to the outside plane of the tire.
•Rotate the wheel and at the same time move the hook tool forward inserting it between rim
and bead until it is anchored to the bead (see Fig.I)
•Move the rim 4-5 cm form the tool taking care that it does not unhook form the bead.
•Move the hook tool towards the outside until the red reference dot is by the outside edge of
the rim.
•Insert lever BL(17,Fig.I) between rim and bead at the right of the tool.
•Press down on the lever and lower the wheel to bring the edge of the rim about 5 cm form
the hooked tool.
•Turn the wheel anticlockwise pressing down on lever BL until the tool bead is completely
CAUTION!
To avoid all risk, lubricate the beads turning the wheel
CLOCKWISE if you are working on the outside plane and
ANTICLOCKWISE if working on the inside plane.
DANGER!
Do not hold your hands on the tool when you bring it back to its
work position. Your hand(s) could be trapped between the tool
and the wheel.
Take the mobile control unit to work position D.
Take the mobile control unit to work position C.
Take the mobile control unit to work position B.

Aston Tire ChangerATC-1600 User’s Manual
www.astontechusa.com
16
off.
•Move the tool carrier arm to its non-working position and then move it to the inside plane of
the wheel.
•urn the hook tool 180º and insert it between rim and bead(see Fig.L).Move it until the
bead is by the edge of the rim (best to do this with the wheel turning).
•Move the rim about 4-5 cm from the tool making sure the hook does not detach form the
rim.
•Move the hook tool so that its red reference dot is about 3 cm inside the rim.
•Insert lever BL(17,Fig.I) between rim and bead at the right of the tool.
•Press down on the lever and lower the wheel to bring the edge of the rim about 5 cm form
the hooked tool. Turn the wheel anticlockwise pressing down on lever LA until the tire
comes completely off the rim.
MOUNTING
Tubeless tires can be mounted using either the bead breaker disk or the hook tool. If the tire is not
problematic, use the bead loosener disk. If the tire is very rigid, the hook tool must be used.
TYRE MOUNTING WITH THE DISK
Follow these steps:
1) If the rim has been removed from the spindle, put it back on the spindle as described in the
section on “CLAMPING THE WHEEL”
2) Lubricate both beads and the rim with tire manufacturer recommended lubricant.
Take the mobile control unit to work position D.
Take the mobile control unit to work position B.
DANGER!
When the beads come off the rim, the tire will fall. Check to
make sure there are no bystanders in the work area.

Aston Tire ChangerATC-1600 User’s Manual
www.astontechusa.com
17
3) Attach the RP clip to the outside edge of the rim at the highest point(see Fig.M).
4) Put the tire on the platform and lower the spindle (make sure the clip is at the high point).
5) Lift the rim with the tire hook to it and turn it anticlockwise about 15-20 cm. The tire will be
positioned tilted across the rim.
6) Position the bead loosener disk against the second bead of the tire and turn the spindle until the
clip is at the low point(at 6 o’clock)
7) Move the disk away from the wheel.
8) Remove the clip and replace it at 6 o’clock outside the second bead(see Fig.N).
9) Turn the spindle clockwise 90º to bring the clip to 9 o’clock.
10)Move the disk forward until it is about 1-2 cm inside the edge of the rim. Begin to turn the
spindle clockwise checking to make sure that, with a 90º turn, the second bead begins to slip
into the center well.
11)When the bead is fully mounted, move the tool away from the wheel, tip it to its non-working
position and remove the clip.
12)Position the platform under the wheel, lower the spindle until the wheel rests on the platform.
13)Close the arms of the spindle completely. Support the wheel to prevent it falling off.
14)Move the platform to remove the wheel form the spindle.
15)Remove the wheel.
CAUTION!
Make sure the clip is firmly attached to the rim.
Take the mobile control unit to work position B.
Take the mobile control unit to work position C.
Take the mobile control unit to work position B.
DANGER!
This operation can be extremely dangerous. Do it manually only if
you are certain you can keep the wheel balanced.
For large and heavy tire an adequate lifting device must be used.

Aston Tire ChangerATC-1600 User’s Manual
www.astontechusa.com
18
NB: If the tire permits it, the operation described above can be speeded up by mounting both
beads at the same time:
-Follow the steps described under points 1,2,3,4 described above but instead attaching the clip to
just the first bead (refer to point 4)clip it to both.
-Lift the rim with the tire hooked to it and turn it anticlockwise 15-20 cm (clip at 10 o’clock).
-Follow the steps described in points 10,11,12,13,14,15 above.
MOUNTING WITH THE HOOKED TOOL
1) Follow the steps described in points 1,2,3,4,5 for mounting with the disk.
2) Move the tool carrier arm to its non-working position. Move it to the inside plane of the tire and
re-hook it at this position.
3) Check to make sure the hook tool is positioned on the wheel side. If not, press
lever(19,Fig.D)and turn it 180º.
4) Move the tool forward until the red reference dot is lined up with the outside edge of the rim
and about 5 mm form it(see Fig.O).
5) Move to the outside of the wheel and check the exact position of the took visually and adjust it
Take the mobile control unit to work position D.
Take the mobile control unit to work position C.

Aston Tire ChangerATC-1600 User’s Manual
www.astontechusa.com
19
as needed. Then turn the spindle clockwise until the clip is at the bottom (6 o’clock). The first
bead will be on the rim.
6) Remove the clip.
7) Remove the tool from the tire.
8) Move the tool carrier arm to its non-working position. Move it to the outside plane of the tire
and re-hook it in this position.
9) Turn the tool 180º with lever(19,Fig.D).
10)Attach the clip at the bottom (6,o’clock) outside the second bead(see Fig.N)
11)Turn the spindle clockwise to about 90º(clip at 9 o’clock).
12)Bring the tool forward until the red reference dot is lined up with the outside edge of the rim and
about 5 mm form it. Begin to turn the spindle clockwise and check if, after about 90º of rotation
the second bead has started to slip into the center well. Continue turning until the clip is at the
bottom (6 o’clock). The second bead will now be mounted on the rim.
13)Follow the steps described in points 11,12,13,14,15 for mounting with the disk since this will
ensure that the wheel is removed correctly form the machine.
TUBED WHEELS BEAD BREAKING
WARNING: Unscrew the bush which fixes the valve when deflating the tire so that the valve,
coming in the inside of the rim, is not an obstacle during bead breaking.
Follow all the steps described previously for bead breaking tubeless tires.
With tubed tires, however, stop disk movement as soon as the bead has loosened to avoid damaging
the tube inflation valve.
DEMOUNTING
1) Tip the tool carrier arm (14,Fig.D)to its non-working position. Move it to the outside plane of
the wheel and re-hook it in this position.
2) Rotate the wheel and at the same time move the hook tool(18,Fig.D)forward inserting it
between rim and bead until it is anchored to the tool.
3) Move the rim 4-5 cm form the tool taking care that it does not unhook form the bead.
4) Move the hook tool towards the outside until the red reference dot is by the outside edge of the
rim.
5) Insert lever BL(see Fig.P)between rim and bead at the right of the tool.
6) Press down on the lever and lower the wheel to bring the edge of the rim about 5 cm from the
hooked tool.
Take the mobile control unit to work position D.
Take the mobile control unit to work position C.
Take the mobile control unit to work position B.
Table of contents
Other Aston Global Tyre Changer manuals