manuals.online logo
Brands
  1. Home
  2. •
  3. Brands
  4. •
  5. Audiovox
  6. •
  7. Car Video System
  8. •
  9. Audiovox VOD285S - Dual LCD Monitors User manual

Audiovox VOD285S - Dual LCD Monitors User manual

OPERATION
MANUAL
VOD285S / VOD285P
DUAL 8.5" OVERHEAD
LCD MONITORS WITH
DUAL DVD PLAYERS
128-7542
®
Important Notice
An LCD panel and/or video monitor may be installed in a motor vehicle and visible to the driver if the LCD panel or video monitor is used
for vehicle information, system control, rear or side observation or navigation. If the LCD panel or video monitor is used for television
reception, video or DVD play, the LCD panel or video monitor must be installed so that these features will only function when the vehicle
is in “park” or when the vehicle’s parking brake is applied.
An LCD panel or video monitor used for television reception, video or DVD play that operates when the vehicle is in gear or when the
parking brake is not applied must be installed to the rear of the driver’s seat where it will not be visible, directly or indirectly, to the operator
of the motor vehicle.
Warnings
•Do not use any solvents or cleaning materials when cleaning the video monitor.
•Do not use any abrasive cleaners, they may scratch the screen.
•Use only a lightly dampened lint free cloth to wipe the screen if it is dirty.
•Lock the LCD screen in the fully closed position when not in use.
•Before putting on headphones always adjust the volume setting to the lowest position.
•Remember to leave the dome light switch in the off or auto positions when the vehicle is unattended, as the dome lights, if left on, can drain
the vehicle’s battery.
•Do not put pressure on the screen.
•Caution children to avoid touching or scratching the screen, as it may become dirty or damaged.
Television Reception
This entertainment system is designed primarily for viewing prerecorded movies or playing video games. Television reception in a moving
vehicle will be limited and in some areas will not be possible due to weak and variable signal strength. Television viewing in a stationary
vehicle will result in an improvement, but may still be marginal due to signal strength. The quality of the picture will not be consistent with
home TV reception. Reception may be affected by weather and distance from TV station. A weak signal may cause the picture to roll, be
snowy, or cause some color loss.
Licensed under one or more of the following patents,
Patent NOS. 5,775,762 and 5,927,784
3
Congratulations on your purchase of the Audiovox VOD285
Dual DVD Player with Dual Drop-Down Video / Monitors.
The VOD285 has been designed to give you and your
family many years of video entertainment in the mobile
environment. Please read the directions that follow to
familiarize yourself with the product to ensure that you
obtain the best results from your equipment.
Please note: Installation options vary, see the individual
owner’s manuals for each component in your system to
obtain a full understanding of each component’s operation.
Safety Precaution
For safety reasons, when changing video media it is
recommended that the vehicle is not in motion, and that you
do not allow children to unfasten seat-belts to change video
media or make any adjustments to the system. System
adjustments can be accomplished using the remote control,
while seat-belts remain fastened. Enjoy your Audiovox
entertainment system but remember the safety of all
passengers remains the number one priority.
• Dual DVD Players
• Dual 8.5" TFT (Thin Film Transistor) Active Matrix LCD
(Liquid Crystal Display) Monitors
• OSD (On Screen Display) for Control of Picture Quality
and Functions
• Dual channel Infrared Transmitter for Optional IR
Wireless Headphones
• Five Audio / Video Source Inputs (DVD1, DVD2,
AV1, AUX/Game, TV*/AV2)
•Dome Lights with Built-in Three Way Switch
• Video Display ON/OFF Control (When LCD Panel is
Opened and Closed)
•Last Position Memory for DVD
•Two Headphone Jacks
• Screen Mode Select Switch (16:9, 4:3) for each monitor
•Game Port
•Full Function Remote Control
•Backlit Controls for Low Light Operation
* Optional TV tuner (P/N PODTVT)
FEATURES
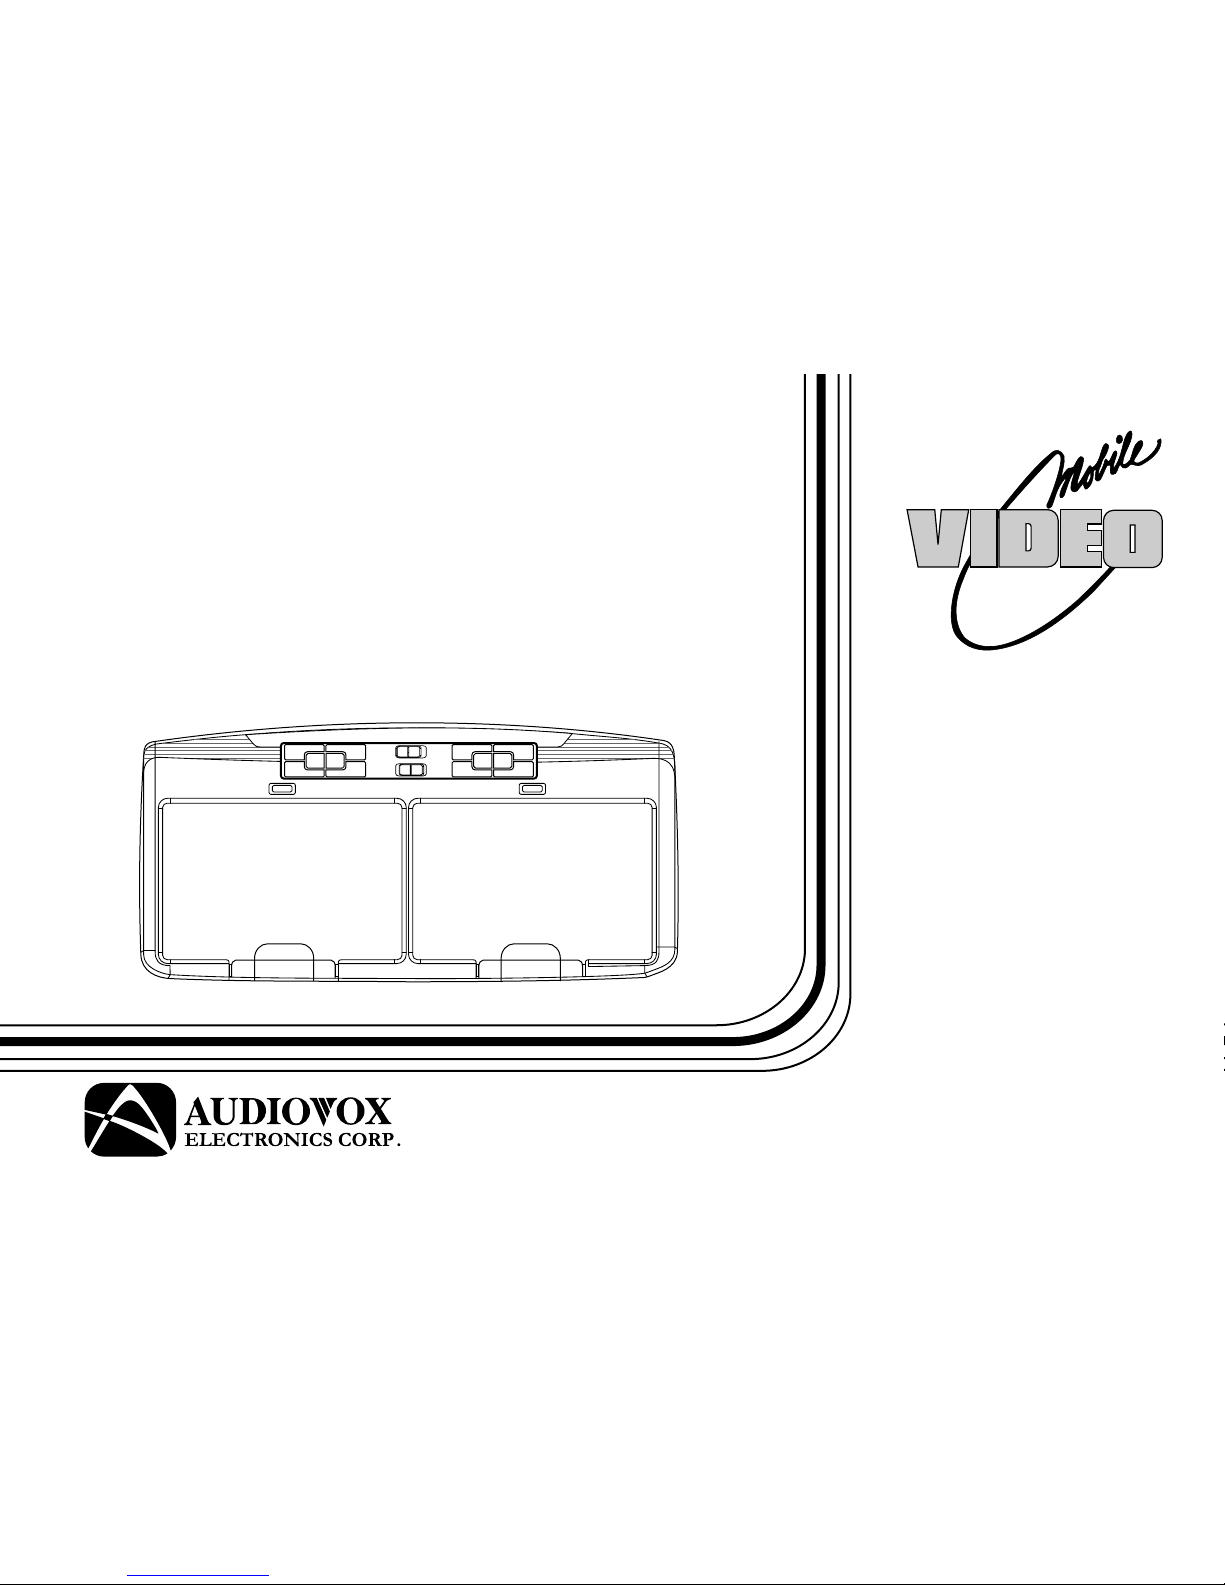
The VOD285 is a dual DVD, dual screen system. The system consists of two independent DVD players (DVD1/DVD2) and two independent
LCD screens – M1 (monitor 1) and M2 (monitor 2). Also included in the system, a shared remote control, game controller, a dual channel
IR (Infrared) transmitter for wireless audio headphone reception and a wireless FM modulator, which allows the audio from the source on the
M1 or M2 monitor to be heard on the vehicle radio.
This unit is capable of the following:
• Play a DVD in DVD1, watch it on Monitor 1 while watching TV (optional), an auxiliary input or playing a game on Monitor 2
• Play a DVD in DVD2, watch it on Monitor 1 while watching TV (optional), an auxiliary input or playing a game on Monitor 2
• Play a DVD in DVD1, watch it on Monitor 2 while watching TV (optional), an auxiliary input or playing a game on Monitor 1
• Play a DVD in DVD2, watch it on Monitor 2 while watching TV (optional), an auxiliary input or playing a game on Monitor 1
• Play a DVD in DVD1 and watch it on both Monitor 1 and Monitor 2
• Play a DVD in DVD2 and watch it on both Monitor 1 and Monitor 2
• Watch TV (optional) on Monitor 1 and Monitor 2
• Watch an auxiliary input on Monitor 1 and Monitor 2
• Listen to CD’s or MP3 files
The system includes a shared remote control that operates both DVD players and both monitors. There are two buttons on the remote control,
User Select M1/M2, which allow the user to select which unit (M1 or M2) will be controlled. When the M1 button is pressed, the remote will
control the DVD1 player and monitor M1. When the M2 button is pressed, the remote will control the DVD2 player and monitor M2.
For example:
• Press M1 or M2 to select the remote control functions.
• Press the Power button on the remote control to turn the unit on. (for example: press M1 and Power to turn on monitor 1)
• To access DVD1 while watching on monitor M1, press M1, select DVD1 with the SOURCE button and use the DVD buttons to control
the DVD1 player.
• To access DVD2 while watching on monitor M1, press M1, select DVD2 with the SOURCE button and press M2 to access the DVD2 controls.
• To access DVD1 while watching on monitor M2, press M2, select DVD2 with the SOURCE button and press M1 to access the DVD2 controls.
For complete instructions please read the owner's manual.
QUICK START GUIDE
4
5
CONTROLS AND INDICATORS DIAGRAM (FRONT VIEW)
PUSH PUSH
4
3 16
17
18
20
21
2
1
19
22
S S
FMM SOURCE SELECT
M1 M2
5 6 7 8 9 10 11 12 13 14 15 4
23
ON OFF AUTO
6
CONTROL FUNCTION DESCRIPTION
1. Screen Release – Push to release the screen for Monitor 1.
2. Screen Mode Button – Allows the user to change the screen format (Aspect Ratio 4:3 or 16:9) on Monitor 1.
3. Source Select – Use to select one of the five sources: DVD1, DVD2, AV1, AUX / GAME, AV2 / *TV (Optional) on Monitor 1.
4. Dome Lights – Provide additional interior illumination.
5. PLAY (u) Button – This button is used to start playback of a disc for DVD1.
6. STOP (n) Button – This button is used to stop playback for DVD1.
7. EJECT () Button – This Button is used to eject the disc for DVD1.
8. POWER ( ) Button – Used to turn the DVD1 and Monitor 1 system on/off. Bright red when the system is on, dim when off.
9. Three Position Dome Light Switch
ON – Turns on the dome lights.
OFF – The dome lights will not turn on in this position.
AUTO – Automatically switches on the dome lights in conjunction with the vehicle's interior illumination.
10. FMM Source Select Switch – Used to select the audio source to the FM Modulator, Monitor 1 (M1) audio or Monitor 2 (M2) audio.
11. POWER ( ) Button – Used to turn the DVD2 and Monitor 2 system on/off. Bright red when the system is on, dim when off.
12. EJECT () Button – This Button is used to eject the disc for DVD2.
13. STOP (n) Button – This button is used to stop playback for DVD2.
7
14. PLAY (u) Button – This button is used to start playback of a disc for DVD2.
15. Infrared Transmitter and Sensor – Use to transmit audio to the wireless headphones. Also allows the remote control to operate the
VOD285 and to control other accessories in the system.
16. Source Select – Use to select one of the five sources: DVD1, DVD2, AV1, AUX / GAME, AV2 / *TV (Optional) on Monitor 2.
17. Screen Mode Button – Allows the user to change the screen format (Aspect Ratio 4:3 or 16:9) on Monitor 2.
18. Screen Release – Push to release the screen for Monitor 2.
19. Ventilation Openings
20. Monitor 2 Cut Off Switch – Used to turn off Monitor 2 when in the closed position.
21. LCD Panel Monitor 2
22. LCD Panel Monitor 1
23. Monitor 1 Cut Off Switch – Used to turn off Monitor 1 when in the closed position.
CONTROLS AND INDICATORS DIAGRAM (BACK VIEW)
7 16 5 43 2
GAME PORT
IR
M1M2
VIDEO L
AUDIO
R
AUX INPUT
8
1. Headphone Jacks (M1)
Allows the use of wired headphones with a 1/8" plug for listening to the Monitor 1 video program audio.
2. Infrared Sensor
Allows the remote control to operate the VOD285 and control other accessories in the system.
3. Auxiliary Audio Left Input
4. Auxiliary Audio Right Input
5. Auxiliary Video Input
6. Game Port
Connect the supplied game controller to this input to play a variety of video games.
Note: When using the Game Controller the AUX input must be unplugged.
7. Headphone Jacks (M2)
Allows the use of wired headphones with a 1/8" plug for listening to the Monitor 2 video program audio.
1
2
CONTROLS AND INDICATORS DIAGRAM
(SIDE VIEW)
1. LED Indicator
Disc insertion slot indicator.
2. DVD disc insertion slot
For loading and removing discs.
9
REMOTE CONTROL OPERATION
BATTERY COVER
Battery Installation
Before attempting to operate your Remote Control, install the
batteries as described below.
1) Turn the Remote Control face down. Using a fingernail, lift the
battery cover off.
2) Install Two “AAA” batteries. Make sure that proper polarity
(+ or -) is observed.
3) Align the cover tabs with the remote control and press down
until the cover clicks.
The remote control will operate the VOD285 and most Audiovox
VCP's. It is not a universal remote control and will not control
equipment from other manufacturers.
10
1
4
7 9
2
5
8
6
3
0
SUBTITLEANGLE
VCP
IRT
ON/OFF
TV DVD
DISP LAY FMM
ON/OFF CHAN NE L
SEL EC T
ZOOMAUDIO
PLAY
STOP
II PAU SE
SETUP
REPEAT
RETURN
MEN U
A-B
M1
POWER
USER
EJE CT
SELECT
M2
SOURCE
AUTO
MEM OR Y
SKIP/
SEARCH
ERASE/
WRITE
ENTER
+
PIX
VOL
MUT E
-
CH
CH
137
236
3
38
4
35
534
632
33
7
8
931
10 30
11
12 29
13 28
14 27
15 26
16 25
17 24
18 23
19 22
20 21
MAIN FUNCTION DESCRIPTION
1. POWER Button*
Press this button to turn the VOD285 series ON and OFF.
2. SOURCE Button*
Each time the button is pressed, the audio / video source will
change: DVD1 / DVD2 / AV1 / AUX or GAME / AV2 or TV**.
3. AUTO MEMORY Button (AUTO PROGRAM Button)**
When the AUTO MEMORY button is pressed, all channels
are searched and channels that are detected with signals of
sufficient levels are automatically stored.
4. SKIP / SEARCH Button**
This button selects between SKIP and SEARCH mode. In
"SKIP mode" the TV tuner will tune and stop on channels that
are programmed into memory when the CHANNEL UP / DOWN
buttons are used. When the SKIP mode is disable, the TV will
stop on all active channels.
* Function control is available on the unit and the remote control.
** The TV Option will only be displayed and the TV control
functions are only available if the optional TV Tuner
(P/N PODTVT) is installed.
NOTE: To control the individual units (M1 / M2) press either M1 or
M2 before pressing any other button. For example, to turn M1 ON,
press M1 and then the power button. The remote will stay in M1
mode until the M2 button is pressed.
11
5. ERASE / WRITE Button**
While tuned to a channel, pressing this button will store or erase the channel from memory. The stored channel numbers are displayed
in "GREEN" and the erased channel numbers are displayed in "RED".
6. MUTE Button
Press this button to mute the audio.
Pressing the button again restores the sound to the previously set level.
7. ENTER Button
Used to implement a selected setting or menu option.
8. CURSOR / CHANNEL UP DOWN** (pqtu)
Use these buttons to access menu selections on the screen. Use the CHp to increase the channel number and use CHq to decrease
the channel number.
9. MENU Button
Allows the user to access the DVD (DVD MODE) main menu.
10. RETURN Button
Not used in this model.
11. A-B Button
Allow user to repeat the playback from point A to point B.
Press A-B button On-Screen Display DVD player
Once Repeat A- Mark the beginning of the section to repeat (Set point A)
Twice Repeat AB Mark the end of the section to repeat (Set point B)
3 times AB Off Cancel the A-B repeat function
12. TV Mode Select Button**
Switches certain function keys on the remote control for TV functions.
12
13. DVD Mode Select Button
Switches certain function keys on the remote control for DVD functions.
14. DISPLAY Button
Press to display the current disc information while the disc is playing. Press the cursor (pqtu) buttons to highlight the desired
option. For title and chapter selection use the number buttons to enter the desired title or chapter number for angle, audio, and subtitle.
Press the ENTER button repeatedly to change the item.
Title
Chapter
Angle
Audio
Subtitle
15. ZOOM Button
Press this button to enlarge the picture when playing a DVD disc.
Press ZOOM button DVD player perform
Once Enlarge the picture 2 times of the original size
Twice Enlarge the picture 3 times of the original size
3 times Enlarge the picture 4 times of the original size
4 times Picture is returned to original size
16. AUDIO Button
Press to display and select the AUDIO language in DVD mode. Each time you press the button, the language changes.
Note: The languages for audio vary from disc to disc.
17. PAUSE (II) Button
Allows the user to pause the playback.
Pressing pause again or pressing the Play Button will resume playback.
DVD
Title
Audio
Subtitle
-/- Chapter Angle 1/1
00:00:14
Ch ENG
Stop
5.1
Off
1/1
1/1
13
18. STOP (<) Button*
Press to stop playback.
19. PREVIOUS (9) Button
Press to return to the previous chapter or track.
20. NEXT (:) Button
Press to skip to the next chapter or track.
21. SCAN BACKWARD (7) Button
Press to search in a backward direction. Press repeatedly to change the search speed from 2, 4, 8, 20 times the normal speed.
22. SCAN FORWARD (8) Button
Press to search in a forward direction. Press repeatedly to change the search speed from 2, 4, 8, 20 times the normal speed.
23. PLAY Button*
Press to activate the play mode while a disc is loaded in the disc compartment.
24. ANGLE Button
Press to display and select different camera angles in DVD mode. Each time you press the button, the angle changes.
Note: The numbers of angles vary from disc to disc. Not all discs contain this option.
25. SUBTITLE Button
Press to display and select the subtitle language in DVD mode. Each time you press the button, the subtitle language changes.
Note: The type and number of languages for subtitle vary from disc to disc.
26. FMM ON/OFF Button
Turns the FM Modulator power on/off.
27. CHANNEL SELECT Button
Selects the FM Modulator Frequency (Frequency 1: 88.3MHz, Frequency 2: 88.7MHz, Frequency 3: 89.1MHz, Frequency 4: 89.5MHz,
Frequency 5: 89.9MHz)
14
28. VCP Mode Select Button
Switches certain function keys on the remote control for VCP functions.
29. IRT ON/OFF Button
Turns the Infrared Transmitter IRT ON or OFF for IR Wireless Headphones. Pressing M1 then IRT ON/OFF will control the IR
Transmitter for DVD1/M1. Pressing M2 then IRT ON/OFF will control the IR Transmitter for DVD2/M2.
30. REPEAT Button
Allows the user to repeat a selected title, chapter, or track.
31. SETUP Button
Press to display the Setup Menu which allows the user to change the DVD player options such as TV DISPLAY, OSD LANGUAGE,
EQ TYPE, PARENTAL CONTROL etc.
Refer to the settings and Adjustments section for more information.
32. PIX Button (Picture Select)
Each time this button is pressed, the on screen picture adjustment displays the “adjustment bar” for BRIGHTNESS, CONTRAST,
COLOR or TINT. Once the desired adjustment bar is displayed, use the VOLUME(+)/ VOLUME(–) button to adjust the setting. The
display will automatically turn off if no adjustments are made within 6 seconds, or is any other button is pressed.
33. VOLUME DOWN (-)
Press to decrease the volume level of the headphone jacks. It is also used to make picture adjustments in the picture select mode.
34. VOLUME UP (+)
Press to increase the volume level of the headphone jacks. It is also used to make picture adjustments in the picture select mode.
Note: The volume buttons will not affect the volume of wireless headphones or a wired RF modulator. When using these devices, the
volume must be adjusted with the wireless headphone volume control or with your radio’s volume control.
15
35. NUMBER Buttons
Allow the user to enter numbers 0 to 9 for selection of selection of CD tracks, DVD chapters, password setting and direct access of
TV channels if the optional TV tuner (P/N PODTVT) is installed.
36. M1 Button
Change the remote control code to enable to control of M1.
37. M2 Button
Change the remote control code to enable to control of M2.
38. EJECT () Button*
This button is used to eject the disc.
16
SETTINGS AND ADJUSTMENTS
The Setup Menu contains features and options that let you customize your DVD player. For example, you can set a language for the on-
screen display, limit playback for children.
Using the Setup Menu
1. Press the SETUP button on the remote. The Setup Menu appears on the screen as shown per diagram.
Language Video Rating
French
Spanish
German
Italian
OSD Menu English English
Video
Language
Rating
Language Setup
Video Setup
Rating Setup
2. In order to Go to the desired page, move the highlight using the cursor button t or u to the icon indicated.
3. After entering the desired page, highlight the desired item using the cursor button p or q.
4. Press u to move the highlight to the different options for the selected item.
Press p or q to select the desired options, and then press ENTER to confirm the selection.
5. Repeat steps 3~4 to continue setting the items in the same Setup Page.
6. To change to another Setup page, press t until the highlight moves back to the icon on the top part of the Setup Menu. Then, repeat steps
2~5.
Exiting the Setup Menu
Press the SETUP button again only.
LANGUAGE SETUP
Language for On-Screen Display
OSD MENU: The OSD MENU setup allows you to select the language for the on-screen display.
The user can either select English, French, Spanish, German or Italian for the OSD language.
VIDEO SETUP
TV Display
The TV DISPLAY setup allows you to adjust screen setting (aspect ratio).
4:3 PS
This displays the wide picture on the screen with a portion of the left & right side removed.
4:3 LB
This displays the wide picture with black bands on the upper and lower portions of the screen.
16:9
This displays a wide picture with black bands on the upper and lower portion of the screen.
The bandwidth will vary, depending on the aspect ratio of the disc.
TV Type
The TV TYPE setup allows you to select the system to fit to the color system of the TV to
be connected.
NTSC - Select this type for NTSC TV
PAL - Select this type for PAL TV
AUTO - Select this type for multi-system TV
Language Video Rating
French
Spanish
German
Italian
OSD Menu English English
Language Video Rating
4:3 LB
TV Display 16:9 4:3 PS
TV Type NTSC
16:9
Language Video Rating
PAL
TV Display 16:9
TV Type NTSC
NTSC
AUTO
17
Language Video Rating
Password
----
Rating Adult
Load Factory
Reset
Language Video Rating
Password
----
Rating Adult
Load Factory
Reset
Language Video Rating
Password
Rating Adult
Load Factory
Reset
****
18
RATING SETUP
Rating
This item allows you to limit the content of movie playback from G to Adult. The lower the value,
the more strict the control.
G
PG
PG – 3
R
NC – 17
Adult
The rating level can only be changed when the displayed lock is open. For first time use, key in the
default password (3308) and press enter. To set a new password, key in a new four-digit password
and press enter
Load Factory
The Load Factory — Reset allows you to reset all options to factory settings.
* This function will not affect the Rating control settings.
Note: The Default Password is 3308. This password is always effective even after you
have selected your own password and changed it. To avoid the possibility of others
using the default password to set the parental level and change the password, you can
record this default password in another area and delete it from this manual. Some discs
can be limited depending on the age of users while some discs cannot.
Playing Audio DVDs
1. When playing an audio CD, the DISPLAY banner appears automatically. It displays the track and amount of time for the track playing,
the total amount of time on the disc and the elapsed time of the disc.
2. Selecting a Track
You can skip to a specific track by using the numbers keys. After choosing the track, press ENTER to implement the selection.
3. Using the REPEAT feature
The default mode for the Repeat feature is OFF. Pressing REPEAT consecutively changes the repeat options:
• SINGLE – repeat the track that is playing.
• ALL – repeat the entire disc that is playing.
As you toggle through the options, the repeat option changes at that time. The track, for example, repeats once that track has ended. The
selected repeat option loops repeatedly until you turn it off.
19
20
Playing MP3 Discs
MP3 is a format for storing digital audio. An audio CD-quality song can be compressed into the MP3 format with very little loss of quality,
while taking up much less space. CD-R discs that have been encoded in MP3 format can be played on your DVD player. The DVD player
plays the songs in the order they were burned on to the disc.
Press DISPLAY button on the remote to display the time counter display elapsed only.
• Time elapsed is the time that the song has played
• Time remaining is the amount of time left for the song being played.
Selecting Folders and Songs
When an MP3 is loaded in the player, the navigation menu appears automatically.
1. Press p or q to move the highlight to the desired folder and press ENTER to display the
songs in the folder.
2. Press p or q to move the highlight to the desired song and press ENTER to begin playback
of the highlighted song.
Skipping Songs
Use the Next (:) button on the remote control to move to the next song. Use the Previous (9) button to move to the previous song.
Selecting a Play Mode
You can choose what order the songs will play on a disc temporarily. The default play mode is FOLDER. Press REPEAT consecutively to
choose the desired play mode. The play mode options are:
• FOLDER Plays the songs in a folder in the order they were recorded.
• SHUFFLE Plays the songs in a folder in random order (from within the selected folder).
• RANDOM Plays the songs in a folder in random order.
• SINGLE Plays a selected song.
• REPEAT ONE Repeat the song that is playing.
• REPEAT FOLDER Repeat the folder that is playing.
Stop1
CD-R MENU
CE_sho
Plant
Scenery
Shangha
879069
879093
894041
7
8
9
Mode Folder Normal
894044 10
ROOT
Animal

This manual suits for next models

1

Other Audiovox Car Video System manuals

Audiovox Mobile Video 128-8342 User manual

Audiovox

Audiovox Mobile Video 128-8342 User manual

Audiovox VODDLX10 User manual

Audiovox

Audiovox VODDLX10 User manual

Audiovox PROV710 S User manual

Audiovox

Audiovox PROV710 S User manual

Audiovox HR7008APKG User manual

Audiovox

Audiovox HR7008APKG User manual

Audiovox MMD 70 Quick start guide

Audiovox

Audiovox MMD 70 Quick start guide

Audiovox VOH681 User manual

Audiovox

Audiovox VOH681 User manual

Audiovox MMD7HRPKG - Movies2Go - DVD Player User manual

Audiovox

Audiovox MMD7HRPKG - Movies2Go - DVD Player User manual

Audiovox VOH8512 User manual

Audiovox

Audiovox VOH8512 User manual

Audiovox PAV2000DTV Quick start guide

Audiovox

Audiovox PAV2000DTV Quick start guide

Audiovox MMD92 User manual

Audiovox

Audiovox MMD92 User manual

Audiovox HR9000D User manual

Audiovox

Audiovox HR9000D User manual

Audiovox MMD102 User manual

Audiovox

Audiovox MMD102 User manual

Audiovox HR7008PKG User manual

Audiovox

Audiovox HR7008PKG User manual

Audiovox MOVIES 2 GO MMD850 User manual

Audiovox

Audiovox MOVIES 2 GO MMD850 User manual

Audiovox Mobile Video VOD128 User manual

Audiovox

Audiovox Mobile Video VOD128 User manual

Audiovox MM56A User manual

Audiovox

Audiovox MM56A User manual

Audiovox LCM1502TV User manual

Audiovox

Audiovox LCM1502TV User manual

Audiovox Movies 2 Go MMD70 Service manual

Audiovox

Audiovox Movies 2 Go MMD70 Service manual

Audiovox VDS102T User manual

Audiovox

Audiovox VDS102T User manual

Audiovox VOD108 - 10.2" Overhead Video Monitor User manual

Audiovox

Audiovox VOD108 - 10.2" Overhead Video Monitor User manual

Audiovox 1187025 User manual

Audiovox

Audiovox 1187025 User manual

Audiovox VOD701 User manual

Audiovox

Audiovox VOD701 User manual

Audiovox WOS500 Quick start guide

Audiovox

Audiovox WOS500 Quick start guide

Audiovox LCM5869NP Installation instructions

Audiovox

Audiovox LCM5869NP Installation instructions

Popular Car Video System manuals by other brands

Nextar MD1008 Manuel d'utilisation

Nextar

Nextar MD1008 Manuel d'utilisation

Farenheit TID-535 owner's manual

Farenheit

Farenheit TID-535 owner's manual

Caliber RDD 802BT manual

Caliber

Caliber RDD 802BT manual

JVC KW-V950BW quick start guide

JVC

JVC KW-V950BW quick start guide

Mazda MZD-CONNECT quick start guide

Mazda

Mazda MZD-CONNECT quick start guide

Hyundai Mobis ADB200AAN user manual

Hyundai Mobis

Hyundai Mobis ADB200AAN user manual

Buick Acadia 2015 owner's manual

Buick

Buick Acadia 2015 owner's manual

Blaupunkt BERLIN RCM 303A installation instructions

Blaupunkt

Blaupunkt BERLIN RCM 303A installation instructions

TATA Motors Connectnext user manual

TATA Motors

TATA Motors Connectnext user manual

Daewoo Bus ADK-7330 user manual

Daewoo Bus

Daewoo Bus ADK-7330 user manual

Axxera AV7116Bi quick start guide

Axxera

Axxera AV7116Bi quick start guide

Alpine X903D-DU2 installation manual

Alpine

Alpine X903D-DU2 installation manual

Trailer Vision Digi-Lite Solar A1070 user manual

Trailer Vision

Trailer Vision Digi-Lite Solar A1070 user manual

Kemco 50-0230B-002 installation instructions

Kemco

Kemco 50-0230B-002 installation instructions

Kenwood DDX8639 installation manual

Kenwood

Kenwood DDX8639 installation manual

Eonon E0858 user manual

Eonon

Eonon E0858 user manual

Kustom Signals Digital Eyewitness HD installation manual

Kustom Signals

Kustom Signals Digital Eyewitness HD installation manual

InCarTec 27-572 quick start guide

InCarTec

InCarTec 27-572 quick start guide

manuals.online logo
manuals.online logoBrands
  • About & Mission
  • Contact us
  • Privacy Policy
  • Terms and Conditions

Copyright 2025 Manuals.Online. All Rights Reserved.