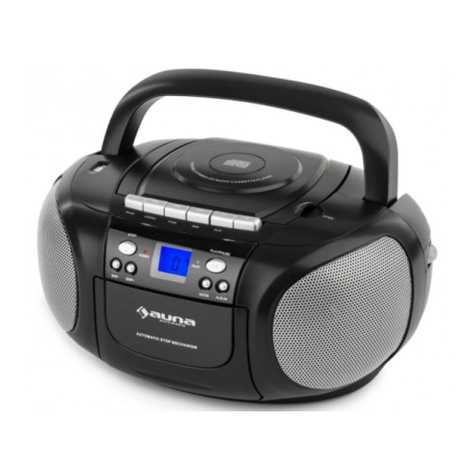
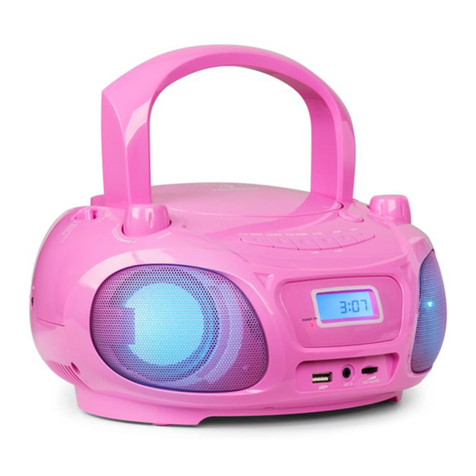
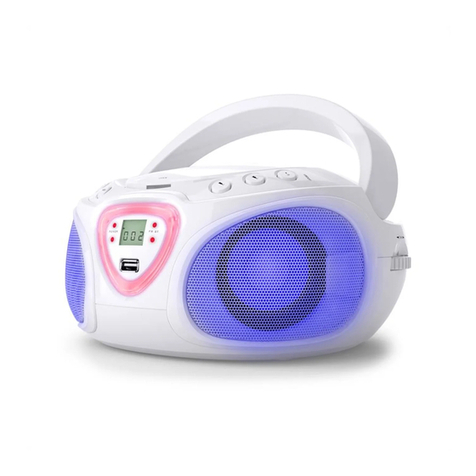
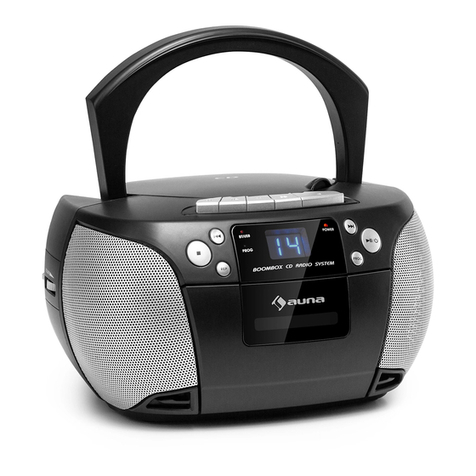
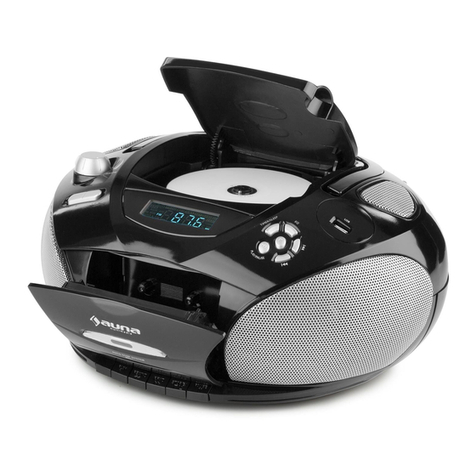
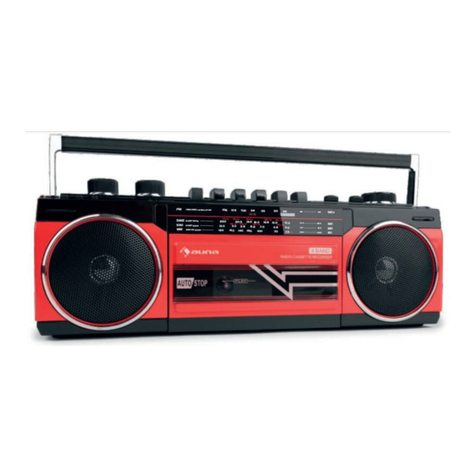
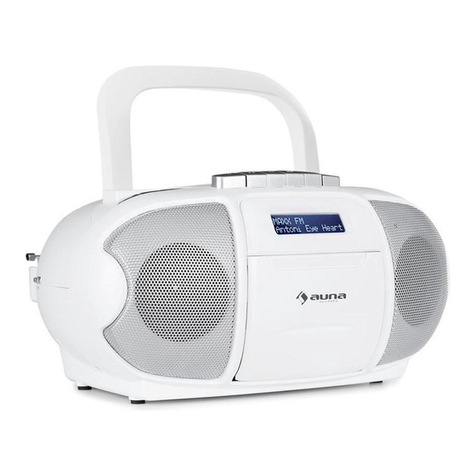
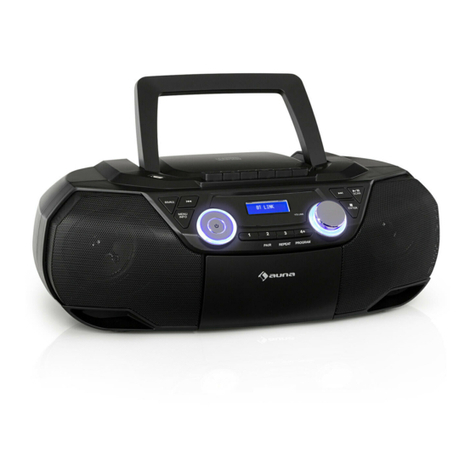
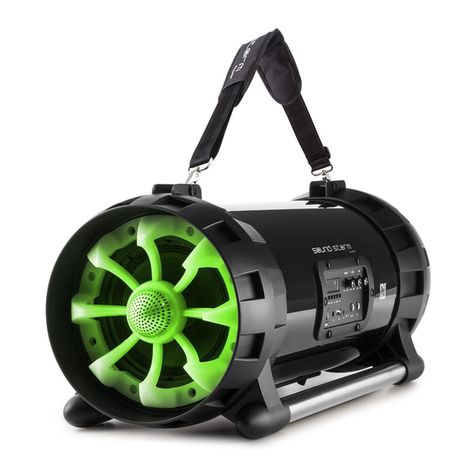
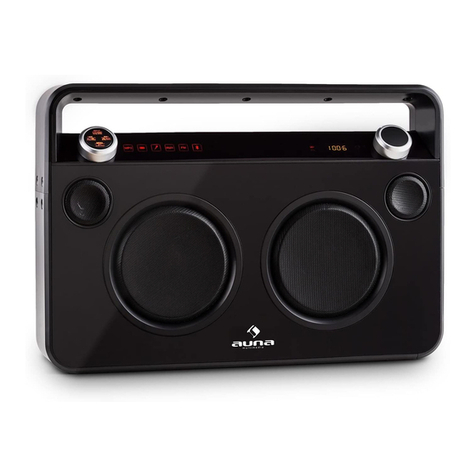
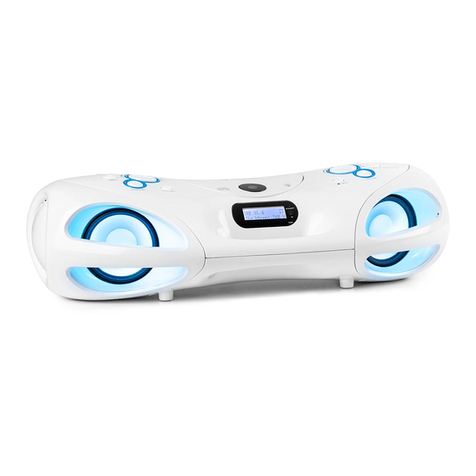
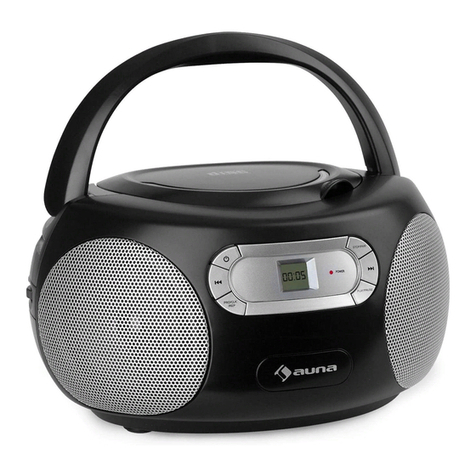
auna KrissKross User manual

www.auna-multimedia.com10022744 10022745 10022746
KrissKross

2
Sehr geehrter Kunde,
zunächst möchten wir Ihnen zum Erwerb Ihres Gerätes gratulieren.
Bitte lesen Sie die folgenden Anschluss- und Anwendungshinweise sorgfältig durch und befolgen Sie diese
um möglichen technischen Schäden vorzubeugen.
Warnung
• Diese Bedienungsanleitung dient dazu, Sie mit der Funktionsweise dieses Produktes vertraut zu ma-
chen. Bewahren Sie diese Anleitung daher stets gut auf, damit Sie jederzeit darauf zugreifen können.
• Sie erhalten bei Kauf dieses Produktes zwei Jahre Gewährleistung auf Defekt bei sachgemäßem Gebrauch.
• Bitte verwenden Sie das Produkt nur in seiner bestimmungsgemäßen Art und Weise. Eine anderweiti-
ge Verwendung führt eventuell zu Beschädigungen am Produkt oder in der Umgebung des Produktes.
• Ein Umbauen oder Verändern des Produktes beeinträchtigt die Produktsicherheit. Achtung Verlet-
zungsgefahr! Önen Sie das Produkt niemals eigenmächtig und führen Sie Reparaturen nie selber aus!
• Behandeln Sie das Produkt sorgfältig. Es kann durch Stöße, Schläge oder den Fall aus bereits geringer
Höhe beschädigt werden.
• Halten Sie das Produkt fern von Feuchtigkeit und extremer Hitze.
• Lassen Sie keine Gegenstände aus Metall in dieses Gerät fallen. Stellen Sie keine schweren Gegen-
stände auf dieses Gerät.
• Reinigen Sie das Gerät nur mit einem trockenen Tuch. Blockieren Sie keine Belüftungsönungen.
• Verwenden Sie ausschließlich vom Hersteller oder vom qualizierten Fachhandel empfohlenes Zube-
hör.
Die Gewährleistung verfällt bei Fremdeingrien in das Gerät.
Kleine Objekte/Verpackungsteile (Plastikbeutel, Karton, etc.): Bewahren Sie kleine Objekte (z.B. Schrau-
ben und anderes Montagematerial, Speicherkarten) und Verpackungsteile außerhalb der Reichweite von
Kindern auf, damit sie nicht von diesen verschluckt werden können. Lassen Sie kleine Kinder nicht mit Folie
spielen. Es besteht Erstickungsgefahr!
Transport des Gerätes: Bitte bewahren Sie die Originalverpackung auf. Um ausreichenden Schutz beim
Transport des Gerätes zu erreichen, verpacken Sie das Gerät in der Originalverpackung.
Reinigung der äußeren Oberäche: Verwenden Sie keine üchtigen Flüssigkeiten, wie Insektensprays.
Gummi- oder Plastikteile sollten nicht über einen längeren Zeitraum mit dem Gerät in Kontakt sein. Nutzen
Sie ein trockenes Tuch.
Technische Daten
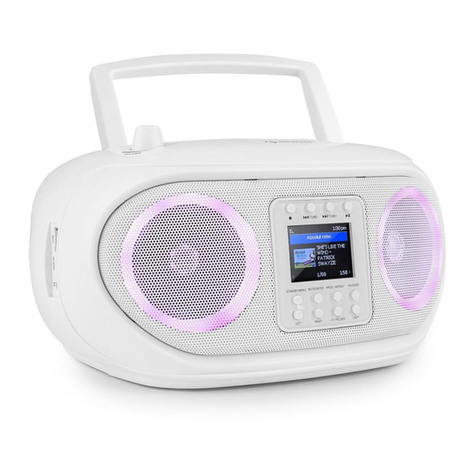
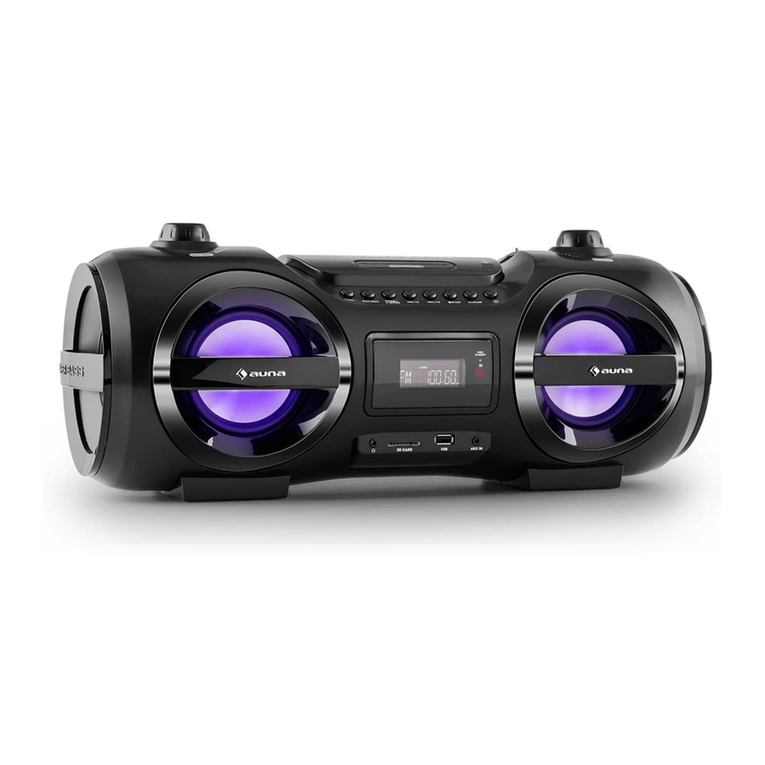
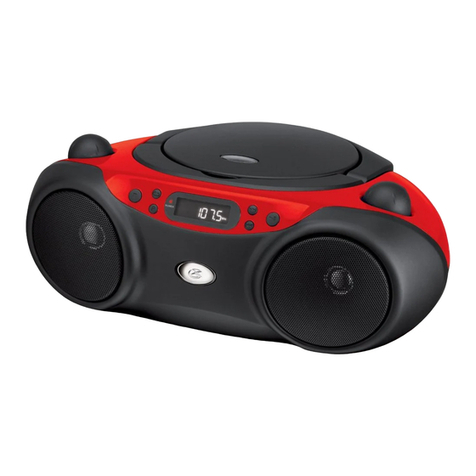
Artikelnr. 10022744, 10022745, 10022746
Stromversorgung 220-240V 50/60Hz oder 8 C-Batterien
Dateitypen (USB/CD) MP3 (32 ~ 320 kbps) WMA (64 ~ 160 kbps)
USB 1.1, 2.0 (Dateitypen: MP3 (32 ~ 320 kbps) WMA (64 ~ 160 kbps))
Lieferumfang Gerät, Netzkabel, Bedienungsanleitung
3
Bedienelemente

4
Antenne 1 10 Standby / Source (Musikquelle)
Lautstärke 2 11 VOR +
USB 3 12 Zurück -
CD 4 13 Stop
Drehrad 5 14 Abspiel-Modus
CD-Fach önen 6 15 Kassettendeck
Kassettendeck-Tasten (Pause/Stopp/Aus-
werfen/Vorspulen/Zurückspulen/Play) 7
Display 8
Bedienung
Radio
• Ziehen Sie die Antenne vollständig aus.
• Drücken Sie auf die Standby-Taste und wählen Sie den FM-Radio-Modus.
• Drehen Sie das Rad an der rechten Seite oder benutzen Sie die |<< oder >>| Tasten, um einen Sender
in 0.1 Mhz-Schritten zu suchen. Auf dem Display wird die Frequenz angezeigt.
• Drücken Sie die AMS-Taste, um die automatischeb Sendersuche zu starten. Es können bis zu 20 Sender
gespeichert werden. benitzern Sie die |<< oder >>| Tasten, um einen gespeicherten Sender aufzurufen.
• Passen Sie die Lautstärke am Luststärkeregler an.
Kassette
Legen Sie eine Kassette ein und schalten Sie mit der SOURCE-Taste in den TAPE-Modus. Nutzen Sie die
gewohnten Kassetten-Steuerungstasten (7) an der Obersiete des Geräts.
Wiedergabe:
• Stellen Sie die SOURCE-Taste auf den TAPE-Modus.
• Drücken Sie „STOP/EJECT“, um die Kassetten-Klappe zu önen und ihre Kassette einzulegen.
• Schließen Sie das Fach.
• Drücken Sie PLAY, um die Wiedergabe zu starten.
• Stellen Sie die Lautstäre auf das gewünschte Niveau.
• Drücken Sie „PAUSE“, um die Wiedergabe zu pausieren.
• Drücken Sie „STOP/EJECT“, um die Wiedergabe zu beenden.

5
CD / USB / MP3-Funktion
Generelle Bedienung
>|| / AMS Taste:
• Drücken Sie auf die Taste, um die CD/MP3 zu starten.
• Drücken Sie die Taste erneut, um das Abpielen zeitweise zu stoppen.
• Drücken Sie die Taste erneut, um fortzfahren.
>>| und |<< Tasten:
• Drücken Sie auf die Tasten um einen Titel vir/zurück zu springen.
• Halten Sie die Tasten gedrückt, bis sie die gewünschte Stelle im Titel gefunden haben.
STOP-Taste
• Drücken Sie aud die STOP-Taste, um die CD/MP3 zu stoppen.
Wiedergabe
1. Stellen Sie die SOURCE-Taste auf den CD-Modus.
2. Önen Sie das CD-Fach und legen Sie eine CD mit der Beschriftung nach oben ein.
3. Schließen Sie das CD-Fach.
4. Das Gerät liest die CD ein. Die Gesamtanzahl der Titel wird im Display angezeigt.
5. Die CD wird automatisch ab dem ersten ersten Titel abgespielt.
6. Stellen Sie die Laustärke mit dem Laustärkeregler auf der linken Seite ein.
7. Drücken Sie auf die >||/AMS-Taste, um den Titel kurz anzuhalten.
8. Drücken Sie auf STOP, um die CD komplett anzuhalten.

6
Programmierung
Die Wiedergabe-Reihenfolge von bis zu 20 Titeln bei CDs und bis zu 99 Titel bei MP3-CDs, kann von Ihnen
individuell einprogrammiert werden. Drücken Sie STOP, bevor Sie mit der Programmierung beginnen.
• Drücken Sie MODE, das Display zeigt ein blinkendes „P01“ an.
• Wählen Sie den gewünschten Titel mit Vor (>>|) und Zurück (|<<).
• Drücken Sie erneut MODE um den Titel in den Programmspeicher aufzunehmen.
• Wiederholen Sie Schritt 2 und 3 um weitere Titel dem Programmspeicher hinzuzufügen.
• Wenn alle gewünschten Titel eingespeichert wurden, drücken Sie PLAY / PAUSE um die programmier-
te Wiedergabe zu beginnen.
• Drücken Sie STOP zwei Mal um die Wiedergabe zu beenden und die Programmierung aufzuheben.
Modi
Drücken Sie vor oder während dem Aspielen einer CD auf die MODE-Taste um einen der Modi in der fol-
genden Reigenfolge auzuwählen:
1. REPEAT 1 (1 Titel wiederholen)
2. REPEAT FOLDER (Ganzen Ordner wiederholen)
3. REPEAT ALL (Alles wiederholen)
4. RANDOM (Zufällige Wiedergabe)
5. Normaler Modus
Stromversorgung
Netzstrom:
Sie können das Gerät mit Netzstrom versorgen, indem Sie mit dem abnehmbaren Kabel den Netzanschluss
an der Rückseite mit einer Steckdose verbinden. Stellen Sie sicher, dass die Kabel richtig eingesteckt sind.
Batterien:
Setzen Sie 8 C-Batterien in das Batteriefach ein. Stellen Sie sicher, dass die Batterien richtig eingesetzt sind,
um Schäden am Gerät zu vermeiden. Entfernen Sie die Batterien, wenn Sie das Gerät für längere Zeit nicht
benutzen möchten, um das Austreten von Batterie-Flüssigkeiten und damit schweren Schaden an Ihrem
Gerät zu vermeiden.
Hinweise:
• Entfernen Sie das Stromkabel, wenn Sie das Gerät mit Batterien verwenden.
• Verwenden Sie immer Batterien des gleichen Typs. Mischen Sie keine Batterien-Typen.

7
Hinweise zur Entsorgung
Elektroaltgeräte
Be ndet sich die diese Abbildung (durchgestrichene Mülltonne auf Rädern) auf dem Pro-
dukt, gilt die Europäische Richtlinie 2002/96/EG. Diese Produkte dürfen nicht mit dem
normalen Hausmüll entsorgt werden. Informieren Sie sich über die örtlichen Regelungen
zur getrennten Sammlung elektrischer und elektronischer Gerätschaften. Richten Sie sich
nach den örtlichen Regelungen und entsorgen Sie Altgeräte nicht über den Hausmüll.
Durch die regelkonforme Entsorgung der Altgeräte werden Umwelt und die Gesundheit
ihrer Mitmenschen vor möglichen negativen Konsequenzen geschützt. Materialrecycling
hilft, den Verbrauch von Rohsto en zu verringern.
Konformitätserklärung
Hersteller: Chal-Tec GmbH, Wallstraße 16, 10179 Berlin, Deutschland
Dieses Produkt entspricht den folgenden Europäischen Richtlinien:
2014/30/EU (EMV)
2014/35/EU (LVD)
2011/65/EU (RoHS)

8
Dear Customer,
Congratulations on purchasing this product. Please read and follow these instructions, in order to avoid
damaging the item. We do not cover any damages that may arise from improper use of the item or the
disregard of the safety instructions.
Important Safety Advice
• Read all instructions before using.
• To protect against a re, electric shock or personal injury, do not immerse cord, electric plugs or device
in water or other liquids.
• Do not expose the appliance to extreme temperatures. The appliance shall be used in moderate cli-
mates.
• The use of attachments that are not recommended by the appliance manufacturer may result in re,
electric shock or personal injury.
• Do not open the unit by removing any cover parts. Do not attempt to repair the unit. Any repairs or
servicing should be done by qualied personell only.
• Only qualied persons may perform technical work on the product. The product may not be ope-
ned or changed. The components cannot be serviced by the user. The manufacturer is not responsible
for any radio or TV interference caused by unauthorized modications.
• The appliance is not a toy. Do not let children play with it. Never let children insert foreign objects into
the appliance.
• Never clean the surface of the device with solvents, paint thinners, cleansers or other chemical pro-
ducts. Instead, use a soft, dry cloth or soft brush.
• Save these instructions.
Small objects: Keep small objects (i.e. screws, mounting material, memory cards etc.) and packaging out of
the range of children. Do not let Children play with foil. Choking hazard!
Transporting the device: Please keep the original packaging. To gain suicient protection of the device
while shipment or transportation, make sure to put it back in its original packaging.
Cleaning the surface: Do not use any volatile liquids, detergents or the like. Use a clean dry cloth.
Technical Data
Item # 10022744, 10022745, 10022746
Power supply 220-240V 50/60Hz or 8 batteries type C
Compatible le types (USB/CD) MP3 (32 ~ 320 kbps) WMA (64 ~ 160 kbps)
USB 1.1, 2.0
Scope of delivery Device, mains cable, instruction manual

9
Controls

10
Antenna 1 9 Standby/Source
VOL 2 10 Auto Memory Store (AMS)/Play/Pause
USB port 3 11 Back
CD tray 4 12 Auto Memory Store(AMS)/Play/Pause
Tuning wheel 5 13 Stop
Open CD tray 6 14 Play Mode
Tapedeck buttons (Pause/Stop/ Eject/FFW/
Tape deck REV/Play) 7 15 Tape deck
Display 8
Operation
Radio
• Pull the antenna out completely.
• Press the Standby/Source button to select RADIO mode “FM”.
• Tuning the knob on the right side of unit or |<< / <<| button, you can tune to a FM station by a xed
step to listen to (FM: 0.1 MHz steps), and you can nd the frequecy on display.
• Press the AMS button to start FM stations automatic preset process, total store 20
• stations, then press or |<< / <<| to choose preset station.
• Adjust the Volume using the VOL knob on the left side of unit.
Tape
Insert a cassette and press the Standby/Source button to select TAPE. Use the convenient tape button(7)
on the top of device.
Playback:
• Press the Standby/Source button to select “TAPE” mode.
• Press the “STOP / EJECT” button to open the cassette door and insert your tape.
• Close the cassette door.
• Press the “PLAY” button to start playing tape.
• Adjust the “VOLUME” control to the desired level.
• Press the “PAUSE” button when you want to stop playing tape operation temporarily.
• Press the “STOP / EJECT” button when nished.
CD / USB / MP3

11
CD / USB / MP3
General Operation
>|| / AMS button:
• Press to start playing CD/MP3 disc.
• Press again to stop playing CD/MP3 operation temporaril
• Press again to resume playback.
>>| and |<< buttons:
• Press to go to the next track or back to the previous track.
• Press and hold while playing until you nd the point of the sound.
STOP button
• Press to stop all CD/MP3 operation.
PLAYBACK
1. Press the “Stadby/Source” button into “CD” mode.
2. Open the CD door and place a CD/MP3 disc with the label up on the CD compartment.
3. Close the CD door.
4. Focus search is performed if disc is inside. Total number of tracks is read and appears on the display.
5. Playback will start automatically from the rst track.
6. Adjust the “VOLUME” control to the desired level using VOL knob on the side of unit.
7. Press the “AMS” button again when you want to stop playback temporaril
8. Press the „STOP“ button when nished.

12
PROGRAM
Up to 20 tracks fo CD disc, 99 tracks of MP3 disc can be programmed for disc play in any order. Be sure to
press the “STOP” button before use.
• Press the “MODE” button, the display will show “P01” and ash.
• Select desired track by using the “SKIP +” or “SKIP -” button.
• Press the “MODE” button again to conrm desired track into the program memory.
• Repeat step 2 and 3 to enter additional tracks into the program memory.
• When all the desired tracks have been programmed, press the “PLAY / PAUSE” button to play the disc
in the order you have programmed.
• Press the “STOP” button twice to terminate programmed playback.
MODE
Press the „MODE“ button before or during playing CD/MP3 disc, each press switches the mode function as
follows:
1. REPEAT 1
2. REPEAT ( *MP3 ONLY)
3. REPEAT ALL
4. RANDOM
5. NORMAL PLAYBACK
Power Supply
AC POWER
You can power your portable system by plugging the detachable AC power cord into the AC inlet at the back
of the unit and into a wall AC power outlet. Check that the rated voltage of your appliance matches your
local voltage. Make sure that the AC power cord is fully inserted into the appliance.
BATTERY POWER
Insert 8 x “C” size batteries into the battery compartment. Be sure that the batteries are inserted correctly
to avoid damage to the appliance. Always remove the batteries when appliance will not be used for a long
period of time, as this will cause leakage to the batteries and subsequently damage to your set.
Notes:
• Use batteries of the same type. Never use dierent types of batteries together.
• To use the appliance with batteries, disconnect the AC power cord from it.

13
Environment Concerns
According to the European waste regulation 2002/96/EG this symbol on the product
or on its packaging indicates that this product may not be treated as household waste.
Instead it should be taken to the appropriate collection point for the recycling of electrical
and electronic equipment. By ensuring this product is disposed of correctly, you will hep
prevent potential negative consequences for the environment and human health, which
could otherwise be caused by inappropriate waste handling of this product. For more
detailled information about recycling of this product, please contact your local council or
your household waste disposial service.
Declaration of Conformity
Manufacturer: Chal-Tec GmbH, Wallstraße 16, 10179 Berlin, Germany.
This product is conform to the following European directives:
2014/30/EU (EMC)
2014/35/EU (LVD)
2011/65/EU (RoHS)

14
Estimado cliente,
Le felicitamos por la adquisici6n de este producto. Lea atentamente el siguiente manual y siga cuidado samen-
te Las instrucciones de uso con eln de evitar posibles daos. La empresa no se responsabiliza de Los daos
ocasionados por un uso indebido del producto o por haber desatendido Las indicaciones de seguridad.
Advertencia
• Este manual de instrucciones tiene como objetivo familiarizarle con eL funcionamiento deL pro-
ducto. Conserve este manual para que pueda realizar futuras consultas.
• Con La compra de este producto obtiene dos aos de garantra en caso de defecto o averra provo-
cados por un uso normal del aparato.
• Utilice el producto solamente tal y como aparece indicado en este manual Un uso alternativo pue-
de provocar daos en el mismo o en su entorno.
• La transformaci6n o cambio deL producto reduce la seguridad deL mismo . Riesgo de Lesiones.
Nunca abra el aparato ni intente repararlo usted mismo.
• Trate eL producto con cuidado . Puede averiarse si recibe golpes, impactos o cardas, incluso desde
poca aLtura.
• Mantenga eL producto aLejado de La humedad y deL caLor extremo.
• No deje caer objetos de metal sobre el aparato. No coloque objetos pesados encima del aparato.
Limpie el aparato utilizando solamente un pano seco. No obstruya Las ranuras de ventilaci6n.
• Utilice exclusivamente Los accesorios recomendados por el fabricante o por un proveedor cualicado.
• La garantra expirara si abre el aparato.
Piezas pequenas/partes del embalaje (bolsas de plastico, carton, etc.): mantenga Las piezas pe-
quenas (p.ej. tornillos y otro material de montaje) y Las partes del embalaje fuera del alcance de Los
niftos para evitar que se atraganten. No permita que Los nios pequeos jueguen con Los plasticos,
pueden provocar riesgo de asxia.
Transporte del aparato: conserve el embalaje original. Para proteger el aparato durante el transporte,
introduzcalo en su embalaje original.
Limpieza exterior: no utilice lfquidos volatiles, como sprays insecticidas. El exterior del aparato podrfa
da ftarse si se frota demasiado fuerte. Evite que el aparato este en contacto continuado con objetos de
goma o plastico. Utilice un pao seco.
Datos tecnicos
Numero de artfculo 10022745, 10022746, 10022747
Suministro electrico 220-240V 50/60Hz o 4 pilas tipo C
Tipo de archivo (USB/CD) MP3 (32 - 320 kbps) WMA (64 - 160 kbps)
USB 1.1, 2.0 (Tipo de archivo: MP3 (32 - 320 kbps) WMA (64 - 160 kbps))
Contenido del envfo Aparato, cable de alimentaci6n, manual de instrucciones

15
Controles

16
Antena 1 10 STANDBY / Source (fuente de audio)
Volumen 2 11 SIGUIENTE+
USB 3 12 Atrás -
CD 4 13 Stop
Rueda giratoria 5 14 Modo reproducción
Abrir compartimento de CD 6 15 Compartimento para casete
Botones de control del casete (Pausa / Stop
/ Expulsar / Avanzar / Rebobinar / Play) 7
Display 8
Utilización
Radio
• Desenrolle la antena completamente.
• Pulse el botón standby y seleccione el modo radio FM.
• Gire la rueda hacia la parte derecha o utilice los botones |<< o >>| para buscar una emisora en
intervalos de 0,1 Mhz. En el display aparece la frecuencia.
• Pulse el botón AMS para iniciar la búsqueda automática de emisoras. Pueden guardar hasta 20
emisoras. Utilice los botones |<< o >>| para acceder a una emisora guardada.
• Ajuste el volumen en la radio en su regulador.
Casete
Introduzca un casete y active el modo TAPE con el botón SOURCE. Utilice los botones de control habi-
tuales para el casete (7) situados en la parte superior del aparato.
Reproducción:
• Coloque el botón SOURCE en el modo TAPE.
• Pulse «STOP / EJECT» para abrir el compartimento de casete e introducir una cinta.
• Cierre el compartimento.
• Pulse PLAY para iniciar la reproducción.
• Ajuste el volumen al nivel que desee.
• Pulse «PAUSE» para pausar la reproducción.
• Pulse «STOP/EJECT» para nalizar la reproducción.

17
Función CD/USB/MP3
Uso general
Botón >||/AMS:
• Pulse el botón para iniciar un CD/MP3.
• Pulse de nuevo el botón para detener la reproducción.
• Pulse de nuevo el botón para continuar.
Botones >>| y |<<:
Pulse el botón para avanzar/retroceder una pista.
Mantenga pulsado el botón hasta que haya encontrado el momento deseado en una pista.
Botón stop
Pulse el botón STOP para detener un CD/MP3.
Reproducción
1. Coloque el botón SOURCE en el modo CD.
2. Abra el compartimento del CD e introduzca un CD con la cara impresa hacia arriba.
3. Cierre el compartimento del CD.
4. El aparato leerá el CD. En el display aparece el número total de pistas.
5. El CD se reproduce automáticamente desde la primera pista.
6. Ajuste el volumen con el regulador correspondiente situado en el lado izquierdo.
7. Pulse el botón >||/AMS para detener brevemente la pista.
8. Pulse STOP para interrumpir por completo el CD.

18
Programación
Puede programar una secuencia de reproducci6n de hasta 20 pistas en CD y hasta 99 pistas en CD-MP3
de manera personalizada. Pulse STOP antes de comenzar con la programaci6n.
• Pulse MODE y el display mostrara «P01» parpadeando.
• Seleccione la pista deseada con Los botones atras y adelante. Pulse el botón SKIP+/SKIP- para
seleccionar un album.
• Pulse MODE de nuevo para aadir la pista a la Lista programada.
• Repita Los pasos 2 y 3 para aadir mas pistas a la Lista.
• Cuando haya guardado todas Las pistas deseadas, pulse PLAY /PAUSE para iniciar la reproducci6n
programada.
• Pulse STOP dos veces para nalizar la reproducci6n y eliminar la Lista de programaci6n.
Modos
Pulse e botón MODE antes o durante la reproducción de un CD para seleccionar uno de los modos
siguientes:
1. REPEAT 1 (Repetir 1 pista)
2. REPEAT FOLDER (Repetir la carpeta entera)
3. REPEAT ALL (Repetir todos)
4. RANDOM (Reproducción aleatoria)
5. Modo normal
Suministro electrico
Red electrica:
Puede abastecer al aparato de electricidad procedente de su red electrica conectando el cable extrarb-
le al conector situado en la parte trasera del aparato y a una toma de corriente. Asegurese de que el
cable se ha conectado correctamente.
Pilas:
lntroduzca 4 pilas tipo C en el compartimento para Las pila s. Asegurese de que ha coLocado Las pilas
del modo correcto para evitar averias en eL aparato. Retire Las pilas si no desea utilizar el aparato
durante un periodo proLongado de tiempo para evitar una fuga del Liquide que contienen Las piLas y
provocar averras graves en el aparato.
Advertencia:
Desconecte el cable de aUmentaci6n cuando utilice la radio con pilas. Utilice siempre pilas del mismo
tipo. No mezcle distintos tipos de pilas.

19
Retirada del aparato
Si el aparato LLeva adherida la ilustracion de la izquierda (el contenedor de basura
tacha do) entonces rige La normativa europea, directiva 2002/96/CE. Este producto no
debe arrojarse a un contenedor de basura comun. lnformese sabre Las leyes territoriales
que regulan la recogida separada de aparatos electricos y electronicos. Respete Las leyes
ter ritoriales y no arroje aparatos viejos al cubo de la basura domestica. Una retirada de
apa ratos conforme a Las leyes contribuye a proteger el medic ambiente y a Las personas
a su alrededor frente a posibles consecuencias perjudiciales para la salud. El reciclaje
ayuda a reducir el consume de materias primas.
Declaratión de confomidad
Fabricante: ChaL-Tec GmbH, WalLstraBe 16, 10179 Berlin (Alemania).
Este producto cumple con Las siguientes directivas europeas:
2014/30/EU (EMC)
2011/65/UE (refundicion RoHS)
2014/35/EU (baja tension)

20
Chere cliente, cher client,
Toutes nos felicitations pour l‘acquisition de ce nouvel appareil. Veuillez lire attentivement Les instruc-
tions de branchement et d‘utilisation an d‘eviter d‘eventuels dommages techniques. Le fabricant
ne saurait etre tenu pour responsable des dommages dus au non-respect des consignes de securite et
a la mauvaise utilisation de l‘appareil.
Avertissements
• Pour reduire Les risques d‘incendie , d‘electrocution et de causer tout dommage : Ne pas exposer
l‘appareil a la pluie.
• Ne pas poser de recipient contenant de l‘eau, comme un vase par exemple, sur l‘appareil.
• N‘utiliser que Les accessoires prevus.
• Ne pas eectuer de reparations par soi-meme. S‘adresser ades personnes quaLiees pour toute
reparation.
• Eviter de faire tomber des objets metalliques dans l‘appareil. Ne pas poser d‘objet lourd sur
l‘appareil.
• Attention: ne poser aucune amme nue, telle qu‘une bougie, sur l‘appareil.
• Placer l‘appareil sur une surface seche, plane, impermeable et resistante a la chaleu r.
• Conserver l‘appareil hors de la portee des enfants.
• La prise de courant doit etre rapidement accessible an de pouvoir etre debranchee le plus vite pos
sible en cas d‘urgence.
• Ne pas installer l‘appareil sur une etagere, dans un placard ou dans un espace etroit. Assurer une
bonne ventilation.
• Ne pas installer l‘appareil sur un amplicateur ou sur d‘autres equipements qui pourraient de-
venir chauds.
• Ne pas exposer l‘appareil a des chocs violents.
Transport de l‘appareil: Veuillez conserver la boite d‘emballage originale. Ranger l‘appareil dans cette
derniere, Lars de son transport, pour obtenir une meilleure protection.
Nettoyer la surface externe: Ne pas utiliser de Liquide volatil tel qu‘un spray insecticide , pres de
l‘appareil. Ne pas trotter trap fort Lars du nettoyage, ou la surface de l‘appareil pourrait etre endom-
magee. Ne pas laisser trap longtemps en contact des elements en caoutchouc et en plastique avec
l‘appareil. Utiliser un chion sec pour le nettoyer.
Fiche Technique
Numero d'article 10022745, 10022746, 10022747
Alimentation 220-240V 50/60Hz o 4 pilas tipo C
Types de chiers (USB/CD) MP3 (32 - 320 kbps) WMA (64 - 160 kbps)
USB 1.1, 2.0 (Tipo de archivo: MP3 (32 - 320 kbps) WMA (64 - 160 kbps))
Livraison Dispositif, cordon d‘alimentation, manuel d‘instructions
Table of contents
Languages:
Other auna Portable Stereo System manuals

auna
auna Ultrasonic BT User manual

auna
auna US-10029813 User manual

auna
auna Duke User manual

auna
auna 10032045 User manual

auna
auna Soundstorm 2.0 User manual

auna
auna Roadie Smart User manual

auna
auna Boomboy User manual

auna
auna Spacewoofer User manual

auna
auna Roadie User manual

auna
auna Haddaway User manual