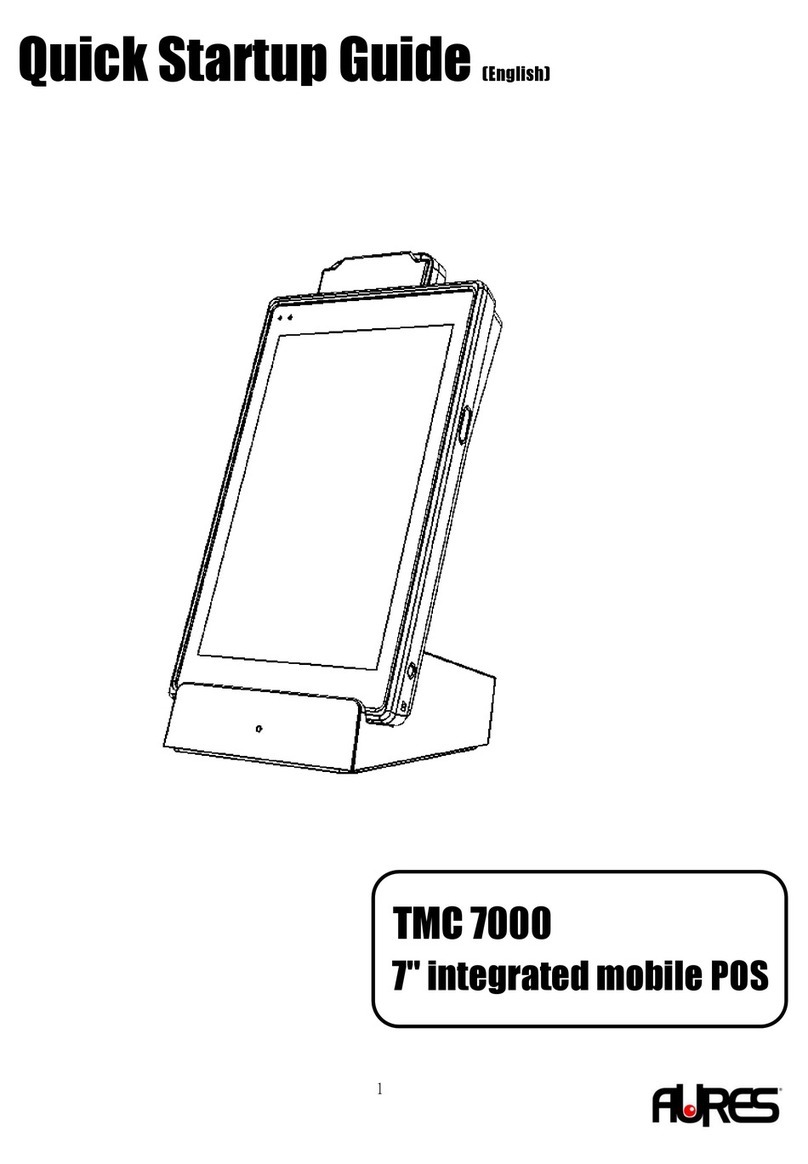
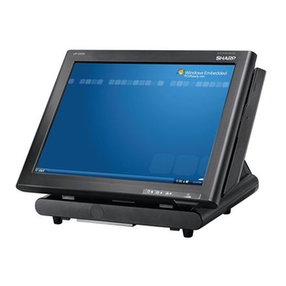
AURES TRX 3000 User manual

TRX3000 user manual - EN Rev005

TRX3000 user manual rev.005
P a g e 2 | 69
2
Precaution Segment
Changes to the TRX3000 user manual are listed below.
Rev No.
Revision History
Date /author
1.0
Manual creation
Mirko Conca
TRX3000 user manual - EN Rev002
2023.01.03
TRX3000 user manual - EN Rev003
2023.04.18
TRX3000 user manual - EN Rev004
Final version
Mirko Conca 2023.07.31
TRX3000 user manual - EN Rev005
Removed i3 CPU
Mirko Conca 2023.09.04

TRX3000 user manual rev.005
P a g e 3 | 69
3
TRX3000 Specification
Parts
Specification
CPU
Intel® Elkhart Lake J6412 (2.0 GHz)
Super I/O Chip
ITE IT8786E-I
Storage
128GB M.2 2242 Nvme SSD X2 & SATA
Memory
One 260-pin SO-DIMM 8GB DDR4L 3733 SDRAM
Graphic
Intel HD Graphics
Display
15”TFT LCD 1024x768 resolution
15,6” TFTLCD 1366X768 resolution
Touch
Projective Capacitive Touch
TPM
TPM 2.0
External
I/O
USB-A
6 Port (USB3.0*2 / USB2.0*4)
RS-232
COM1, COM2, COM3 with DTR/12V Power output
on the RJ-45 Pin 8. DB9 adpaters in option.
LAN
Gigabit LAN (10/100/1000M BASET LAN)
Audio
HD Audio
C-type
Support ALT DP/USB3.0
Mini DP
MINI-DP(DP+COM5)
CASH
DRAWER
Self Define RJ12 Connector
Power Supply
12V/5A Adaptor
OS Support
Windows 10 64bit
Operating Temperature
0 ℃~ 40 ℃at 10% ~ 80% humidity
Storage Temperature
-20 ℃~ 60 ℃at 10% ~ 80% humidity
*Specification may differ according to product model or options.

TRX3000 user manual rev.005
P a g e 4 | 69
4
Preface
This User's Guide gives information about main unit/IO port layout, basic setup, component installation, and board layout
for point of sale system.
Intended Audience
The User's Guide is intended for technically qualified personnel.
It is not intended for general audiences.
Document Organization
The chapters in this Product User’s manual are arranged as follows:
1. Product overview
2. TRX3000 installation
3. Motherboard
4. BIOS Setup Utility
5. Troubleshooting
6. Maintenance

TRX3000 user manual rev.005
P a g e 5 | 69
5
SYMBOL; MARK
CE MARK
This device complies with the requirements of the EEC directive 2004/108/EC with
regard to “Electromagnetic compatibility” and 2006/95/EC “Low Voltage Directive”.
FCC
This device complies with part 15 of the FCC rules. Operation is subject to the
following two conditions:
(1) This device may not cause harmful interference.
(2) This device must accept any interference received, including interference that
may cause undesired operation.
UL
Enhanced clarity and acceptance
Greater transparency into a product's compliance
Bundling of current and future Certifications
Faster deployment
Easier access to product information by end user
WEEE
Recycling and disposal of electric and electronic devices and their components
This product should not be mixed with other commercial wastes for disposal.

TRX3000 user manual rev.005
P a g e 6 | 69
6
Copyright
This publication, including all photographs, illustrations and software, is protected under international copyright law with all rights
reserved to the manufacturer. Neither this manual, nor any of the material contained herein, may be reproduced without express
written consent of the author.
Safety Instructions
1. To disconnect the machine from the electrical power supply, turn off the power switch and remove the power
cord plug from the wall socket.
2. The wall socket must be easily accessible and in close proximity to the machine.
3. Read these instructions carefully. Save these instructions for future reference.
4. Follow all warnings and instructions marked on the product.
5. Do not use this product near water.
6. Do not place this product on an unstable cart, stand, or table. The product may fall, causing serious damage to
the product.
7. Slots and openings in the cabinet and the back or bottom are provided for ventilation to ensure reliable
operation of the product and to protect it from overheating. These openings must not be blocked or covered.
8. The openings should never be blocked by placing the product on a bed, sofa, rug, or other similar surface.
9. This product should never be placed near or over a radiator or heat register or in a built-in installation unless
proper ventilation is provided.
10. Never push objects of any kind into this product through cabinet slots as they may touch dangerous voltage
points or short out parts that could result in a fire or electric shock. Never spill liquid of any kind on the
product.
Notice
1. Always ensure that the correct power voltage is used as a precaution against fire and electrical shock.
2. Avoid exposing product to direct sunlight. Do not use product in areas of high humidity.
Doing so may cause low reliability and/or operational malfunction.
3. Be careful of static electricity on PCB of system with anti-static appliances. Doing so may cause inferior
reliability and shorted product life.
4. Keep product away from highly static areas. This may lead to inferior performance and reduced life cycle.
5. Do not interfere with, or obstruct metal components inside product. Doing so may cause the risk of fire or
electric shock.
6. Do not pull on power cable or peripheral devices’ connector cable. Doing so may cause fire, electric shock or
electronic system malfunction.
7. Use caution when around other electronic devices with possible high frequency or electro-magnetic effects
e.g. Audio, Electronic-range etc. Doing so will lead to the serious risk of product malfunctioning or a system
error occurring.
8. Ensure that batteries are replaced correctly. Failure to do this may result in sudden explosions.
9. Dispose of used batteries properly according to the instructions.

TRX3000 user manual rev.005
P a g e 7 | 69
7
Liability Limitation
● Installation and maintenance
We recommend that you inquire about product installation, maintenance and repair USER from the official USER center
and agent office.
AURES takes no responsibility for malfunctions or system errors occurring after USER and/or system check carried out by
unofficial USER providers.
● High frequency appliances
This product is qualified by FCC, CE and UL compliances, and is thus governed by these qualifications’ safety regulations.
However, the product can affect and be affected by other high frequencies generated around it. As such, AURES does not
consider liability for any system error or disorder due to this issue.
● Electronic noise emitting equipment
We recommend using the product away from electronic noise emitting equipment such as heaters, motors, fluorescent
lights, TVs etc. as it may cause interruption or interference with normal operation.
● Installation location
For optimal performance, the product should be kept in an environment of lower than 65% humidity and in a temperature
of 10 ~ 30℃. Please also keep away from direct sun-light.
● Cleaning procedure
Cleaning with chemical based products (in particular those containing benzyl or chemical thinning agents) can damage
the exterior surfaces of the product. We recommend using a soft damp cloth and wiping gently, taking particular care
when dealing with the LCD display screen.
● Product limitations
1. The use of this product for anything other than POS tasks is strictly prohibited.
The product is not supported for regular PC and interface operation.
2. This product is for business use only, and not for usage in the home.
3. Both hardware and software are both fully configured.
4. Normal operating is guaranteed on a steady power connection.
Installation Recommendations
1. Avoid installing during thunderstorms. (Possibility of dangerous exposure to electricity.)
2. Install away from damp spaces or water-leaks.
3. Beware of static occurrence during installation.
4. Use only ground connected and quality certified power cords and cables.
5. Keep out of direct sun-light, extremely high or low temperatures, or high humidity areas.
6. Install product away from areas prone to shocks or vibration.
7. Install product away from sewing machines, welding equipment, electric stoves, audio equipment and other
high frequency generating equipment.
8. Installation and use in close proximity to an air-conditioning unit is not recommended.
9. Do not connect cables underneath carpets or floorboards.
10. Only use power cables supplied by pre-approved and certified venders.
11. Never use power cords from high power source appliances.
e.g. Electronic heaters, Electric stoves, Audio equipment, Air-conditioners, Refrigerators etc.
12. The use of multiple connections in a shared power outlet/socket is not recommended.

TRX3000 user manual rev.005
P a g e 8 | 69
8
1.ProductOverview
Inside Your Package
1. Please check your package and confirm its contents.
2. The POS terminal main unit, power adapter and power cable are included in the package. If any items are
missing or damaged, please contact your dealer for assistance.
» All user manuals and drivers are available for download on our website: www.aures-support.com
TRX3000
Adapter / Power cord
Rubber Foot
Higt 6.5mm

TRX3000 user manual rev.005
P a g e 9 | 69
9
2. TRX3000 Installation
(1) Attaching Rubber Feet
Caution 1) Check if the power connected to POS terminal is turned off.
Caution 2) Separate all cables connected to system box.
Installation module
Step 1. Remove the Rubber Feet.
* Remove them from the product
Step 2. Please put the Rubber Feet in
the same place.
* Rubber Feet High 6.5mm
Step 3. Clean up the Cable with reference to the
picture.

TRX3000 user manual rev.005
P a g e 10 | 69
10
(2) Module installation (Dallas, I-Button)
Caution 1) Check if the power connected to POS terminal is turned off.
Caution 2) Separate all cables connected to system box.
Installation module
Step 1. Remove the module Cover.
Step 2. Assemble the Module with 2 bolts.
(M3 x 8L)
Step 3. Download Mapper from the website and
use it after installation.

TRX3000 user manual rev.005
P a g e 11 | 69
11
(3) Disassemble RAM
Caution 1) Check if the power connected to POS terminal is turned off.
Caution 2) Separate all cables connected to system box.
Disassemble RAM
Step 1. Slide Stand Rear in upwards direction
and pull it out in the direction of the arrow.
Step 2. Remove the 4x screws to separate the
stand and monitor.
(M4 x 8L)
Step 3. Remove Deco Cover.
Step 4. Remove module Cover.

TRX3000 user manual rev.005
P a g e 12 | 69
12
Disassemble RAM
Step 5. Disassemble the Rear-Case by
removing 6x screws.
(M3 x 4L)
Step 6. Major parts such as Mainboard, RAM,
SSD can be replaced.
※AURES is not responsible for damages
caused during replacement.
Step 7. RAM can be replaced.

TRX3000 user manual rev.005
P a g e 13 | 69
13
Disassemble RAM
Step 8. Disassemble the SODIMM from the
socket.
※AURES is not responsible for damages
caused during replacement.
Retaining clip
DDR SODIMM notch

TRX3000 user manual rev.005
P a g e 14 | 69
14
(3) Installation 2nd Display or 2nd Touch Display
Caution 1) Check if the power connected to POS terminal is turned off.
Caution 2) Separate all cables connected to system box.
Installation 2nd Display or 2nd Touch Display
Step 1. Cut out 3 parts of the top of the stand
using a cutter knife.
[ZOOM]
Step 2. Remove Stand Rear.

TRX3000 user manual rev.005
P a g e 15 | 69
15
Installation 2nd Display or 2nd Touch Display
Step 3. Assemble the 2nd Display to the Stand
with 4x screws.
(T3 x 6L)
Step 4. 2nd Display can be used by connecting
to Port 3.

TRX3000 user manual rev.005
P a g e 16 | 69
16
3. Motherboard
Warning
Take note of the following precautions before you install motherboard components or change any motherboard settings.
1. Unplug the power cord from the wall socket before touching any component.
2. Before handling components, use a grounded wrist strap or touch a safely grounded object or a metal object,
such as the power supply case, to avoid damaging them due to static electricity.
3. Hold components by the edges to avoid touching the ICs on them.
4. Whenever you uninstall any component, place it on a grounded antistatic pad or in the bag that came with the
component.
5. Before you install or remove any component, ensure that the ATX power
6. Supply is switched off or the power cord is detached from the power supply. Failure to do so may cause

TRX3000 user manual rev.005
P a g e 17 | 69
17
Mother board Pin Assignment
This includes description of the jumpers and connectors on the motherboard.
LAN port (RJ45)
Pin Num
Description
Pin Num
Description
1
Transmit +
5
Reserved
2
Transmit -
6
Receive -
3
Receive +
7
Reserved
4
Reserved
8
Reserved
USB port
Pin Num
Description
1
VSUB(+5V) +
2
D-
3
D+
4
GND
16

TRX3000 user manual rev.005
P a g e 18 | 69
18
DC IN 12V
Pin Num
Description
1-2
GND
3-4
+12V
RJ12 Cash Drawer
Pin Num
Description
1
Sensor Input 2
2
CashDrawer Open 1
3
Sensor Input1
4
Cash power
5
CashDrawer Open 2
6
GND
Mini Display Port
Pin Num
Description
Pin Num
Description
1
GND
11
DP1 TX1 DN
2
DP1 HPD
12
RS232 TXD5
3
DP1 TXO DP
13
GND
4
CONFIG1
14
GND
5
DP1 TXO DN
15
+DATA14
6
CONFIG2
16
DP1 AUXP
7
GND
17
-DATA14
8
GND
18
DP1 AUXN
9
DP1 TX1 DP
19
GND
10
RS232 TXD5
20
DC 12V

TRX3000 user manual rev.005
P a g e 19 | 69
19
COM1/2
`
Pin Num
Description
A1
DCD1
A2
TXD1
A3
RXX1
A4
DSR1
A5
GND
A6
DTR1/12V
A7
CTS1
A8
RTS1
COM3
COM3
A1
RST3
A2
CTS3
A3
DTR3(+12V)
A4
GND
A5
DSR3
A6
RXD3
A7
TXD3
A8
DCD3
Standard 1*2 Rj45 Connector Without LED
Standard 1*2 Rj45 Connector Without LED

TRX3000 user manual rev.005
P a g e 20 | 69
20
t
4. BIOS Setup Utility
* This chapter tells how to change the system settings through the BIOS Setup menus.
Detailed descriptions of the BIOS parameters are also provided.
(1) BIOS setup program
This motherboard supports a programmable firmware chip that you can update using the provided utility. Use the BIOS Setup
program when you are installing a motherboard, reconfiguring your system, or prompted to “Run Setup.” This section explains how to
configure your system using this utility.
Even if you are not prompted to use the Setup program, you can change the configuration of your computer in the future. For
example, you can enable the security password feature or change the power management settings. This requires you to reconfigure
your system using the BIOS Setup program so that the computer can recognize these changes and record them in the CMOS RAM of
the firmware hub.
The firmware hub on the motherboard stores the Setup utility. When you start up the computer, the system provides you with the
opportunity to run this program. Press <Del> during the Power-On-Self-Test (POST) to enter the Setup utility; otherwise, POST
continues with its test routines.
If you wish to enter Setup after POST, restart the system by pressing <Ctrl+Alt+Delete>, or by pressing the reset button on the system
cashsis. You can also restart by turning the system off and then back on. Do this last option only if the first two failed.
The Setup program is designed to make it as easy to use as possible. Being a menu-driven program, it lets you scroll through the
various sub-menus and make your selections from the available options using the navigation keys.
•The default BIOS settings for this motherboard apply for most conditions to ensure optimum
performance. If the system becomes unstable after changing any BIOS settings, load the default
settings to ensure system compatibility and stability. Select the Load Optimized Defaults from the BIOS
menu screen.
•The BIOS setup screens shown in this section are for reference purposes only, and may not
exactly match what you see on your screen.
Other manuals for TRX 3000
1
Table of contents
Other AURES Touch Terminal manuals

AURES
AURES NINO II User manual

AURES
AURES TEOS WIDE User manual

AURES
AURES YUNO II User manual

AURES
AURES Odysse II User manual
AURES
AURES YUNO-K170-BLACK User manual
AURES
AURES JAZZ-BASE151 User manual
AURES
AURES YUNO-151 User manual
AURES
AURES TWIST-MB-1900 User manual

AURES
AURES TMC 7200 User manual
AURES
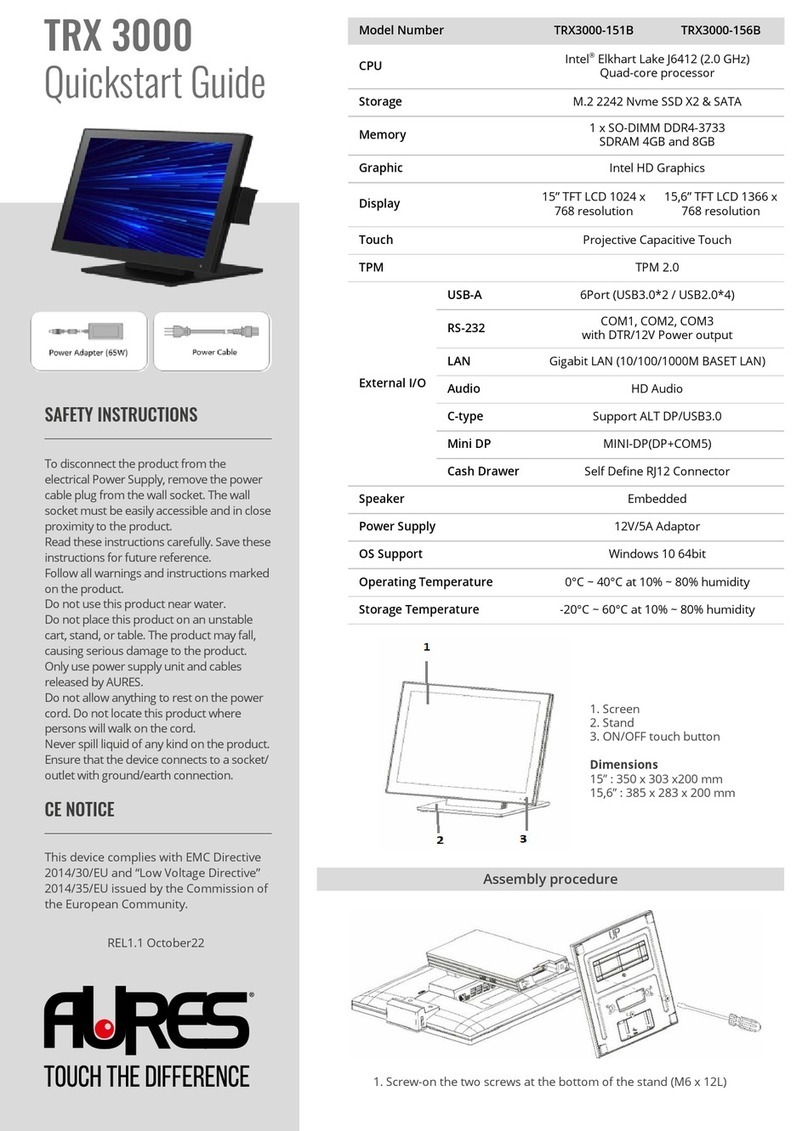
AURES TRX 3000 User manual
