Installation and General Maintenance Recommendations
Installation
Before installing the CONTROLAIR® Valve, all air lines
in the system should be blown clean to remove any
moisture, dirt, or harmful contamination. Strainers are
furnished in the INLET and OUTLET ports to protect the
valve from large particles of foreign matter in the line. To
further ensure long, trouble-free service, a 10 MICRON
or better filter should be installed in the supply line to the
valve.
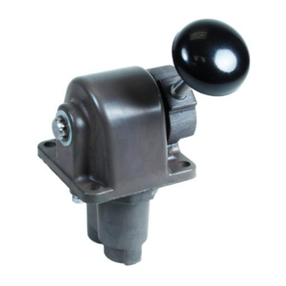
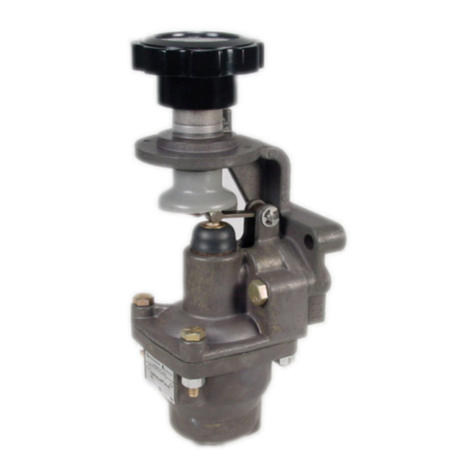
The H-3 Type CONTROLAIR is designed for side
mounting. Refer to page 3 for mounting dimensions.
Allow suitable clearance for removal of the pipe bracket
screws which are 1 ¾” (44.5 mm) long.
Travel of the cam roller and the position of the actuating
device must be considered in mounting. Refer to the
outline dimensions on page 3.
General Maintenance and Repair
Maintenance periods should be scheduled in accordance with
frequency of use and working environment of the
CONTROLAIR Valve.
All valves must be visually inspected for wear and given an
“in system” operating performance and leakage test at least
once a year. If these visual observations indicate valve repair
is required, the valve must be removed, repaired and tested.
A major overhaul is recommended at one million cycles, or
every two years, whichever comes first.
When it is determined that the CONTROLAIR Valve requires
a major repair as a result of the one million cycles, one year
routine inspection, or the two year service period having
elapsed, the device must be disassembled, cleaned,
inspected, parts replaced as required, rebuilt and tested for
leakage, and proper operation prior to installation. Refer to
MAJOR REPAIR AND MAINTENANCE INSTRUCTION, pg.
11, and TEST PROCEDURES, pg. 12.
One complete CONTROLAIR Valve should be kept for each
four valves in service. During the maintenance period,
replace the complete valve with the “stand-by” unit. This will
reduce downtime and afford inspection and replacement of
worn parts at a more appropriate or opportune time and
favorable location.
Notice that the operating portion of a valve can be removed
without disturbing the pipe connections. Remove the valve
from the pipe bracket by loosening (2) screws and lifting the
unit free.
No special tools are required to maintain the CONTROLAIR
Valve.
Page 2
Technical Data
Maximum Operating Pressure ....................... 200 psi (13.8 Bar)
Admissible Medium ........................................ Air, clean and dry
Operating Temperature .................................. -40° F to +160° F (-40°C to +71°C)
Hysteresis ...................................................... 1 ½ psi (0.1 Bar)
Control Pressure Range ................................. (Reference Identity Chart, Pg 7)
Pressure Change ........................................... ½ psi Increment (0.03 bar)
Mounting ........................................................ Flange Plate
Port Size ........................................................ ¼ - 18 NPTF
Materials
Controlair Valve Housing and Body ............ Die Cast Aluminum
Internal Parts .............................................. Brass, Rubber (Buna-N),
Aluminum, and Steel
Weight ............................................................ 14.5 lbs (6.6. kg) approximately


