MR-1824 and MR-1824MC Installation Sheet V1.4 Page 1 of 3
Installation Sheet (Wiegand Interface)
Sentinel-Prox MR-1824 and MR-1824MC Readers
Reader Description
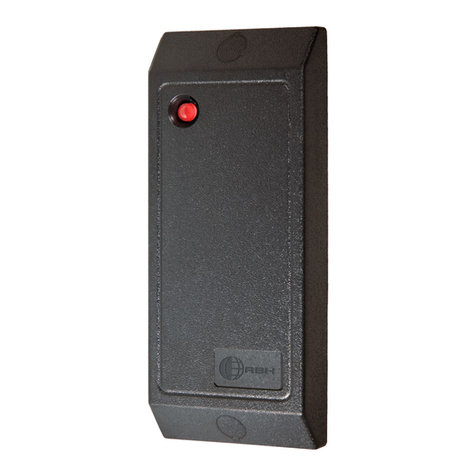
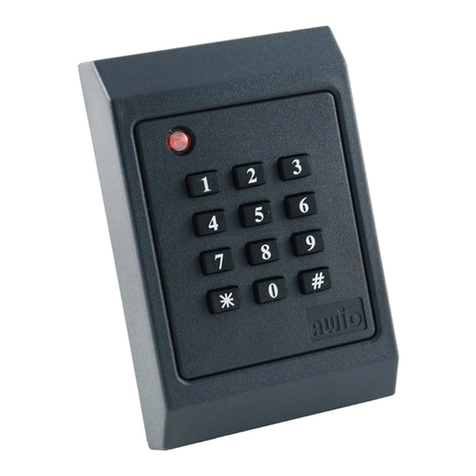
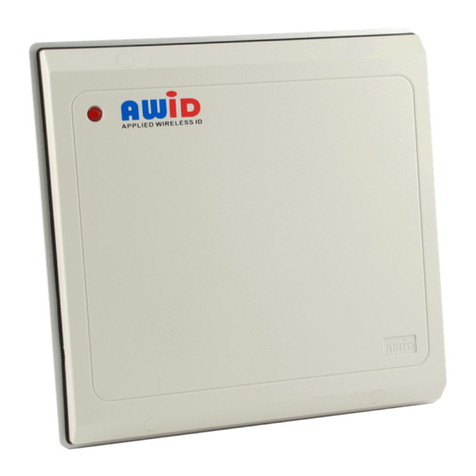
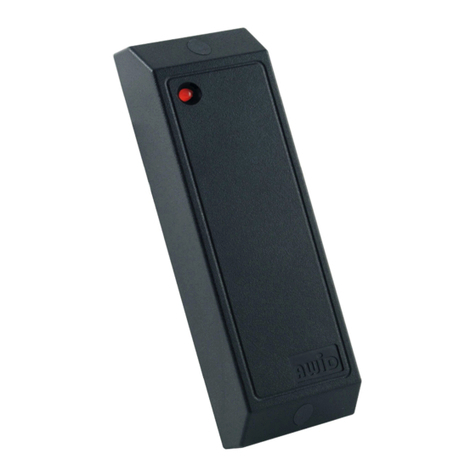
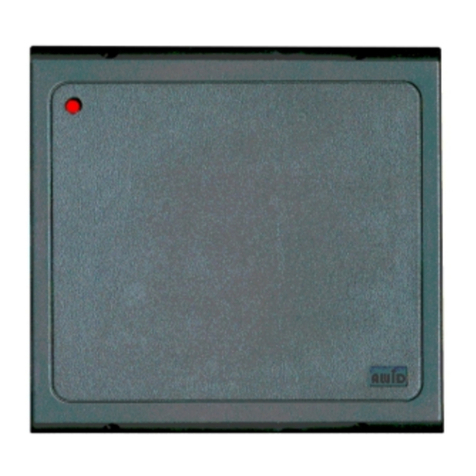
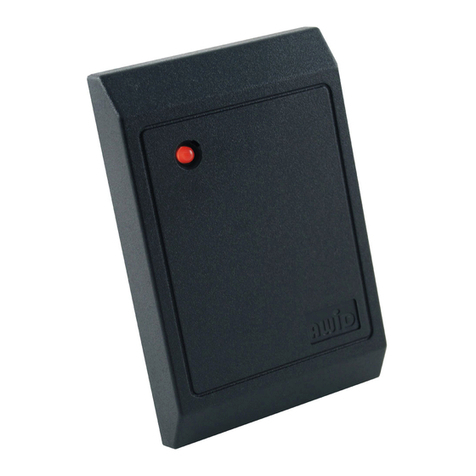
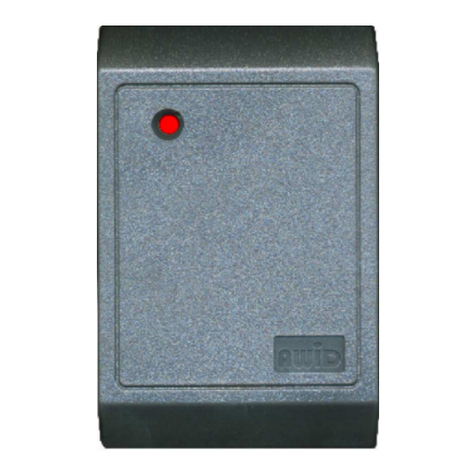
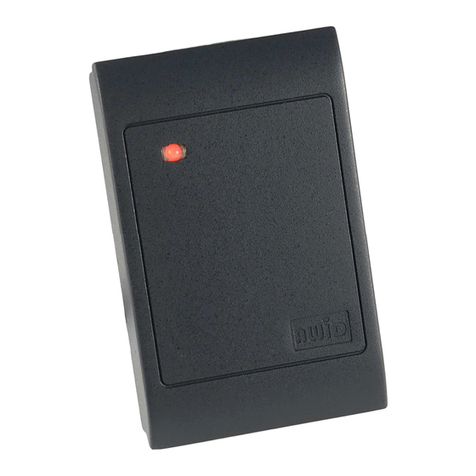
The Sentinel-Prox MR-1824 Reader is a medi m-range radio-freq ency proximity reader for Gate Control and
Access Control Systems. The Reader consists of a transmit/receive antenna and reader electronics in a
polycarbonate ho sing. The reader electronics are potted with epoxy resin to protect against the environment.
MR-1824 may be mo nted on any non-metallic s rface. MR-1824MC is a metal-compensated version
of this reader for mo nting on or near a metal s rface. See page 3 for the Proced re to install MR-1824MC.
Parts List
(a) Installation sheet .................................................... 1
(b) Sentinel-Prox
MR-1824 or MR-1824MC Reader
....... 1
(c) #6-20 x 1.375” self-tapping screw......................... 4
(d) Plastic screw anchor ................................................ 4
(e) Screw-hole pl g (1 spare)........................................ 5
(f) Cable slot pl g......................................................... 2
Installation Procedure
1. Position the reader (item b in the Parts List) at the desired location. Observe ADA height req irements. Drill fo r holes
for the screws or anchors, and drill one clearance hole for the cable (see Fig re 1). The installer determines
the size of mo nting holes and cable clearance hole.
2. Clip off the white 10-pin connector from the end of the reader’s cable. Keep the wires as long as possible.
3. Use a linear regulated DC power s pply, between 5 volts (c rrent rating at least 400 milliamperes) and 12.0 volts
maximum (c rrent rating at least 1 ampere). Do not power the MR-1824 from the reader port’s DC voltage terminals
on the panel – se a separate DC power s pply. (For g aranteed performance, AWID offers P/N PS12-1A power
mod le.) Tie the ground side of all DC circuits together incl ding the reader, the panel’s reader inp t port,
the separate DC power s pply, and the door or gate release.
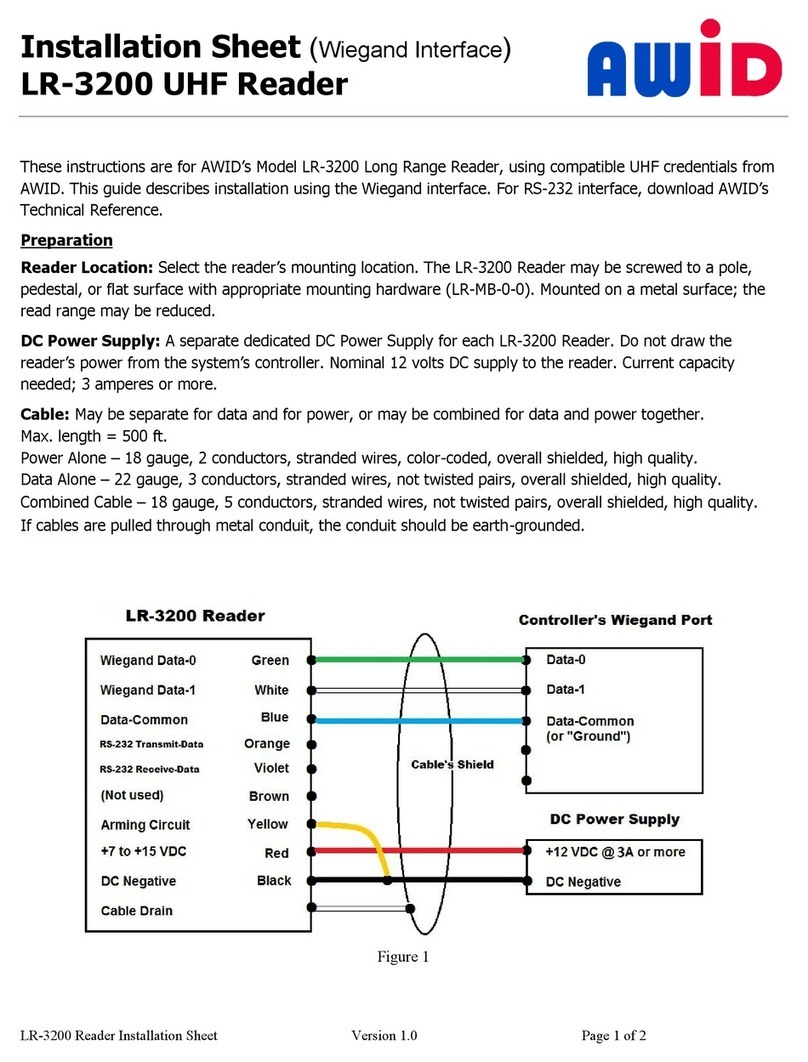
4. Connect the reader’s wires for gro nd, data-0, data-1, LED, and power, and the silver drain wire (see Fig re 2).
Connect the yellow wire only if sed for Beeper control by the panel. Connect the blue wire only if sed for
Hold control by the panel. Do not connect the orange and violet wires. Tape or cap the n sed wires separately.
5. To install the reader’s cable thro gh the wall directly behind the reader, insert both cable slot pl gs (item f in
the Parts List) in the sides of the reader’s top cover. To r n the cable exiting from the side of the reader, press
the cable into the c rved channel and g ide the cable o t of the desired side of the reader. Then insert the cable
slot pl g in the other side of the top cover. Extend the cable straight away from the reader ho sing as far as possible.
6. Install the reader on the mo nting s rface, sing screws (item c in the Parts List) and anchors (item d) as necessary.
7. Apply DC power to the reader. The LED is steady amber. (The beeper does not so nd.)
8. Present any AWID proximity credential (card, keytag or wafer) briefly to the reader. The beeper so nds
a Long-Short-Short seq ence. The LED is steady red to indicate Standby mode. The reader is now initialized and
can read cards. Note: All credentials m st be AWID’s prod cts. Cards and tags from other companies will not read.
9. The LED color in Standby mode may be changed from red to green, or from green to red, sing a Color Changer card,
available from AWID. Remove power from the reader for abo t 5 seconds, then restore power. While the LED
is amber, present the Color Changer card to change the LED’s Standby color. When the color changes, remove the card.
10. When installation is complete and the reader has been tested, insert screw-hole pl gs (item e in the Parts List)
into the screw clearance holes to conceal the screw heads. Note: Screw-hole pl gs are for one-time se. After they are
seated, they cannot be removed witho t damaging the pl gs.
Product Specifications
Material of the Mo nting S rface
• MR-1824 .....................Non-metallic material only (Keep the reader at least 3 or 4 inches from all metal.)
• MR-1824MC ............... Any material incl ding metal (The best read range is abo t 2/3 of the MR-1824 read range.)
Cable to Controller
• 4 to 7 cond ctors (not twisted pairs), stranded, 18 AWG, color-coded ins lation, overall 100% shielded
Note: (a) Wire may be 22 ga ge for data & control lines if DC power is r n in a separate shielded 18 ga ge cable.
(b) The n mber of cond ctors depends pon se of optional feat res – LED, Beeper & Hold (see Fig re 2).
• Length for Wiegand Interface ... Up to 500 feet
