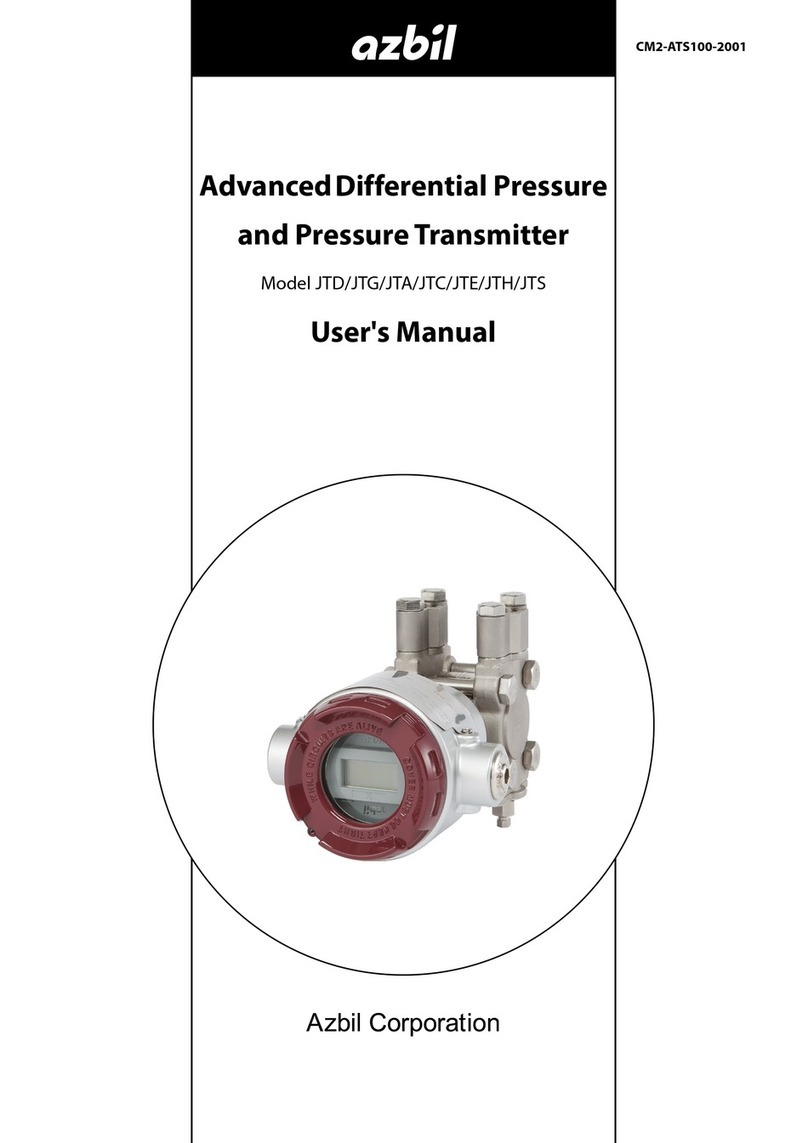
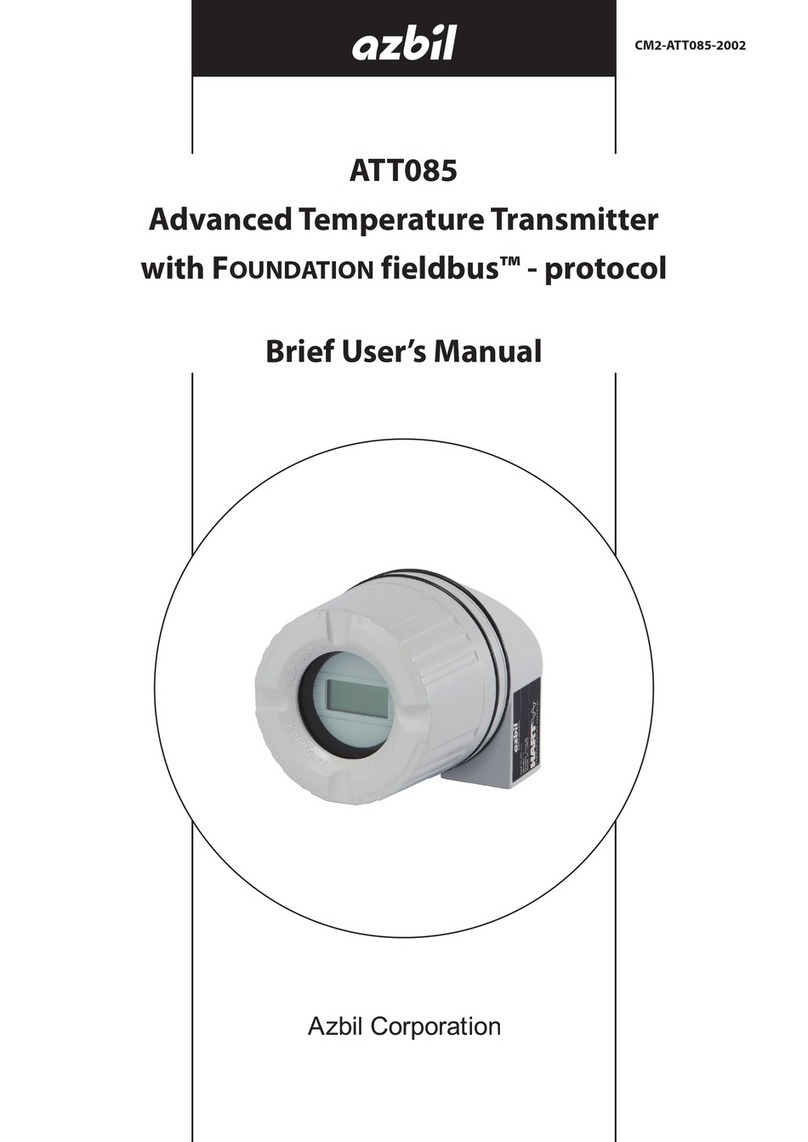
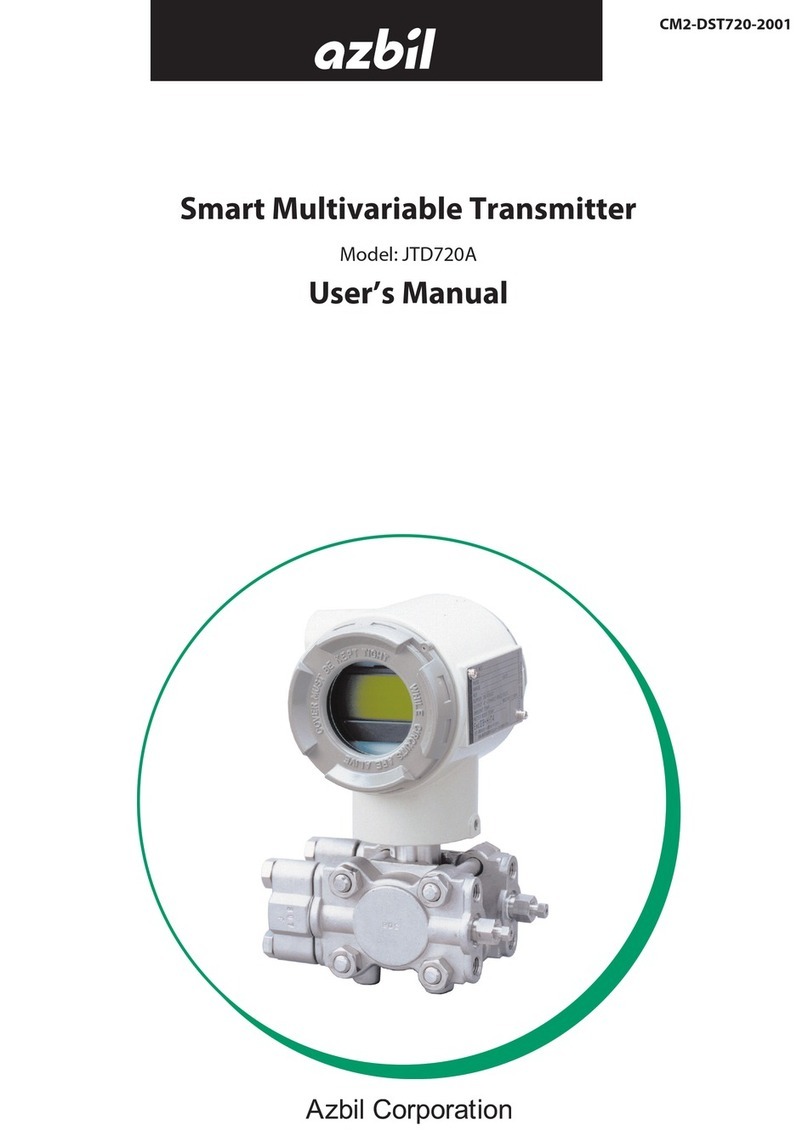
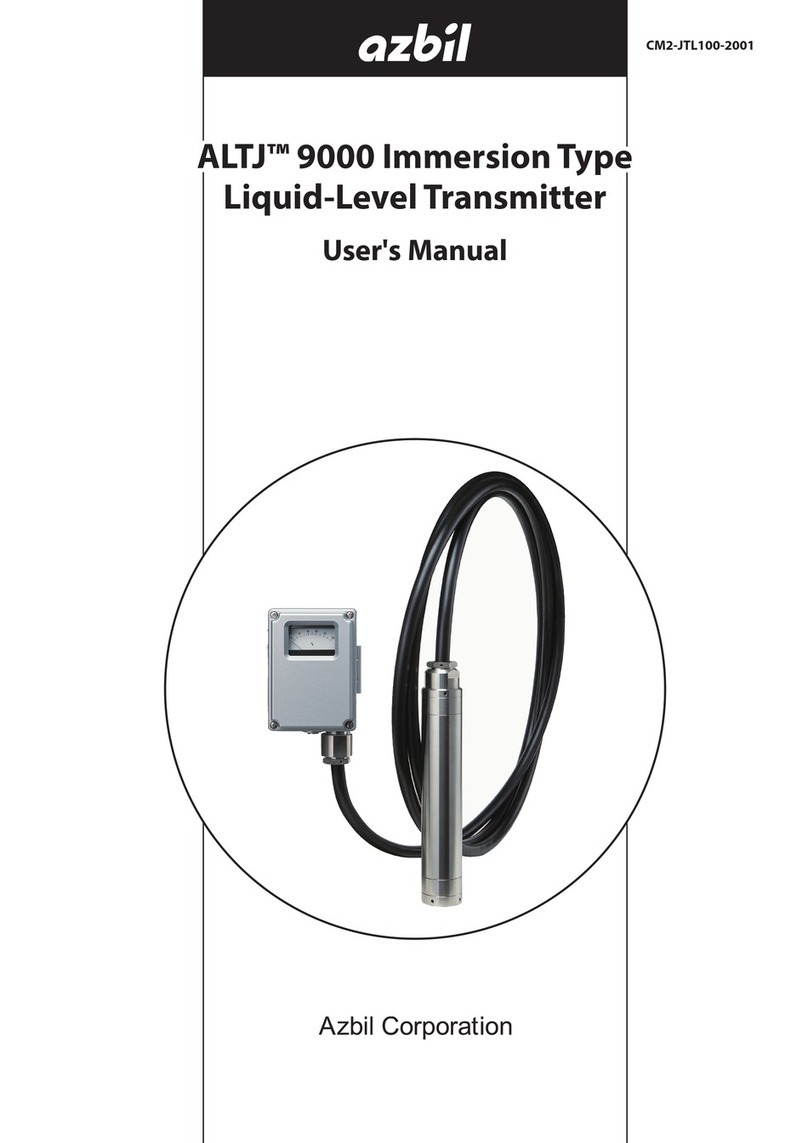
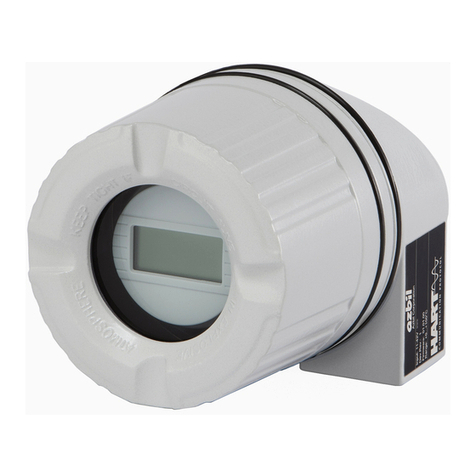
Azbil MagneW Plus+ MGG14C User manual

CM2-MGG31F-2001
MagneW PLUS+
Electromagnetic Flowmeter
Foundation Fieldbus Transmitter
Model MGG14C
User’s Manual

Copyright, Notices and Trademarks
Be sure that the user receives this manual before the product is used.
While this information is presented in good faith and believed to
be accurate, Azbil Corporation disclaims the implied warranties of
merchantability and tness for a particular purpose and makes no
express warranties except as may be stated in its written agreement
with and for its customer.
In no event shall Azbil Corporation be liable to anyone for any
indirect, special or consequential damages. is information and
specications in this document are subject to change without no-
tice.
MagneW™is a trademark of Azbil Corporation.
F™ Fieldbus is a trademark of FieldComm Group.
Precaution
is device is designed and manufactured for the use of general
applications.
Do not use this device for the nuclear applications and applications
which are directly related to the human life. Also do not use this
device in the radiation controlled area.
In case the device is used in the following applications, please
make sure to use the device with the system designed as failsafe/
redundant and the system should be maintained periodically.
• Safety device for human body protection
• Directly control the transport machine
• Aircra
• Space appliance
Azbil Corporation disclaims any liability for damages caused by
any of accidents/results by the above application.
© 2014–2018 Azbil Corporation All Rights Reserved.

SAFETY PRECAUTIONS
About Icons
e safety precautions described in this manual are indicated by various icons.
Please be sure you read and understand the icons and their meanings described below before reading the
rest of the manual.
Safety precautions are intended to ensure the safe and correct use of this product, to prevent injury to the
operator and others, and to prevent damage to property.
Be sure to observe these safety precautions.
WARNING Warnings are indicated when mishandling this product might
result in death or serious injury.
CAUTION
Cautions are indicated when mishandling this product might result in
minor injury to the user, or only physical damage to the product.
Examples
In describing the product, this manual uses the icons and conventions listed below.
Use caution when handling the product.
The indicated action is prohibited.
Be sure to follow the indicated instructions.
SAFETY REQUIREMENTS
To reduce risk of electric shock which could cause personal injury, follow all safety notices in this
documentation.
WARNING
This symbol warns the user of a potential shock hazard where hazardous live voltages
may be accessible.
i

ii
Safety messages
Carefully read this section before installing or operating this device.
Cautions for installation
WARNING
Installation of the device should be done by the expert from the safety perspective.
In case of the installation in the hazardous area, follow the regulation/guidance of the
explosion-proof.
In case of the installation in the hazardous area, select the explosion-protected apparatus.
Do not use the non-explosion-protected apparatus in the hazardous area.
Install the device in the environment where the following is within in the specifications
listed in the specification sheet.
• Ambient temperature, process fluid temperature
• Process fluid pressure
• Humidity
• Vibration
• Power supply voltage
Environment which exceeds the specifications may cause fire or device damage and it may
cause injury.
CAUTION
DO NOT use the installed device as foot hold. It may cause the damage of the device.
DO NOT hit the glass of the device by tools. It may cause the damage of the device.
Install the device in a location with an ambient temperature of -25 °C to 60°C (-13 °F to
140 °F) and an ambient humidity of 5 to 100% RH to prevent device malfunction or output
errors.
DO NOT install the device near high-current power lines, motors, or transformers to pre-
vent damage from electromagnetic induction, which can cause device malfunction or
output errors.
DO NOT use the device to ground a welder. It can damage the device.
Be sure to ground the welding power transformer when welding near the device to avoid
output errors.
DO NOT install the device in the severe vibration area or in corrosive environment. It may
damage the device, or cause the fume of the device.
DO NOT install the device on the bridge or deck of the ship.
DO NOT install the device on in the severe vibration area on the ship.
Be sure to use the metal conduit for the cables between the remote style transmitter and
flowtube.
Be sure to install the flowtube with a distance of 500mm minimum from the other flow-
tube. Magnetic field generated by a flowtube may affect the other flowtube and it may
cause the output errors.
DO NOT install the device in a location subject to direct sunlight, wind, rain, severe vibra-
tion, or in a highly corrosive atmosphere. The transmitter and flowtube can be damaged.

iii
Cautions for wiring
WARNING
DO NOT wire with wet hands. DO NOT wire while the circuit is alive. It may cause electrical
shock.
ELECTRIC SHOCK HAZARD! Turn the power supply OFF before opening the transmitter
cover.
Wiring of the device should be done by the expert from safety perspective.
Wire the cables to the correct terminal. Incorrect wiring may damage the device or cause
the fume of the device.
Connect the correct power supply. Incorrect power supply may damage the device or
cause the fume of the device.
CAUTION
Be sure to properly ground the device. Improper grounding may cause the output errors
DO NOT give impact to the device. It may cause the damage of the device.
Be sure to use the power supply with the overcurrent protection function.
Be sure proper wiring. Incorrect wiring may cause the damage of the device.
Be sure to properly tighten the terminal cover on the terminal box so that water does not
penetrate in the terminal.
DO NOT connect AC power supply to the DC power supply model. The wrong power sup-
ply damages the device.
Turn off the Fieldbus power supply before connecting the Fieldbus cable to the transmit-
ter. The transmitter or the Fieldbus power supply can be damaged. This type of damage is
not covered by Azbil Corporation’s warranty.
Be sure to plug all unused conduit connections with a water tight plug.
In case that a remote model is installed in a ship, the cables between the transmitter and
flowtube must be covered with a flexible metal conduit.
Switch the control equipment to manual control before terminating the device opera-
tion and shutting off the output to the control equipment. This action prevents the power
shut-off from directly affecting the control equipment.

iv

v
Table of Contents
1. Introduction ...........................................................1-1
1.1 System configuration ..............................................................1-1
1.2 F Fieldbus .............................................................1-2
1.3 Main components.................................................................1-4
1.4 Local user interface ...............................................................1-5
2. Overview of MagneW PLUS+ Foundation Fieldbus .........................2-1
2.1 Overview ........................................................................2-1
2.2 Structure of MagneW PLUS+ F Fieldbus.....................................2-1
2.2.1 System/network Management VFD............................................2-1
2.2.2 Function Block VFD ........................................................2-2
2.2.3 Function block .............................................................2-2
2.2.4 Transducer Block ...........................................................2-2
2.3 VFD/Object correlation diagram ....................................................2-3
2.4 Wiring .........................................................................2-4
2.5 Others .........................................................................2-5
3. Installation ............................................................3-1
3.1 Before installing electromagnetic flowmeter ..........................................3-2
3.2 Installation of transmitter ..........................................................3-3
4. Startup and Shutoff ....................................................4-1
4.1 Startup .........................................................................4-1
4.2 Steps before measurement..........................................................4-2
4.3 Shutoff .........................................................................4-5
5. Basic Settings by Fieldbus Communication...............................5-1
5.1 Fieldbus communication menu .....................................................5-2
5.2 Zero adjustment ..................................................................5-3
5.3 Basic settings .....................................................................5-4
6. Maintenance and Troubleshooting ......................................6-1
6.1 Troubleshooting ..................................................................6-1
6.2 Input of simulated signals from calibrator ............................................6-6
6.3 Measurement of excitation current ..................................................6-7
Appendix A. View List.................................................... A-1
Appendix B. Parameter List .............................................. B-1
Appendix C. Menu Configuration ..........................................C-1
vi

1-1
1. Introduction
This chapter contains an overview of the model MGG14C MagneW PLUS+ Flowmeter
and F Fieldbus system. It describes available configurations and provides
definitions for all the major parts of the transmitter.
MagneW PLUS+ Flowmeter
Thank you for purchasing the Azbil Corporation model MGG14C MagneW PLUS+
Flowmeter This system features:
• Advanced multi-variable capacity
• Digital panel display
• Intuitive, versatile operator interface with large characters and backlit liquid crystal
display
• I/O Capacity
• Flexible digital communication using the F Fieldbus
1.1 System configuration
The model MGG14C MagneW PLUS+ Flowmeter consists of a flowtube and a transmitter
which operate on the principles of Faraday’s law. The flowmeter is available in two
configurations:
Integral – The transmitter is mounted directly on the flowtube and they are installed as an
integrated unit on the fluid pipe.
Remote – The transmitter and flowtube are installed separately and connected together
via cables
Figure1-1 Indegral system

1-2
Figure1-2 Remote system
1.2 Foundation Fieldbus
The F Fieldbus provides communications and programmability for a single or
multiple flowmeter system. Some features of the fieldbus include:
• Complies with F Fieldbus H1 (31.25 kbps voltage mode bus)
specifications.
• Supports the standard Analog Input (AI) function block.
• Is an externally powered device – AC and DC powered models available.
• Comes with Enhanced Device Description (EDD) files and a Capability File (CF) for
automatic configuration.
The following figure shows a system in which the flow rate is output with a F
Fieldbus.

1-3
Figure1-3 System using a Foundation Fieldbus

1-4
1.3 Main components
The transmitter consists of the components shown in the figure below.
Figure1-4 Main components
(1) Local user interface – Indicates the instantaneous flow rate or the totalized valve. The flowmeter functions
can be accessed using the four infrared sensor keys on the panel.
(2) Fieldbus interface board – Includes the fieldbus communication function.
(3) Main board – This board includes fundamental functions of the flow measurement.
(4) Power supply board – There are two types, AC power supply, and DC power supply type.
(5) Terminal – Encloses the input/output terminals. Contains an integrated 12 kV, 1000A isolator.
(6) Name plate – Indicates model numbers and production numbers, power supply requirements, date of
manufacture and the flowtube constant (EX) for the flowmeter.
(7) Tag number plate – Indicates the tag number as specified in the product order.

1-5
1.4 Local user interface
Figure1-5 Local user interface
Display MEASURING MODE Other than MEASURING
MODE
Main display Indicates a value set by PARAM_SELECTION
under the block selected by BLOCK_TAG_SEL.
Indicates maximum four values cyclically.
Indicates flow velocity.
Auxiliary display Upper auxiliary display
Indicates the information of [Tag, unit, or status]
set by DISPLAY_INFO_SEL cyclically.
Lower auxiliary display
Indicates percent flow rate with bar indicator.
Range is set by EU_100, and EU_0.
Indicates procedures for
the parameter setting or
adjustment.

1-6
The following table is a summary of the functions of each of the keys.

1-7
How to operate the infrared touch sensor
For best results, approach the key from below and completely cover the circle. Then move
your finger straight down to its original position. These motions ensure correct operation.
Moving sideways across the keys can accidentally activate the wrong control.
Figure1-6 Using the touch senser keys

1-8
Local user interface operation
The following table describes the functions available in each mode.
Display MEASURING MODE
Other than MEASURING MODE
MEASURING MODE This is the normal operational mode and indicates the measuring
status.
Each time the MEASURING MODE is selected, data is written into
memory. Settings entered in other modes are held in temporary
memory for two minutes, but will return to the previously saved
value unless the MEASURING MODE is selected to save the data.
The only exception is the counter, which is always saved into memory
immediately.
BASIC SETUP MODE This mode is used to change data settings that must be recorded or
changed frequently. These settings include:
TAG NO.
Damping time constant
Auto zero
Detector data
MAINTENANCE MODE
This mode is used when adjustment or verification is required for
regular maintenance of the system or when troubleshooting the
system. This mode includes:
Shipping information
Output adjustment
Gain adjustment
This mode is further divided into the following two modes:
OUTPUT CHECK MODE
CALIBRATION MODE
ADVANCED MODE This mode is used to apply some specific noise immunity functions.
This mode includes:
Damping
Manual zero
Averaging
Auto spike Cut
Coefficient
Drop out
Low-flow cut off
Flow direction change

1-9
MODE
AI – 01 PV
ENTER BASIC SET
YES OR NO
*BASIC SETUP
MODE
Push 3
seconds
The screen returns to MEASURING mode
in case of no operation for 8 seconds.
MEASURING MODE
to BASIC SETUP
Move the cursor under “N” and
Move the cursor under “Y” and
press key.
Figure1-7 How to enter BASIC SETUP
* In the BASIC SETUP mode, flow velocity in m/s appears on the upper auxiliary display.
* After entering the BASIC SETIP mode, if do not operate anything for 10 minutes, the
screen automatically returns from BASIC SETUP mode to MEASURING MODE.

1-10
*
*
*
2 seconds later
*
YA – RC - 001
*
*
M
*
*
YA – RC - 001
*
DAMPING
003.0s
BASIC SETUP
MODE
MEMO
XXXXXXXX
PD TAG 1/2
AUTO ZERO
READY
EX 300.0
MGG DIA
PD TAG 2/2
NODE ADRESS
FFh
s
50.0
0
*
MODE ENTER
MAINTENANCE
*
MODE ENTER
ADVANCED
*
SVR 10.000 m/s
70.686 t/h
*
PVR 10.000 m/s
70.686
*
DENSITY
1.0000
m3/h
to Fig1-10 screen
to Fig1-11 screen
DUMMY
Figure1-8 BASIC SETUP MODE

1-11
2 seconds later
& ADVANCED
&COEFFICIENT
1.0000
&AVARAGING
OFF
& PV SPIKE CUT
&PV SPIKE CUT
LEVEL 00.0 %
&PV SPIKE CUT
TIME 00.0 s
& SV SPIKE CUT
&SV SPIKE CUT
TIME 00.0S
&SV L-FLOW CUT
LEVEL
&MANUAL ZERO
&PV L-FLOW CUT
LEVEL
& SV SPIKE CUT
LEVEL 00.0 %
MODE
OFF
OFF
10%
READY
10%
& FLOW SWITCH 1
SP .00000 m3/h
&FLOW SWITCH 1
HYSTERISIS 0%
& FLOW SWITCH 2
SOURCE SV
&FLOW SWITCH 2
MODE LOW
&FLOW SWITCH 2
SP .00000 t/h
& FLOW SWITCH 2
HYSTERISIS
&FLOW SWITCH 1
MODE LOW
&FLOW SWITCH 1
SOURCE
& EX FREQUENCY
& FLOW DIRECTION
& MODE RETURN
BASIC SETUP
0%
PV
12.5 Hz
FORWARD
Figure1-9 ADVANCED MODE

1-12
> CALIBRATION
OFF
> SHIPPING INFO
OFF
> MAINTENANCE
MODE
> MODE RETURN
BASIC SETUP
Figure1-10 MAINTENANCE MODE
Table of contents
Other Azbil Transmitter manuals

Azbil
Azbil JTD910S User manual

Azbil
Azbil ATT082 Instructions for use

Azbil
Azbil PTG71 User manual

Azbil
Azbil SLX 110 User manual

Azbil
Azbil ATT085 User manual

Azbil
Azbil ATT085 User manual

Azbil
Azbil JTD720A User manual

Azbil
Azbil KDP Series User manual

Azbil
Azbil PREX3000 User manual

Azbil
Azbil PTG60 User manual