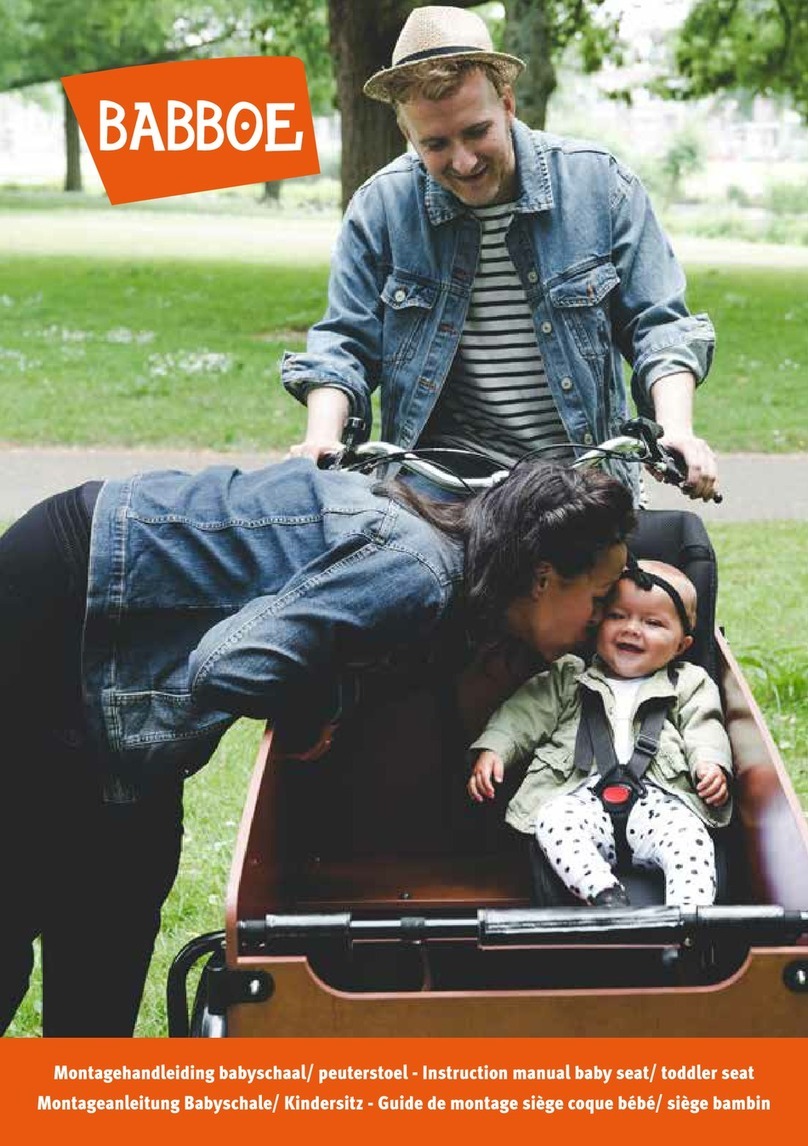
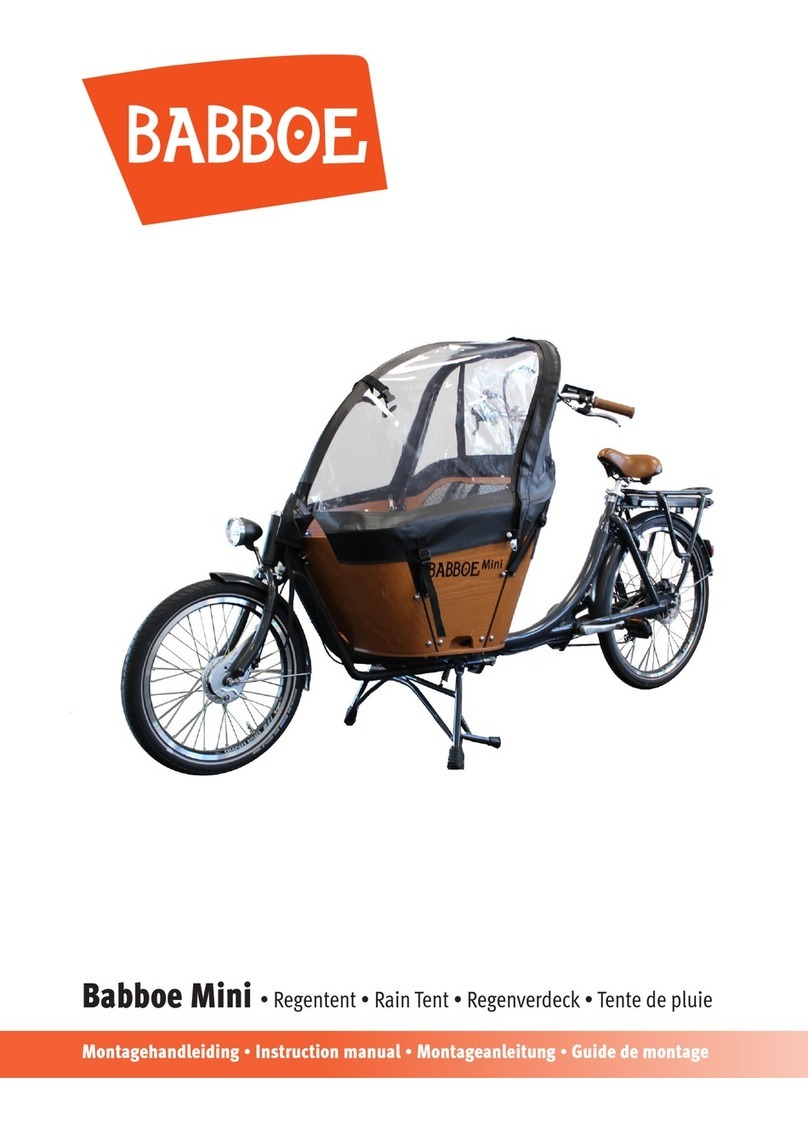
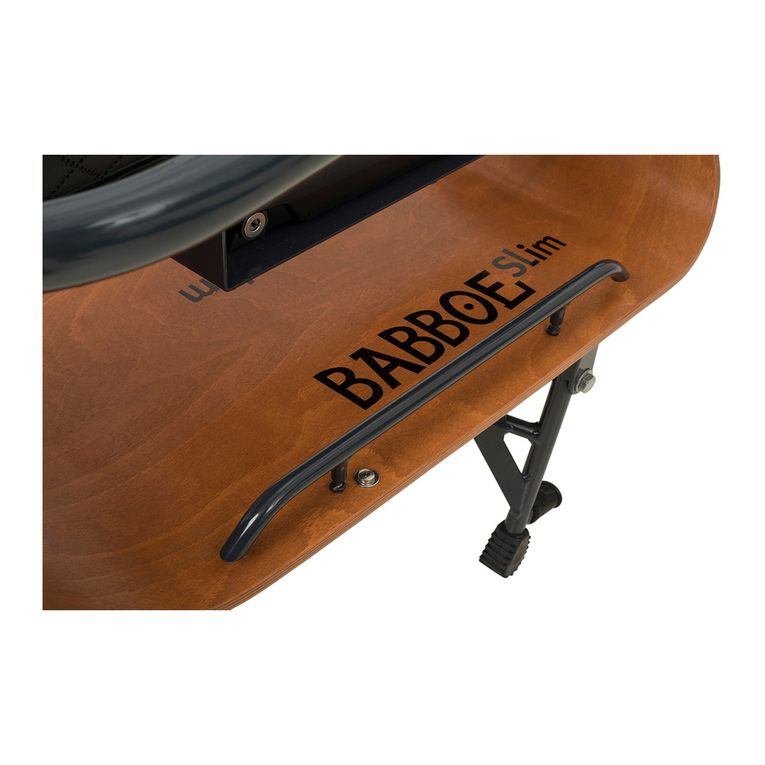
Babboe HWWX-840 User manual

Montagehandleiding babyschaal/ peuterstoel • Instruction manual baby seat/ toddler seat
Montageanleitung Babyschale/ Kindersitz • Guide de montage siège coque bébé/ siège bambin

INSTRUCTIE MONTEREN BABYSCHAAL / PEUTERSTOEL
Opmerkingen vooraf
Deze handleiding laat zien hoe je de peuterstoel monteert. De montage van de babyschaal
gebeurt op dezelfde wijze, tenzij er aanvullende/extra informatie voor de babyschaal bij staat.
Liever zien hoe je de peuterstoel of babyschaal monteert? Bekijk dan de instructievideo
https://youtu.be/-_lYh_Ll9oE
In de verpakking vind je het
volgende
• 2 plaatjes
• 2 gespen
• 2 easy-lock instekers
• 1 gordel met easy-lock
• 2 bouten
• 2 stelmoeren
• 1 klittenband
Benodigd gereedschap
• Boor (+ houtboor 6 mm)*
• Rolmaat
• Potlood
• Kruiskopschroevendraaier
• Steeksleutel (maat 10)
2

ENGLISHDEUTSCHFRANÇAIS NEDERLANDS
Montage
Stap 1:
Voorbereiden van de bakfiets.
We adviseren de peuterstoel aan de stuurzijde te monteren, omdat daar het rug paneel de meeste
hoogte heeft.
BABBOE CITY, MINI, CARVE
1. Boor een gat exact tussen de twee gaten van de riempjes*.
2. Maak de meegeleverde gordels los op de plek waar de peuterstoel moet komen.
* Je kunt ook een gaatje van de gordels zelf gebruiken, dan zit het stoeltje alleen niet helemaal recht op het
bankje.
BABBOE BIG
1. Boor een gat ongeveer 7 cm van de bovenrand en op 14 cm van de zijkant (van binnenuit
gemeten).
2. Maak de meegeleverde gordels los op de plek waar de peuterstoel moet komen.
BABBOE CURVE
Bij de babboe curve zitten de gaten al voorgeboord en hoef je enkel de dopjes er nog uit te halen.
1. Pak een mesje en zet deze achter het dopje.
2. Wrik het dopje er uit.
3

Stap 2:
Bevestigen van de gordels aan de peuterstoel
of babyschaal
1. Pak de gordels aan een uiteinde en rijg deze door de clip
van de easy-lock. Zorg ervoor dat beide uiteinden even
lang zijn. (foto A)
2. Steek nu beide uiteinden van de gordel door het
onderste gat in de peuterstoel tot ongeveer 7 cm van het
einde. (foto B)
3. Draai de peuterstoel om en rijg aan de achterkant beide
uiteinden van de gordel door alle twee de plaatjes.
Babyschaal: de plaatjes hebben een brede sleuf en een
smalle en de smalle moet aan de onderkant. (foto C)
4. Steek nu de gordels van achter naar voren door de
opening van de peuterstoel. Kies voor de hoge of lage
opening, afhankelijk van de grote van het kindje. (foto D)
5. Steek nu de gordels eerst door de gespen en daarna
door de easy-lock instekers. (foto E)
6. Stel de gordels in gelijke lengte af door deze terug te
leiden in de gespen. (foto F) De gordels worden later op
precieze lengte nog een keer afgesteld. De peuterstoel
is nu klaar om te monteren op het bankje. (foto G)
A.
B.
C.
D.
E.
4

ENGLISHDEUTSCHFRANÇAIS NEDERLANDS
7. Stap 3:
Monteren van de peuterstoel of babyschaal
1. Steek een bout door het onderste plaatje en steek deze
door het gat in het onderste bankje.
2. Draai de stelschroef erop, maar draai deze nog niet
helemaal vast.
3. Zet nu peuterstoel in de goede richting.
4. Steek de tweede bout door het gat van het klittenband
en steek deze daarna in het bovenste plaatje. Steek
vervolgens de bout door het gat in de rugleuning van
de bak. (Foto H)
5. Draai nu de stelschroef erop.
6. Doe het klittenband door de openingen en bevestig het
klittenband aan elkaar. (Foto I) Het is geen probleem
wanneer de gordels zelf ook al door deze openingen
heen gaan. Babyschaal: Doe eerst de bekleding aan de
bovenkant naar beneden en bevestig het klittenband aan
de babyschaal.
7. Span de gordels op de goede lengte en draai beide
stelschroeven vast.
8. De peuterstoel is nu klaar voor gebruik. (Foto J)
De peuterstoel hoort nu nog te kunnen bewegen. Pas als je
kindje erin zit, spannen de gordels het geheel vast aan de
bakfiets. De babyschaal monteer je op dezelfde manier.
F.
G.
J.
H.
I.
J.
5

INSTRUCTION FOR ATTACHING BABY SEAT/TODDLER SEAT
Initial remarks
This instruction guide shows you how to attach the toddler seat. The baby seat is attached using
the same procedure unless there are additional instructions for the baby seat.
Would you prefer to see how to attach the toddler seat or baby seat? Watch this instructional video:
https://youtu.be/-_lYh_Ll9oE
The package contains the following
• 2 plates
• 2 three-bar slides
• 2 easy-lock inserts
• 1 belt with easy-lock
• 2 bolts
• 2 adjusting nuts
• 1 piece of Velcro
Required equipment
• Drill (+ 6 mm wood drilling bit)
• Measuring tape
• Pencil
• Cross-head (Phillips-head)
screwdriver
• Spanner (size 10)
6

ENGLISHDEUTSCHFRANÇAIS NEDERLANDS
Assembly
Step 1:
Preparing the cargo bike
We strongly advise you to attach the toddler chair on the side closest to the handlebar because the
back panel is the highest.
BABBOE CITY, MINI, CARVE
1. Drill a hole exactly between the two holes where the seat belts come through the back panel*.
2. Remove the existing belts in the area where the toddler seat will be placed.
* You can also use the existing holes through which the original belts are threaded, but then the chair will not be
situated completely upright on the bench.
BABBOE BIG
1. Drill a hole approximately 7 cm from the top edge and 14 cm in from the side (measured from
the inside).
2. Remove the existing belts in the area where the toddler seat will be placed.
BABBOE CURVE
The holes are pre-drilled in the Babboe Curve, so all you have to do is remove the caps.
1. Place the blade of a small knife behind the cap.
2. Carefully prise the cap away.
7

Step 2:
Attaching the baby seat or toddler seat
1. Insert the bolt through the bottom plate and then into
the hole in the bottom bench. (photo A)
2. Thread both ends of the belt through the bottom hole
in the toddler seat to approximately 7 cm from the end.
(photo B)
3. Turn the toddler seat around and thread both belt ends
along the back through both plates. Baby seat:
the plates have a wide and a narrow opening,
the narrow opening should be at the bottom. (photo C)
4. Thread the belts from the back of the seat to the front
through the openings in the toddler seat. Choose either
the high or low opening, depending on the size of the
child. (photo D)
5. Thread the belts first through the three-bar slides and
then through the easy-lock inserts. (photo E)
6. Adjust the belts to equal height by drawing the belts
through the three-bar slides. (photo F) The belts will
later be adjusted to the exact length. The toddler seat is
now ready to be mounted onto the bench. (photo G)
A.
B.
C.
D.
E.
8

ENGLISHDEUTSCHFRANÇAIS NEDERLANDS
Step 3:
Attaching the baby seat or toddler seat
1. Insert the bolt through the bottom plate and then into the
hole in the bottom bench.
2. Attach the adjusting nut, but do not tighten it yet.
3. Now place the toddler seat so that it faces in right direction.
4. Insert the second bolt through the hole in the Velcro and
then through the top plate. Then, insert the bolt through the
hole in the backrest of the box. (photo H)
5. Attach the adjusting nut.
6. Draw the Velcro through the openings and join the Velcro
mats together. (Foto I) It is not a problem if the belts
themselves are already threaded through these openings.
Baby seat: First draw the upholstery down from the top of
the seat before attaching the Velcro to the baby seat.
7. Adjust the belts to the correct length and tighten both
adjusting nuts.
8. The toddler seat is now ready for use. (Foto J)
You should still be able to move the toddler seat. Once your
child is seated, the belts will tighten and secure the entire
seat to the cargo bike. The baby seat is attached using the
same procedure.
F.
G.
J.
H.
I.
J.
9
EINBAUANLEITUNG BABYSCHALE / KINDERSITZ
Vorbemerkungen
Diese Anleitung zeigt dir, wie du einen Kindersitz anbringst. Die Montage der Babyschale funktioniert auf die
gleiche Weise, es sei denn, der Babyschale liegen zusätzliche/anderslautende Informationen bei.
MöchtestdulieberimFilmsehen,wiedudenKindersitzoderdieBabyschalemontierst?Dannschaudirdas
Instruktionsvideo an https://youtu.be/-_lYh_Ll9oE
Das findest du in der Verpackung
• 2 Platten
• 2 Schieber
• 2 Easy-Lock-Verschlüsse
• 1 Band mit Easy-Lock
• 2 Schrauben
• 2 Stellmuttern
• 1 Klettband
Benodigd gereedschap
• Bohrer (+ Holzbohrer 6 mm)*
• Rollmaßband
• Bleistift
• Kreuzschlitzschraubendreher
• Steckschlüssel (Größe 10)
10

ENGLISH NEDERLANDSDEUTSCHFRANÇAIS
Montage
Schritt 1:
Vorbereiten des Lastenfahrrads
Wir empfehlen den Einbau des Kindersitzes an der Lenkerseite, weil an dieser Stelle das Paneel der
Transportbox am höchsten ist.
BABBOE CITY, MINI, CARVE
1. Bei diesen Modellen bohrst du ein Loch genau zwischen die beiden Gurtöffnungen*.
2. An der Stelle, wo der Kindersitz eingebaut werden soll, löst du die vorhandenen Gurte.
* Du kannst auch die Öffnung für die Gurte nutzen, jedoch befindet sich der Stuhl dann nicht genau an der
richtigen Stelle.
BABBOE BIG
1. Bohre ein Loch, ca. 7 cm von der Oberkante und 14 cm von der Seite (von innen aus gemessen).
2. An der Stelle, wo der Kindersitz eingebaut werden soll, löst du die vorhandenen Gurte.
BABBOE CURVE
Beim Babboe Curve sind die Löcher bereits vorgebohrt, sodass nur noch die Kappen entfernt werden müssen.
1. Nimm ein kleines Messer und setze dieses hinter der Kappe an.
2. Hebe dann die Kappe ab.
11

Schritt 2:
Befestigen der Gurte an der Babyschale oder
am Kindersitz
1. Nimm ein Gurtende und stecke dieses durch den Clip
des Easy-Lock. Achte darauf, dass beide Enden gleich
lang sind. (Abb. A)
2. Ziehe nun beide Gurtenden durch die unterste Öffnung des
Kindersitzes und lass am Ende ca. 7 cm übrig. (Abb. B)
3. Wende den Kindersitz und ziehe auf der Rückseite
beide Gurtenden durch die zwei Platten. Babyschale:
Die Platten haben einen breiten Schlitz und einen
schmalen. Der schmale muss unten sein. (Abb. C)
4. Stecke nun die Gurte durch die Öffnung im Kindersitz
von hinten nach vorne. Je nach Größe des Kindes
nimmst du die obere oder die untere Öffnung. (Abb. D)
5. Führe die Gurte erst durch die Schieber und danach
durch die Easy-Lock-Verschlüsse. (Abb. E)
6. Stelle die Gurte auf die gleiche Länge ein, indem du die
Gurte in die Schieber zurückführst. (Abb. F) Die Gurte
werden später noch auf die exakte Länge gebracht.
Der Kindersitz kann nun auf der Sitzbank montiert
werden. (Abb. G)
A.
B.
C.
D.
E.
12

ENGLISH NEDERLANDSDEUTSCHFRANÇAIS
Schritt 3:
Einbau der Babyschale oder des Kindersitzes
1. Stecke eine Schraube durch die untere Platte und dann
durch das Bohrloch der untersten Sitzbank.
2. Schraube die Stellmutter auf, jedoch noch nicht festziehen.
3. Richte nun den Kindersitz in die gewünschte Richtung aus.
4. Die zweite Schraube steckst du durch die Öffnung im
Klettband und dann in die oberste Platte. Stecke dann
die Schraube durch die Öffnung in der Rückenlehne der
Transportbox. (Abb. H)
5. Schraube jetzt die Stellmutter auf.
6. Schiebe das Klettband durch die Öffnungen und
verschließe dann den Klettverschluss. (Abb. I) Es ist kein
Problem, wenn die Gurte bereits durch diese Öffnung
geführt wurden. Babyschale: Ziehe zunächst den Bezug
von der Oberseite nach unten hin ab und befestige das
Klettband an der Babyschale.
7. Spanne die Gurte auf die gewünschte Länge und schraube
beide Stellmuttern fest.
8. Der Kindersitz kann nun verwendet werden. (Abb. J)
Der Kindersitz braucht noch etwas Spiel. Denn erst,
wenn dein Kind darin sitzt, spannen die Gurte den Sitz am
Lastenfahrrad fest. Die Babyschale baust du auf die gleiche
Weise ein.
F.
G.
J.
H.
I.
13

INSTRUCTIONS INSTALLATION SIÈGE COQUE BÉBÉ/ SIÈGE BAMBIN
Remarques préalables
Ce manuel montre comment installer le siège bambin. Le siège coque bébé s’installe de la même façon, à moins
que des informations d’installation complémentaires/supplémentaires soient mentionnées.
Vouspréférezvoirinstallerlesiègebambinoulesiègecoquebébé?Alorsregardezlavidéod’instruction
https://youtu.be/-_lYh_Ll9oE
L’emballage contient les pièces
suivantes
• 2 profils
• 2 boucles
• 2 embouts Easy Lock
• 1 ceinture avec Easy Lock
• 2 vis
• 2 écrous de réglage
• 1 bande adhésive
Outils nécessaires
• Perceuse (+ mèche à bois 6 mm)*
• Mètre ruban
• Crayon
• Tournevis cruciforme
• Clé mixte (taille 10)
14

ENGLISH NEDERLANDSDEUTSCHFRANÇAIS
Installation
Étape 1:
Préparation du vélo cargo
Nous conseillons d’installer le siège bambin du côté du guidon, car c’est là que le panneau de fond est
le plus haut.
BABBOE CITY, MINI, CARVE
1. Percez un trou exactement entre les deux trous des ceintures*.
2. Détachez les ceintures incluses à l’endroit où le siège bambin doit être placé.
* Vous pouvez aussi utiliser un trou de ceinture existant, mais dans ce cas le siège ne sera pas tout à fait droit sur le
banc.
BABBOE BIG
1. Percez un trou à environ 7 cm du bord et à 14 cm du côté (mesuré de l’intérieur).
2. Détachez les ceintures incluses à l’endroit où le siège bambin doit être placé.
BABBOE CURVE
Les trous sont déjà perforés dans le Babboe Curve, il ne vous reste plus qu’à en extraire les bouchons.
1. Munissez-vous d’un couteau et placez-le derrière le bouchon.
2. Retirez le bouchon en le remuant de gauche à droite.
15

Étape 2:
Installation des ceintures sur le siège bambin ou
siège coque bébé
1. Prenez les ceintures à un bout et passez-les dans le
fermoir du Easy Lock. Veillez à ce que les deux bouts
soient de la même longueur. (foto A)
2. Passez les deux bouts de la ceinture dans le siège
bambin jusqu’à environ 7 cm du bout. (foto B)
3. Retournez le siège bambin et passez les deux bouts
dans les deux profils. Siège coque bébé : de profils ont
une fente large et une étroite ; la fente étroite doit être
en bas. (foto C)
4. Passez les ceintures à travers l’ouverture du siège
bambin, de l’arrière vers l’avant. Choisissez l’ouverture
haute ou basse, en fonction de la taille de l’enfant. (foto D)
5. Passez d’abord les ceintures dans les boucles puis dans
les embouts Easy Lock. (foto E)
6. Réglez les ceintures à la bonne longueur en les
faisant repasser dans les boucles. (foto F) Plus tard, les
ceintures seront réglées à la longueur exacte. Le siège
bambin est maintenant prêt à être installé sur
le banc. (foto G)
A.
B.
C.
D.
E.
16

ENGLISH NEDERLANDSDEUTSCHFRANÇAIS
J.
Étape 3:
Installation du siège coque bébé ou siège bambin
1. Passez une vis dans le profil inférieur puis à travers le trou
dans le banc inférieur.
2. Placez la vis de réglage, mais ne la serrez pas encore
complètement.
3. Mettez le siège bambin dans la bonne direction.
4. Prenez la deuxième vis et passez-la dans le trou de la bande
adhésive, puis dans le profil supérieur. Puis passez la vis
dans le trou dans le dossier du bac. (Foto H)
5. Placez la vis de réglage.
6. Passez la bande adhésive dans les ouvertures et rattachez
les bandes adhésives. (Foto I) Ce n’est pas un problème
si la ceinture elle-même passe déjà dans ces ouvertures.
Siège coque bébé : Baissez d’abord le revêtement sur le
dessus et fixez la bande adhésive au siège coque bébé.
7. Tirez les ceintures à la bonne longueur et serrez les deux vis
de réglage.
8. Le siège bambin est maintenant prêt à l’emploi. (Foto J)
Le siège bambin devrait encore pouvoir bouger.
Une fois que votre enfant y est installé, les ceintures
fixent le tout au vélo cargo. Le siège coque bébé s’installe
de la même manière.
F.
G.
J.
H.
I.
17

18

19

www.babboe.nl • www.babboe.com • www.babboe.be
www.babboe.de • www.babboe.fr • www.babboe.co.uk
www.bakfietsen.com • www.babboecargobike.com
This manual suits for next models
3
Table of contents
Languages:
Other Babboe Bicycle Accessories manuals

Babboe
Babboe Curve User manual

Babboe
Babboe HWWX-532 User manual

Babboe
Babboe HWWX-4481 User manual

Babboe
Babboe Big User manual

Babboe
Babboe CONFIGACC-011 User manual

Babboe
Babboe City User manual

Babboe
Babboe Curve User manual

Babboe
Babboe HWWX-531 User manual

Babboe
Babboe Carve User manual

Babboe
Babboe Carve User manual