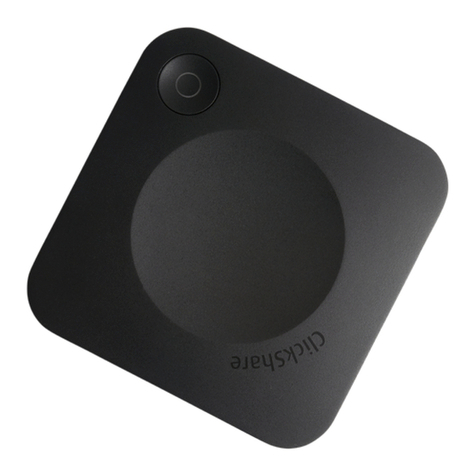
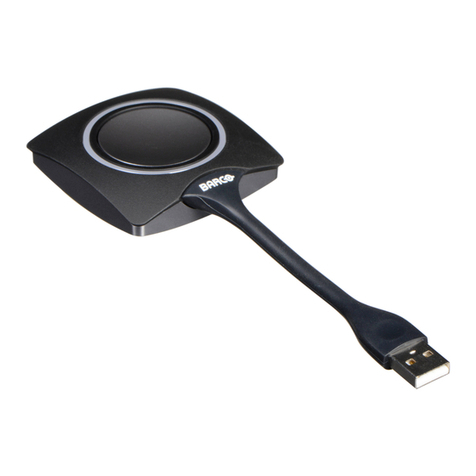
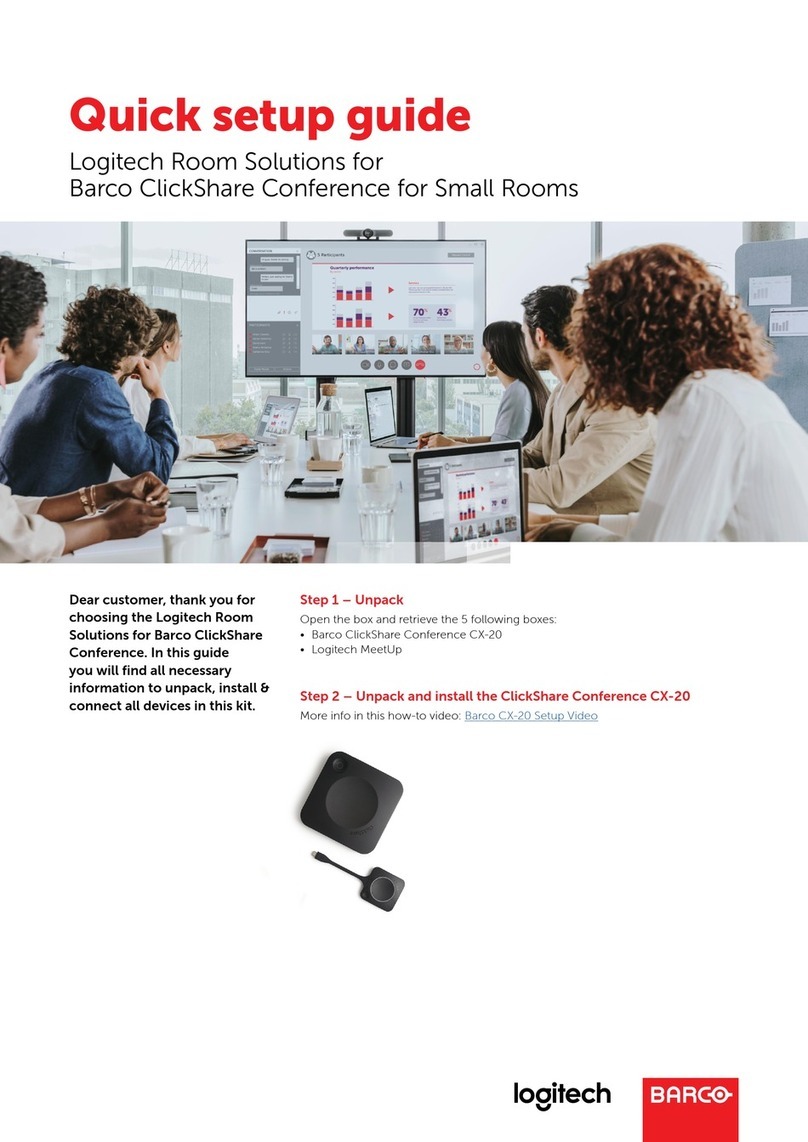
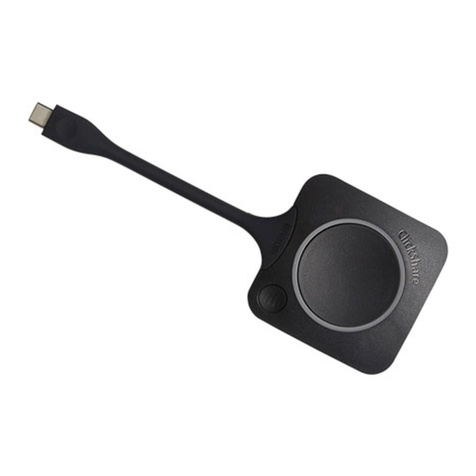
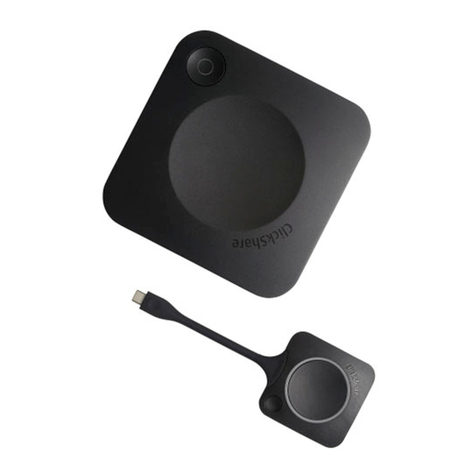
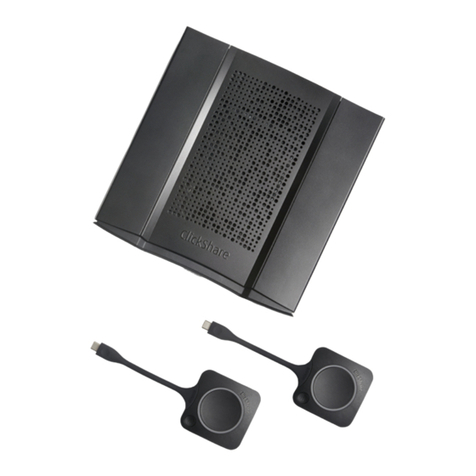
Barco ClickShare CX-20 Gen2 User manual

ENABLING BRIGHT OUTCOMES
User guide
Model C3010S
ClickShare CX-20 Gen2

Registered office: Barco NV
President Kennedypark 35, 8500 Kortrijk, Belgium
www.barco.com/en/support
www.barco.com
Barco NV
Beneluxpark 21, 8500 Kortrijk, Belgium
www.barco.com/en/support
www.barco.com

Copyright ©
All rights reserved. No part of this document may be copied, reproduced or translated. It shall not otherwise be
recorded, transmitted or stored in a retrieval system without the prior written consent of Barco.
Changes
Barco provides this manual 'as is' without warranty of any kind, either expressed or implied, including but not
limited to the implied warranties or merchantability and fitness for a particular purpose. Barco may make
improvements and/or changes to the product(s) and/or the program(s) described in this publication at any time
without notice.
This publication could contain technical inaccuracies or typographical errors. Changes are periodically made
to the information in this publication; these changes are incorporated in new editions of this publication.
The latest edition of Barco manuals can be downloaded from the Barco web site www.barco.com or from the
secured Barco web site https://www.barco.com/en/signin.
Product Security Incident Response
As a global technology leader, Barco is committed to deliver secure solutions and services to our customers,
while protecting Barco’s intellectual property. When product security concerns are received, the product
security incident response process will be triggered immediately. To address specific security concerns or to
report security issues with Barco products, please inform us via contact details mentioned on https://www.
barco. com/psirt. To protect our customers, Barco does not publically disclose or confirm security
vulnerabilities until Barco has conducted an analysis of the product and issued fixes and/or mitigations.
Patent protection
This product is covered by patents and/or pending patent applications. For more info: https://www.barco.com/
en/about-barco/legal/patents.
Trademarks
Brand and product names mentioned in this manual may be trademarks, registered trademarks or copyrights
of their respective holders. All brand and product names mentioned in this manual serve as comments or
examples and are not to be understood as advertising for the products or their manufacturers.


5R5900114 /01 ClickShare CX-20 Gen2
1 CX-20 Gen2 Introduction.................................................................................................................................................................. 7
1.1 Versions of the product...................................................................................................................................................................8
1.2 About the CX-20 Gen2....................................................................................................................................................................8
1.3 About the Base Unit..........................................................................................................................................................................9
1.4 Mobile Device Support................................................................................................................................................................. 11
2 Getting started..........................................................................................................................................................................................13
2.1 Activating the Base Unit .............................................................................................................................................................. 14
2.2 Basic Use, with Button ................................................................................................................................................................. 14
2.3 Basic Use, with ClickShare desktop app ........................................................................................................................... 18
2.4 ClickShare Desktop App Calendar .......................................................................................................................................25
2.5 Calendar integration......................................................................................................................................................................26
2.6 Walk in and connect with ClickShare PresentSenseTM .............................................................................................27
2.7 App based conferencing .............................................................................................................................................................30
2.8 User Interface....................................................................................................................................................................................30
2.9 Extended desktop...........................................................................................................................................................................31
2.10 Share an application .....................................................................................................................................................................32
2.11 Microsoft Office PowerPoint Presenter mode.................................................................................................................34
2.12 View room display...........................................................................................................................................................................35
2.13 Stop sharing and leave................................................................................................................................................................35
2.14 Audio configuration ........................................................................................................................................................................ 36
2.15 Pairing ...................................................................................................................................................................................................37
2.16 Room Dock ........................................................................................................................................................................................38
2.17 Airplay ...................................................................................................................................................................................................38
2.18 Chromecast........................................................................................................................................................................................38
2.19 Miracast................................................................................................................................................................................................39
3 Troubleshooting ......................................................................................................................................................................................41
3.1 Basic troubleshooting ................................................................................................................................................................... 42
A Regulatory information.....................................................................................................................................................................47
A.1 General statements .......................................................................................................................................................................48
A.2 Product compliance.......................................................................................................................................................................49
A.2.1 Product compliance EU...........................................................................................................................................49
A.2.2 Product compliance US...........................................................................................................................................49
A.2.3 Product compliance Canada ................................................................................................................................50
Table of contents
R5900114 /01 ClickShare CX-20 Gen26
A.2.4 Product compliance Russia...................................................................................................................................52
A.3 End User License Agreement (EULA) ................................................................................................................................52
A.4 Open source software provisions ..........................................................................................................................................58
A.5 Disposal information......................................................................................................................................................................58
A.6 RoHS compliance...........................................................................................................................................................................59
A.7 Addresses and contact information ......................................................................................................................................60
Index ..................................................................................................................................................................................................................63

7R5900114 /01 ClickShare CX-20 Gen2
1.1 Versions of the product ...................................................................................................................8
1.2 About the CX-20 Gen2....................................................................................................................8
1.3 About the Base Unit........................................................................................................................9
1.4 Mobile Device Support .................................................................................................................. 11
About the documentation
This user guide explains the practical use of the CX-20 Gen2.
Available System documentation
A printed copy of the Safety Guide is included in the CX-20 Gen2 box at purchase. Other documentation such
as user guide, installation manual and service manual can be downloaded from Barco’s website, www.barco.
com/clickshare.
Depending on the CX-20 Gen2 version, some graphics might be different to the ones used in this
manual. This however does not have any effect on the functionality.
CX-20 Gen2
Introduction 1

R5900114 /01 ClickShare CX-20 Gen28
1.1 Versions of the product
Regional versions
Depending on the location where you buy the CX-20 Gen2 product, the Base Unit and accessories are
regionalized. By the time of release of this manual, 6 regional versions of CX-20 Gen2 are available: EU, CN,
NA, US, ZH, RW.
The regional version of your CX-20 Gen2 cannot be changed. That means that you cannot use it in
another region.
For more information on the regional variants, refer to the CX-20 Gen2 installation manual.
Link between Barco product brand name and the model group
CX-20 Gen2 is a Barco product of the model group C3010S.
1.2 About the CX-20 Gen2
CX-20 Gen2 sets
With the Conferencing Button, in seconds, you are automatically connected to cameras, mics, soundbars and
any other AV peripherals in the room for a better, more immersive meeting experience. Everything becomes
part of your laptop.
This CX-20 Gen2 not only helps the presenter get the presentation on-screen in a second, but it also allows
the other people in the conference to participate more actively. The result is enhanced meeting efficiency and
better decision-making.
The set is compatible with any laptop, desktop tablet or smartphone OS. It works with most conferencing
platforms and connects instantly with most brands of peripherals (speakers, microphones, webcams,
soundbars) when using the Conferencing Button.
At the moment 6 different sets are available on the market. Each set is sold in its specific region and it can only
be used in that specific region because of WiFi regulations.
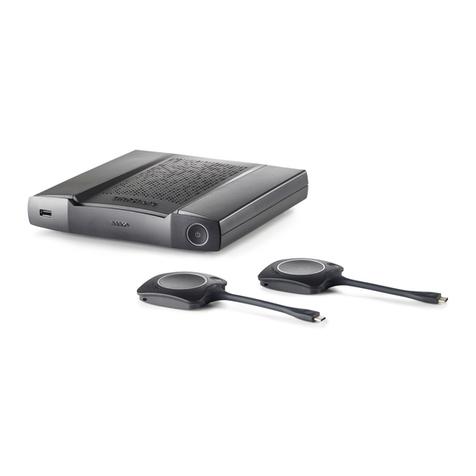
Components CX-20 Gen2 set
A standard CX-20 Gen2 set consists of a Base Unit and 2 Conferencing Buttons. Depending on the location
where you buy the product, the software of the Base Unit is different. If needed, you can buy additional
Conferencing Buttons and a tray to store the Buttons.
1
2
Image 1–1
1 Base Unit
2 Conferencing Button1
CX-20 Gen2 Introduction
1. Futher called Button

9R5900114 /01 ClickShare CX-20 Gen2
Accessories included
Depending on the country where you buy the product, the following regionalized accessories are also included
in the CX-20 Gen2 box.
Products Contains Accessories included
R98616122• R9861511
• 2x R9861600D01C
• DC adapter with AC clips type
A, C, G, I3
• Wall mount system
• Printed safety manual
R9861600D01C41x R9861600D01C4
Contact your local sales representative for the correct regional variant to be used in your country.
1.3 About the Base Unit
Base Unit functionality
The Base Unit receives the wireless input from the Buttons and controls the content of the meeting room
display and the peripherals connected to the Base Unit (speakers, microphones, webcam and soundbar).
Furthermore, it will send out the content from the camera and/or the echo-cancelling speakerphone towards
the Button.
The Base Unit can be put on the meeting room table or mounted on a wall or ceiling. Check the installation
guide for instructions on how to install the Base Unit.
12
4
3
5
Image 1–2
1 USB-Type-A port (USB 3.0)
2 USB-Type-C port (USB 3.0)
3 Status LED ring
4 Standby Button
USB ports
Both USB ports, one USB Type-CTM and one USB Type-A, are used to connect a touch screen, USB camera
or USB echo-cancelling speakerphone to the Base Unit. Additionally the USB Type-CTM port is also used to
pair the Buttons when not done via XMS. Both ports can be used to update the Base Unit firmware also when
not done via XMS..
When plugging in the Button into the Base Unit, the Button is paired to the Base Unit. The Base Unit checks
whether the software and firmware of the Button is up to date. If not, the Base Unit updates the software and/
or firmware.
The use of a convertor is sometimes necessary to connect to one of these ports.
CX-20 Gen2 Introduction
2. xx=EU, CN, NA, US, ZH, RW,
3. Included AC clips can be different according to the region
4. For US, R9861600D01CUS

R5900114 /01 ClickShare CX-20 Gen210
Status LED ring
The color of the LED ring around the power button of the Base Unit give information on the status of the
system.
LEDs behavior Explanation
static red • receiving content from the Button and streaming towards the
display.
• during the first phase of the Base Unit boot process.
blinking white • system is starting up (during the second phase)
• Button pairing is in progress
• software update of the Base Unit
breathing white • ECO standby mode
static white • awake and ready (i.e. showing the welcome message on the
display)
• pairing and software update of the Button is done, you can now
unplug the Button from the Base Unit..
red blinking • an error occurred
dark • deep standby/off
Power button
The button on top of the Base Unit has a standby function once the Base Unit is powered.
• When the system is in normal operational mode, a push makes the system goes into a pre-defined standby
mode.
• When the system is in standby, a push triggers the system to start up and it goes into normal operational
mode.
Back layout of the Base Unit
The connection panel is situated at the back of the Base Unit.
12
3
4
Image 1–3
1 Power connection
2 HDMI out
3 LAN Ethernet connection
4 Kensington lock
Mechanical fixture points
The mechanical fixture points are located at the bottom of the Base Unit.
CX-20 Gen2 Introduction

11R5900114 /01 ClickShare CX-20 Gen2
Antenna
The antenna is built-in in the CX-20 Gen2
Bottom layout of the Base Unit
The serial number label containing the Barco part number, the revision number, production date (week-year)
and the serial number.
The product label with the applicable certification logos.
The product label contains:
• the Barco logo
• the product name
• the Barco part number
• the power rating
• markings for applicable standards (CE, CCC, UL, ...)
• markings for waste regulation
• “Made in ...”
1.4 Mobile Device Support
Overview
The below list of Apps are supported by ClickShare and can be installed on your mobile device from Google
Play or Apple App Store. Or can be installed on your Windows or Mac pc
Before you can use your mobile device with ClickShare, you have to connect the mobile device Wi-Fi with the
ClickShare Base Unit Wi-Fi. Follow the instructions as given in your mobile device user guide. Or connect the
Base Unit to the network, then you do not need to switch your Wi-Fi.
App Used on
ClickShare App iOS
Android
Windows
Mac OS
Apps can be downloaded from www.clickshare.app .
CX-20 Gen2 Introduction

13R5900114 /01 ClickShare CX-20 Gen2
2.1 Activating the Base Unit ................................................................................................................14
2.2 Basic Use, with Button ..................................................................................................................14
2.3 Basic Use, with ClickShare desktop app .........................................................................................18
2.4 ClickShare Desktop App Calendar .................................................................................................25
2.5 Calendar integration .....................................................................................................................26
2.6 Walk in and connect with ClickShare PresentSenseTM .....................................................................27
2.7 App based conferencing................................................................................................................30
2.8 User Interface ..............................................................................................................................30
2.9 Extended desktop.........................................................................................................................31
2.10 Share an application .....................................................................................................................32
2.11 Microsoft Office PowerPoint Presenter mode ..................................................................................34
2.12 View room display ........................................................................................................................35
2.13 Stop sharing and leave .................................................................................................................35
2.14 Audio configuration.......................................................................................................................36
2.15 Pairing.........................................................................................................................................37
2.16 Room Dock .................................................................................................................................38
2.17 Airplay .........................................................................................................................................38
2.18 Chromecast .................................................................................................................................38
2.19 Miracast.......................................................................................................................................39
Getting started 2

R5900114 /01 ClickShare CX-20 Gen214
2.1 Activating the Base Unit
About power mode
The Base Unit is powered via an external power adapter. Once connected, the Base Unit is automatically
switched in standby mode. For more information about power connection, see CX-20 Gen2's installation
manual.
Standby button
1. Push the button shortly.
Image 2–1
When the Base Unit was on, it goes to standby.
When the Base Unit was in standby, it starts up.
2.2 Basic Use, with Button
Basic functionality
When entering a meeting room equipped with ClickShare and if the display is not in screensaver mode, the
ClickShare wallpaper is shown on the display. The content of the wallpaper depends on the setup. Connected
peripherals to the Base Unit and their status are indicated on the wallpaper.
Starting to use ClickShare is now very simple.
To start using CX-20 Gen2 with a Button
1. Take a Button and insert the Button into a USB port of your laptop. Depending on the USB port on your
laptop a convertor must be used. This convertor is not delivered by Barco.
Image 2–2
In the meantime
Getting started

15R5900114 /01 ClickShare CX-20 Gen2
The white ring on the Button is filling up. When totally filled up it goes to static white and is ready to share
or it starts blinking to indicate that you have to start clickshare.exe on your computer.
On your laptop a new drive appears.
Different situations are possible now:
• Nothing installed, LED ring fills up and starts flashing, indicating that the executable needs to be
started by the user. Double-click the ClickShare application.
• For Windows environment: when connected to internet, driver will be installed and the executable will
be started by the driver.
• For Mac environment: CD-ROM drive will appear, open it and launch the application to get started.
• A launcher or the ClickShare desktop app is preinstalled on your laptop (downloaded from the Base
Unit or Barco website, or deployed company-wide by your IT department). ClickShare is immediately
available.
In the meanwhile a Preparing the meeting room... window is displayed.
Image 2–3
2. The application is started
When the system is ready for use, the share window appears with the message Ready to share to
<ClickShare name>
Image 2–4
The LEDs of the Button are static white.
Getting started

R5900114 /01 ClickShare CX-20 Gen216
The peripherals such as USB camera, echo cancelling audio device, etc. can now be used in the tool of
your preference on your device.
Your screen or a typical application can be shared.
3. There are now 2 ways to start sharing:
• by clicking on the Button.
• by clickin on your screen or application in the app window.
When clicking on the Button, the LEDs of the Button become static red and your display is shared.
When selecting in the app, your choice will be shared.
When audio is enabled on the ClickShare Base Unit, the audio of your laptop is also available on the audio
output of the Base Unit, and it will be played via the meeting room audio system.
When a USB echo cancelling audio device is connected to the Base Unit, all audio, content audio and
speaker audio is played via the speakerphone system.
A pauze and stop sharing indication is mode in the app window and the window will be minimized.
Image 2–5
ClickShare automatically scales the content of your screen/application to the resolution of the meeting
room display. The aspect ratio of your screen is maintained to make sure the proportions are correct.
4. To freeze the content on the screen while you look up something on your PC, just click on freeze icon
(reference 1) in the shared window. The icon will change to a release icon.
To resume the content sharing, click on that release icon.
12
Image 2–6
5. To remove your content from the display, click the Button again or click on the stop sharing icon (reference
2 on Image 2–6) in the app window.
Getting started

17R5900114 /01 ClickShare CX-20 Gen2
The LEDs of the Button become static white.
6. When leaving the meeting room, unplug the Button from your laptop or click on the exit icon on the upper
left corner.
When there was no installation when starting with the Button, no trace of the ClickShare application is left
on your laptop.
As second user can replace the current presenter with a long press on his Button.
Use in a fully equipped conference room
When connecting with the Button, it allows you to connect the room speakerphone, microphone and camera
wireless to your laptop and use the better equipment of the room in your video conferencing call.
Icons on the wallpaper indicate the availability and status of the peripherals in the room. When one of them is
not attached to the Base Unit allowing to create an audio only meeting room or a video only meeting room, the
corresponding icon will not be shown on the wallpaper.
1
432
765
A
B
C
Image 2–7
ANo peripherals attached, local view active
BCamera and speakerphone attached, only local view
CCamera and speakerphone attached and active, local view
active
1Local view active
2Camera connected, not active
3Speakerphone connected, not active
4Local view active
5Camera connected and active
6Speakerphone connected and active, not muted.
7Local view active
The state of the peripheral icons on the wallpaper are in sync with the peripherals.
When the microphone is muted, it is guaranteed that no sound is going through the system. A muted
microphone is indicated by a microphone icon with dash through the icon.
Available conferencing capabilities when Button plugged in
When not sharing content
Camera and speakerphone can be used from the moment the Button is inserted and initialized. The person
hosting the call does not need to be on screen for this to work (he does not even need to start the ClickShare
application). This is useful especially when others are sharing in the room and the host shares the room
display via local view or when you use the peripherals for e.g recording.
When sharing content (big button pressed)
Getting started

R5900114 /01 ClickShare CX-20 Gen218
Only when the big Button is pressed, the screensharing is started. Screen content and content audio are
transmitted to the main display. When the user stops sharing, you return to the Button inserted state. Call
continues without interruption.
Button used in a conference room
When plugging in the button, a quick start guide for conferencing capabilities is shown. It shows what should
happens before you can fully use the conference capabilities.
Image 2–8
Quick access button
This quick access button opens a selection window to make the choice what will be displayed on the screen.
Image 2–9
Examples of some choices are:
• View the room display
• Start video
• Mute micro
2.3 Basic Use, with ClickShare desktop app
About the ClickShare desktop app
With the ClickShare desktop app installed on your computer you can enter a meeting room and get on the
screen in a few seconds.
The ClickShare desktop app connects to the meeting room screen in order to share your content. Presence
detection technology is used to do so. The ClickShare desktop app uses Wi-Fi beacons and an inaudible
audio signal to detect the most nearby meeting rooms and show a list of maximum 5 most nearby meeting
rooms, sorted based on signal strength on your computer. Just click on your meeting room name. This means
you will never have to enter IP addresses or scroll long lists of meeting rooms before being connected to your
meeting room.
The ClickShare desktop app can be used with or without a Button.
ClickShare desktop app installation
When the ClickShare desktop app is not pre-deployed in your IT environment, you can download and install
the software without administrator rights from www.clickshare.app .
Getting started

19R5900114 /01 ClickShare CX-20 Gen2
New or old user interface
When it starts up in the current used version (called old version), user can switch up to the new version directly
in the application by clicking on Switch to the new version.
Image 2–10
Click on Switch Now to open the new user interface of the application. Or click cancel if you want to stay in
the current user interface.
Image 2–11
Once the switch is confirmed, a screen appears where the user can click on Learn more to be redirected to
Barco’s website to be informed on the new user interface.
Image 2–12
Click Ok, got it to close that window and start the application.
Once in the new interface, the user can switch back to the old user interface by toggling the switch on the top
left of the application window next to new ClickShare.
Image 2–13
Getting started

R5900114 /01 ClickShare CX-20 Gen220
The ClickShare app will ask for a confirmation. Click Switch back to confirm.
Image 2–14
How to use with the ‘old’ user interface
1. Enter a meeting room.
The ClickShare desktop app will list up to 5 most nearby meeting rooms and sort them based on the signal
strength.
Image 2–15 Meeting room list
2. Click on the desired meeting room.
If the use of a pin is enabled on the Base Unit, the ClickShare desktop app will prompt you to enter the pin
that is shown on the meeting room screen.
Enabling the pin on the Base Unit (this can be done in the ClickShare Configurator) provides an additional
layer of security. This way you will never share your content to the wrong meeting room screen.
Note: In case you did not see the 4 digit pin code on the meeting room screen, then click on “Show
Passcode Again” to display the pin code again.
Getting started
This manual suits for next models
1
Table of contents
Other Barco Conference System manuals

Barco
Barco ClickShare CX-20 set Gen 2 User manual

Barco
Barco CX-20 User manual

Barco
Barco C 5010S User manual

Barco
Barco R9861580US User manual

Barco
Barco C 5010S User manual

Barco
Barco CX-50 Gen2 User manual

Barco
Barco C-10 User manual

Barco
Barco CX-50 User manual

Barco
Barco CX-20 User manual

Barco
Barco CX-20 User manual
Popular Conference System manuals by other brands

OutBack Power
OutBack Power HUB 10.3 quick start guide

Clear One
Clear One COLLABORATE Pro 300 quick start guide

Clear One
Clear One COLLABORATE VERSA Pro 160 quick start guide

HIMA
HIMA Himax X-COM 01 manual

Paradox
Paradox GPRS14 installation instructions

Stewart Filmscreen
Stewart Filmscreen VCS-1007 owner's manual