9 / 57 EN
Vacuum cleaner / User manual
4 Cleaning and maintenance
4.1 Cleaning
AWARNING: Never use gasoline,
solvent, abrasive cleaning agents,
metal objects or hard brushes to
clean the appliance.
AWARNING: Never immerse the
appliance or its power cable in water
or in any other liquid.
1.Switch off and unplug the appliance.
2.Use a damp and soft cloth and a little amount of
soft cleaner in order to clean the exterior of the
appliance.
4.2 Cleaning the filters
AWARNING: Always ensure that both
filters and appliance are completely
dried before installing the filter to
the appliance.
AWARNING: Do not use cleaning
agentsanddonottouchunnecessarily
the delicate filter surface.
CWhite coating of the HEPA filter shall
become paler in time. This is normal
and does not affect the performance
of the filter.
1. Use a small brush (not included in this model) to
clean the outer surface of the HEPA filter. Thus,
you can remove the rough part of the dust.
2. Wash the filter in warm water.
3. Lightly tap across the filter to remove excessive
water. Repeat this 4 times and wait until it is
dried by itself. Do not use any heating device
for drying.
AWARNING: Low suction power or
damage to the appliance may occur
if the filters of this appliance are not
cleaned.
A
WARNING: We advise you to clean
Hepa filter regularly (e.g. after every
two operations or in a shorter time).
If the suction power is low, please
clean the filters before operating the
appliance.
4.2.1 Filter care
1.Dust and dirt blocking the filters should always
be cleaned.
2.All filters should be cleaned at least after every
two operations and should be replaced every 6
months or a year due to the usage conditions of
your vacuum cleaner.
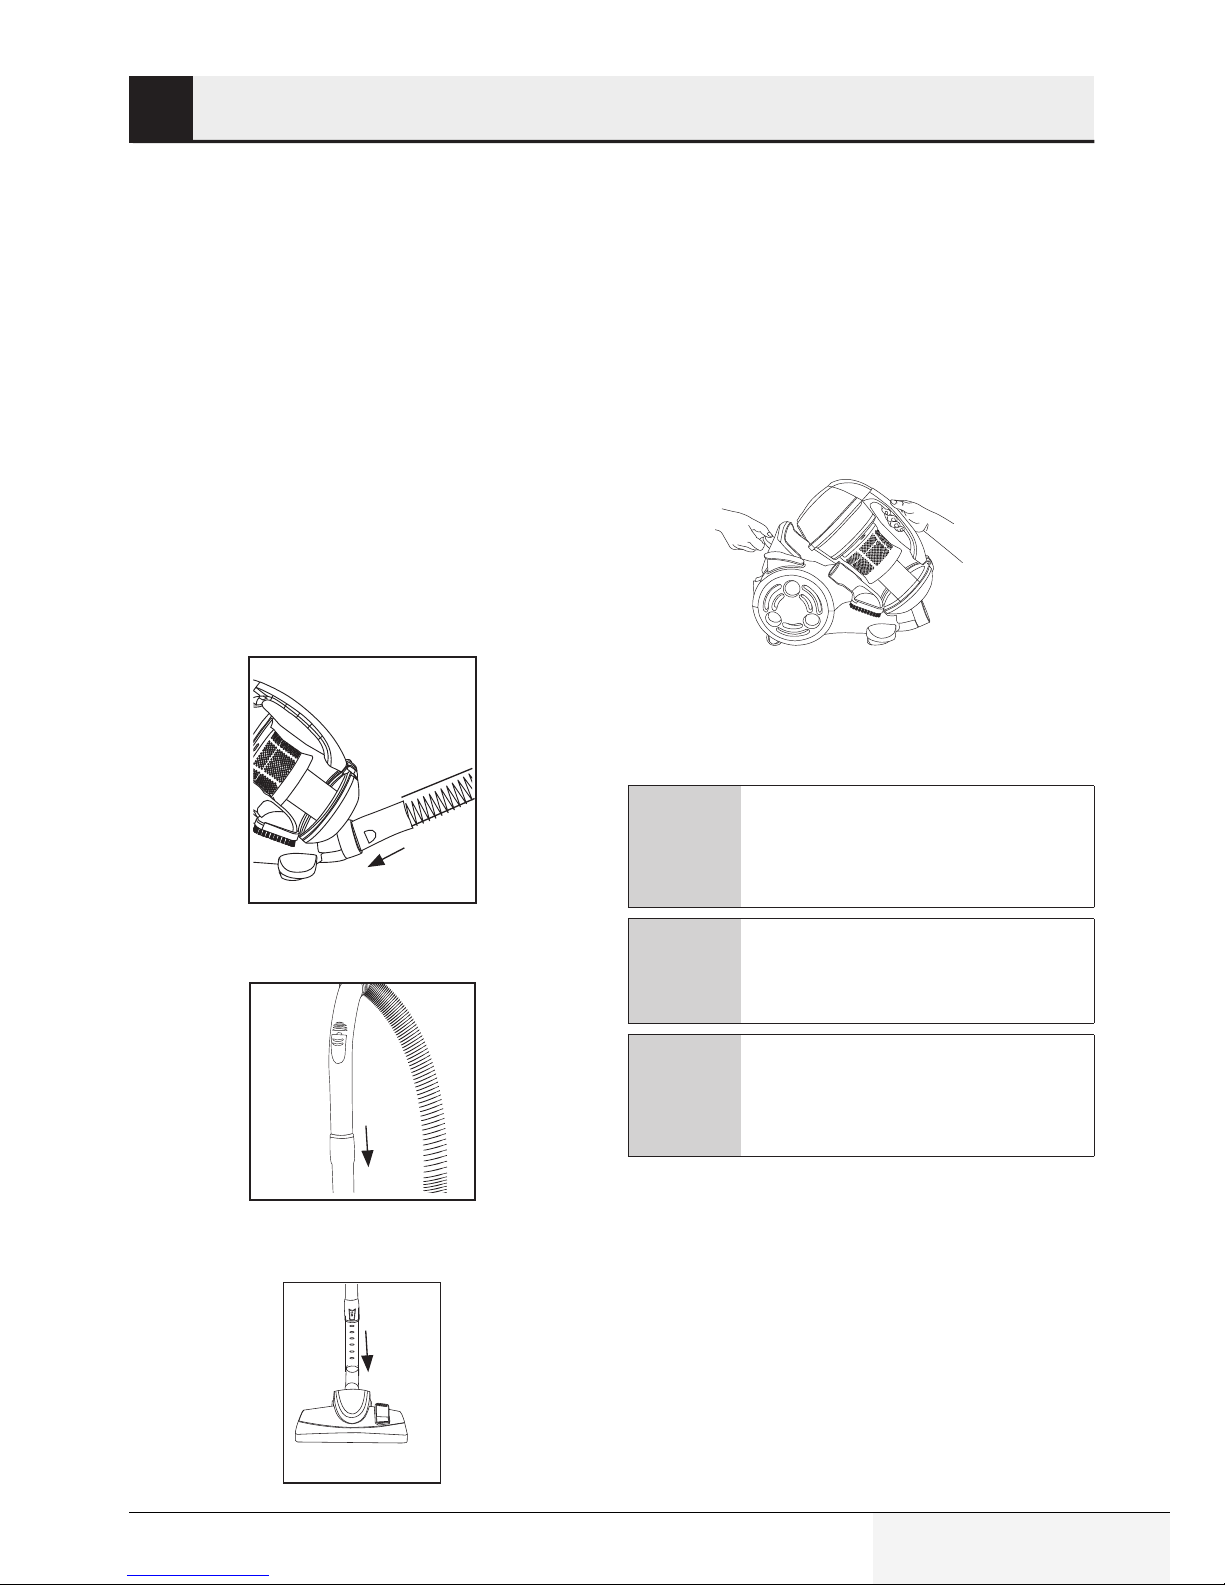
4.3 Cleaning cyclone assembly and
dust container
1.Press the dust container opening button (7)
to remove the dust container (4) and remove
the dust container by holding from the dust
container handle (5).
2.Empty the dust container (4) if it is filled with
dirt.