5 / 66 EN
1Important safety and environmental instructions
•Never use the appliance
in or near to combustible
or inflammable places and
materials.
•Unplug the appliance before
cleaning and maintenance.
•Do not dip the appliance or its
cable in water to clean it.
•Check the hose of the appliance
regularly. Do not use if it is
damaged and contact an
authorized service.
•Do not attempt to dismantle the
appliance.
•Only use the original parts or
parts recommended by the
manufacturer.
•If heavily used for cleaning dust
such as cement or grout the
dust indicator will lit earlier then
expected, in such case replace
the dust bag even it is empty.
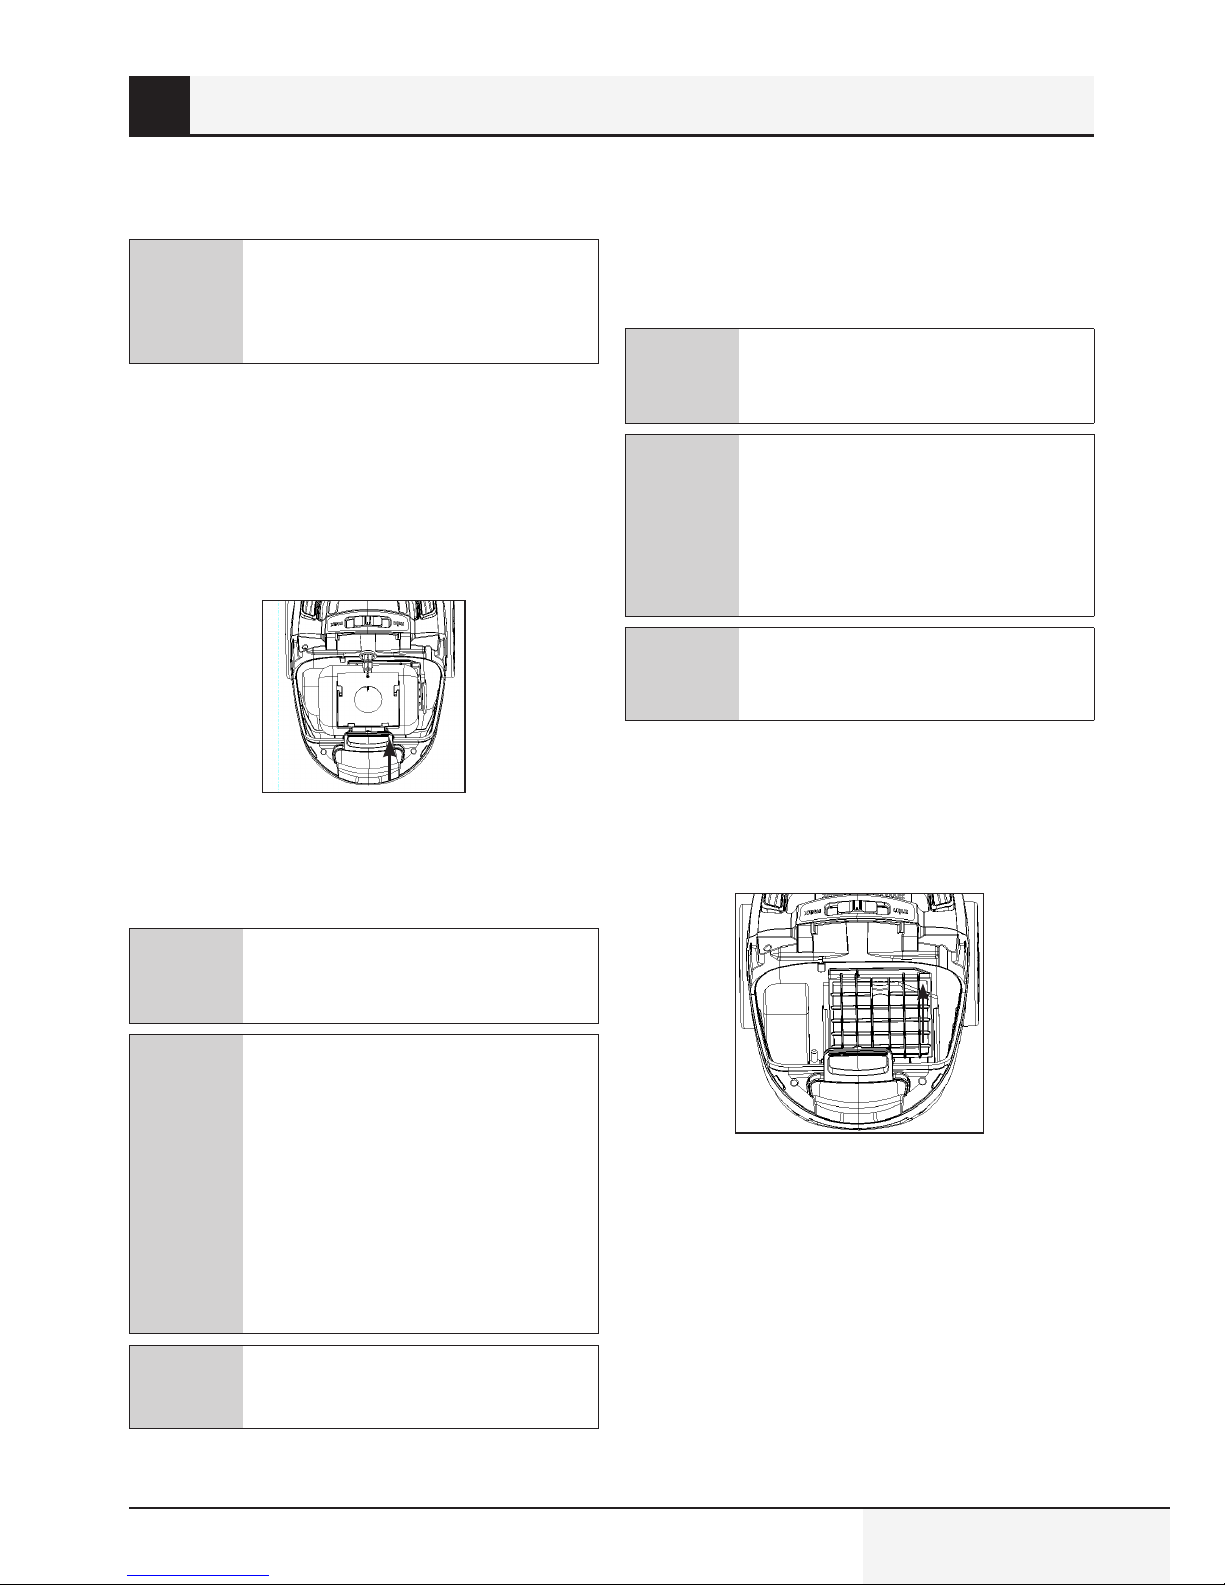
•Do not use the appliance
without filters; otherwise it can
get damaged.
•When vacuuming the stairs,
the appliance should be located
below the user.
•If your store the package
material, keep it out of the reach
of children.
1.2 Compliance with WEEE
Directive and Disposing of the
Waste Product
This product complies with EU WEEE
Directive (19/2012/EU). This product
bears a classification symbol for waste
electrical and electronic equipment
(WEEE).This product has been manufactured with
high quality parts and materials which can be
reused and are suitable for recycling. Do not
dispose of the waste product with normal
domestic and other wastes at the end of its service
life. Take it to the collection center for the recycling
of electrical and electronic equipment. Please
consult your local authorities to learn about these
collection centers.
1.3 Compliance with RoHS
Directive
The product you have purchased complies with EU
RoHS Directive (2011/65/EU). It does not contain
harmful and prohibited materials specified in the
Directive.
1.4 Package information
Packaging materials of the product are
manufactured from recyclable materials
in accordance with our National
Environment Regulations. Do not dispose
of the packaging materials together with the
domestic or other wastes. Take them to the
packaging material collection points designated by
the local authorities.