CliniLogger
™
Installation and Operating Instructions
©2020 Belmont Medical Technologies
CliniLogger 3
CLINILOGGER
™
INSTALLATION AND
OPERATING INSTRUCTIONS
Overview and Installation
Introduction
The purpose of the CliniLogger
™
device is to save the CritiCool
®
/ Allon
®
systems' vital data for further reference. By means of the CliniLogger
™
Viewer software, the user can use an external PC to review this saved
data.
Using the CliniLogger™Application
The CliniLogger
™
device connects to the RS-232 (serial) connector in the
rear of the CritiCool
®
for data transfer. While the device is connected, data
is saved at each one-minute interval.
Connect the CliniLogger
™
device to the CritiCool
®
before the start of the
medical procedure.
Belmont Medical Technologies recommends recording CritiCool
®
device
data for one patient at a time. At the end of the procedure, disconnect the
CliniLogger
™
device from the Thermoregulation machine and connect to a
PC. Download the data from the device and then reconnect the
CliniLogger
™
to the Thermoregulation machine so it is ready for the next
procedure.
The CliniLogger
™
Software
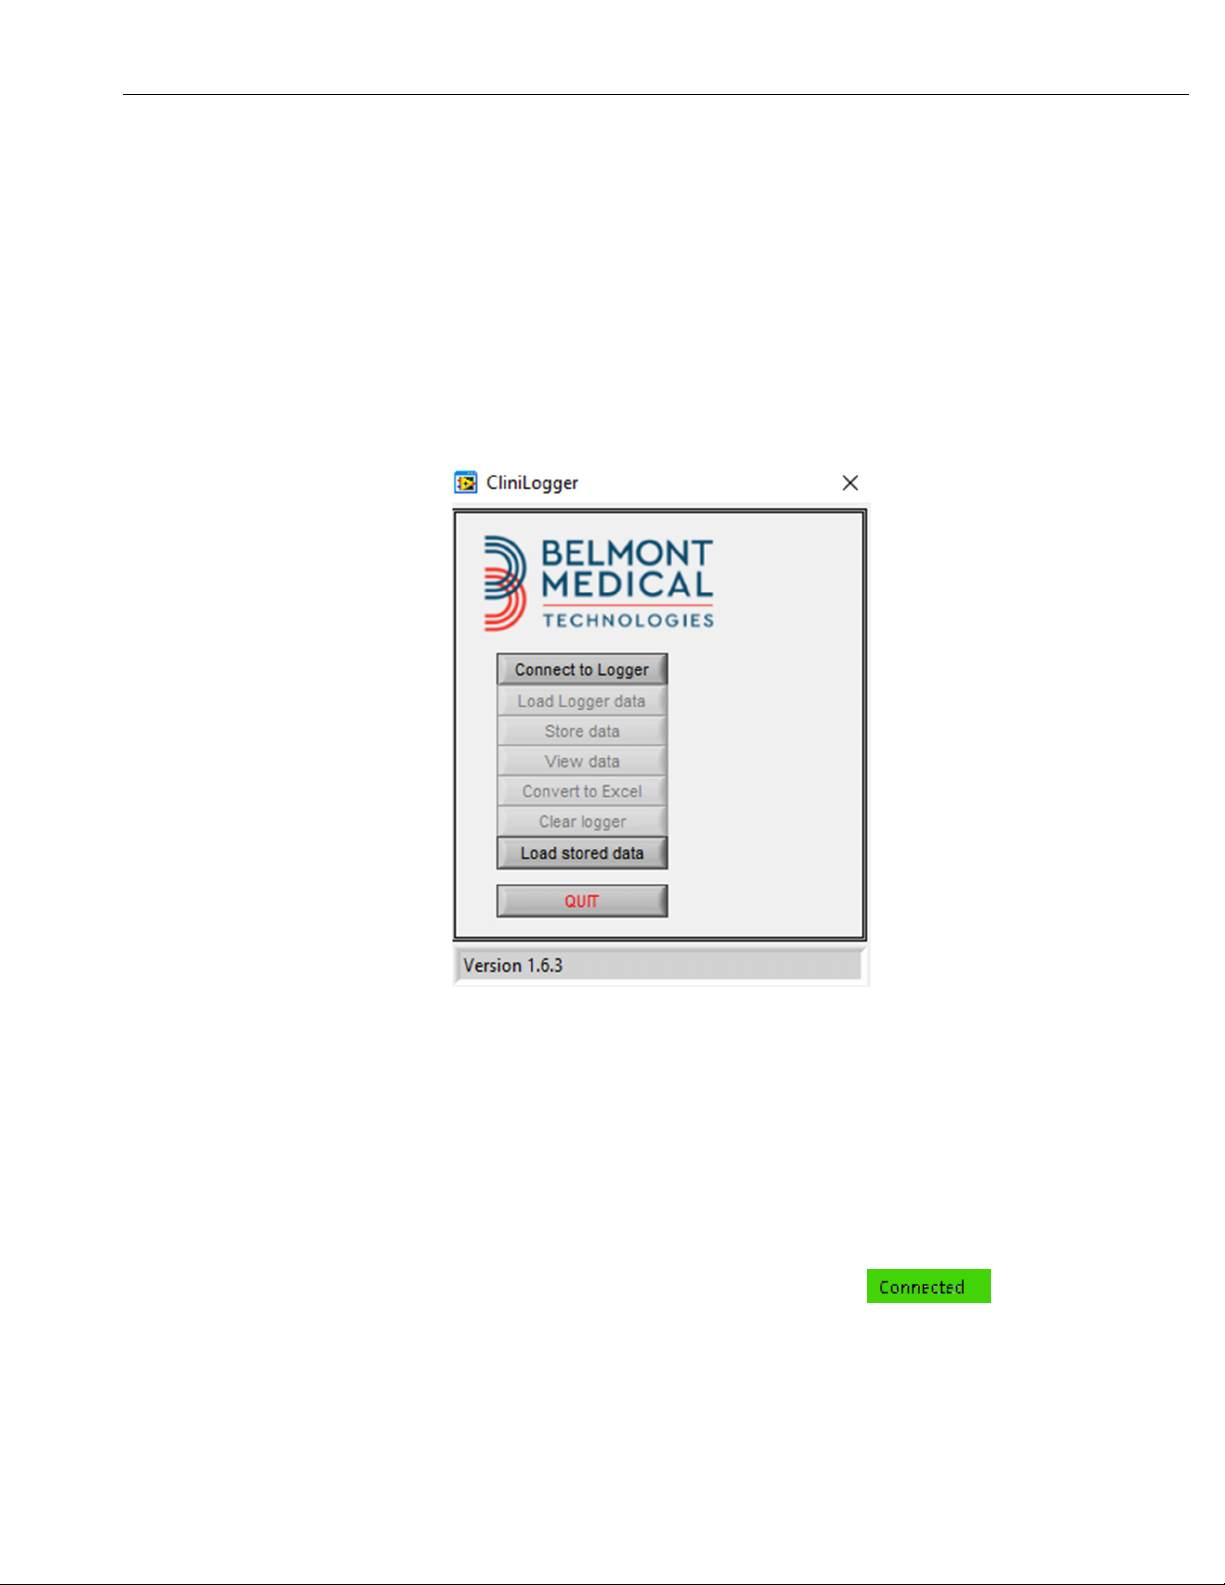
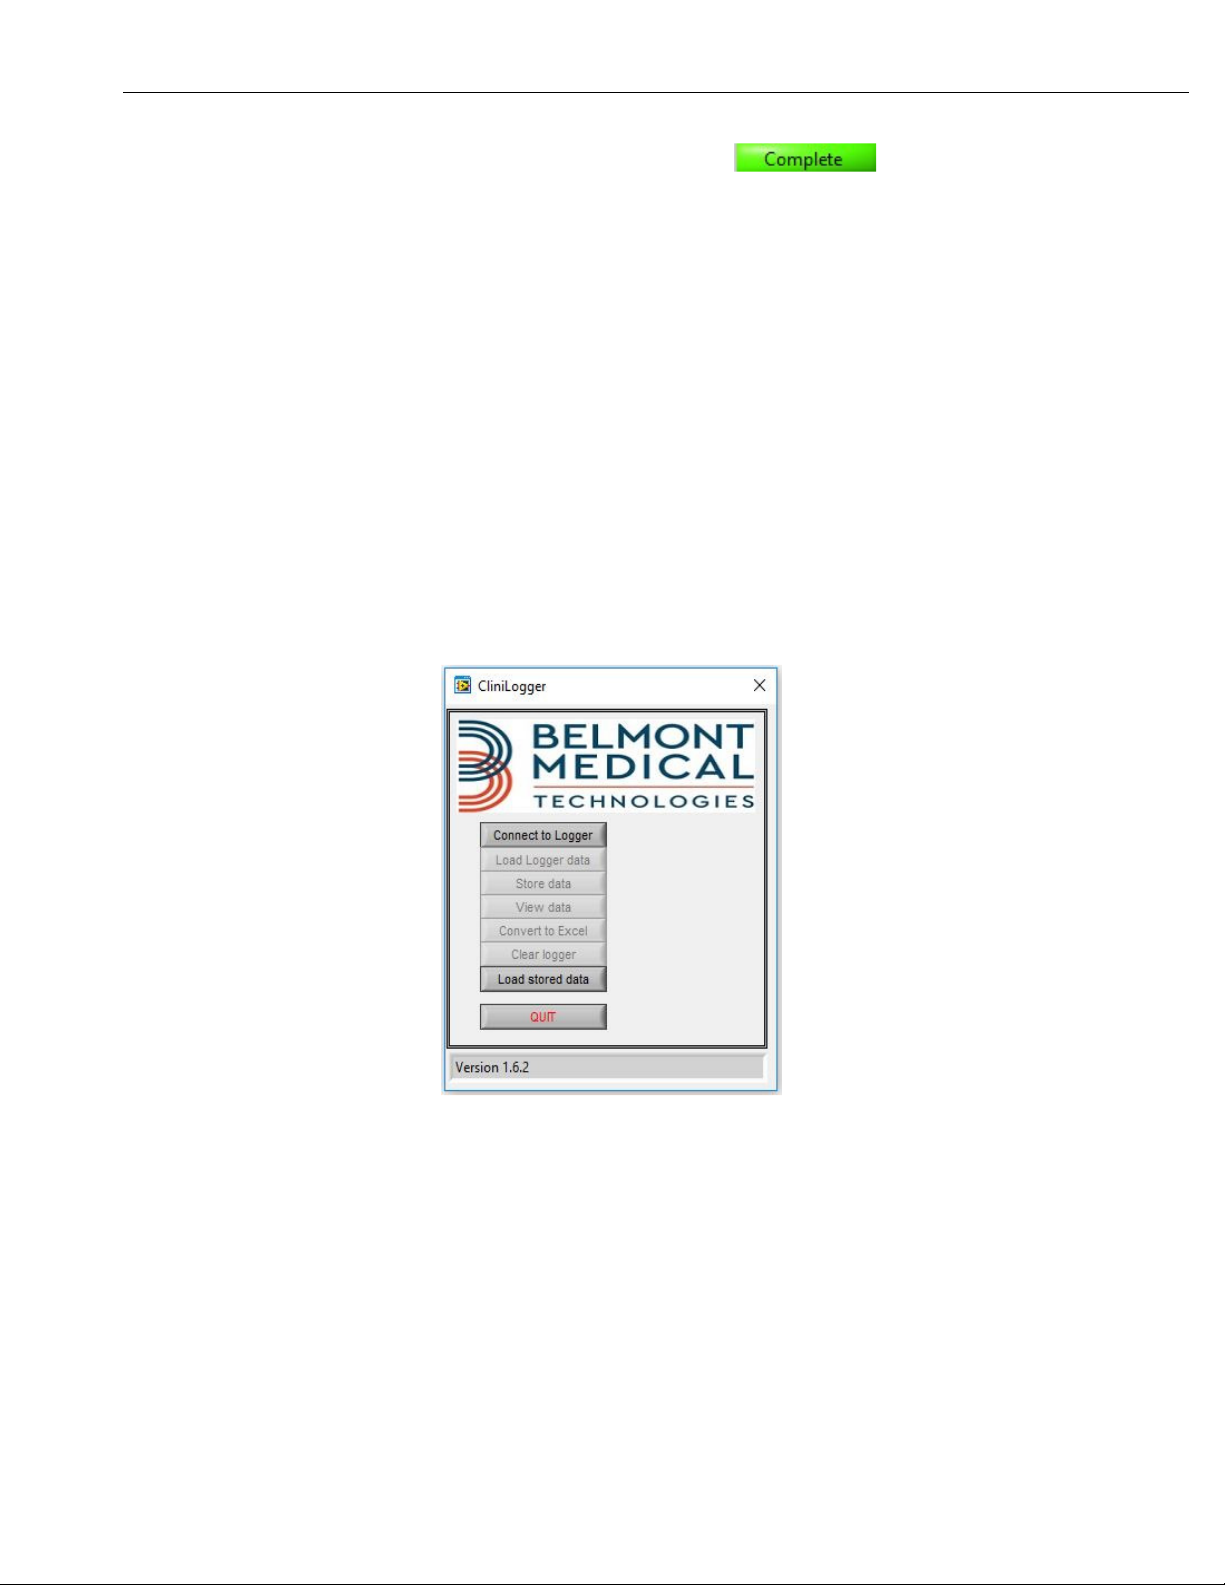
The CliniLogger
™
device is supplied with a CliniLogger
™
Viewer software
CD to be installed on a PC for downloading and viewing the saved data
from the CritiCool
®
.
Installing the Software
To install the CliniLogger
™
software:
1. On your PC, double-click on My Computer and open the CD drive.
2. Double-click the Installer folder.
3. Double-click the Volume folder
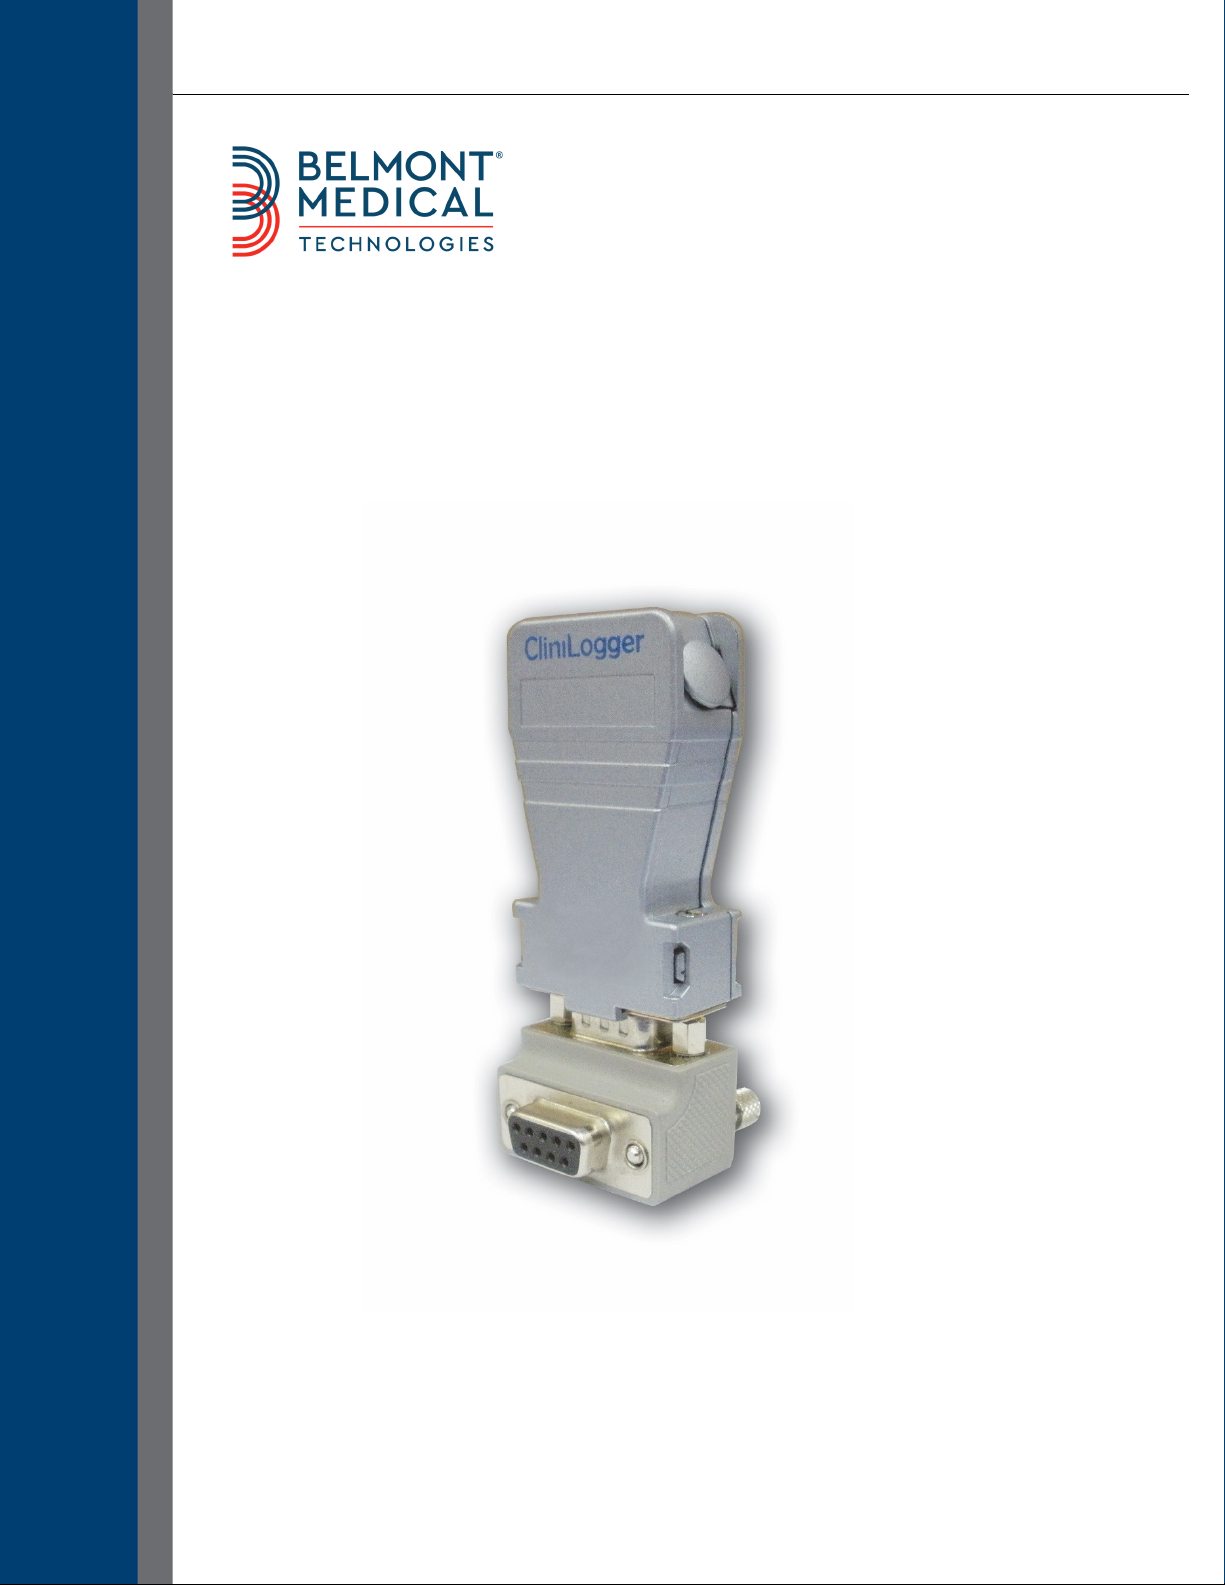
4. Double-click setup; the CliniLogger
™
install window appears.