manuals.online logo
Brands
  1. Home
  2. •
  3. Brands
  4. •
  5. BeLuce
  6. •
  7. Lighting Equipment
  8. •
  9. BeLuce MAXIMA TSL User manual

BeLuce MAXIMA TSL User manual

INSTALLATION
PREPARATION:
Remove frame and window by depressing the frame release button, then select the method of mounting (surface, flag, ceiling, etc.). Remove
the plastic film from the legend. Remove plastic film from arrow covers, then peel backs and apply to conceal unneeded directional arrow(s).
SURFACE INSTALLATION:
The sign has eight (8) surface mounting holes; select the best two (2) for your application (Figure 2), then using the hardware provided, affix
to wall. Put legend in place, then replace the window and frame, layering each as shown in Figure 1.
BRACKET INSTALLATION:
NOTE: Mount bracket to wall or ceiling using the (2) two 1½” Phillips Head Long Screws provided BEFORE affixing the sign to the bracket.
The supplied bracket can be used for either ceiling or flag mounting, as shown. If the bracket is going to be used, mount bracket and affix
sign in desired position using the two (2) 5/8” Phillips Head Short Screws provided (Figure 3).
DOUBLE SIGN MOUNTING:
The supplied bracket can be used to mount two back-to-back signs on a wall or ceiling using the supplied 1 5/8” Phillips round head bolts.
Remove the frame, clear window and legend from the two signs. Using the four (4) bolts and nuts provided, affix signs to the bracket and
spacer as shown. Replace legends, clear windows and frames.
NOTE: Only ceiling mount is shown, for flag mount, place bracket and spacer in appropriate positions.
PENDANT MOUNTING:
Affix ceiling mounting bracket (A) to ceiling. Secure pendant (G) into position using nuts for pendant mount (F). Slide canopy (E) over
pendant (G) until ceiling mounting bracket (A) is concealed, tighten canopy screw. Attach plastic bracket (I) to pendant using hex nuts (H).
Attach sign to the plastic bracket using the self-tapping 5/8” screws provided (see Figure 3).
INSTRUCTIONS
SELF-LUMINOUS SIGNS
PLEASE READ CAREFULLY BEFORE INSTALLATION
Do not substitute the special screws supplied with brackets, penetration into sign case must not exceed ½” (13mm). This product is
licensed for distribution under a license issued by the Canadian Nuclear Safety Commission. This product contains radioactive material, loss
or theft of this unit must be reported to the supplier. Do not abandon, open, dismantle or tamper with this device. For disposal, return to
SRB Technologies Inc. or to the Atomic Energy of Canada Limited.
USE CAUTION DURING INSTALLATION.
MAXIMA (TSL)
926000121
BeLuce Canada Inc., 3900 14th Avenue, Unit 1, Markham, ON L3R 4R3 P: (905) 948-9500 F: (905) 948-8673
926000121
INCLUDED HARDWARE:
1 1/2" Phillips Head Long Screws, x2
5/8" Phillips Head Short Screws, x2
Plastic Bracket (choice of colour)
2" x 2" Self-Adhesive Arrow Covers
Optional Hardware:
Item Description
A Steel Ceiling Mounting Bracket
B 1 5/8" Round Head Bolts, x4
C 7/32” Nuts, x4
D Steel Spacer
E Canopy (choice of colour)
F Steel Nuts for Pendant Mount, x2
G Pendant (choice of colour)
H Steel Hex Nuts, x2
• Frame Release Button
• Legend
• Window
• Frame
Figure 1
Figure 2
Figure 3
Figure 4
11/2” x 2
Figure
3
FLAG MOUNT
CEILING MOUNT
5/8” x 2
Figure 5
PENDANT G
HEX
NUTS H
PENDANT G
CANOPY E
CEILING
MOUNTING
BRACKET A
PLASTIC
BRACKET
NUTS FOR
PENDANT
MOUNT F
G
FH
E
D
B
C
A
1½” x 2 Plastic Bracket5/8” x 2
Plastic Bracket
A
rrow Cover x 2
INSERT BOLTS
SPACER DB
C
B
BeLuce Canada Inc., 3900 14th Avenue, Unit 1, Markham, ON L3R 4R3 P: (905) 948-9500 F: (905) 948-8673


Other BeLuce Lighting Equipment manuals

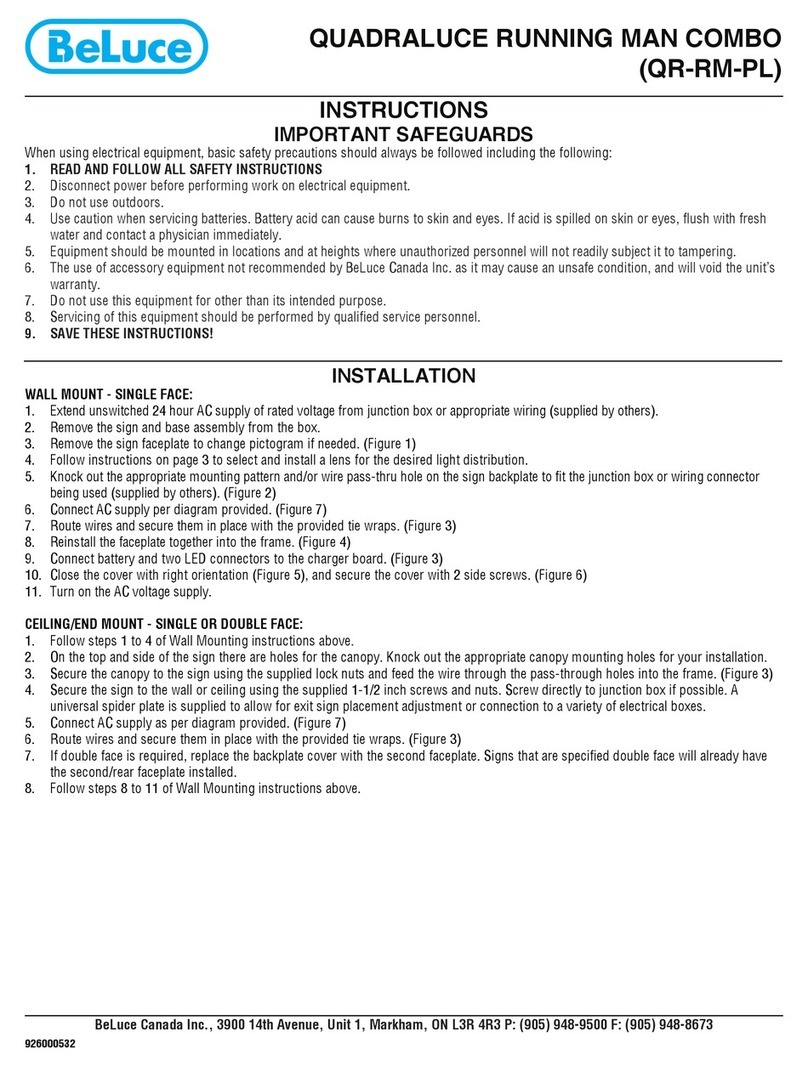
BeLuce QR-RM-PL User manual

BeLuce

BeLuce QR-RM-PL User manual

BeLuce SCALA User manual

BeLuce

BeLuce SCALA User manual

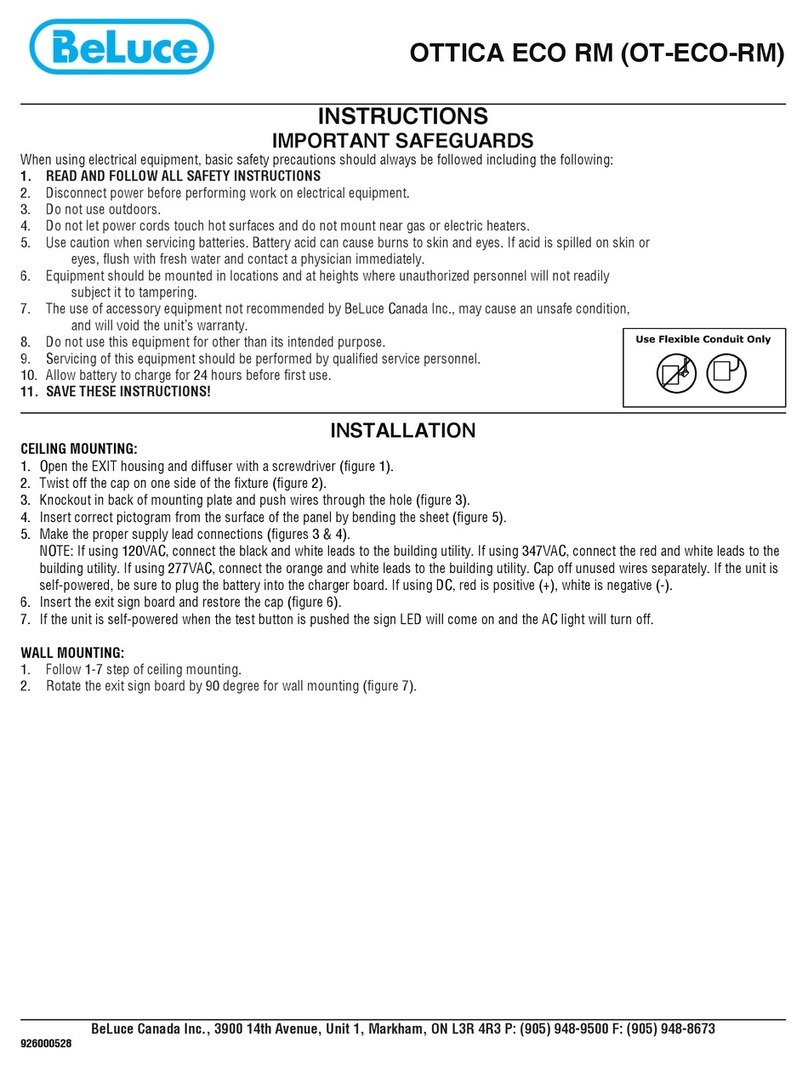
BeLuce OTTICA ECO RM User manual

BeLuce

BeLuce OTTICA ECO RM User manual

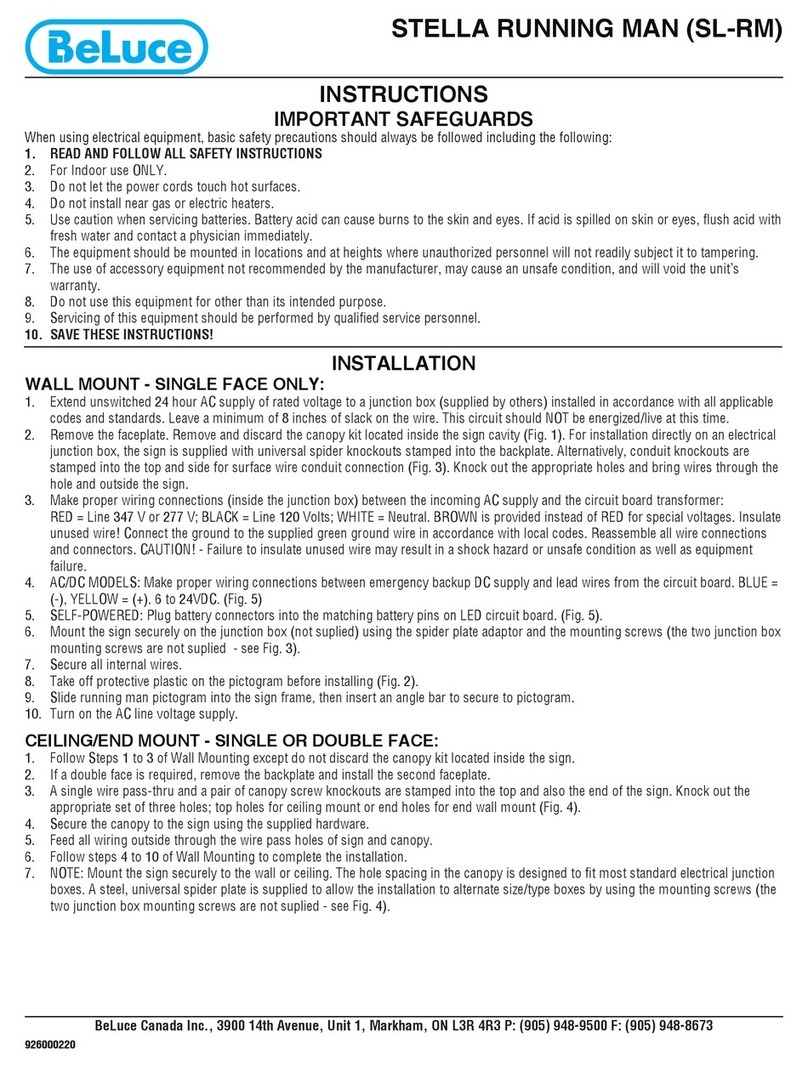
BeLuce STELLA SL-RM User manual

BeLuce

BeLuce STELLA SL-RM User manual

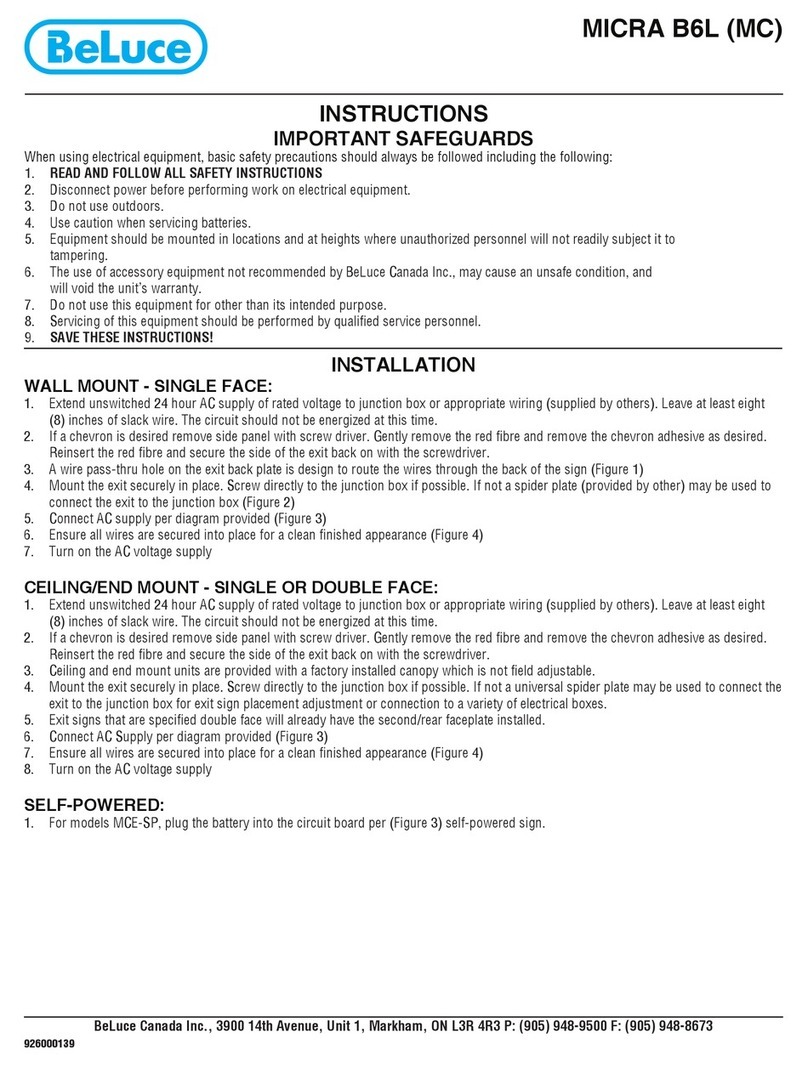
BeLuce MICRA B6L User manual

BeLuce

BeLuce MICRA B6L User manual

BeLuce MICRA RM User manual

BeLuce

BeLuce MICRA RM User manual

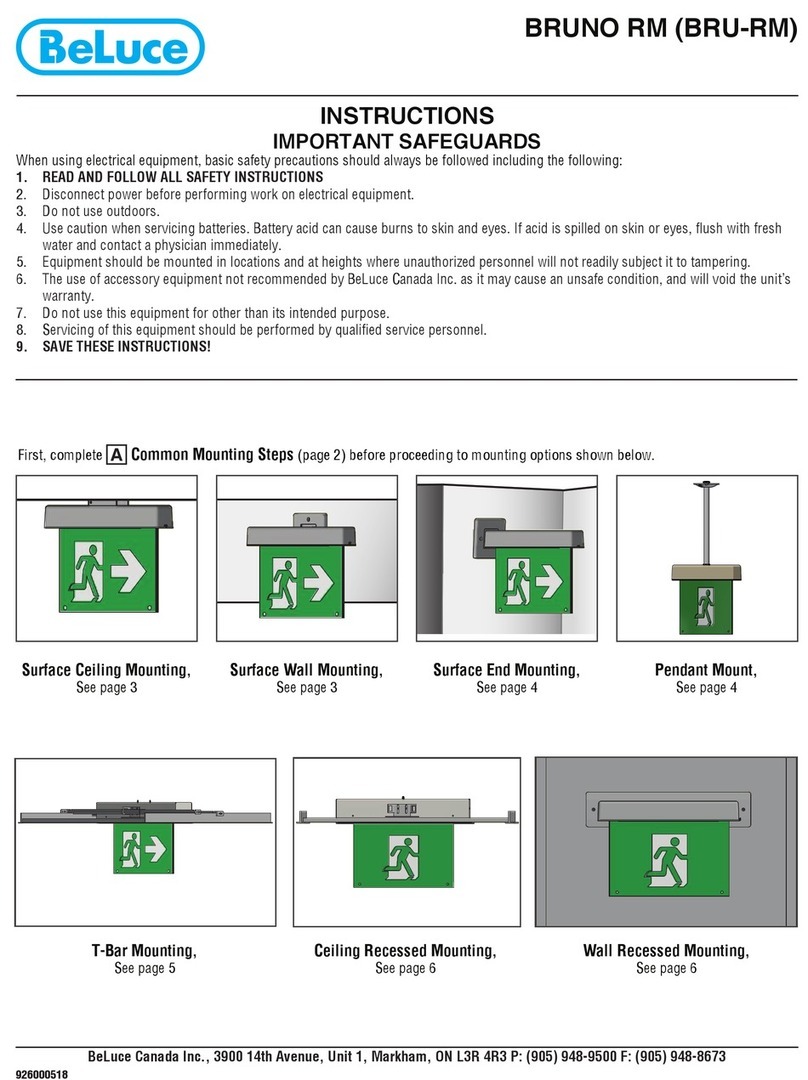
BeLuce BRUNO RM User manual

BeLuce

BeLuce BRUNO RM User manual

BeLuce TEMPESTA TA-RMT-LED User manual

BeLuce

BeLuce TEMPESTA TA-RMT-LED User manual

BeLuce BOXLED MINI User manual

BeLuce

BeLuce BOXLED MINI User manual

BeLuce QUADRA RECESSED User manual

BeLuce

BeLuce QUADRA RECESSED User manual

BeLuce STELLA SD User manual

BeLuce

BeLuce STELLA SD User manual

Popular Lighting Equipment manuals by other brands

Home Accents Holiday TY012-1714 Assembly instructions

Home Accents Holiday

Home Accents Holiday TY012-1714 Assembly instructions

Chauvet Laser Wizard LGG-1505R user guide

Chauvet

Chauvet Laser Wizard LGG-1505R user guide

ProLights FLATPAR6H SUPERSLIM LEDPAR user manual

ProLights

ProLights FLATPAR6H SUPERSLIM LEDPAR user manual

Lightolier Calculite ProSpec PB1H3870 specification

Lightolier

Lightolier Calculite ProSpec PB1H3870 specification

schmersal SLC 410 Mounting and wiring instructions

schmersal

schmersal SLC 410 Mounting and wiring instructions

Flash F7000547 user manual

Flash

Flash F7000547 user manual

Clevertronics L10 CleverFit Exit LCFLED Series ASSEMBLY, INSTALLATION & MAINTENANCE INSTRUCTIONS

Clevertronics

Clevertronics L10 CleverFit Exit LCFLED Series ASSEMBLY, INSTALLATION & MAINTENANCE INSTRUCTIONS

Laserworld GREEN-5000 user manual

Laserworld

Laserworld GREEN-5000 user manual

Robe Anolis ArcSource Outdoor 48 MC Integral RGBW user manual

Robe

Robe Anolis ArcSource Outdoor 48 MC Integral RGBW user manual

ANSMANN LITE RIDER manual

ANSMANN

ANSMANN LITE RIDER manual

CCS HLV3-C Series Instruction guide

CCS

CCS HLV3-C Series Instruction guide

JB-Lighting SPARX 12 Safety instruction

JB-Lighting

JB-Lighting SPARX 12 Safety instruction

Zodiac Easy Connect Instructions for installation and use

Zodiac

Zodiac Easy Connect Instructions for installation and use

ACR Electronics HemiLight3 quick start guide

ACR Electronics

ACR Electronics HemiLight3 quick start guide

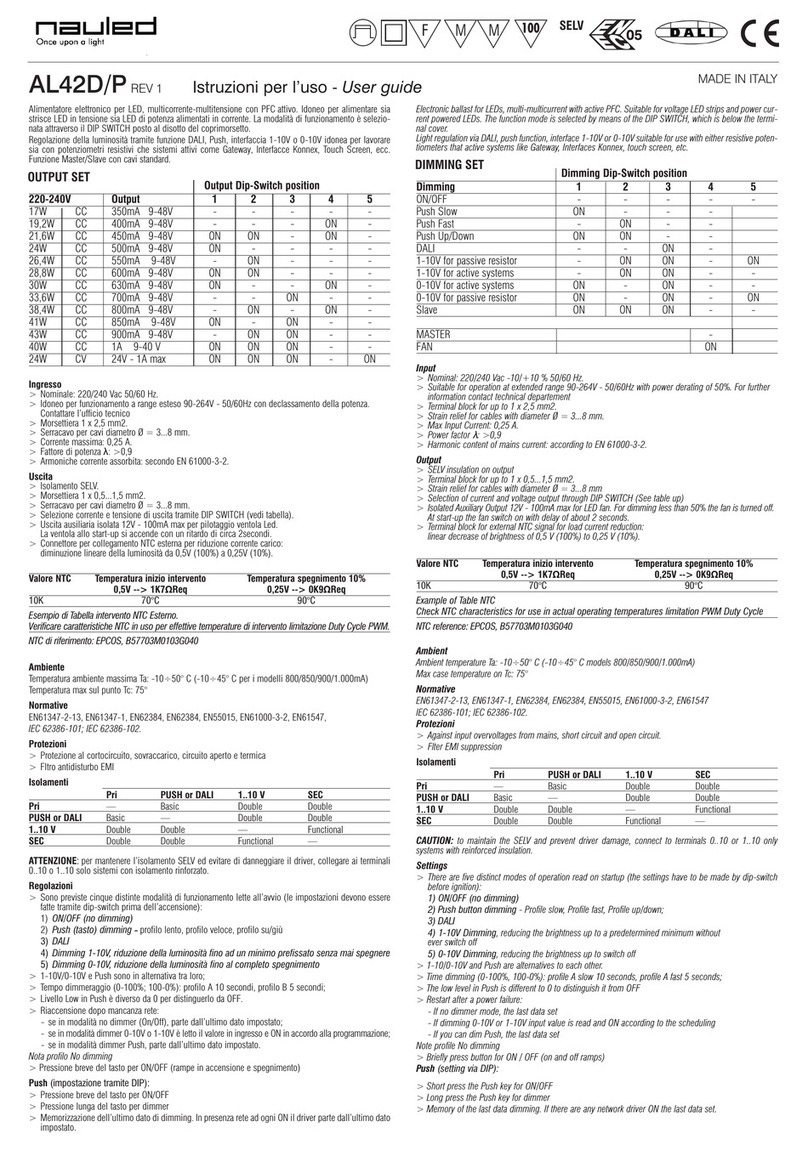
Nauled AL42D/P user guide

Nauled

Nauled AL42D/P user guide

Chauvet Radius user manual

Chauvet

Chauvet Radius user manual

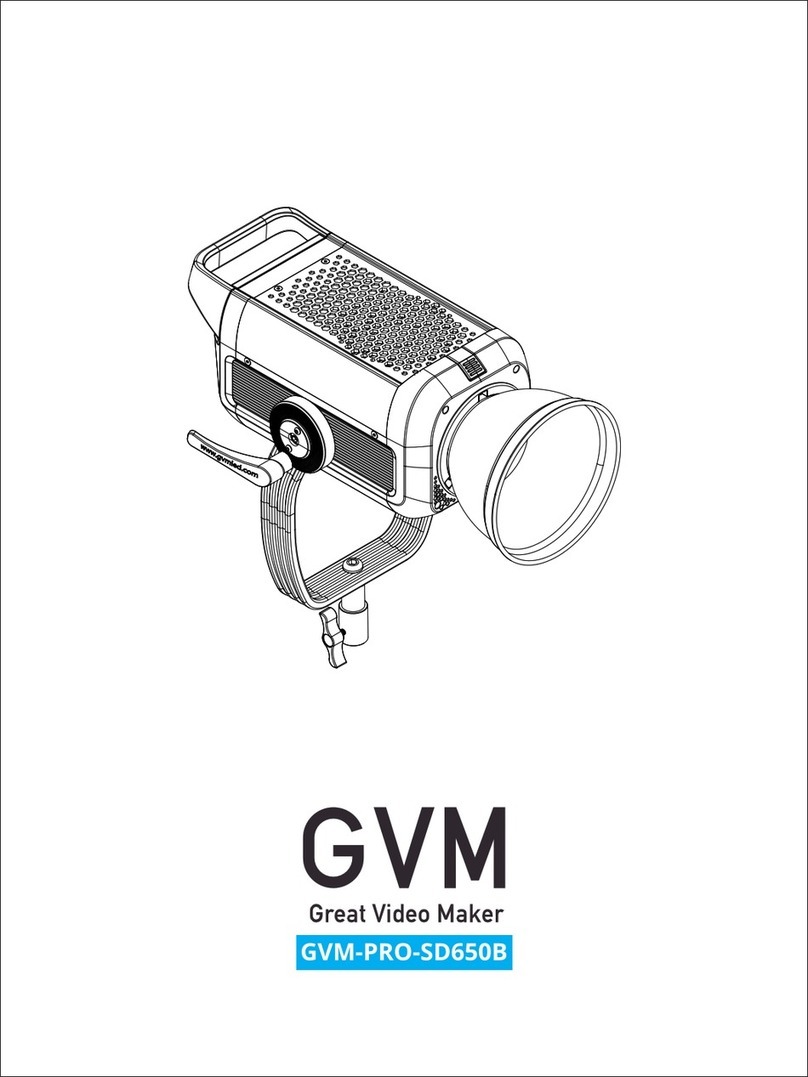
GVM GVM-PRO-SD650B manual

GVM

GVM GVM-PRO-SD650B manual

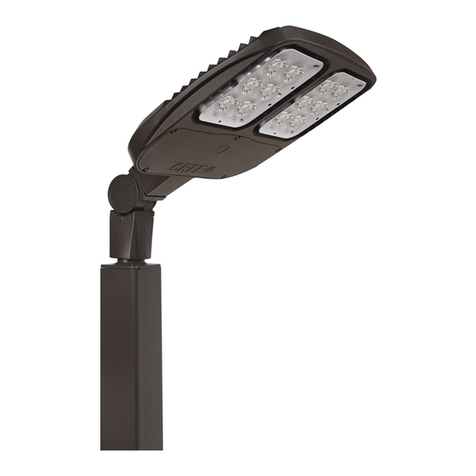
Cree OSQ Series installation instructions

Cree

Cree OSQ Series installation instructions

manuals.online logo
manuals.online logoBrands
  • About & Mission
  • Contact us
  • Privacy Policy
  • Terms and Conditions

Copyright 2025 Manuals.Online. All Rights Reserved.