6
AIR LEAKAGE TESTS
Leakage past the discharge valves can be detected by
removingthedischargeline, applyingshopairback through
the discharge port and listening for escaping air. Also, the
dischargevalves andthe unloader pistonscan bechecked
forleakage bybuilding up the air systemuntil thegovernor
cutsout,thenstoppingthe engine. Withtheenginestopped,
carefully listen for escaping air at the intake. To pin-point
leakage if noted, squirt oil around the unloader pistons. If
there is no noticeable leakage at the unloader pistons, the
dischargevalves maybe leaking.
Ifthe compressordoes notfunctionas describedabove, or
leakageis excessive,it isrecommendedthat itbe returned
to the nearest Bendix authorized distributor for a factory
rebuiltcompressorunder therepairexchange plan.Ifthis is
notpossible, thecompressor canbe repairedwith genuine
Bendix partsinwhich case thefollowinginformation should
provehelpful.
REMOVING AND INSTALLING
REMOVING
Theseinstructionsaregeneralandinsomecases additional
precautionsmust betaken.
Drain air brake system.
Drainenginecoolingsystem,compressorcylinderhead and
block.
Disconnect all air lines, water and oil lines to and from
compressor.
Removecompressor mountingbolts andcompressor from
engine.
Use a gear-puller to remove the gear or pulley from
compressorcrankshaft.
INSTALLATION
Clean oil supply line. Before connecting this line to the
compressor run the engine briefly to be sure oil is flowing
freelythrough thesupply line.
Clean the oil return line or return passages through the
brackets; these passages must be unrestricted so oil can
return to the engine.
Prelubricate compressor cylinder walls, piston rings, and
bearingswithcleanengineoilbeforeassemblingcompressor.
Always use a new mounting gasket and be sure oil hole in
gasket and compressor is properly aligned with oil supply
line.
Inspect pulley or gear and associated parts for wear or
damage.Theymust be aneatfiton compressorcrankshaft.
Replace pulley or gear if worn or damaged.
Installpulleyorgear on compressorcrankshaftmakingsure
it properly contacts the shaft and does not ride the key.
Tighten crankshaftnut to65-70 ft. lbs.andinstallcotter pin.
Besure theaircleaner isclean and properlyinstalled. Ifthe
compressor intake is connected to either the engine air
cleaner or supercharger, these connections must be tight
withno leakage.
Clean or replace any damaged or dirty air or water lines
which may be corroded, before connecting them to the
compressor. Use a new discharge fitting gasket.
Align compressor drive and adjust proper belt tension.
Tighten mounting boltssecurelyand evenly.
After installation run compressor and check for air, oil, or
water leaks at compressor connections. Also, check for
noisy operation.
DISASSEMBLY
GENERAL
Clean compressor exterior of road dirt and grease using a
good cleaning solvent. Before compressor is completely
disassembledthefollowingitemsshouldbemarked toshow
theirrelationship whenthe compressoris assembled:
The cylinder block in relation to crankcase, end covers’
relation to crankcase, position of crankshaft in relation to
crankcase, the cylinder head’s relation to the block.
Aconvenient methodto indicatethe aboverelationships is
to use a metal scribe to mark the parts with numbers or
lines. Do not use a marking method that can be wiped off
or obliterated during rebuilding, such as chalk. Remove all
compressor attachments such as governors, air strainers
or inlet fittings, discharge fittings and pipe plugs.
CYLINDER HEAD
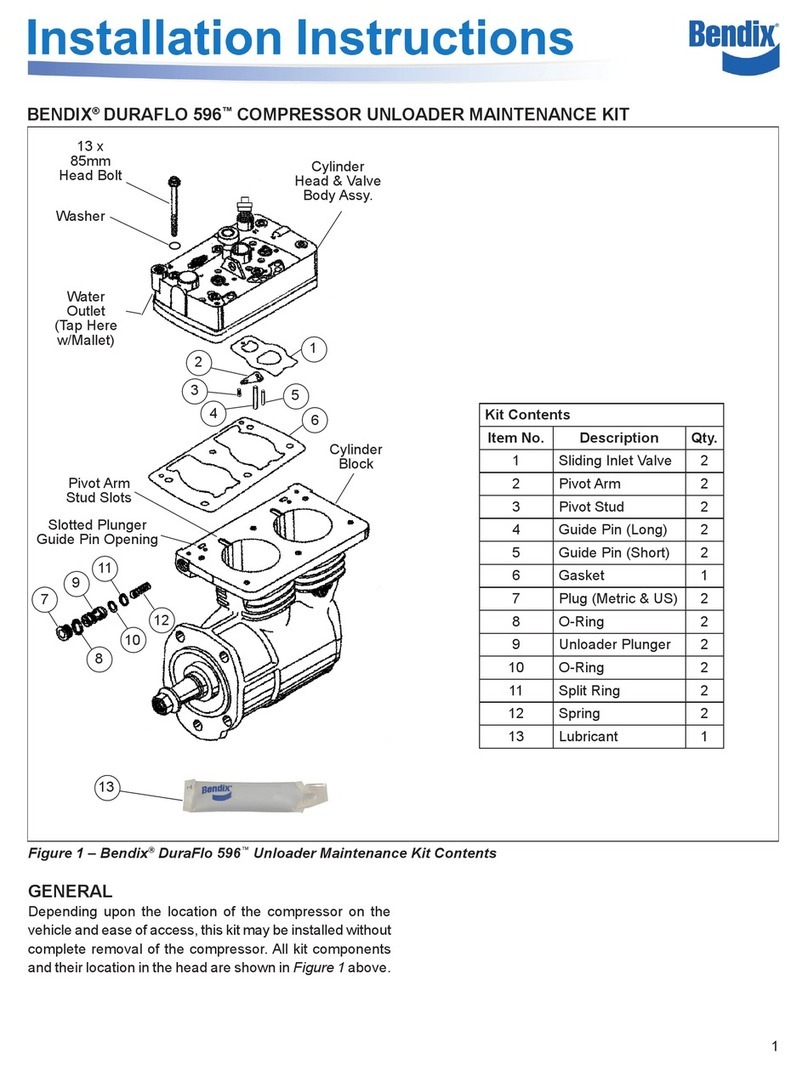
Remove the cylinder head cap screws and tap the head
withasoft mallettobreak thegasketseal. Removetheinlet
valvespringsfromtheheadandinletvalvesfromtheirguides
in the block. Remove inlet valve guides from around the
inlet valve seats on the block taking care not to damage
seats. Scrape off any gasket material from the cylinder
head and block. Unscrew the discharge cap nuts from the
headandremovethe dischargevalvesandsprings.Inspect
the discharge valve seats for nicks, cracks, and excessive
wear and remove and replace if necessary.
FIGURE 11 - INLETADAPTER

