Besam SW200i Manual

Swing Door Operator (OHC)
Besam SW200i
Installation and Service Manual -
Original instructions
Complies with ANSI/BHMA A156.10 and ANSI/BHMA A156.19 standard for Power
Assist and Low Energy Power Operated Doors.
UL325 & UL991 Listed
1009937-EI-1.0 –Issue 2013-02-10
ASSA ABLOY, the global leader in door opening solutions

© All rights in and to this material are the sole property of ASSA ABLOY Entrance Systems US Inc. AB. Copying, scanning, alterations or
modifications are expressly forbidden without the prior written consent of the applicable company within ASSA ABLOY Entrance Systems
US Inc. AB. Rights reserved for changes without prior notice.
Backtrack information: folder: , version: , date: --, time: ::, state: Frozen

CONTENTS
41 Revision .....................................................................................................................................................................................
52 Important information .........................................................................................................................................................
73 Technical specification ..........................................................................................................................................................
84 How the Besam SW200i works ..........................................................................................................................................
135 Models ........................................................................................................................................................................................
146 Operator/Door handing .......................................................................................................................................................
157 Part identification ...................................................................................................................................................................
208 Arm systems .............................................................................................................................................................................
239 Options ......................................................................................................................................................................................
2710 Pre-installation ........................................................................................................................................................................
2911 Mechanical Installation ........................................................................................................................................................
5012 Electrical connection .............................................................................................................................................................
6013 Start-up ......................................................................................................................................................................................
6614 Changing group of parameters ..........................................................................................................................................
7015 Classification ............................................................................................................................................................................
7116 Troubleshooting .....................................................................................................................................................................
7317 Maintenance plan ...................................................................................................................................................................
7418 ANSI / BHMA A156.10 ...........................................................................................................................................................
7919 ANSI / BHMA A156.19 (LOW ENERGY APPLICATION) .................................................................................................
3Issue 2013-02-101009937-EI-1.0
CONTENTS

1 Revision
Following pages have been revised:
Revision 1.0Page
This is the first version of the OHC Besam SW200i Installation and Service Manual.
1009937-EI-1.0Issue 2013-02-104
1 Revision

2 Important information
HAZARD WARNING!
Failure to observe the information in this manual may result in personal injury or
damage to equipment.
To reduce the risk of injury to persons - use this operator with single or double ped-
estrian swinging or folding doors only.
Save these instructions for future reference.
2.1 Intended use
The Besam SW200i is an automatic swing door operator developed to facilitate entrances to
buildings and within buildings through swing doors. The Besam SW200i is a universal electro-
mechanical operator that combines a Heavy Duty (HD) operator for large heavy doors with Low
Energy (LE) applications of swing doors. The operator is factory set to Low Energy (LE).
The Besam SW200i can be concealed or surface applied on either side of the door for pull or push
action, and is suitable for single doors, double doors and double egress doors fitted with swing
clear hinges, offset or center pivots.
The Besam SW200i ensures all-around safety. The operator can be combined with a full range of
sensor products providing swing door safety, but meets also the requirements for a low energy
operator without any sensors.
The operator is connected to the door leaf with a range of different arm systems.
The door is designed to offer continuous use, a high degree of safety and maximum lifetime.
For use see User manual 1007717.
2.2 Safety precautions
Do not climb on door parts.
Do not let children play with the door or the fixed controls.
Be sure to complete a risk assessment (PRA-0002) and the site acceptance test (PRA-0007) before
taking the door into operation.
To avoid bodily injury, material damage and malfunction of the product, the instructions contained
in this manual must be strictly observed during installation, adjustment, repairs and service etc.
Training is needed to carry out these tasks safely. Only ASSA ABLOY Entrance Systems US Inc.-trained
technicians should be allowed to carry out these operations.
2.3 Electronic equipment reception interference
The equipment complies with the European EMC directive (US market FCC Part 15), provided in-
stalled according to Installation and Service manual.
The equipment may generate and use radio frequency energy and if not installed and used properly,
it may cause interference to radio, television reception or other radio frequency type systems.
If other equipment does not fully comply with immunity requirements interference may occur.
However, there is no guarantee that interference will not occur in a particular installation. If this
equipment does cause interference to radio or television reception, which can be determined by
5Issue 2013-02-101009937-EI-1.0
2 Important information

turning the equipment off and on, the user is encouraged to try to correct the interference by one
or more of the following measures:
•Re-orient the receiving antenna.
•Relocate the receiver with respect to the equipment.
•Move the receiver away from the equipment.
•Plug the receiver into a different outlet so that equipment and receiver are on different branch
circuits.
•Check that protective earth (PE) is connected.
If necessary, the user should consult the dealer or an experienced electronic technician for addi-
tional suggestions.
ASSA ABLOY Entrance Systems US Inc. products are equipped with electronics and may also be
equipped with batteries containing materials which are hazardous to the environment. Disconnect
power before removing electronics and battery and make sure it is disposed of properly according
to local regulations (how and where) as was done done with the packaging material.
2.4 Glazing materials
The glazing material for swing doors shall comply with ANSI Z97.1
1009937-EI-1.0Issue 2013-02-106
2 Important information

3 Technical specification
ASSA ABLOY Entrance Systems US Inc.Manufacturer:
1900 Airport Road, Monroe, NC 28110, USAddress:
Besam SW200iType:
120 V AC +10/-15%, 50/60 HzPower supply:
max. 300 WPower consumption:
24 V DC, max. 700 mAAuxiliary voltage:
2 x T 6,3 AH 250 VInternal control fuse:
36-48”(914-1219 mm)Door width:
Selectable: 12V DC, max. 1200 mA / 24 V DC, max. 600 mAElectro-mechanical locking
device:
Surface Applied, SA: 100-700 lb. (45-315 kg)Door weight:
Overhead Concealed, OHC: 100-350 lb. (45-160 kg)
PUSH: 80° - 110°, with reveal 0 - 12”(0 - 305 mm)Door opening angle:
PULL: 80° - 110°, with reveal 0 - 5 1/8”(0 - 130 mm)
PAS: only 80°-95°, with reveal 0 - 5 1/8”(0 - 130 mm)
80°-95° in a concealed application
variable between 2 - 12 secondsOpening time (0° - 80°):
variable between 4 - 12 secondsClosing time (90° - 10°):
1,5-30 secondsHOLD open time:
-4 °F to +113 °F (-20 °C to +45 °C)Ambient temperature:
Max. 95%Relative humidity:
19,8 lb. (9 kg)Drive unit weight:
This product is to be installed internally.
Class of protection IP 20.
Complies with: ANSI/BHMA A156.19, ANSI/BHMA A156.10, UL 325, UL 991, UL 244A, UL 1310, CAN/CSA-C22.2
N0 223-M91 and CAN/CSA-C22.2 N0 247-92
Third party approvals from established certification organizations valid for
safety in use and escape route safety. For details see Declaration of Conformity.
Approvals:
3.1 Opening times
Opening time is adjustable from 2-12 seconds and dependent on the weight, width and installed
arm system of the door. For max opening times on low energy doors, see Table I on page 79.
7Issue 2013-02-101009937-EI-1.0
3 Technical specification

4 How the Besam SW200i works
The swing door operator Besam SW200i uses a DC motor which is connected to the output shaft
by a combination of a bevel gear and spur gears. The arm system that is connected to the output
shaft opens the door in a wall mounted application.
There is also an adjustable spring mechanism connected to the output shaft. During opening of
the door, the clock spring is tensioned by the rotation of the output shaft. During the closing cycle,
the accumulated spring force is acting in the closing direction. The spring force can be adjusted so
there is appropriate force to close the door when it is operated manually or in case of a power
failure.
4.1 Opening
When an opening signal is received by the control unit, the door is opened at the operator-adjusted
opening speed. Before the door is fully open at back check, it slows automatically to low speed.
The motor stops when the selected door opening angle has been reached. The open position is
held by the motor.
If the door is obstructed while opening, it will either stall or stop which can be selected with a DIP-
switch (SOS). Stop on stall is always active in program selector Mode Off.
•Continue on stall - the door will continue to try to open during the hold open time.
•Stop on stall - the door will, even if hold open time has not expired, close after 2 seconds.
4.2 Closing
When the hold open time has elapsed, the operator will close the door automatically, using spring
force and motor. The door will slow to low speed at latch check before it reaches the fully closed
position. The door is kept closed by spring power or combined with extended closing torque by
the motor.
4.3 Control switch
4.3.1 ON/OFF/HOLD open switch (option)
3-position switch
P/N: 75-15-310 Clear
P/N: 75-15-310 Black
1009937-EI-1.0Issue 2013-02-108
4 How the Besam SW200i works

4.4 Functions on the basic control unit CU-200
Also see page 53 for more information.
4.4.1 Power failure
During power failure the operator acts as a door closer with controlled closing speed. The micro
switch located next to the spindle shaft can be adjusted to control when lock kick occurs.
4.4.2 Spring force
The operator is delivered with spring pre-tension factory set to 360°. If necessary, the spring tension
can be electronically adjusted with a potentiometer to required closing force, but max total 720°.
The arm must also be relocated on the spindle.
4.4.3 Extended closing torque (CLTQ)
If the potentiometer CLTQ is set to 0°, the door will close with normal spring power. If the poten-
tiometer is turned clockwise, the motor will increase the closing torque.
Extended closing torque will be reduced to zero if:
•The door mounted sensor presence detection is activated during the last 10° before closing.
•The door mounted sensor presence impulse is activated in closed position or during closing
(even if manually opened).
4.4.4 Power assist (POAS)
If the potentiometer POAS is set to 0°, the door gives no power assist. If the potentiometer is turned
clockwise, the motor will give/increase power assist when the door is opened manually. The range
of the POAS is depending on the spring pre-tension.
4.4.5 Push and go (PAG)
DIP-switch to select Push and Go, ON or OFF. Push and Go is available from any door position. Push
and Go is not active in programme selector setting OFF.
4.4.6 Overhead presence detector (OPD/OPS), frame mounted
When an OPD/OPS sensor is mounted on the frame or operator cover just above the swing side of
the door, it will–when activated–either keep the door open or closed. The sensor input is not
sensitive during opening and closing. Lock-out signal is available as it is required by some OPD/OPS
sensors for proper function.
•a closed door will not open, if the OPD/OPS detects activity in the field
•an open door will not close, if the OPD/OPS detects activity in the field
•during opening, the door will continue to open, even if the OPD/OPS detects activity in the field
•during closing, the door will continue to close, even if the OPD/OPS detects activity in the field
•the OPD/OPS is not active in program mode OFF or manually opened door
•during closing, if an activation occur the door will re-open.
4.4.7 Activation delay (AD)
This function requires a constant inner impulse for the specified time before the door will open.
Fixed 2 sec.
During closing the door will reopen immediately if impulsed.
4.4.8 Mat
Mat safety means that:
•a closed door will not open, if someone steps on the mat
9Issue 2013-02-101009937-EI-1.0
4 How the Besam SW200i works

•an open door will not close, if someone steps on the mat
•during opening, the door will continue to open, even if someone steps on the mat
•during closing, the door will continue to close, even if someone steps on the mat
•opening impulses are prevented during closing, if someone steps on the mat
•the mat is not active in program mode OFF or manually opened door.
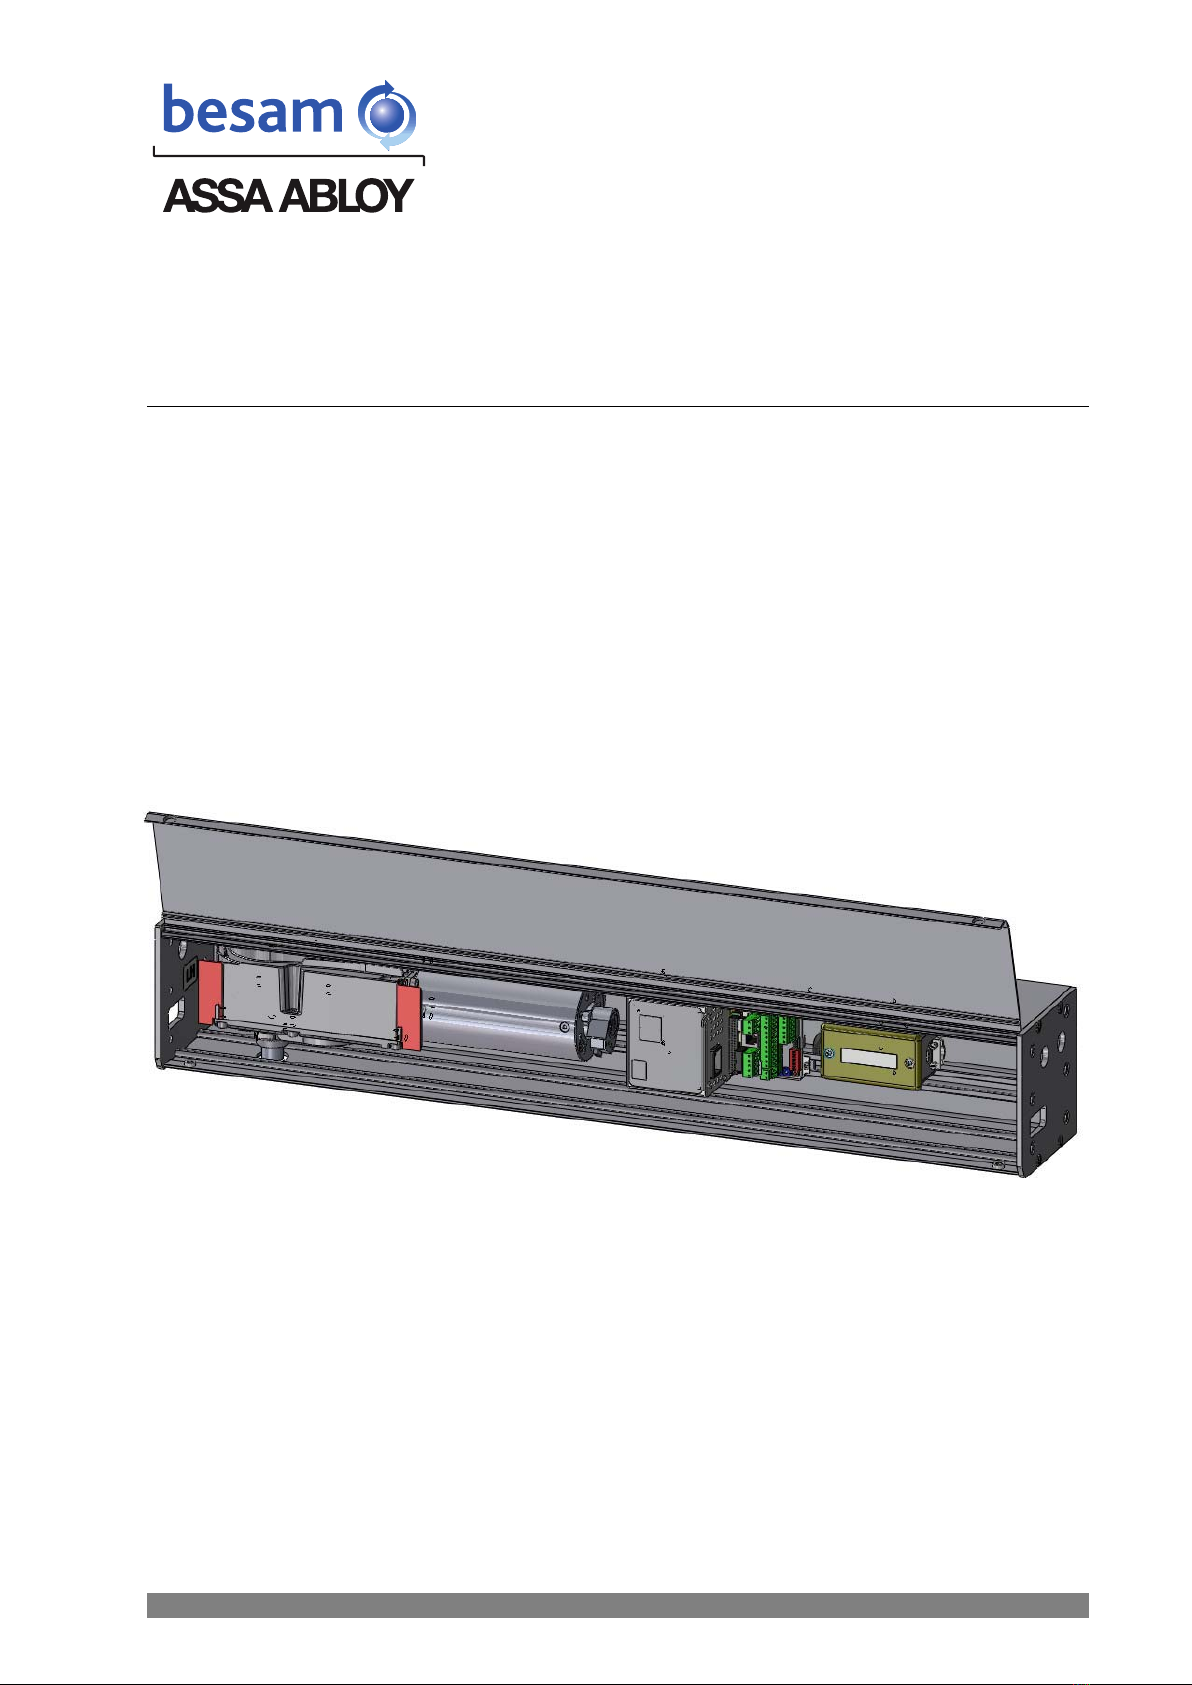
4.5 Functions on the extension unit EXU-SI
Also see page 56 for more information.
4.5.1 KILL function
In the event that the KILL circuit is activated, all Safety Functions of the door
will be overridden causing the door to close even though an object or person
may be in the door's path of travel, and therefore may be subject to injury. This
mode of operation is most generally used to isolate an area in the event of a
fire.
•During KILL, the control will ignore all signals and close door(s) at normal speed.
•If impulse controlled KILL: The operator will resume normal operation after a KILL RESET. When
manual RESET, jumper must be removed and reset button connected to terminal No. 8 and
Ground.
•Or if state controlled KILL: When KILL signal is no longer active, operator will resume normal
operation.
•The behavior of the lock during KILL depends on the group of parameters, see page 66.
•The KILL input may be connected to either a normally open contact with GND as reference or
a normally closed contact with QTST as reference, depending of group of parameters, see page
66.
4.5.2 Function of locks
•The lock output only works when the function switch is in OFF or EXIT. If no function switch is
used, OFF or EXIT must be connected to GND (0 VDC).
•The control has an available output of DC for external locks
•DIP-switches to select 12 or 24 V DC, locked with or without power
•DIP-switch for lock release and potentiometer for opening delay
•DIP-switch for lock kick to overcome binding in the locking device during closing
•Input to unlock signal from lock. Potentiometer for opening delay is to be set to max. As soon
as unlock signal is received the door will start to open. The lock output signal shall be active
low.
•If the door cannot fully close, the operator will perform a lock retry (once if manually open,
twice if automatically open).
Panic bar can be disabled by the relay function on the extension board EXU-SA and an external
power supply. Panic bar will then only be active during KILL. See Changing group of parameters on
page 66.
4.5.4 Panic bar
Panicbarcanbe signaled to retract by the relay function on the extension board EXU-SA connected
to the external panic bar power supply. Signal to panic bar will be removed during KILL impulse.
See Changing group of parameters on page 66.
•Input for OPEN, EXIT and OFF (if no program selector, AUTO is default).
1009937-EI-1.0Issue 2013-02-1010
4 How the Besam SW200i works

Note! In OFF-position the operator will comply with the Low Energy Regulation.
4.5.6 Program selector (wall mounted)
•Input for OPEN, EXIT and OFF (if no program selector, AUTO is default).
Note! In OFF-position the operator will comply with the Low Energy Standards if given a KEY
impulse.
4.5.7 Impulses
•Input for OUTER impulse, KEY impulse and OPEN/CLOSE impulse.
4.5.8 OPEN/CLOSE impulse
The impulse will open the door and the door will stay open until a new impulse is given. If no impulse
is given the door will close after 15 minutes. This can be made infinite by changing group of para-
meters, see page 66.
OPEN/CLOSE impulse works only in program selection AUTO. Can be programmed for OFF and EXIT
as well, see page 66.
4.6 Functions on the extension unit EXU-SA
Also see page 57 for more information.
4.6.1 Presence impulse approach, door mounted / Door mounted presence sensor, non swing side
(DMPS.NS)
The presence impulse is active during fully open and closing. The sensor is mounted to the approach
side of the door. Once the door is closed, the sensor is ignored and will not be active until the next
impulse is received.
Note! When installed as a pair of doors, the presence impulse signal will re-open both doors. The
sensor is not active in program mode OFF or manually opened door (Power Failure Mode or during
KILL function).
4.6.2 Presence detection swingpath, door mounted / Door mounted presence sensor, swing side
(DMPS.SS)
When a sensor that is mounted on the swing side of a door detects an object, it will send a command
to the control unit to stall the door. If the control unit has received a short signal from the sensor
and there is still hold open time left on the control unit, the door will continue on its way open if
the object has cleared.
The inhibit/blanking potentiometer can be adjusted so that the sensor will avoid detecting a wall
or object near the full open position. Presence detection has a higher priority than presence impulse.
Note! When installed as a pair of doors the presence detection signal will stop both doors, except
for double egress doors. The behavior for double egress doors can be changed . The sensor is not
active in program mode OFF or manually opened door. In this OFF-mode the operator fulfills the
Low Energy Standards.
4.6.3 Monitored safety sensors
Both presence impulse and presence detection can be monitored. If a sensor becomes defective,
the operator will not accept any impulses and will then work as a manual door closer.
4.6.4 Relay output
•Error indication
A potential free contact COM/NO/NC for external error indication, see “Error indication”on
page 72.
•KILL output
11Issue 2013-02-101009937-EI-1.0
4 How the Besam SW200i works

NO or NC signal
•Door indication
Used to indicate an open or closed position of the door. The indication position is set by adjusting
the inhibit/blanking potentiometer.
•Panic bar
Parameter group 14, 15 and 16
1009937-EI-1.0Issue 2013-02-1012
4 How the Besam SW200i works

5 Models
The Besam SW200i operator can be installed overhead concealed or surface mounted. These two
versions can be used in the following installations:
•Single doors
•Double doors (two operators)
5.1 Concealed mounted
The concealed operator is used to control a center-pivot door, with the operator integrated and
concealed in the header above the door. The door can be opened in a direction opposite to normal
in an emergency (panic breakout). Manual reset by pushing the door back into normal operation
sector is necessary.
A concealed operator can also be installed in the ceiling space above the door (bottom load). Such
applications may require field engineering of components and hardware.
Operator for right handed door
Operator for left and right handed door
13Issue 2013-02-101009937-EI-1.0
5 Models

6 Operator/Door handing
6.1 Operator handing
80/11/601snoituloSecnartnEmaseB
Concealed
Left hand Right hand
Right hand Left hand
6.2 Door handing
Door handing is determined by standing with your back to the hinges. The side that the door nor-
mally opens (right or left) is the handing of the door. The illustration below shows a right-handed
door.
1009937-EI-1.0Issue 2013-02-1014
6 Operator/Door handing

7 Part identification
7.1 OHC Side Load - Center Pivot
Note! For offset pivot and Surface applied, all parts are identical with exception of end caps. See
end cap identification for details.
DescriptionArt. No.Item
No.
End Plate LH OHC Center Pivot10085951
Head Box Beam Profile Besam SW200i OHC Side Load10085882
End Plate RH OHC Center Pivot10092773
M6x30 PFH Thread Forming Screw17017044
Screw M6x2093- 09-7231875
PEM Nut S-0420-2Z130-09-3106
Screw CR-FHMS 0.25-20x0.375x0.375-N40-09-2007
Transmission Unit10072918
Clamp and Bolt Assembly10096079
CU-200 Control Unit with Expansion Boards100834610
Connection Box Assy CPD Factory Wiring100750411
Bracket Kit OHC Junction Box100861412
Screw ISO 7045 (MRX) MRX-TT-Z M5x10 F ZB 8.872319613
Head Box Cover Profile Besam SW200i OHC Side Load100858914
Detachment Guard Cover100753115
Breakaway Device Assy100860016
15Issue 2013-02-101009937-EI-1.0
7 Part identification

7.2 End Cap Identification
Surface Applied
1009195 –LH
1009279 –RH
Offset Pivot
1008611 –LH
1009278 –RH
7.3 Bottom Load
DescriptionArt. No.Item
No.
Head Box Beam Profile Besam SW200i OHC Bottom Load10085921
Head Box Cover Profile Besam SW200i OHC Bottom Load10085932
End Plate OHC Bottom Load10086123
M6x30 PFH Thread Forming Screw17017044
Screw M6x2093- 09-7231875
Screw 1/4-20x1" PFH TRS52-09-0046
Breakaway Device Assy10086007
Connection Box Assy CPD Factory Wiring10075048
Screw ISO 7045 (MRX) MRX-TT-Z M5x10 FZB 8.87231969
CU-200 Control Unit with Expansion Boards100834610
Transmission Unit100729111
Clamp and Bolt Assembly100960312
1009937-EI-1.0Issue 2013-02-1016
7 Part identification

7.4 Component Mounting
Transmission Unit
Attach mounting brackets/hardware to transmission unit. Leave mounting bracket hardware loose.
Align square nuts into nut run on back of header and slide transmission unit to correct location.
With transmission unit in correct location, tighten mounting bracket hardware.
Controller
Remove (4) M4 X 8 SHCS and (4) oval nuts out of bag and attach to controller, orient oval nuts
horizontally.
Oval nuts should be orientated per below for tightening/locking controller. Insert controller with
hardware into nut run and tighten screws.
Note! For bottom load application, use M4 X 8 SHCS to mount controller directly to inside top of
header, no oval nuts required.
17Issue 2013-02-101009937-EI-1.0
7 Part identification

Junction Box
Locate junction box and junction box bracket kit. Remove junction box cover and locate M5 X 10
PHCS. Use screws provided to attach junction box to mounting plate.
Use oval nuts (see orientation above) and screws provided to mount junction box to header.
Note! For bottom load application, use M5 X 10 PHCS to mount junction box directly to top of
header, no mounting plate is required.
Panic Breakaway Device (Required on all OHC inswing door packages)
Use hardware provided to mount panic breakaway device. ‘EXT’and arrow should be pointing to
exterior of door package. Panic breakaway hook should be pressing against the exterior side of the
top rail. See electrical connection for panic breakaway device connection.
1009937-EI-1.0Issue 2013-02-1018
7 Part identification

Door Stop (Required on all OHC outswing door packages)
P/N: 1010090
Use hardware provided to mount door stop to header in order to stop doors at closed position.
19Issue 2013-02-101009937-EI-1.0
7 Part identification

8 Arm systems
8.1 OHC Arm Kit
Can be used on OHC, Bottom Load and Readyfold door packages.
P/N: 1009345
8.2 Offset Pivot Arm Kit / Pull Arm Kit
P/N: 1007251
1009937-EI-1.0Issue 2013-02-1020
8 Arm systems
Other manuals for SW200i
1
Table of contents
Other Besam Door Opening System manuals
Popular Door Opening System manuals by other brands

Assa Abloy
Assa Abloy G-CO-CS Mounting instructions

Automatic Technology
Automatic Technology Syncro ATS-3 Quick operation guide

Von Duprin
Von Duprin Chexit CX33A/35A installation instructions

GAL
GAL MOVFE 2500 MECHANICAL MANUAL

Stanley
Stanley M-Force Operation and maintenance manual

GEZE
GEZE GC 365 R manual