manuals.online logo
Brands
  1. Home
  2. •
  3. Brands
  4. •
  5. Beta
  6. •
  7. Motorcycle
  8. •
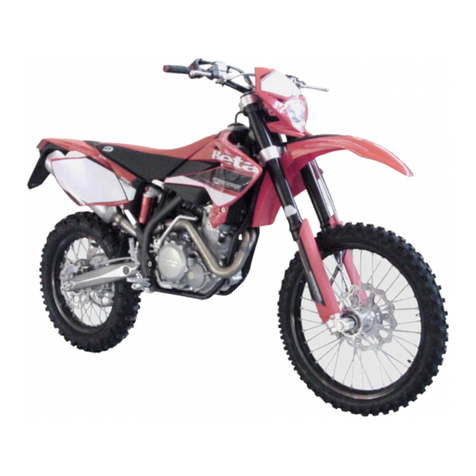
  9. Beta 400 RS 2014 User manual

Beta 400 RS 2014 User manual

This manual suits for next models

1

Other Beta Motorcycle manuals

Beta RR 390 User manual

Beta

Beta RR 390 User manual

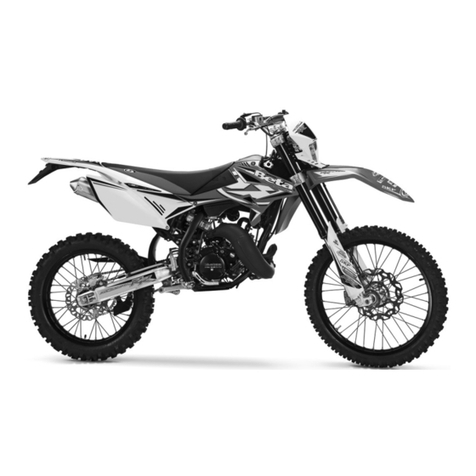
Beta REV 50 User manual

Beta

Beta REV 50 User manual

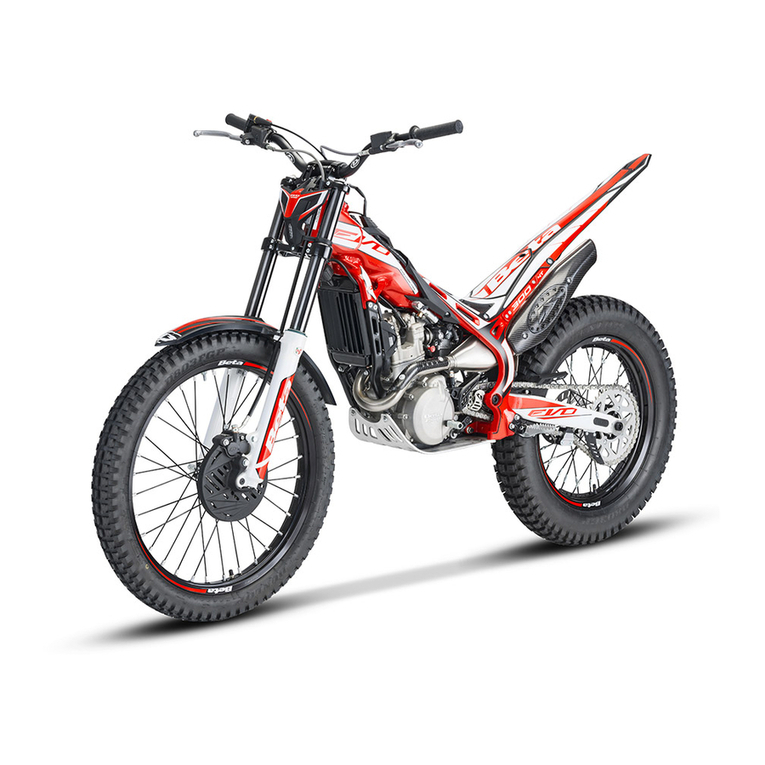
Beta EVO 4T 2011 User manual

Beta

Beta EVO 4T 2011 User manual

Beta 2009 Evo 2T 125 User manual

Beta

Beta 2009 Evo 2T 125 User manual

Beta REV 3 User manual

Beta

Beta REV 3 User manual

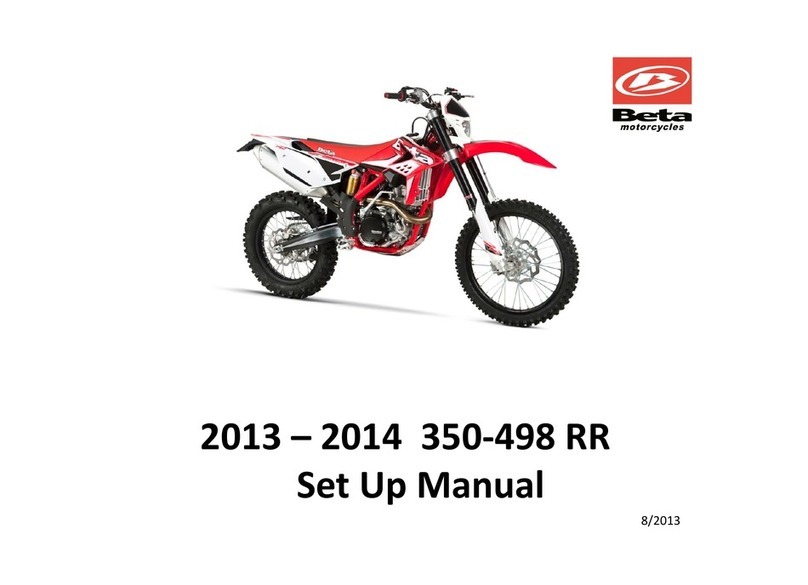
Beta 350-498 RR User guide

Beta

Beta 350-498 RR User guide

Beta RR 2T ENDURO 2014 250 Guide

Beta

Beta RR 2T ENDURO 2014 250 Guide

Beta RR 50 cc ENDURO User manual

Beta

Beta RR 50 cc ENDURO User manual

Beta RR 50 cc ENDURO User manual

Beta

Beta RR 50 cc ENDURO User manual

Beta RR 50 User manual

Beta

Beta RR 50 User manual

Beta REV 80 User manual

Beta

Beta REV 80 User manual

Beta Evo 2T 2011 User manual

Beta

Beta Evo 2T 2011 User manual

Beta MINITRIAL 50 User manual

Beta

Beta MINITRIAL 50 User manual

Beta Evo4t 300 User manual

Beta

Beta Evo4t 300 User manual

Beta ALP 200 User manual

Beta

Beta ALP 200 User manual

Beta Evo 80 Senior User manual

Beta

Beta Evo 80 Senior User manual

Beta Minicross R 10 User manual

Beta

Beta Minicross R 10 User manual

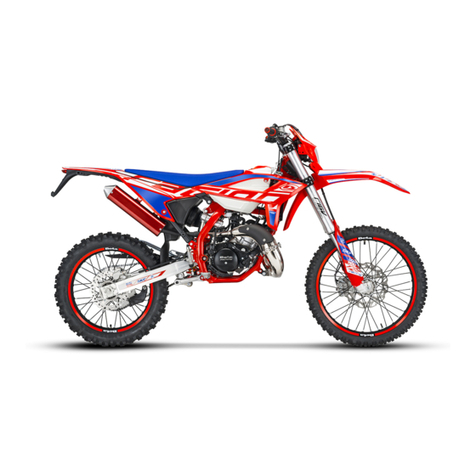
Beta EVO 4T User manual

Beta

Beta EVO 4T User manual

Beta RE 125 User manual

Beta

Beta RE 125 User manual

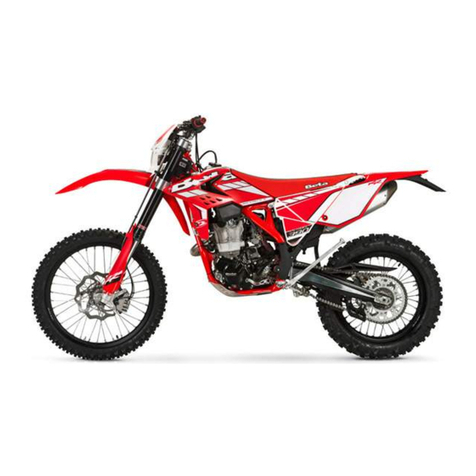
Beta RR 400 User manual

Beta

Beta RR 400 User manual

Beta Urban 125 User manual

Beta

Beta Urban 125 User manual

Beta RR4T USA 400 User manual

Beta

Beta RR4T USA 400 User manual
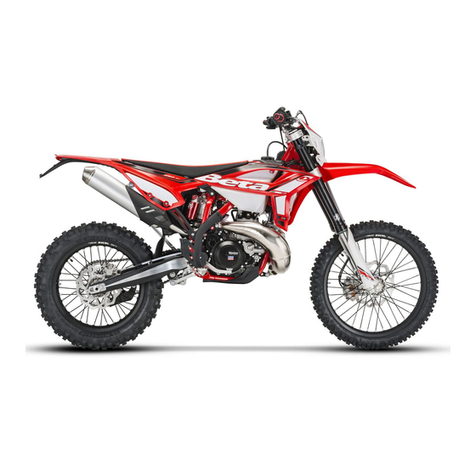
Beta Ark AC User manual

Beta

Beta Ark AC User manual

Beta ALP 200 User manual

Beta

Beta ALP 200 User manual

Popular Motorcycle manuals by other brands

MV Agusta Brutale 675 Workshop manual

MV Agusta

MV Agusta Brutale 675 Workshop manual

APRILIA RSV MILLE - PART 1 1999 User manual content

APRILIA

APRILIA RSV MILLE - PART 1 1999 User manual content

Royal Enfield Himalayan 2018 owner's manual

Royal Enfield

Royal Enfield Himalayan 2018 owner's manual

SSR Motorsports Lazer5 owner's manual

SSR Motorsports

SSR Motorsports Lazer5 owner's manual

MOTO GUZZI 2005 Griso 1100 Use and maintenance book

MOTO GUZZI

MOTO GUZZI 2005 Griso 1100 Use and maintenance book

KTM 85 SX 19/16 owner's manual

KTM

KTM 85 SX 19/16 owner's manual

Beta Motorcycles XTRAINER 250 2T EUROPA 2022 manual

Beta Motorcycles

Beta Motorcycles XTRAINER 250 2T EUROPA 2022 manual

OHVALE GP-0 Use & maintenance

OHVALE

OHVALE GP-0 Use & maintenance

Yamaha Star XV19CTSZ 2009 owner's manual

Yamaha

Yamaha Star XV19CTSZ 2009 owner's manual

KTM 350 XCF-W USA owner's manual

KTM

KTM 350 XCF-W USA owner's manual

HYOSUNG ST7 owner's manual

HYOSUNG

HYOSUNG ST7 owner's manual

Husqvarna FC 250 2016 owner's manual

Husqvarna

Husqvarna FC 250 2016 owner's manual

Yamaha TDR125 owner's manual

Yamaha

Yamaha TDR125 owner's manual

APRILIA ETV MILLE CAPONORD - PART1 02-2001 manual

APRILIA

APRILIA ETV MILLE CAPONORD - PART1 02-2001 manual

KTM Freeride E-XC 2021 owner's manual

KTM

KTM Freeride E-XC 2021 owner's manual

Fantic Enduro 125 user manual

Fantic

Fantic Enduro 125 user manual

Ducati Supersport 750 desmodue owner's manual

Ducati

Ducati Supersport 750 desmodue owner's manual

MV Agusta 2008 F4 312RR 1078 Workshop manual

MV Agusta

MV Agusta 2008 F4 312RR 1078 Workshop manual

manuals.online logo
manuals.online logoBrands
  • About & Mission
  • Contact us
  • Privacy Policy
  • Terms and Conditions

Copyright 2025 Manuals.Online. All Rights Reserved.

2014 400-520 RS
Set Up Manual
12/2013
1) Remove cardboard from
crate. Remove bag with bolts
and upper handle bar clamp
taped to the protective
covering over the seat.
Remove all items from bottom
of crate
2) Remove wood support from
lower bar mount and discard wood
while keeping the two bolts for the
top handlebar mount.
Torque lower handlebar clamps to
40 nm. Install handlebars and
torque top handlebar mounts to 25
nm.
3) Install voyager GPS unit using the
two 6mm bolts that are already
threaded into the top triple clamp.
Install the switch wires to their
corresponding plugs.
4) Remove additional items from the
box supplied. Item list is as follows:
-Headlight assembly
-Skid plate
-Frame guards
-Tool kit
-Battery Strap
-Mirrors
-Clutch/brake mounts (used w/o
mirrors)
-Rear extended fender
-Turn Signals
-Rear license plate light
-License plate holder with reflectors
-Turn signal flasher
-Voyager thumb drive
-Voyager GPS manual (CD)
-Owners manual (CD)
-Tool Kit
5) Install the rear turn signals on the
rear fender extender using the 6mm
bolts with the 6mm flange nuts. Also
install the license plate light using
the small self-tapping screw. There
are two different turn signals
provided. Two are designed for the
RH side and two are for the left side.
This is determined by the small drain
hole at the bottom of the lens which
will always point down. (see picture)
6) Remove the “mid” rear fender
and install the turn signal and
license plate light wires through
the hole and attach to the
appropriate wires. Note, On the
rear turn signals, the wire colors
do not match therefore you will
plug the purple to green and the
other will be green to purple. Re
install the mid and lower fender
making sure the wires are tucked
in so that none of the screws will
go through any wires.
7) This is what the assembled
assembly will look like.
8) Install the front turn signals
onto the headlight mask, again
making sure the drain holes on
the signals are pointed down. On
the front, plug the wires into
their matching colors. Green to
green and purple to purple.
9) Install the headlight mask bottom
by inserting the lower tab into slot
located in the front fender brace.
11) Finish by securing the rubber
straps located on the sides of the
mask to the upper fork legs. Turn
the handlebars making sure that all
wires are free of any obstructions.
10) Press the front brake line and
speedometer wire through the slot
on the guide located on the left
side of headlight mask.
12) Locate the skid
plate and install the
four foam buffers as
shown.
13) Install the skid
plate clips to the tabs
on the lower front frame
rails. Use the two 6mm
bolts to secure the front
of the skid plate.
14) Using the threaded
hole at the lower rear
of the frame, secure the
rear of the skid plate using
the remaining 6mm bolt.
15) Install the right and left frame
guards with zipties and the one bolt
into the swingarm pivot. Make sure
there is one ziptie tied around the
rear brake master cylinder also.
16) Remove the air filter and
while wearing a glove, use your
finger to apply a bead of grease
around the inside edge of the air
filter. This will help keep debris
from passing through. Re-install
the filter making sure all corners
are firmly in place.
17) Install both mirrors. All RS
models are provided with extra
clutch and brake mounts without
mirror mounts if your customer
wishes to use his or her RS for off
road use.
19) Remove the foil seal from
the top of the battery, line up
the cells on the container with
the holes on the top of the
battery. Push down to puncture
the foil covers . This will allow
the electrolyte to drain into the
Battery.
20) Firmly push solution cover
on so it sits flush with top of
Battery. Let Battery sit for 1
hour before charging.
21) Charge the Battery at 1 or 2
Amps for 6 to 8 hours.
Install battery and fill the
motorcycle with oil.
23) Congratulations! You have just set up
a new Beta!
Follow the checklist on the customer’s
warranty registration card for a complete
pre-delivery inspection before delivery.
22) After the battery has been
installed, check to make sure all
of the lights and other
electronics function properly.
18) Intstall the small rubber
pad to the front of the Voyager
GPS unit. This will protect it
from the headlight mask.