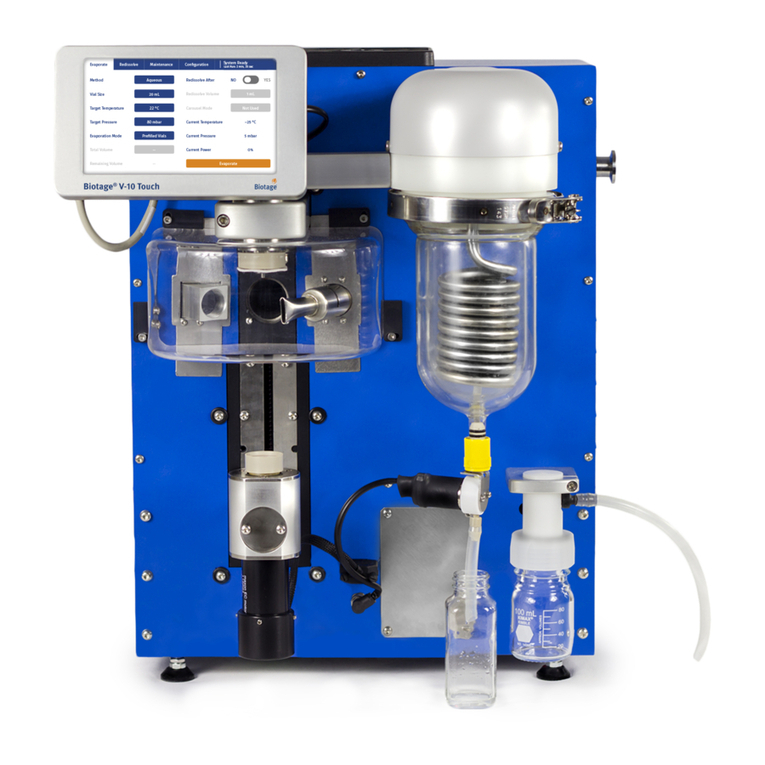
Biotage®V-10 Touch Installation and Safety | © Biotage 2019
Installation
Move the System
Warning
»
Before moving the system, please read and observe the safety
requirements in “Safety Requirements” on page 6.
If you need to move the system within the laboratory or between
laboratories in the same building, follow the instructions below.
If you need to ship the system, please contact Biotage®1-Point
Support™for instructions.
Note: If the mains voltage is not the same at the new location,
contact Biotage 1-Point Support.
1. Prepare the new site according to the site requirements on
page 1.
2. If necessary, defrost the system. See instructions in the
“Maintenance” chapter of the user manual (P/N 414662).
3. If the system is equipped with a built-in sample pump, clean
the tubing and empty the system of all liquid by priming it
with air:
a. Clean the tubing as described in the “Maintenance”
chapter of the user manual (P/N 414662).
b. Remove the system solvent bottle and insert the solvent
inlet tube into a clean, empty bottle.
c. If using a system without a liquid handler:
i. Place the sample inlet tube in a clean and empty
waste container.
ii. Select Maintenance from the menu bar on the touch
screen.
iii. Press Prime.
iv. Press the Prime Volume field and enter 45 mL.
v. Press Prime and then Tube and Waste Container in
Position to start the prime operation.
d. If using a system with a liquid handler:
i. In the Controller application, select Settings... from
the File menu. The Settings dialog opens.
ii. Set the Needle Drain Volume to 40 mL and the Needle
Wash Volume to 5 mL.
iii. Click .
e. When the prime operation is completed, remove and
empty the waste container.
4. Turn off (O) the system. The mains switch is located on the
left side of the system; see A in Figure 2.
5. Unplug the power cord from the power outlet.
6. If an external vacuum pump, a liquid handler and/or an
external computer is/are connected to the system, turn
it/them off and disconnect it/them from the system.
7. Clean the touch screen with a soft and clean cloth. The cloth
can be lightly dampened with isopropanol or ethanol.
8. Clean the exterior of the system with a soft and clean cloth.
The cloth can be lightly dampened with ethanol or similar.
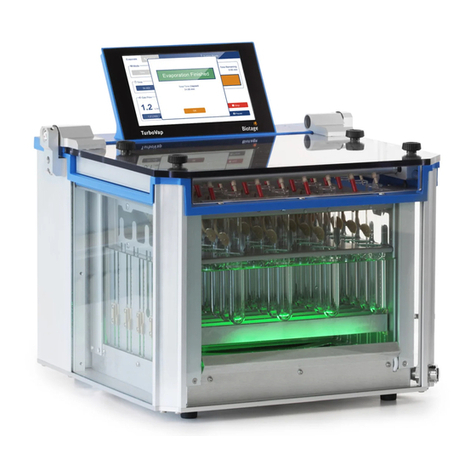
9. The system weighs 50 kg (110 lbs). Carefully lift the system
and place it on a trolley that can support the weight of the
system. A minimum of two persons are required when lifting
the system. Note that the system is front heavy. Lift slowly.
Note: When the system is equipped with a carousel, do not
lift holding the carousel unit.
10. Move the equipment to the new location.
11. Carefully lift the system (see step 9) and place it in a
well-ventilated fume hood or on a bench. Place the system
so that the mains switch is easy to access.
Note: The ventilation panels on the top and back are necessary
to ensure adequate cooling of the system and must not be
blocked. Leave a minimum distance of 100 mm (4 inches)
between the rear of the system and any solid objects.
12. Ensure that a flexible, solvent resistant tube with an inner
diameter of 6 mm (¼ inch) is connected to the condenser
drain connector (see A in Figure 3), and inserted into a
collection vessel of a suitable size. Ensure that the tube
cannot become immersed in the waste liquid.
13. If applicable, ensure that a flexible, solvent resistant tube
with an inner diameter of 6 mm (¼ inch) is connected to the
pump exhaust connector (see B in Figure 3) and directed
into a proper ventilation system.
14. If the system is equipped with a built-in sample pump,
ensure that all connections are properly connected and
tightened. See “Fluid Connections (Optional)” on page 4.
15. If using an external vacuum pump, connect it to the system
using a KF-16 vacuum flange (see Figure 4) and ensure that
the fumes are directed into a proper ventilation system.
16. If applicable, connect a liquid handler to the serial port
(see G in Figure 2) and/or an external computer running V-
Touch Control Centre to the Ethernet port (see D in Figure 2).
17. Connect the system to a properly grounded (earthed) power
outlet with the correct mains voltage and frequency.
18. Ensure that the power cord and any cables, hoses, and
tubing connected to the system cannot come in contact with
chemicals. Corrosives and solvents can degrade the cord/
cable insulation and dissolve the hoses and tubing. There is
a risk of electric shock, fire, and/or equipment damage.
19. Wait one hour for the cooling media to stabilize before
turning on (I) the system.
20. If the system is equipped with a carousel, the Alert –
Initializing Carousel dialog opens. Keep your hands away
from the carousel and press Initialize Carousel.
21. When the Confirm Collection Vessel dialog is displayed,
confirm that you have performed step 12 above and start
the drain operation and condenser start-up by pressing
Tube and Vessel in Position.


