manuals.online logo
Brands
  1. Home
  2. •
  3. Brands
  4. •
  5. Biotage
  6. •
  7. Laboratory Equipment
  8. •
  9. Biotage Lysera User manual

Biotage Lysera User manual

en
fr
en Unpacking Instructions
fr Instructions de déballage
it Istruzioni per il disimballaggio
es Instrucciones de desempaquetado
de Auspackhinweise
4.
1. 2.
5.
3.
6.Slide the Biotage® Lysera away from the knob screw
holes.
Using a screwdriver or power drill, remove the 16 screws
around the bottom edge of the crate.
Li the lid from the crate.
Li the unit up and o of the crate bottom.
DO NOT LIFT THE UNIT BY HOLDING THE LID.
Unscrew the two external knob screws from the back of the
unit to release from the support plate.
WARNING - DO NOT REINSTALL KNOB SCREWS
NOTE: Do not discard the crate & packaging foam.
This packaging must be used in the event the Biotage® Lysera needs to be returned for any reason.
SHIPPING THE BIOTAGE® LYSERA IN ANY OTHER PACKAGING WILLVOID ALL WARRANTIES.
WARNING: Remove the warning label andmake sure the
voltage is set correctly for your location before connecting
the power cord. If correctvoltage isnot displayed, use a
small screwdriver to slide the red switch up or down to
select the correct power supply. Select “15” for 110-120V or
“30” for 225-240V power supplies.
4.
1. 2.
5.
3.
6.Faites glisser le Biotage®Lysera en l’éloignant des trous
des boutons de réglage à vis
Retirez les 16 vis autour du bord inférieur de la caisse
à l’aide d’un tournevis ou d’une perceuse électrique.
Soulevez le couvercle de la caisse
Soulevez l’appareil du bas de la caisse.
NE PAS SOULEVER L’APPAREIL EN TENANT
LE COUVERCLE.
Dévissez les deux boutons de réglage à vis externes du dos
de l’appareil an de dégager la plaque de support.
AVERTISSEMENT - NE PAS REINSTALLER LES VIS DE BOUTON
REMARQUE : ne pas jeter la caisse et la mousse d’emballage.
Cet emballage doit être utilisé au cas où l’Bead Mill devrait être retourné à pour une raison ou une autre.
L’EXPÉDITION DU BEAD MILL DANS TOUT AUTRE EMBALLAGE ANNULERA TOUTES LES GARANTIES.
AVERTISSEMENT : Retirez l’étiquette d’avertissement
et assurez-vous que la tension est correctement
réglée pour votre emplacement avant de brancher le
cordon d’alimentation. Si la tension correcte n’est pas
achée, utilisez un petit tournevis pour faire coulisser
le commutateur rouge vers le haut ou vers le bas pour
sélectionner l’alimentation correcte. Sélectionnez “15”
pour 110-120V ou “30” pour les alimentations 225-240V.
NORTH AMERICA
Main Office: +   
Toll Free: +   
Fax: +   
Order Tel: +   
Order Fax: +   
ordermailb[email protected]
Support Tel: +   
Outside US: +   
us--pointsupport@biotage.com
Part Number: UI368.V.1.
© 2017 Biotage. All rights reserved. No material may be reproduced or published without the writ ten permission of Biot age.
Information in this document is subject to change without notice and does not repres ent any commitment from Biotage. E&OE.
A list of all trad emarks owne d by Biot age AB is available at www.biotage.co m/legal. Other produc t and company names mentioned
herein may be tr ademarks or registered tr ademarks and/or service marks of their respec tive owners, and are used only for
explanation and to the owner s’ benefit, without intent to infringe.
Biotage®Lysera
EUROPE
Main Office: +  
Toll Free: +  
Fax: +  
Order Tel: +  
Order Fax: +  
[email protected]
Support Tel: +    
Support Fax: +     
eu--pointsupport@biotage.com
CHINA
Tel: +  
Fax: +  
[email protected]
cn--pointsuppor[email protected]
it de
es
4. 4.
1. 1.2. 2.
5. 5.
3. 3.
6. 6.Allontanare il Bead Mill dai fori delle manopole. Schieben Sie den Biotage®Lysera von den Bohrungen
der Knaufschrauben weg.
Utilizzando un cacciavite o un avvitatore elettrico,
rimuovere le 16 viti che circondano il bordo inferiore
della cassa
Entfernen Sie mit einem Schraubendreher oder einer
Bohrmaschine die 16 Schrauben um die Unterkante der Kiste
Rimuovere il coperchio della cassa. Heben Sie den Deckel von der Kiste ab
Sollevare l’unità ed estrarla dal fondo della cassa.
NON SOLLEVARE L’UNITÀ INSIEME AL COPERCHIO.
Heben Sie das Gerät an und weg vom Kistenboden.
DAS GERÄT NICHT AM DECKEL ANHEBEN.
Svitare le due manopole esterne sul retro dell’unità
per liberarla dalla piastra di supporto
ATTENZIONE- NON REINSTALLARE VITI MANOPOLA
Lösen Sie die beiden Außenknaufschrauben an der
Rückseite des Geräts zur Freigabe der Trägerplatte.
WARNUNG - KNOPFSCHRAUBEN NICHT REINSTALLIEREN
NOTA: non gettare la cassa e il materiale di imballaggio.
Questo imballaggio deve essere utilizzato nel caso in cui Bead Mill debba essere restituito per un qualsiasi motivo.
LA SPEDIZIONE DI BEAD MILL IN QUALSIASI ALTRO IMBALLAGGIO ANNULLERÀ TUTTE LE GARANZIE.
HINWEIS: Entsorgen Sie Kiste und Verpackungsschaum nicht.
Diese Verpackung muss verwendet werden, wenn der Bead Mill aus irgendeinem Grund zurückgegeben werden muss.
DER VERSAND DES BEAD MILL IN JEGLICHER ANDEREN VERPACKUNG MACHT JEGLICHE GEWÄHRLEISTUNG UNGÜLTIG.
AVVERTENZA: Rimuovere l’etichetta di avviso e assicurarsi
che la tensione sia impostata correttamente per la propria
posizione prima di collegare il cavo di alimentazione.Se
la tensione corretta non viene visualizzata, utilizzare un
piccolo cacciavite per far scorrere l’interruttore rosso verso
l’alto o verso il basso per selezionare l’alimentazione
corretta. Selezionare “15” per 110-120 V o “30” per
alimentatori da 225-240V.
WARNUNG: Entfernen Sie das Warnschild und vergewissern
Sie sich, dass die Spannung für Ihren Standort korrekt
eingestellt ist, bevor Sie das Netzkabel anschließen. Wenn
die korrekte Spannung nichtangezeigt wird, schieben Sie
den roten Schalter mit einem kleinen Schraubendreher
nach oben oder unten, um die richtigeStromversorgung
auszuwählen. Wählen Sie “15” für 110-120V oder “30” für
225-240V-Netzteile.
4.
1. 2.
5.
3.
6.Deslice el Biotage® Lysera separándolo de los
oricios de los tornillos de perilla.
Quite los 16 tornillos alrededor del borde inferior de
la caja utilizando un destornillador o un taladro
Levante la tapa de la caja.
Levante la unidad sacándola de la parte inferior
de la caja. NO LEVANTE LA UNIDAD SOSTENIENDO
LA TAPA.
Desatornille los dos tornillos de perilla externos de la parte
posterior de la unidad para liberarla de la placa de apoyo.
ADVERTENCIA - NO REINSTALE LOS TORNILLOS DE LA PERILLA
NOTA: No deseche la caja y la espuma de empaquetado.
Este empaquetado debe utilizarse en caso de que el Bead Mill deba ser devuelto por cualquier motivo.
ENVIAR EL BEAD MILL EN CUALQUIER OTRO EMPAQUETADO ANULARÁTODAS LAS GARANTÍAS.
ADVERTENCIA: Retire la etiqueta de advertencia
y asegúrese de que el voltaje esté congurado
correctamente para su ubicación antes de conectar el
cable de alimentación. Si no se muestra el voltaje correcto,
use un destornillador pequeño para deslizar el interruptor
rojo hacia arriba o hacia abajo para seleccionar la fuente
de alimentación correcta. Seleccione “15” para 110-120V o
“30” para fuentes de alimentación de 225-240V.
Other manuals for Lysera

2

Other Biotage Laboratory Equipment manuals

Biotage Extrahera LV-200 User manual

Biotage

Biotage Extrahera LV-200 User manual

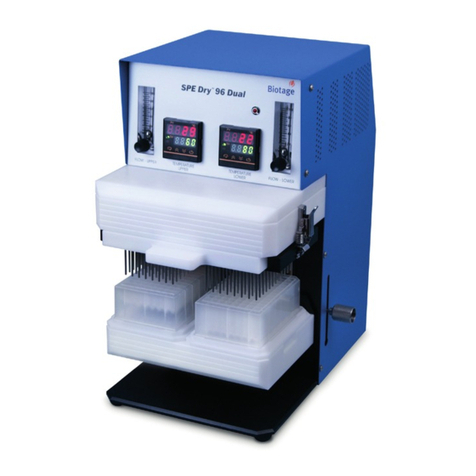
Biotage SPE Dry 96 User manual

Biotage

Biotage SPE Dry 96 User manual

Biotage PRESSURE+ 96 User manual

Biotage

Biotage PRESSURE+ 96 User manual

Biotage Lysera User manual

Biotage

Biotage Lysera User manual

Biotage Extrahera LV-200 User manual

Biotage

Biotage Extrahera LV-200 User manual

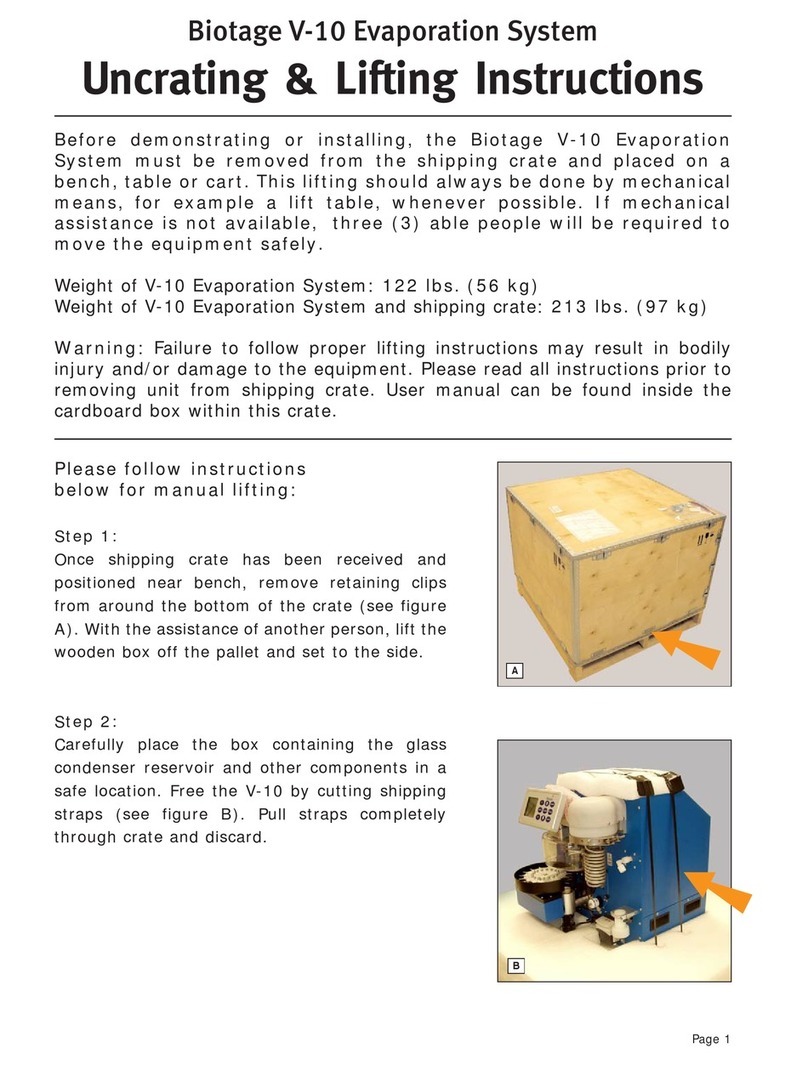
Biotage V-10 Touch User guide

Biotage

Biotage V-10 Touch User guide

Biotage Lysera User manual

Biotage

Biotage Lysera User manual

Biotage V-10 Touch User manual

Biotage

Biotage V-10 Touch User manual

Biotage Selekt Enkel User manual

Biotage

Biotage Selekt Enkel User manual

Biotage Selekt User manual

Biotage

Biotage Selekt User manual

Biotage ELSD-A120 User manual

Biotage

Biotage ELSD-A120 User manual

Biotage PRESSURE+ 96 User manual

Biotage

Biotage PRESSURE+ 96 User manual

Biotage TurboVap LV User manual

Biotage

Biotage TurboVap LV User manual

Biotage V-10 Touch User manual

Biotage

Biotage V-10 Touch User manual

Biotage Selekt Guide

Biotage

Biotage Selekt Guide

Biotage TurboVap P+ User manual

Biotage

Biotage TurboVap P+ User manual

Biotage TurboVap 96 Dual User manual

Biotage

Biotage TurboVap 96 Dual User manual

Biotage VacMaster Disk User manual

Biotage

Biotage VacMaster Disk User manual

Biotage TurboVap 96 Dual User manual

Biotage

Biotage TurboVap 96 Dual User manual

Biotage PRESSURE+ 48 User manual

Biotage

Biotage PRESSURE+ 48 User manual

Biotage Turbo Vap II User manual

Biotage

Biotage Turbo Vap II User manual

Biotage Turbo Vap II User manual

Biotage

Biotage Turbo Vap II User manual

Biotage VacMaster 20 User manual

Biotage

Biotage VacMaster 20 User manual

Biotage VacMaster 10 User manual

Biotage

Biotage VacMaster 10 User manual

Popular Laboratory Equipment manuals by other brands

Radleys Carousel 6 Plus instructions

Radleys

Radleys Carousel 6 Plus instructions

Hemotherm 400MR Operation & technical manual

Hemotherm

Hemotherm 400MR Operation & technical manual

mrclab DVO Series Operation manual

mrclab

mrclab DVO Series Operation manual

CoolLED pE-800 quick start guide

CoolLED

CoolLED pE-800 quick start guide

Luminex Guava easyCyte Maintenance Guide

Luminex

Luminex Guava easyCyte Maintenance Guide

IKA A10 basic operating instructions

IKA

IKA A10 basic operating instructions

Belden HIRSCHMANN RPI-P1-4PoE installation manual

Belden

Belden HIRSCHMANN RPI-P1-4PoE installation manual

Koehler K1223 Series Operation and instruction manual

Koehler

Koehler K1223 Series Operation and instruction manual

Globe Scientific GCM-12 quick start guide

Globe Scientific

Globe Scientific GCM-12 quick start guide

Getinge 86 SERIES Technical manual

Getinge

Getinge 86 SERIES Technical manual

CORNING Everon 6000 user manual

CORNING

CORNING Everon 6000 user manual

Biocomp GRADIENT MASTER 108 operating manual

Biocomp

Biocomp GRADIENT MASTER 108 operating manual

Cole Parmer Stuart SB3/1 instruction manual

Cole Parmer

Cole Parmer Stuart SB3/1 instruction manual

BEVS 2501/2A user manual

BEVS

BEVS 2501/2A user manual

Qiagen DML 3000 user manual

Qiagen

Qiagen DML 3000 user manual

Queensgate NANOSCAN OP400 Quick start instructions

Queensgate

Queensgate NANOSCAN OP400 Quick start instructions

Parr Instrument 4560 Operating instructions manual

Parr Instrument

Parr Instrument 4560 Operating instructions manual

Integra DOSE IT operating instructions

Integra

Integra DOSE IT operating instructions

manuals.online logo
manuals.online logoBrands
  • About & Mission
  • Contact us
  • Privacy Policy
  • Terms and Conditions

Copyright 2025 Manuals.Online. All Rights Reserved.