manuals.online logo
Brands
  1. Home
  2. •
  3. Brands
  4. •
  5. Birlea
  6. •
  7. Indoor Furnishing
  8. •
  9. Birlea CORONA 3+2 User manual

Birlea CORONA 3+2 User manual

Vendor: S000242
Page 1 of 9
ASSEMBLY INSTRUCTIONS
CORONA 3+2 DRAWER CHEST
IMPORTANT: READ THESE INSTRUCTIONS CAREFULLY BEFORE ATTEMPTING TO ASSEMBLE OR
USE YOUR CORONA 3+2 DRAWER CHEST
PLEASE KEEP THESE INSTRUCTIONS FOR FUTURE REFERENCE
ASSEMBLY INSTRUCTIONS:
Please check contents and read instructions carefully before commencing assembly
To avoid damages assemble the item on a soft, clean surface
HEALTH & SAFETY:
DO NOT use this chest if any parts are missing, damaged or worn
DO NOT use this chest unless all fixings are secured
Always use on a level, even surface
t is recommended that two people handle and assemble the item
CARE & MAINTENANCE: To enjo our furniture for man ears please follow our recommendations
below:
This product is manufactured in pine which is a wood with natural characteristics including knots, grains,
clusters or indentations
On unpacking the item you may notice an odour due to the production process. However, this will disappear
after a period of time.
Do not place the item next to a radiator or direct sunlight – this item is manufactured in pine but is susceptible
to temperature change. t is recommended an even room temperature be maintained with no sudden
fluctuations.
Do not place hot or cold items directly onto the surface of the item – always use a placemat or marking will
occur
For general cleaning use a duster or damp cloth (almost dry) not wet – do not use soap and water, detergents,
aerosol sprays or any polish. The use of these materials would invalidate any claims.
You may wish to retreat the surface to maintain the original finish – this can be done using block wax (un-
perfumed). Please follow the manufacturer’s instructions carefully
Do not place the item onto wet or damp flooring as staining may occur to the floor
Periodically check all screws & fixings to ensure they are secure
DO NOT push the chest as this will damage the base
Keep any sharp objects away from the chest
www.birlea.com
Vendor: S000242
Page 2 of 9
Vendor: S000242
Page 3 of 9
Parts List Hardware List
Part Description Qt Part Description Qt
1 Top Panel 1 A 3.5 x 35 mm Screw 64
2 Left Panel 1 B 8 x 25 mm Wooden Dowel 44
3 Right Panel 1 C
Handle
8
4 Lower Back Crossbeam 1 D
3/16 x 5/8 Screw & Washer
8
5 Lower Front Crossbeam 1 E 10 x 10 mm Tack 28
6 Centre Drawer Runner 1 F
Stud
6
7 Side Plinth 2 G 3.5 x 35 mm Screw 44
8 Back Panel 2 H 8 x 40 mm Wooden Dowel
24
9 Front Plinth 1 ** You will need a small mallet and a screwdriver
10 Side Drawer Runner 8
11 Small Drawer Front 2
12 Drawer Side 8
13 Small Drawer Base 2
14 Small Drawer Back 2
15 Medium Drawer Front 2
16 Medium Drawer Back 2
17 Drawer Base 3
18 Large Drawer Back 1
19 Large Drawer Front 1
20 Large Drawer Side 2
21 Left Front Frame 1
22 Right Front Frame 1
23 Lower Front Crossbeam 2
24 Upper Front Crossbeam 2
25 Front Frame Divider 1
26 Back Frame Divider 1
27 Spine 1
Step 1: Prepare the parts for assembly using hardware parts B and H with a small mallet (not provided)
DO NOT use an power tools as this ma damage the frame and will invalidate an claim
Vendor: S000242
Page 4 of 9
Step 2: Attach the lower three sets of side drawer runners (10) to the left panel (2) and right panel (3), then
attach the left front frame (21) and right front frame (22) using hardware part A and a screwdriver (not
provided)
DO NOT use an power tools as this ma damage the frame and will invalidate an claim
Step 3: Using hardware part A and a screwdriver (not provided), attach the upper front crossbeams (24) to
the front frame divider (25), then attach the back frame divider (26) to the centre drawer runner (6).
DO NOT use an power tools as this ma damage the frame and will invalidate an claim
Step 4: Join together the left front frame (21), right front frame (22), upper front crossbeams (24), lower front
cross beams (23) and lowest front crossbeam (5) using hardware part A and a screwdriver not provided)
DO NOT use an power tools as this ma damage the frame and will invalidate an claim
Vendor: S000242
Page 5 of 9
Step 5: Attach the left panel (2) and right panel (3) to the lower back crossbeam (4) using hardware part A
and a screwdriver (not provided)
DO NOT use an power tools as this ma damage the frame and will invalidate an claim
Step 6: Join together the two assembled sections using hardware part A and a screwdriver (not provided)
DO NOT use an power tools as this ma damage the frame and will invalidate an claim
Step 7: Attach the side plinths (7) using hardware part A and a screwdriver (not provided)
DO NOT use an power tools as this ma damage the frame and will invalidate an claim
Vendor: S000242
Page 6 of 9
Step 8: Attach the front plinth (9) using hardware part A and a screwdriver (not provided)
DO NOT use an power tools as this ma damage the frame and will invalidate an claim
Step 9: Attach the top panel (1) using hardware part A and a screwdriver (not provided)
DO NOT use an power tools as this ma damage the frame and will invalidate an claim
Step 10: Attach the top two side drawer runners (10) using hardware part A and a screwdriver (not provided)
DO NOT use an power tools as this ma damage the frame and will invalidate an claim
Vendor: S000242
Page 7 of 9
Step 11: Attach the centre drawer runner (6) using hardware part A and a screwdriver (not provided)
DO NOT use an power tools as this ma damage the frame and will invalidate an claim
Step 12: Join the back panels (8) together with the spine (27) and secure using hardware part E and a small
mallet (not provided)
DO NOT use an power tools as this ma damage the frame and will invalidate an claim
Step 13: Assemble the large drawer components using hardware parts C, D and G with a screwdriver (not
provided)
DO NOT use an power tools as this ma damage the frame and will invalidate an claim
Vendor: S000242
Page 8 of 9
Step 14: Assemble the small drawer components using hardware parts C, D and G with a screwdriver (not
provided)
DO NOT use an power tools as this ma damage the frame and will invalidate an claim
Step 15: Assemble the medium drawer components using hardware parts C, D and G with a screwdriver (not
provided)
DO NOT use an power tools as this ma damage the frame and will invalidate an claim
Vendor: S000242
Page 9 of 9
Step 16: Fix the drawers into position using hardware part B, then insert hardware part F
DO NOT use an power tools as this ma damage the frame and will invalidate an claim
For complete product information, images and dimension diagrams please
visit www.birlea.com

Other Birlea Indoor Furnishing manuals

Birlea Faro Bed User manual

Birlea

Birlea Faro Bed User manual

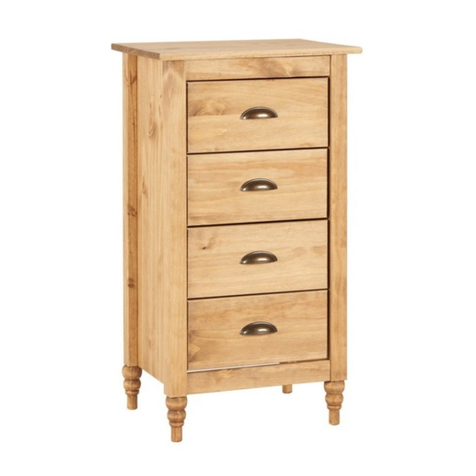
Birlea PEMBROKE 4 DRAWER NARROW CHEST PINE User manual

Birlea

Birlea PEMBROKE 4 DRAWER NARROW CHEST PINE User manual

Birlea HOUSTON User manual

Birlea

Birlea HOUSTON User manual
Birlea CONRAD User manual

Birlea

Birlea CONRAD User manual
Birlea MONTANA User manual

Birlea

Birlea MONTANA User manual

Birlea DIS-DAVHCGCH User manual

Birlea

Birlea DIS-DAVHCGCH User manual

Birlea ATLAS 4' User manual

Birlea

Birlea ATLAS 4' User manual
Birlea Stratus 4' Bed 5056206616519 User manual

Birlea

Birlea Stratus 4' Bed 5056206616519 User manual

Birlea RICHMOND 6 DRAWER CHEST User manual

Birlea

Birlea RICHMOND 6 DRAWER CHEST User manual

Birlea FARRINGDON 5 4 POSTER BED User manual
Birlea

Birlea FARRINGDON 5 4 POSTER BED User manual

Birlea Corfu Bunk Bed User manual

Birlea

Birlea Corfu Bunk Bed User manual

Birlea CRUZ 3 DOOR WARDROBE User manual

Birlea

Birlea CRUZ 3 DOOR WARDROBE User manual

Birlea CANTERBURY 4' User manual

Birlea

Birlea CANTERBURY 4' User manual

Birlea STRATUS OTTOMAN BED User manual
Birlea

Birlea STRATUS OTTOMAN BED User manual

Birlea EDG2SBBLK User manual

Birlea

Birlea EDG2SBBLK User manual

Birlea FAIRMONT User manual

Birlea

Birlea FAIRMONT User manual

Birlea CORFU User manual

Birlea

Birlea CORFU User manual

Birlea PORTO 4 BED User manual

Birlea

Birlea PORTO 4 BED User manual
Birlea BERLIN 4’6 BED User manual

Birlea

Birlea BERLIN 4’6 BED User manual
Birlea CONRAD 4 DRAWER NARROW CHEST SILVER OAK User manual

Birlea

Birlea CONRAD 4 DRAWER NARROW CHEST SILVER OAK User manual

Birlea OPUS 3 DRAWER STORAGE CABINET User manual

Birlea

Birlea OPUS 3 DRAWER STORAGE CABINET User manual

Birlea Corona 2 Drawer With Shelf Console Table User manual

Birlea

Birlea Corona 2 Drawer With Shelf Console Table User manual

Birlea CORO2D1DPIN User manual

Birlea

Birlea CORO2D1DPIN User manual

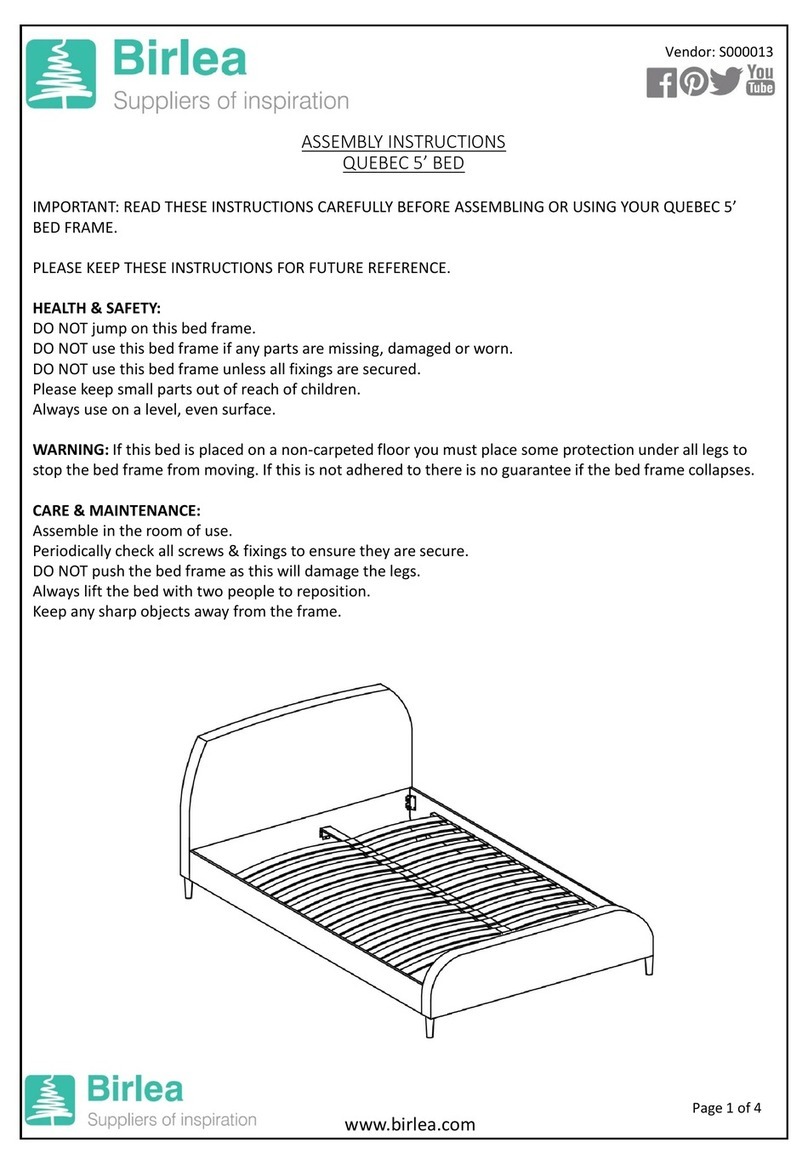
Birlea S000013 User manual

Birlea

Birlea S000013 User manual

Popular Indoor Furnishing manuals by other brands
Donco kids BOOKCASE SMALL THE FRONT 0318 Assembly instructions
Donco kids

Donco kids BOOKCASE SMALL THE FRONT 0318 Assembly instructions

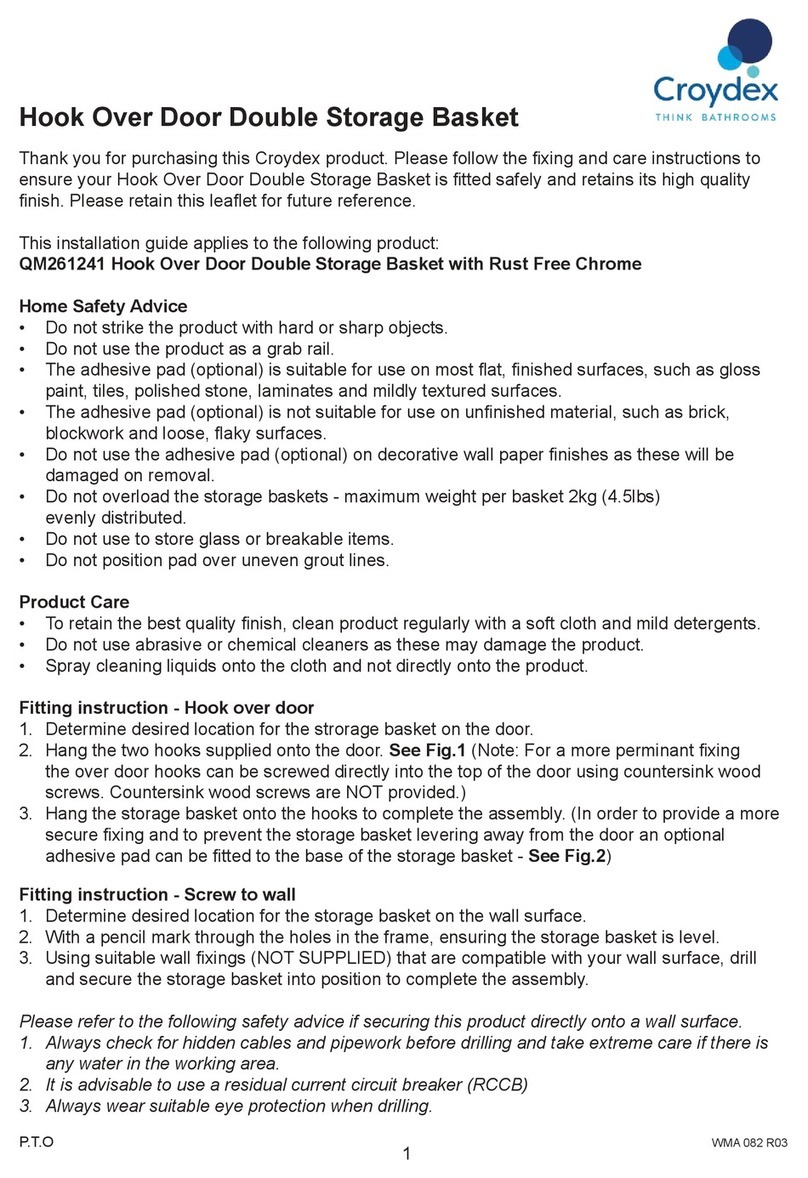
Croydex QM261241 installation guide

Croydex

Croydex QM261241 installation guide
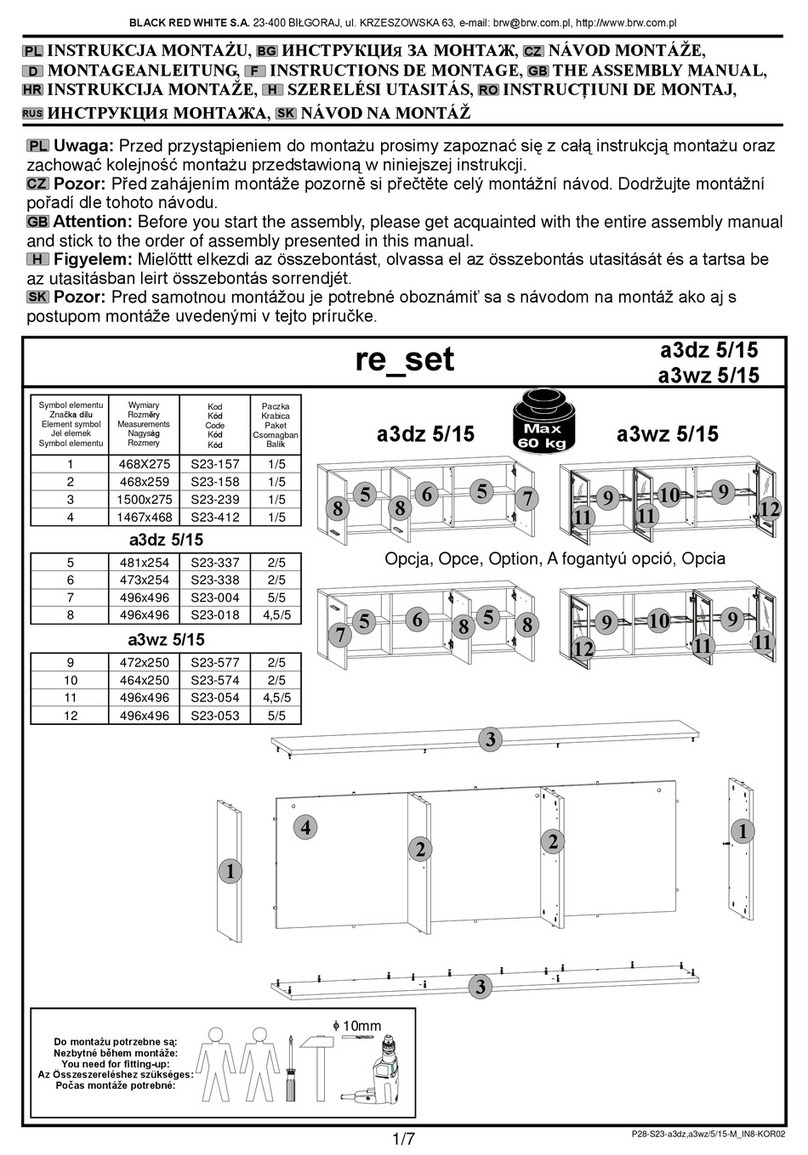
BLACK RED WHITE re set a3dz Assembly manual
BLACK RED WHITE

BLACK RED WHITE re set a3dz Assembly manual

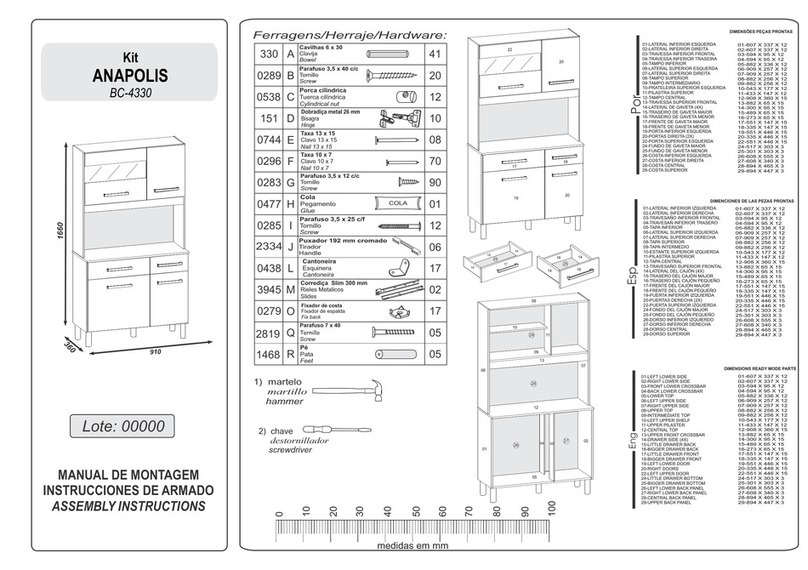
Atualle ANAPOLIS BC-4330 Assembly instructions
Atualle

Atualle ANAPOLIS BC-4330 Assembly instructions

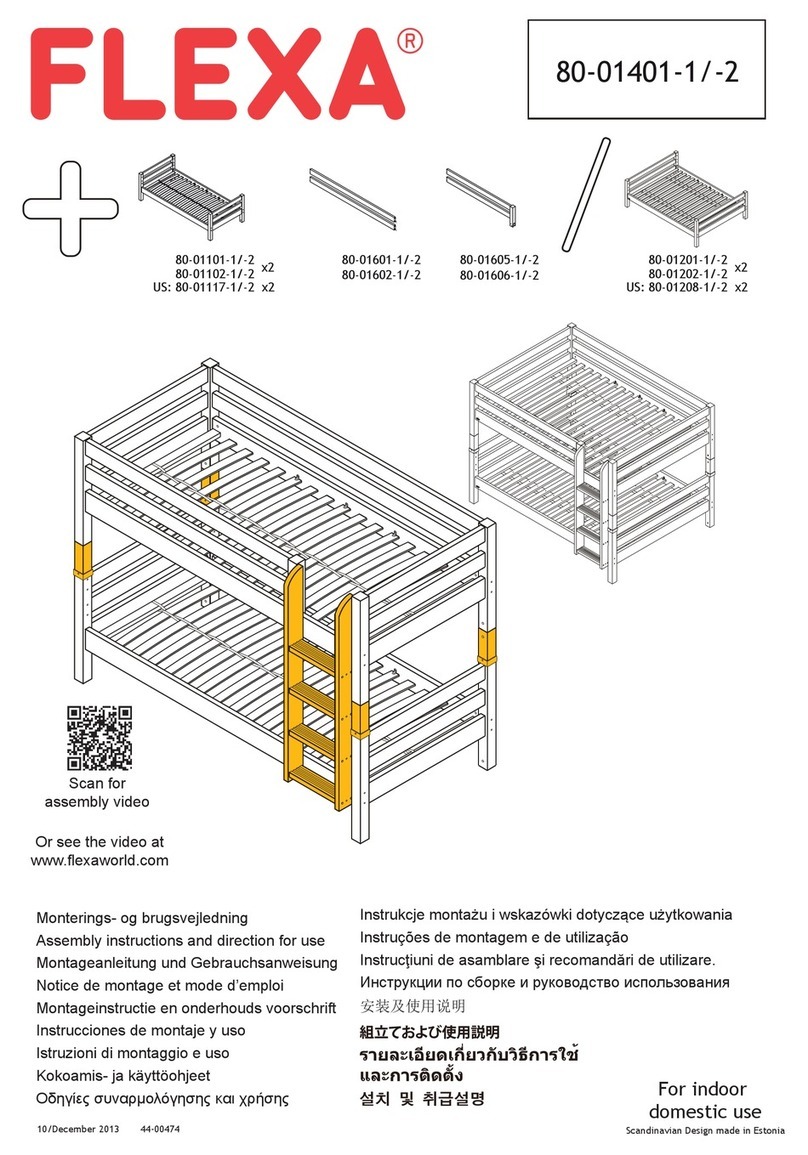
Flexa 80-01401-1 Assembly instructions
Flexa

Flexa 80-01401-1 Assembly instructions

Knight Cubit Highrise Workstation Assembly instructions

Knight

Knight Cubit Highrise Workstation Assembly instructions

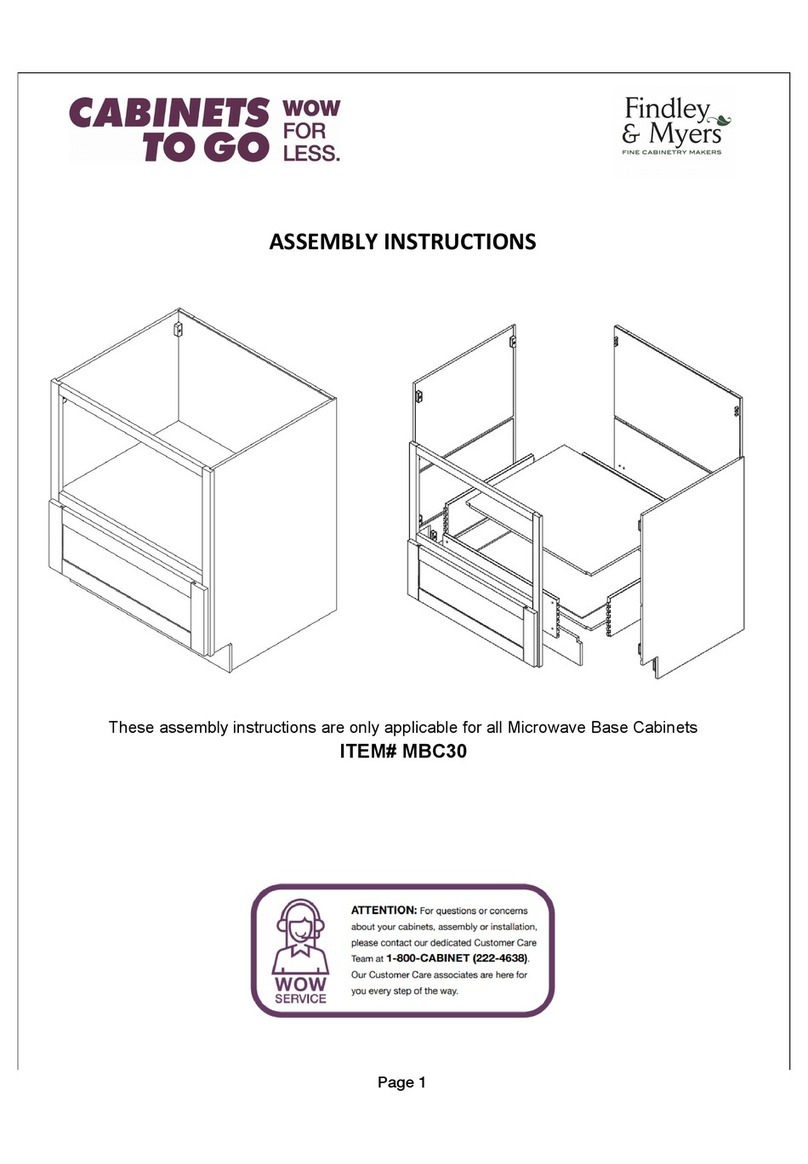
CABINETS TO GO Findley & Myers MBC30 Assembly instructions
CABINETS TO GO

CABINETS TO GO Findley & Myers MBC30 Assembly instructions
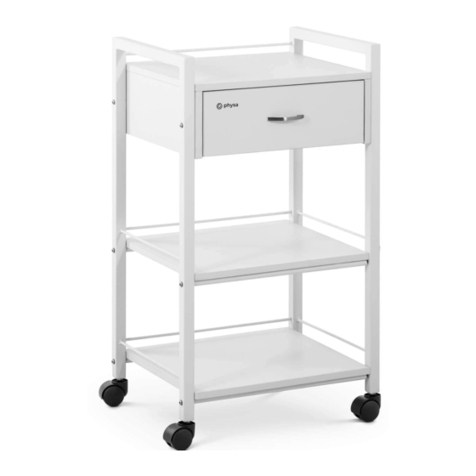
physa CT-1 user manual

physa

physa CT-1 user manual

ZEITRAUM VERMU Assembly instructions

ZEITRAUM

ZEITRAUM VERMU Assembly instructions

Jysk STOCKHOLM 5234701 Assembly instructions
Jysk

Jysk STOCKHOLM 5234701 Assembly instructions
Vermeiren Normandie E instruction manual

Vermeiren

Vermeiren Normandie E instruction manual

Sareer Rome Side 3' Bed manual

Sareer

Sareer Rome Side 3' Bed manual

WIEMANN 991345 quick start guide

WIEMANN

WIEMANN 991345 quick start guide

Blooma Batz 3663602734574 manual

Blooma

Blooma Batz 3663602734574 manual

Kvik H808,060 Assembly instructions
Kvik

Kvik H808,060 Assembly instructions

ADIR 613 Assembly instruction

ADIR

ADIR 613 Assembly instruction

Multimo A 235 Assembly instructions

Multimo

Multimo A 235 Assembly instructions

Wholesale Interiors 4810 Assembly instructions

Wholesale Interiors

Wholesale Interiors 4810 Assembly instructions

manuals.online logo
manuals.online logoBrands
  • About & Mission
  • Contact us
  • Privacy Policy
  • Terms and Conditions

Copyright 2025 Manuals.Online. All Rights Reserved.