manuals.online logo
Brands
  1. Home
  2. •
  3. Brands
  4. •
  5. Birlea
  6. •
  7. Indoor Furnishing
  8. •
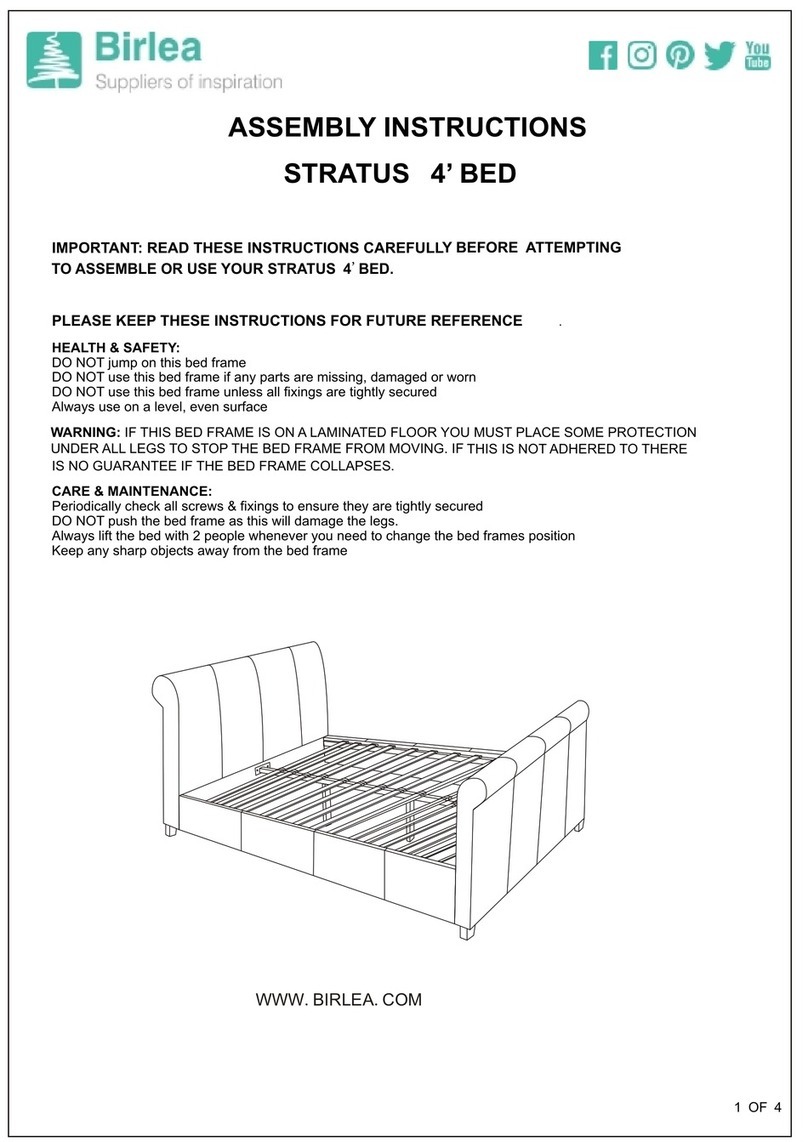
  9. Birlea CANTERBURY 4' User manual

Birlea CANTERBURY 4' User manual

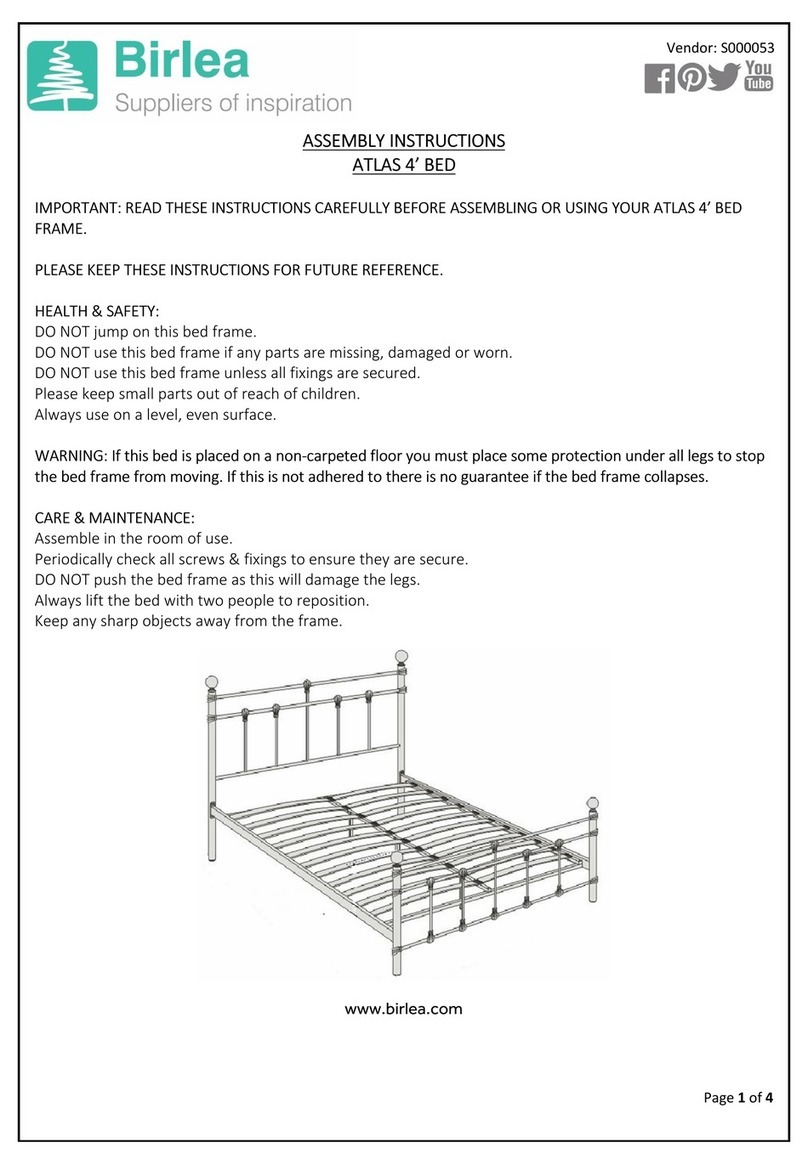
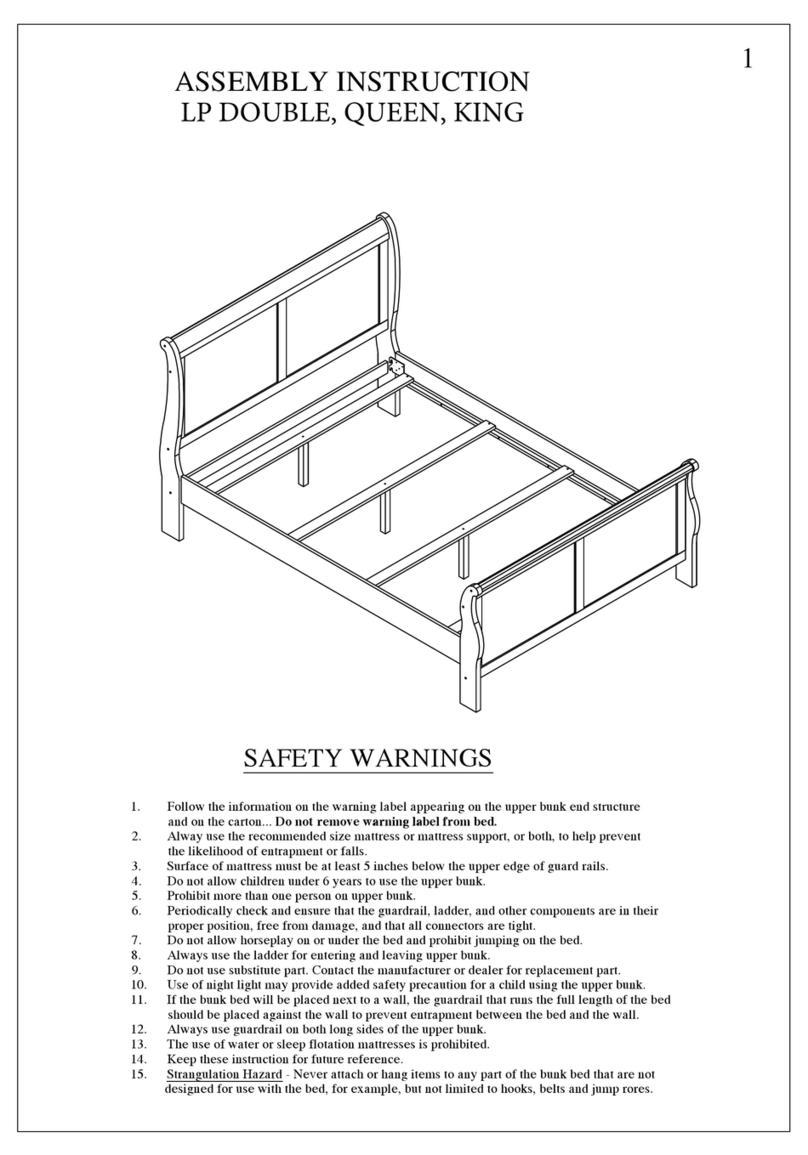
ASSEMBLY INSTRUCTIONS
CANTERBURY 4'
www.birlea.com
Page 1 of 5
IMPORTANT: READ THESE INSTRUCTIONS CAREFULLY BEFORE ASSEMBLING OR USING YOUR
CANTERBURY 4' BED FRAME.
PLEASE KEEP THESE INSTRUCTIONS FOR FUTURE REFERENCE.
HEALTH & SAFETY :
DO NOT jump on this bed frame.
DO NOT use this bed frame if any parts are missing, damaged or worn.
DO NOT use this bed frame unless all fixings are secured.
Please keep small parts out of reach of children.
Always use on a level, even surface.
WARNING: If this bed is placed on a non-carpeted floor you must place some protection under all
legs to stop the bed frame from moving. If this is not adhered to there is no guarantee if the bed
frame collapses.
CARE & MAINTENANCE:
Assemble in the room of use.
Periodically check all screws & fixings to ensure they are secure.
DO NOT push the bed frame as this will damage the legs.
Always lift the bed with two people to reposition.
Keep any sharp objects away from the frame.
Vendor: S000053
Birlea
Suppliers of Inspiration
Vendor: S000053
Part List
Part Description DescriptionBox
Hardware List (found in box 1)
Part
**M4 Allen Key & M5 Allen Key provided
Page 2 of 5
Qty
1
2
4
1 1 02 20
2 1 01 04
3 1 02 14
41 01 04
51 04 04
6 1 02 10
71 02 02
8 1 01 02
9102 12
10 1 05 24
0111 124
Headpost
Headend
Footpost
Footend
Side Support
Centre Support
Side Frame
Centre Frame
Mid Support
Base Leg
Slat
A A
A
A A
A A
A
Small Allen Key
Step 1 : Fix the Headpost (1) to the Headend (2), and the Footpost (3) to the Footend (4) using hardware part (A).
DO NOT use any power tools as this may damage the frame and will invalidate any claim.
3
M6 x 16mm JCBC Screw
M6 x 60mm JCBC Screw
M6 x 50mm JCBC Screw
M8 x 50mm JCBC Screw
M8 Nut
M6 x 40mm JCBC Screw
Qty
M6 Nut
M6 Cap Nut
Double Slat Cap
Single Slat Cap
10mm Spanner
A
B
C
D
E
F
G
H
I
J
K
Sticker 'L'
Sticker 'R' Sticker 'L'
Sticker 'R'
1
3
2
47
811
6
5
10
9
Vendor: S000053
Page 3 of 5
Step 2 : Fix the Side Support (5) to the Headpost (1) and Footpost (3) using hardware part (A).
DO NOT use any power tools as this may damage the frame and will invalidate any claim.
Step 4 : Place the Side Frames (7) underneath the Side Supports (5) and secure using hardware parts (E) and (C).
DO NOT use any power tools as this may damage the frame and will invalidate any claim.
Step 3 : Join together the Side Support (5) with the Centre Support (6) using hardware parts (B) and (D). Tighten up with
10mm Spanner (K) and Small Allen Key.
DO NOT use any power tools as this may damage the frame and will invalidate any claim.
A
A
1
5
E
C
Small
Allen Key
Small
Allen Key
6
5
5
B
B
D
K
D
Small
Allen Key
1
7
5
Do not fully tighten the screw yet until Step 7
Vendor: S000053
Page 4 of 5
Step 5 : Fix the Centre Frame (8) to the Side Support (5) using hardware part (A). The 'ARROW' sticker need to face up.
DO NOT use any power tools as this may damage the frame and will invalidate any claim.
Step 6 : Fix the Mid Support (9) and Base Leg (10) to the Centre Frame (8)
using hardware part (F) & (C) and secure with Small Allen Key &
10mm Spanner (K), then attach the Mid Support (9) to the Side Frame (7)
using hardware part (G) & (H) and tighten with Big Allen Key.
DO NOT use any power tools as this may damage the frame and will
invalidate any claim.
Step 7 : Fix the Base Leg (10) to the
Mid Support (9) / Centre Frame (8)
using hardware part (F) & (C). Secure
using Small Allen Key & Spanner (K).
Ensure all the screws are being tighten
up properly at this time.
DO NOT use any power tools as
this may damage the frame and
will invalidate any claim.
5
5
8
8
A
Small Allen Key
7
8
8
9
9
10
C
F
F
C
Small Allen Key
Do not fully tighten the screw yet until Step 7
Sticker 'ARROW'
K
8
9
10 10
C
C
C
FF
F
F
C
Small Allen
Key
Small Allen
Key
K K
7
9
G
H
Big Allen Key
Side Frame
TOP
Put ON TOP of
the Side Frame
Vendor: S000053
Page 5 of 5
Step 8 : Press hardware parts (I) into
the Mid Support (9).
DO NOT use any power tools as this
may damage the frame and will
invalidate any claim.
Step 9 : Place hardware part (J) onto each Slat (11), at one end only.
DO NOT use any power tools as this may damage the frame and will invalidate any claim.
Birlea
Suppliers of Inspiration
Additional Information :
For complete product information, images and dimension diagrams please visit the website www.birlea.com.
If you have any issues with your item please contact the retailer directly you purchased it from who will be able
to resolve any issues with Birlea.
Why don't you send us photos of your assembled furniture to [email protected] to be shared in our #birleahome
feature on instagram.
I
9
J11
11
11
9
I
5
Step 10: Slide the Slats (11) into hardware part (I) on the
Mid Support (9) then press the other ends into the Side Supports (5) firmly.
DO NOT use any power tools as
this may damage the frame and
will invalidate any claim.

Other Birlea Indoor Furnishing manuals

Birlea NOVA BED User manual

Birlea

Birlea NOVA BED User manual

Birlea WINCHESTER S000401 User manual

Birlea

Birlea WINCHESTER S000401 User manual

Birlea Sienna Fabric Bed Double User manual

Birlea

Birlea Sienna Fabric Bed Double User manual

Birlea SANTIAGO User manual

Birlea

Birlea SANTIAGO User manual

Birlea URBLSBRUS User manual

Birlea

Birlea URBLSBRUS User manual

Birlea BROOKLYN FABRIC 4 User manual

Birlea

Birlea BROOKLYN FABRIC 4 User manual

Birlea Urban Coffee Table User manual

Birlea

Birlea Urban Coffee Table User manual

Birlea KINGSTON User manual

Birlea

Birlea KINGSTON User manual

Birlea OPUS BOOKCASE User manual

Birlea

Birlea OPUS BOOKCASE User manual

Birlea EDGTVUBLK User manual

Birlea

Birlea EDGTVUBLK User manual

Birlea POPPY 3’ BED User manual

Birlea

Birlea POPPY 3’ BED User manual

Birlea WINCHESTER S000401 User manual

Birlea

Birlea WINCHESTER S000401 User manual

Birlea Highgate HIG2CTCRO User manual

Birlea

Birlea Highgate HIG2CTCRO User manual

Birlea ATLAS 4' User manual

Birlea

Birlea ATLAS 4' User manual

Birlea CORFU User manual

Birlea

Birlea CORFU User manual

Birlea HOUSTON 2 User manual

Birlea

Birlea HOUSTON 2 User manual

Birlea ATLAS User manual

Birlea

Birlea ATLAS User manual

Birlea URBCDSSRUS User manual

Birlea

Birlea URBCDSSRUS User manual

Birlea FRANKLIN User manual

Birlea

Birlea FRANKLIN User manual

Birlea Highgate HIGCTVCRO User manual

Birlea

Birlea Highgate HIGCTVCRO User manual
Birlea 135CM ARLO BED User manual

Birlea

Birlea 135CM ARLO BED User manual

Birlea CORONA 2 DOOR 5 DRW SIDEBOARD User manual

Birlea

Birlea CORONA 2 DOOR 5 DRW SIDEBOARD User manual

Birlea RICHMOND DESK User manual

Birlea

Birlea RICHMOND DESK User manual

Birlea Croxley 5 Drawer Rattan Chest User manual

Birlea

Birlea Croxley 5 Drawer Rattan Chest User manual

Popular Indoor Furnishing manuals by other brands
Whittier Wood Furniture 2089AUF Assembly instructions

Whittier Wood Furniture

Whittier Wood Furniture 2089AUF Assembly instructions

HOMCOM 836-499 Assembly & instruction manual

HOMCOM

HOMCOM 836-499 Assembly & instruction manual

1home Furniture TC-001B Assembly instructions

1home Furniture

1home Furniture TC-001B Assembly instructions

Home Decorators Collection V174814 Use and care guide

Home Decorators Collection

Home Decorators Collection V174814 Use and care guide

RATTAN WF199116AAA Assembly instructions

RATTAN

RATTAN WF199116AAA Assembly instructions

Kohler K-99003-TLC Installation and care guide

Kohler

Kohler K-99003-TLC Installation and care guide

Akva HYBRID HIGH Q manual

Akva

Akva HYBRID HIGH Q manual

Steelcase Verb Active Media Table manual

Steelcase

Steelcase Verb Active Media Table manual

Core Products BK925 manual

Core Products

Core Products BK925 manual

Forte SRCL1161B Assembling Instruction

Forte

Forte SRCL1161B Assembling Instruction

CS Schmal 25 Series manual

CS Schmal

CS Schmal 25 Series manual

Early Childhood Resources ELR-0728 quick start guide

Early Childhood Resources

Early Childhood Resources ELR-0728 quick start guide

FourStar 11225129 Assembly instructions

FourStar

FourStar 11225129 Assembly instructions

INTER LINK SAS PRITTY Assembling Instruction

INTER LINK SAS

INTER LINK SAS PRITTY Assembling Instruction

Ameriwood HOME 1444408COM Instruction booklet

Ameriwood HOME

Ameriwood HOME 1444408COM Instruction booklet

siena GARDEN Almada Assembly instruction

siena GARDEN

siena GARDEN Almada Assembly instruction

Lee & Plumpton Atmosphere Meeting Point quick start guide

Lee & Plumpton

Lee & Plumpton Atmosphere Meeting Point quick start guide

Lincat Opus 800 Series Installation, operating and servicing instructions

Lincat

Lincat Opus 800 Series Installation, operating and servicing instructions

manuals.online logo
manuals.online logoBrands
  • About & Mission
  • Contact us
  • Privacy Policy
  • Terms and Conditions

Copyright 2025 Manuals.Online. All Rights Reserved.