manuals.online logo
Brands
  1. Home
  2. •
  3. Brands
  4. •
  5. Birlea
  6. •
  7. Indoor Furnishing
  8. •
  9. Birlea CORO2D1DPIN User manual

Birlea CORO2D1DPIN User manual

1880mm
1035mm
566mm
4 m
4m
IMPORTANT: READ THESE INSTRUCTIONS CAREFULLY BEFORE ASSEMBLING OR
USING YOUR CORONA 2 DOOR 1 DRAWER WARDROBE.
ASSEMBLY INSTRUCTIONS
CORONA 2 DOOR 1 DRAWER WARDROBE
Vendor: S000238
!
f
You
Tube
www.birlea.com
PLEASE KEEP THESE INSTRUCTIONS FOR FUTURE REFERENCE.
CARE & MAINTENANCE:
Assemble in the room of use.
To avoid damages assemble the item on a soft, clean surface
Periodically check all screws & fixings to ensure they are secure.
DO NOT push the item as this will damage the base.
Always lift the item with two people to reposition.
Keep any sharp objects away from the item.
This product is manufactured in pine which is a wood with natural characteristics including knots, grains,
clusters or indentations.
On unpacking the item you may notice an odour due to production processes but this will disappear after a
period of time.
DO NOT place the item next to a radiator or direct sunlight – this item is susceptible to temperature change.
It is recommended an even room temperature be maintained with no sudden fluctuations.
DO NOT place hot or cold items directly onto the surface of the item as marking will occur
For general cleaning use a duster or damp cloth (almost dry) not wet – do not use soap and water,
detergents, aerosol sprays or any polish as use of these materials would invalidate any claims.
DO NOT place the item onto wet or damp flooring as staining may occur to the floor.
HEALTH & SAFETY:
DO NOT use this item if any parts are missing, damaged or worn.
DO NOT use this item unless all fixings are secured.
Please keep small parts out of reach of children.
Always use on a level, even surface.
It is recommended that two people handle and assemble the item.
Birlea advise you use the wall straps provided to further enhance the safety of this product.
Page 1 of 14
2
3
4
7
8
21
5
6
15
14
16
1
3
5
12
10
13
9
11
21
22
23
24
23
17
18
19
20
25
18
26
27
Vendor: S000238
Page 2 of 14
PARTS LIST
Part Item Qty
HARDWARE LIST
Part Item Qty
11 Wooden dowel
14mm Screw
25mm Screw
35mm Screw
Hinge
Handle
19mm Bolt
Clip
Plug
Corner bracket
Stud
A
D
G
K
B
E
H
L
C
F
J
26
53
59
10
7
4
4
6
2
Right Panel
M
N
30mm Screw
12
50mm Screw
2
O
2
2
Hanging rail support
Tack
P40
1
12 Left Panel
2
3Base/Shelf Panel
1
4Top Panel
2
5Back Panel
1
6Large Spine
1
7Small Spine
1
8Rear Base Plinth
1
9Right Front Frame
1
10 Left Front Frame
111 Top Inner Plinth
112 Support Plinth
1
13 Front Base Plinth
114 Right Door
1
15 Left Door
1
16 Door Divider
117 Drawer Front
2
18 Drawer Side
1
19 Drawer Back
1
20 Drawer Base
221 Top Side Plinth
122 Top Outer Plinth
2
23 Base Side Plinth
124 Front Plinth
2
25 Drawer Runner
826 Cleat
127 Hanging Rail
Recycle
2m
01 2 345 6 7891 0
mm 1 1 1 2 1 3 1 4 1 5 1 6
** You will need a small mallet and a screwdriver.
R
Wall Strap 1
Washer 2
Q
Vendor: S000238
Page 3 of 14
Step 1: Insert the right panel (1) into the right front frame (9) ensuring parts are fully pushed
together and correctly lined up. Place the cleats (26) between the marks shown and secure
using hardware part D and a screwdriver (not provided).
DO NOT use any power tools as this may damage the frame and will invalidate any claim.
Yes!No!
D
D
Yes!No!
D
D
Step 2: Insert the left panel (2) into the left front frame (10) ensuring parts are fully pushed
together and correctly lined up. Place the cleats (26) between the marks shown and secure
using hardware part D and a screwdriver (not provided).
DO NOT use any power tools as this may damage the frame and will invalidate any claim.
Note: this side lined up.
1
9
26
26
26
26
9
1
26
Note: this side lined up.
26
26
26
26
2
10
10
2
26
Vendor: S000238
Page 4 of 14
Step 4: Attach the drawer runner (25) to the right panel (1) and left panel (2) using hardware part F. Secure
hardware part M using hardware part B. You will need to use a screwdriver (not provided).
DO NOT use any power tools as this may damage the frame and will invalidate any claim.
B
1 2
and
M
25
F
F
Step 3: Insert hardware part A using a small mallet (not provided).
DO NOT use any power tools as this may damage the frame and will invalidate any claim.
13
12
8
3
A
2x
A
A
A
A
A
A
A
25
2x
A
Vendor: S000238
Page 5 of 14
Step 5: Attach the base/shelf panels (3), rear base plinth (8), front base plinth (13) and
support plinth (12) to the left panel (2) using hardware part E and a screwdriver (not provided).
DO NOT use any power tools as this may damage the frame and will invalidate any claim.
E
2
3
13
12
8
3E
E
E
E
Step 6: Attach the right panel (1) using hardware part E. Secure hardware part O using hardware part B. You
will need to use a screwdriver (not provided).
DO NOT use any power tools as this may damage the frame and will invalidate any claim.
E
3
13
8
1
E
E
E
3
13
8
3
13
8
12
B
O
B
Vendor: S000238
Page 6 of 14
Step 7: Attach the top inner plinth (11) using hardware part C and a screwdriver (not provided).
DO NOT use any power tools as this may damage the frame and will invalidate any claim.
Step 8: Attach the top side plinths (21) using hardware part D, and the top outer plinth (22) using hardware
part F. You will need to use a screwdriver (not provided).
DO NOT use any power tools as this may damage the frame and will invalidate any claim.
b:
a:
7mm
D
F
D
D
F
10
9
11
C
C
11
22
21
21
22
21
Vendor: S000238
Page 7 of 14
Step 9: Attach the top panel (4) using hardware part C and a screwdriver (not provided).
DO NOT use any power tools as this may damage the frame and will invalidate any claim.
Note:
4
4
Step 10: Attach the base side plinths (23) and front plinth (24) using hardware part D and a screwdriver
(not provided).
DO NOT use any power tools as this may damage the frame and will invalidate any claim.
D
D
D
23
24
23
C
4
Vendor: S000238
Page 8 of 14
Step 11: Insert hardware part N using a small mallet (not provided).
DO NOT use any power tools as this may damage the frame and will invalidate any claim.
52mm
46mm
46mm
N
N
N
Step 12: Insert the hanging rail (27).
DO NOT use any power tools as this may damage the frame and will invalidate any claim.
27
Vendor: S000238
Page 9 of 14
Step 13: Attach hardware part J to the right door (14) and left door (15) using hardware
part B. Attach the door divider (16) using hardware part D. You will need to use a screwdriver
(not provided).
DO NOT use any power tools as this may damage the frame and will invalidate any claim.
B
J
D
J
J
J
J
J
J
14
16
15
Step 14: Position the doors and secure using hardware part B and a screwdriver (not provided).
DO NOT use any power tools as this may damage the frame and will invalidate any claim.
B
14
15
16
D
D
Vendor: S000238
Page 10 of 14
B
B
Step 16: Secure hardware part K using hardware part B. Insert hardware part L ensuring they are level and
push the doors against it to create two small marks. Secure hardware part L in the two marks using
hardware part B. You will need to use a screwdriver (not provided).
DO NOT use any power tools as this may damage the frame and will invalidate any claim.
a: b:
c: d:
K
K
L
L
L
L
K
K
Step 15: Attach hardware part H using hardware part G and a screwdriver (not provided).
DO NOT use any power tools as this may damage the frame and will invalidate any claim.
H
G
14
14
H
H
Vendor: S000238
Page 11 of 14
20
Step 17: Assemble the drawer components using hardware parts C, G and H with a screwdriver
(not provided).
DO NOT use any power tools as this may damage the frame and will invalidate any claim.
Step 18: Insert the assembled drawer and secure using hardware part A and a small mallet (not provided).
DO NOT use any power tools as this may damage the frame and will invalidate any claim.
A A
d:
c:
b:a: C
C
C
C
G
H
H
G
17
18
18
19
Vendor: S000238
Page 12 of 14
Step 19: Join the back panels (5) with the large spine (6) and small spine (7) and secure using
hardware part P and a small mallet (not provided).
DO NOT use any power tools as this may damage the frame and will invalidate any claim.
55
6
7
P
7
6
5
5
Vendor: S000238
Page 13 of 14
P
P
P
P
P
Step 20: Furniture must be fixed to a wall.
Fix wall strap Q to top of furniture using washer R and screw B .
With help, move furniture into position.
Wall plugs not supplied. The correct type of fixing must be used for your wall, seek professional
advice if in doubt.
Vendor: S000238
Additional Information:
• For complete product information, images and dimension diagrams please visit the
website www.birlea.com
• If you have any issues with your item please contact the retailer directly you
purchased it from who will be able to resolve any issues with Birlea.
• Why don’t you send us photos of your assembled furniture to [email protected] to be
shared in our #birleahome feature on Instagram.
wall
B
Page 14 of 14
R
Q
R

Other Birlea Indoor Furnishing manuals
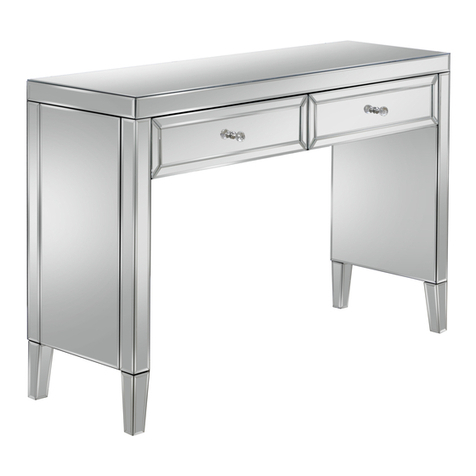
Birlea Valencia 2 Drawer Sideboard User manual
Birlea

Birlea Valencia 2 Drawer Sideboard User manual

Birlea SAFARI SAFBBGRY User manual

Birlea

Birlea SAFARI SAFBBGRY User manual

Birlea ARLO-4 DRAWER CHEST User manual

Birlea

Birlea ARLO-4 DRAWER CHEST User manual

Birlea Toronto Bed User manual

Birlea

Birlea Toronto Bed User manual
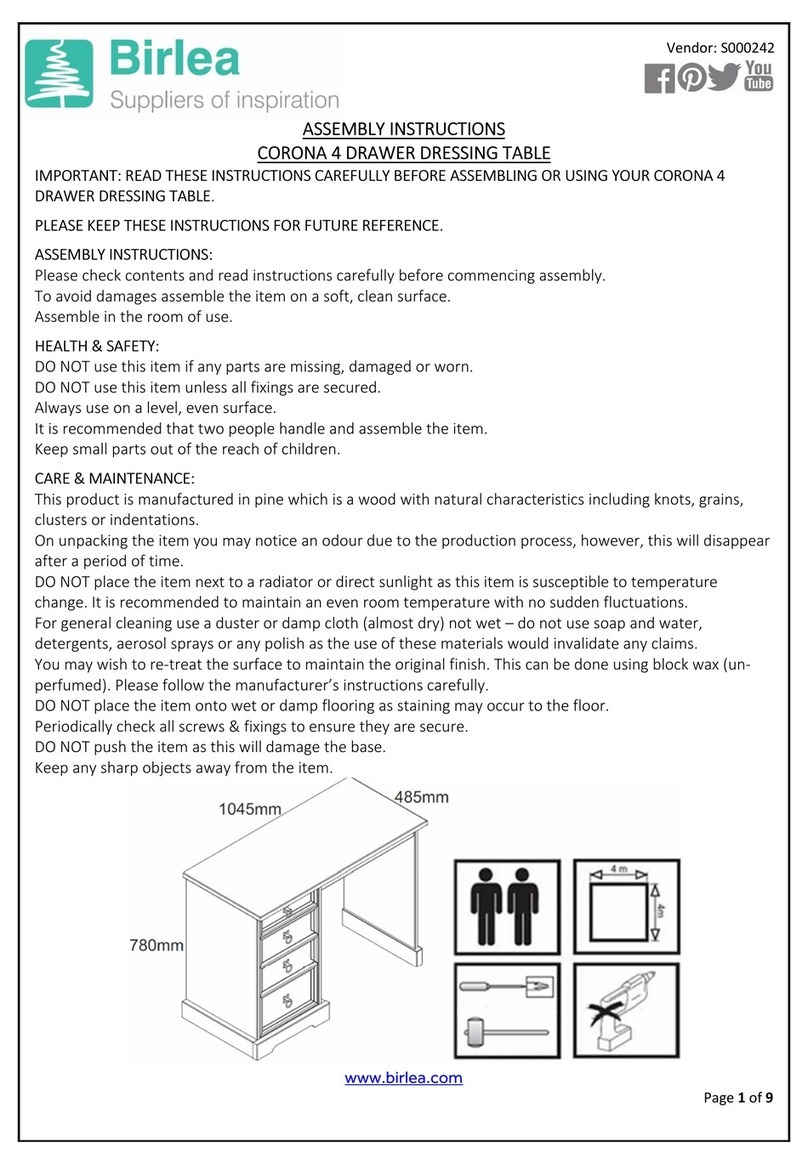
Birlea corona User manual

Birlea

Birlea corona User manual
Birlea MIDTOWN User manual

Birlea

Birlea MIDTOWN User manual
Birlea Berlin King Fabric Bed User manual
Birlea

Birlea Berlin King Fabric Bed User manual

Birlea Arlo User manual

Birlea

Birlea Arlo User manual
Birlea DAKOTA User manual

Birlea

Birlea DAKOTA User manual

Birlea FRANKLIN User manual

Birlea

Birlea FRANKLIN User manual
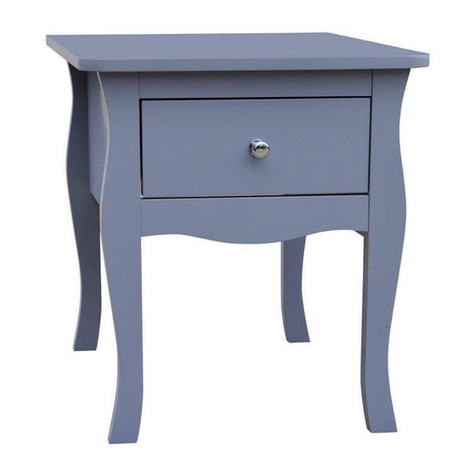
Birlea PARIS 1 DRAWER BEDSIDE User manual
Birlea

Birlea PARIS 1 DRAWER BEDSIDE User manual

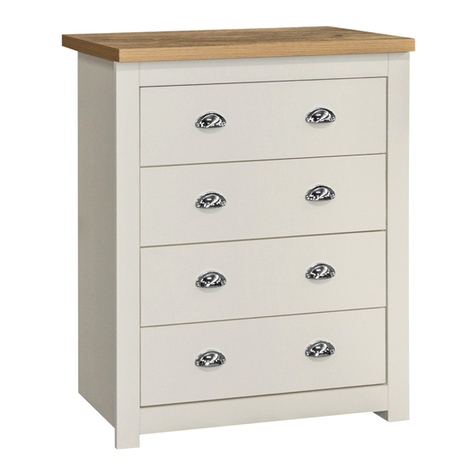
Birlea HIG4CHCRO User manual

Birlea

Birlea HIG4CHCRO User manual
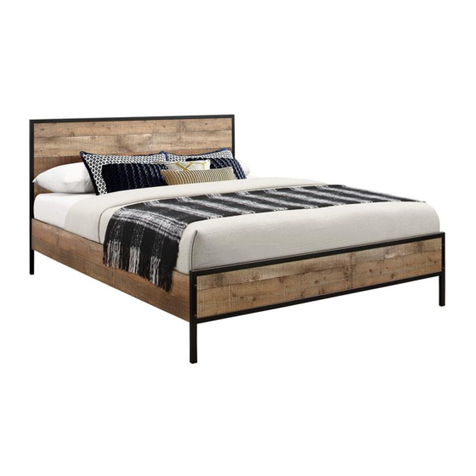
Birlea URBB4RUS User manual

Birlea

Birlea URBB4RUS User manual

Birlea corona User manual

Birlea

Birlea corona User manual
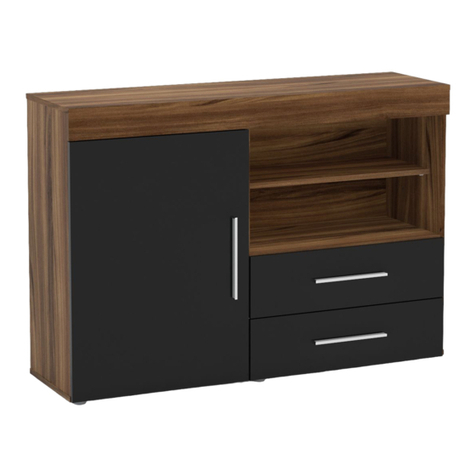
Birlea Edgeware EDG1SBWBK User manual

Birlea

Birlea Edgeware EDG1SBWBK User manual
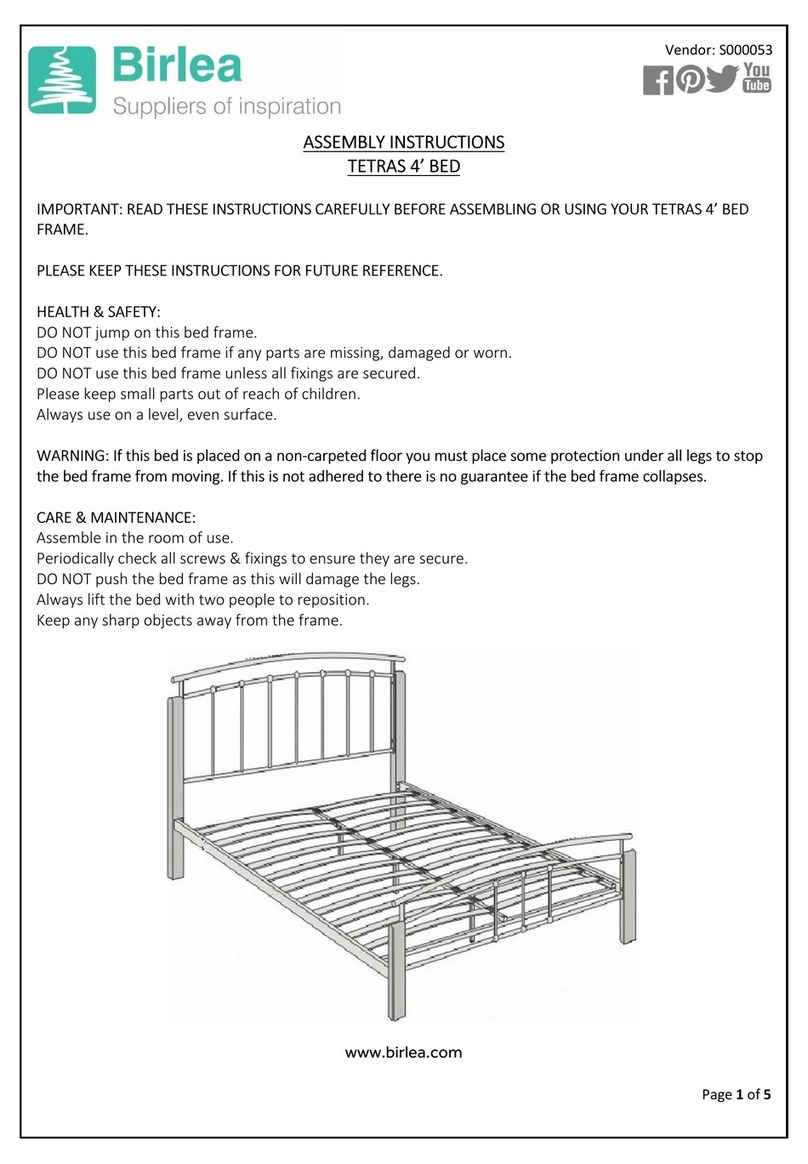
Birlea tetras User manual

Birlea

Birlea tetras User manual
Birlea SIRKKA COFFEE TABLE User manual
Birlea

Birlea SIRKKA COFFEE TABLE User manual

Birlea Winchester 3 Door 2 Drawer Sideboard User manual

Birlea

Birlea Winchester 3 Door 2 Drawer Sideboard User manual

Birlea 135CM HOUSTON BED User manual

Birlea

Birlea 135CM HOUSTON BED User manual

Birlea EDGEWARE GLASS DOOR CABINET User manual

Birlea

Birlea EDGEWARE GLASS DOOR CABINET User manual

Birlea CORONA 3+2 User manual

Birlea

Birlea CORONA 3+2 User manual

Birlea URBAN 4 DOOR WARDROBE ME53978895 User manual

Birlea

Birlea URBAN 4 DOOR WARDROBE ME53978895 User manual

Birlea STRATUS User manual

Birlea

Birlea STRATUS User manual

Birlea STRATUS OTTOMAN BED User manual

Birlea

Birlea STRATUS OTTOMAN BED User manual

Popular Indoor Furnishing manuals by other brands

World Market 608163 Assembly instructions

World Market

World Market 608163 Assembly instructions

Belleze Midtown 014-HG-31001 owner's manual

Belleze

Belleze Midtown 014-HG-31001 owner's manual

Bestar PA-2000-18 Assembly instructions
Bestar

Bestar PA-2000-18 Assembly instructions

Furniture of America CM6315SF Assembly instructions

Furniture of America

Furniture of America CM6315SF Assembly instructions

Home Decorators Collection 30663 Assembly instructions

Home Decorators Collection

Home Decorators Collection 30663 Assembly instructions
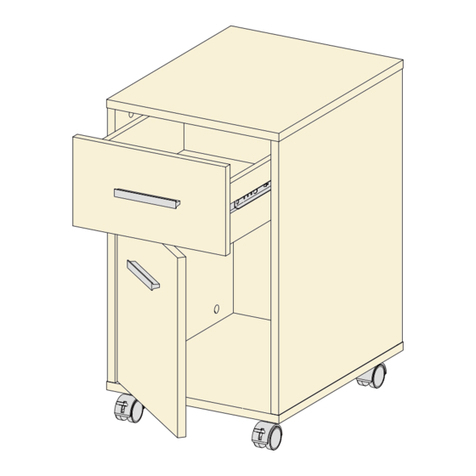
FMD Furniture Sneek 1 3021-001 Assembly instructions

FMD Furniture

FMD Furniture Sneek 1 3021-001 Assembly instructions

Tennsco EB-12 Assembly Instructions/Parts Manual
Tennsco

Tennsco EB-12 Assembly Instructions/Parts Manual

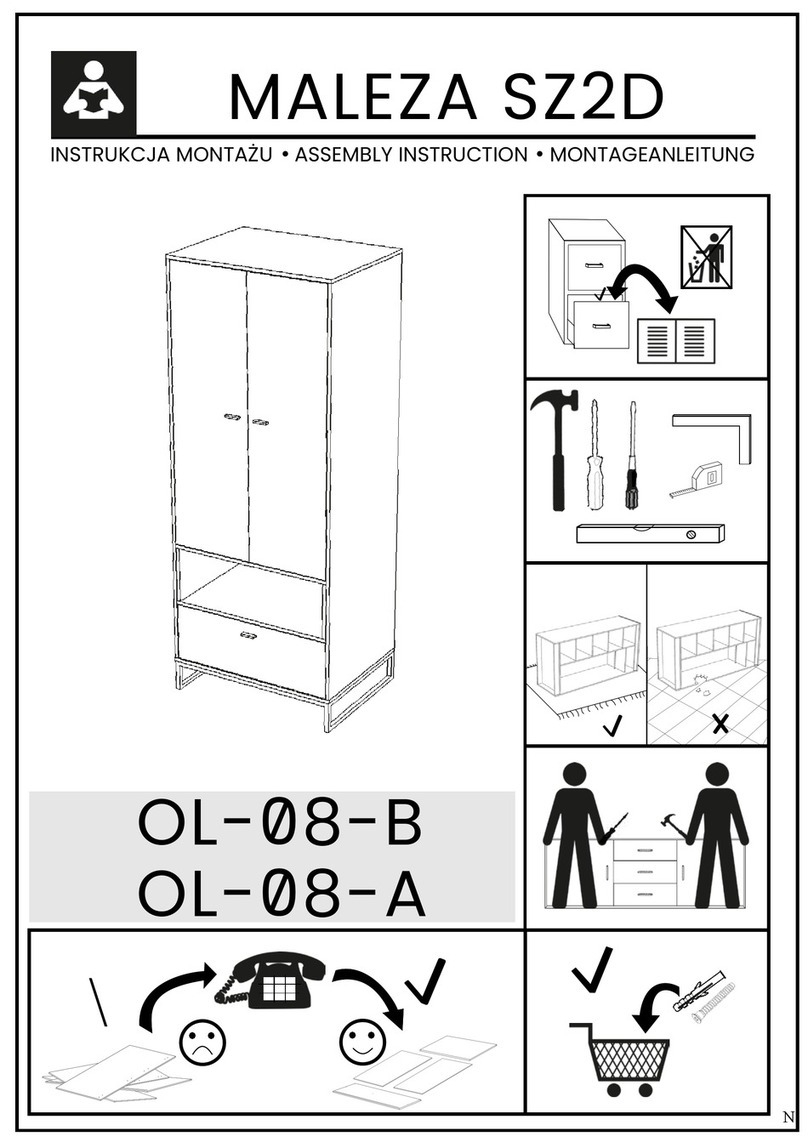
Meble-Bogart MALEZA SZ2D OL-08-B Assembly instruction

Meble-Bogart

Meble-Bogart MALEZA SZ2D OL-08-B Assembly instruction

Songmics LSF03 manual

Songmics

Songmics LSF03 manual

RTA Products Techni Mobili RTA-3840SU Assembly instructions
RTA Products

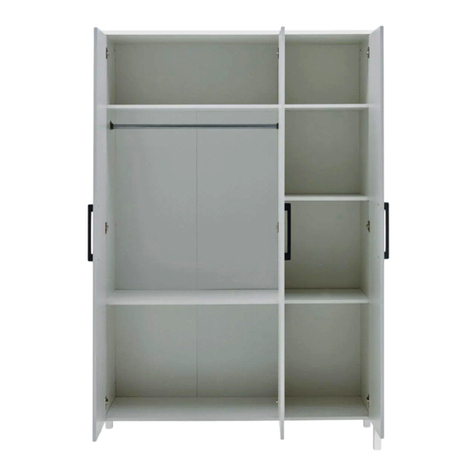
RTA Products Techni Mobili RTA-3840SU Assembly instructions

Arthur Berndt Kiara 15 Assembly instructions
Arthur Berndt

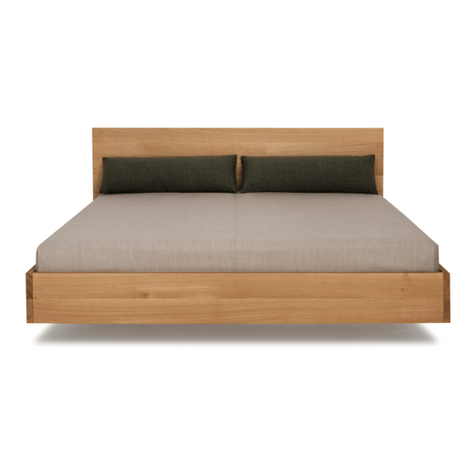
Arthur Berndt Kiara 15 Assembly instructions

ZEITRAUM SIMPLE HI Assembly instruction

ZEITRAUM

ZEITRAUM SIMPLE HI Assembly instruction

hammel FINDAHL Care Instructions

hammel

hammel FINDAHL Care Instructions

modway EEI-3676-NAT quick start guide

modway

modway EEI-3676-NAT quick start guide

Comfortex Somfy INSTALLATION & CARE INSTRUCTIONS

Comfortex

Comfortex Somfy INSTALLATION & CARE INSTRUCTIONS

Kettler 2577 Assembling instructions

Kettler

Kettler 2577 Assembling instructions

Minnesota Fats MFT200CCAF instruction manual

Minnesota Fats

Minnesota Fats MFT200CCAF instruction manual

Lolly & Me Ellery Assembly & instruction manual

Lolly & Me

Lolly & Me Ellery Assembly & instruction manual

manuals.online logo
manuals.online logoBrands
  • About & Mission
  • Contact us
  • Privacy Policy
  • Terms and Conditions

Copyright 2025 Manuals.Online. All Rights Reserved.