manuals.online logo
Brands
  1. Home
  2. •
  3. Brands
  4. •
  5. Birlea
  6. •
  7. Indoor Furnishing
  8. •
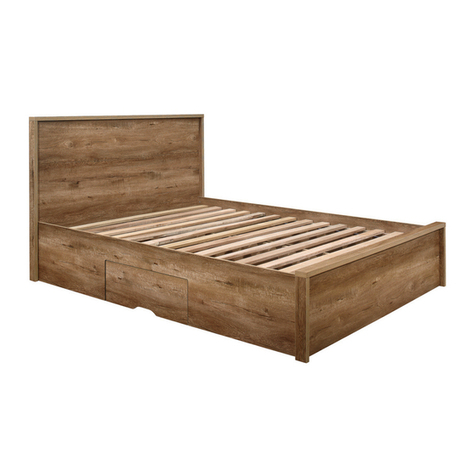
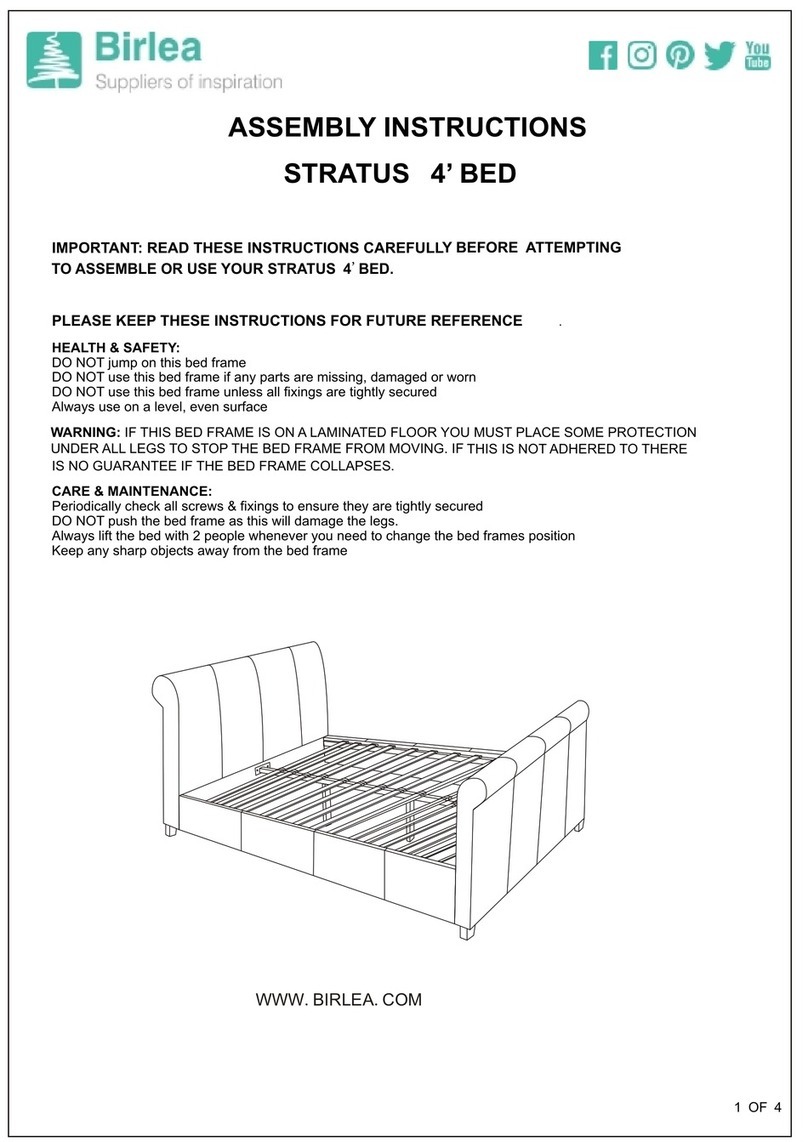
  9. Birlea STRATUS User manual

Birlea STRATUS User manual

1 OF 4
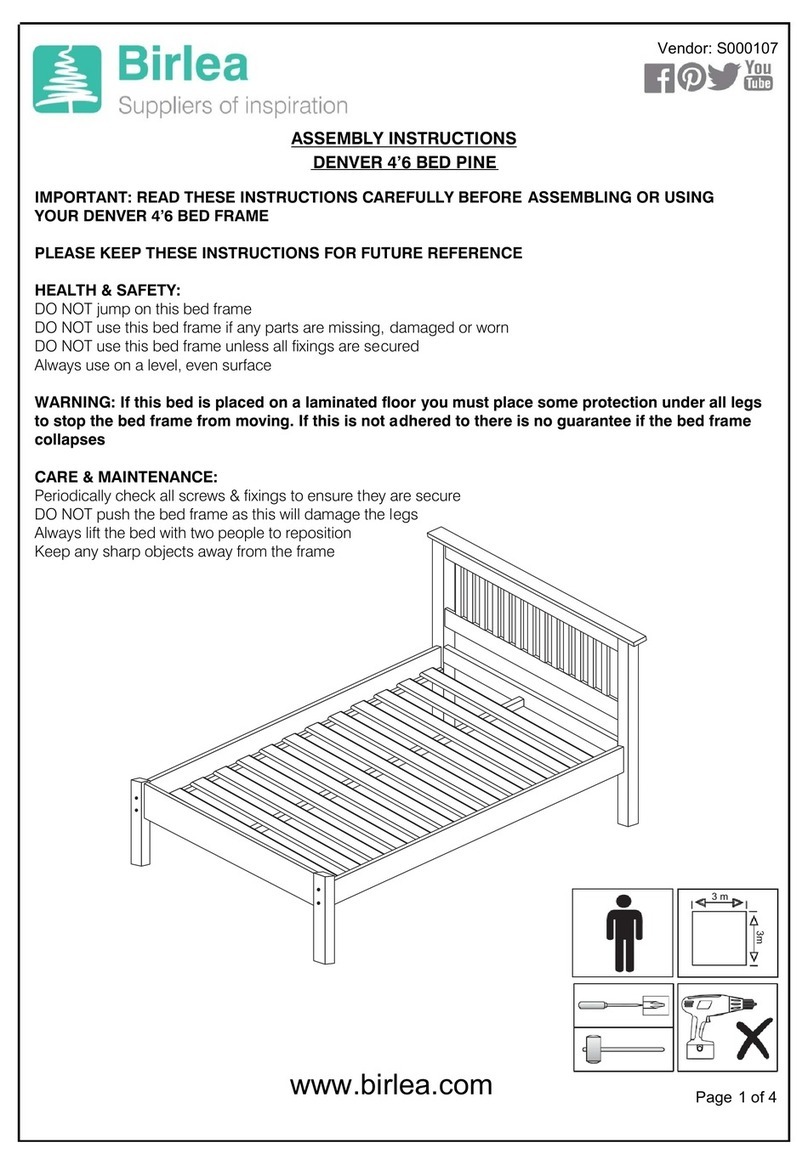
ASSEMBLY INSTRUCTIONS
IMPORTANT: READ THESE INSTRUCTIONS CAREFULLY BEFORE
ATTEMPTING TO ASSEMBLE OR USE YOUR OTTOMAN BED
FRAME.
PLEASE KEEP THESE INSTRUCTIONS FOR FUTURE REFERENCE
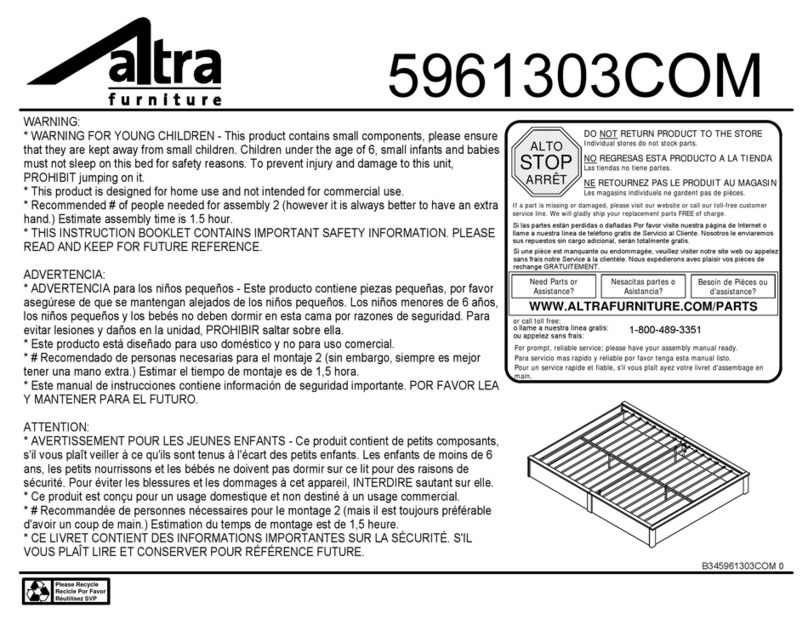
HEALTH & SAFETY:
DO NOT jump on this bed frame
DO NOT use this bed frame if any parts are missing, damaged or worn
DO NOT use this bed frame unless all fixings are tightly secured
Always use on a level, even surface
WARNING: IF THIS BED FRAME IS ON A LAMINATED FLOOR YOU MUST PLACE SOME
PROTECTION UNDER ALL LEGS TO STOP THE BED FRAME FROM MOVING. IF THIS IS NOT
ADHERED TO THERE IS NO GUARANTEE IF THE BED FRAME COLLAPSES
CARE & MAINTENANCE:
Periodically check all screws & fixings to ensure they are tightly secured
DO NOT push the bed frame as this will damage the legs.
Always lift the bed with 2 people whenever you need to change the bed frames position
Keep any sharp objects away from the bed frame
STRATUS OTTOMAN 5 BED'
Please keep small parts out of reach of children.
WARNING:Take care when assembling the base,assemble the ottoman as close
to its final position.The Ottoman has a powerful mechanism and after assembly
should only be opened when the mattress is in place.
DO NOT USE ANY POWER TOOLS AS THIS MAY DAMAGE THE BED
FRAME AND WILL INVALIDATE ANY CLAIMS.
To fix the legs(6) to the headboard(1)and footboard(2).
To fix the side rails(3) to the headboard(1) and footboard(2) you will need to
use hardware parts (B),(C),(D) with the M5 allen key(A).
DO NOT FULL TIGHTEN AT THIS STAGE.
1
2Footboard x 1
(M8x30mm) x 8
Bolts
B
CSpring washer x 8
DFlat washer x 8
M5 Allen Key
A
Legs x 4
6
Headboard x 1
3Side rails x 2
2 OF 4
Step 1
32
1
6
PARTS LIST HARDWARE LIST
No No
Qty Qty
1
2
3
4
5
6
7
8
9
1
1
2
28
A
B
C
D
E
F
G
H
I
J
K
1
8
16
14
1
14
2
18
Item Item
Footboard
Headboard
Side Rails
Cross Bar
Slats
Pull Strap
Single Slat Caps
4
L
M5 Allen Key
Bolts(M8x30mm)
Spring Washer(M8)
Flat Washer(M8x22mm)
Nuts(M8x14mm)
Spanner(M14)
Bolts(M8x45mm)
10
11
12
Support Leg
M
Bolts(M8x65mm)
28
Bolts(M8x16mm)4
Centre Slat Caps 14
Centre Support Bar 1
Legs 4
13
Woven Fabric
14
Front Frame Rail
1
15
Back Frame Rail
1
Left Frame Rail
1
Right Frame Rail
1
Cross Support Bar
2
Bolts(M6x16mm)
Hydraulic part 2
NBatten 2
OM4 Allen Key
1
Box
1
1
2
1
2
1
1
1
1
1
1
1
2
2
1
1
1
1
1
1
Box
1
1
1
1
1
1
1
1
1
1
1
1
1
1
1
1
1
- BOX 1
H
H
A
A
H
A
5
8
E
F
E
F
F
E
13
11
12
J
A
A
A
14
J
A
J
J
To attach the front frame rail(11)and back frame rail (12) to the left frame rail (13) and
right frame rail(14), you will need hardware parts (J) with the M5 allen key(A).
To attach the centre support bar(5) to the front frame rail(11)and back frame rail(12), you
will need hardware parts (H) and (E) with the M5 allen key(A) and the spanner(F).
To attach the support leg (8) to the centre support bar(5),you will need hardware
parts (H) and (E) with the M5 allen key(A) and the spanner(F).
DO NOT USE ANY POWER TOOLS AS THIS MAY DAMAGE THE BED
FRAME AND WILL INVALIDATE ANY CLAIMS.
2
Headboard x 1
Footboard x 1
1
Cross Bar x 1
Bolts (M8x45mm) x 6
H
M5 Allen Key
Hydraulic part x 2
M
Bolts(M6x16mm) x 2
C
D
Spring Washer x 6
Flat Washer x 6
G
4
A
3 OF 4
To attach the hydraulic part(M) and batten(N) to the headboard(1),footboard(2) you will need to
use hardware parts (H) and (C) and (D) with the M5 allen key(A).
To fix the cross bar(4) to the side rails(3)you will need to use hardware parts (G) with (O)
Step 2
12
13
11
8
HBolts(M8x45mm)x 6
ENuts x 6
FSpanner x 1
AM5 Allen Key x1
JBolts(M8x16mm)x 4
Front Frame Rail x 1
Back Frame Rail x 1
Centre Support Bar x 1
Support Leg x 1
Left Frame Rail x 1
Right Frame Rail x 1
14
5
Step 3
DO NOT USE ANY POWER TOOLS AS THIS MAY DAMAGE THE BED FRAME
AND WILL INVALIDATE ANY CLAIMS.
NBatten x 2
3Side rails x 2H
A
DC
H
A
DC
H
A
DC
MN
4
G
3
2
1
Do not try to press down the gas lift hinge now.
It is hard because of the resistance of gas lift
struts.Please go to next step to assemble the
metal frame.
OM4 Allen Key x 1
HEADBOARD
Additional Information :
.
For complete product information ,images and dimension diagrams please visit the website www.birlea.com
.
If you have any issues with your item please contact the retailer directly you purchased it from who will be
able to resolve any issues with Birlea.
.
Why don't you send us photos of your assembled furniture to [email protected] to be shared in our
#birleahome feature on instagram.
10
To attach the metal frame(11/12/13/14) to the hydraulic parts(M),you will need to
use hardware parts (H)、(E) with the M5 allen key(A) and the M14 spanner(F).
To attach the cross support bar(15) to the left frame rail(13) and the right frame
rail(14),you will need,you will need to use hardware parts (I)、(E) with the M5 allen
Step 4
key(A) and the M14 spanner(F).
DO NOT USE ANY POWER TOOLS AS THIS MAY DAMAGE THE BED FRAME
AND WILL INVALIDATE ANY CLAIMS.
Step 5
To attach the pull strap(9) to the left or right frame rail (13/14) you will place the pull strap(9)
beneath the metal frame and then pull the strap on the inner side of the frame through the
To assemble the slats(7) place a single plastic caps(K) onto each end of every slat then need
push the centre slat caps(L) into the metal frame.
Tilt the bedframe on to its side and attach the fabric base10.( )
K
L
10
7
Centre Slat Caps x14
Pull Strap x 1
Slats x 28
Woven Fabric x1
9
Single Slat Caps x 28
strape on the outer side of the frame to form a knot.
DO NOT USE ANY POWER TOOLS AS THIS MAY DAMAGE THE BED FRAME AND
WILL INVALIDATE ANY CLAIMS.
15
I
H
A
F
E
Cross Support Bar x 2
M5 Allen Key
Bolts (M8x65mm) x 4
Nuts x 10
Spanner
Bolts (M8x45mm) x 6
3
2
1
15
A
I
F
E
Gas Lift Pre-fixed
E
FF
FE
E
A
H
H
A
H
18
15
E
HAO
DBD
R
A
4 OF 4
9
14
9
7
7
K
K
L

Other Birlea Indoor Furnishing manuals
Birlea STRATUS User manual

Birlea

Birlea STRATUS User manual

Birlea SOHO 3 BED User manual

Birlea

Birlea SOHO 3 BED User manual

Birlea LISBON 4' BED FRAME User manual

Birlea

Birlea LISBON 4' BED FRAME User manual

Birlea LYNX 2 DOOR SLIDING ROBE WITH MIRRIOR User manual

Birlea

Birlea LYNX 2 DOOR SLIDING ROBE WITH MIRRIOR User manual

Birlea LYNX 2 DOOR SLIDING ROBE WITH MIRRIOR User manual

Birlea

Birlea LYNX 2 DOOR SLIDING ROBE WITH MIRRIOR User manual

Birlea URB6WCHRUS User manual

Birlea

Birlea URB6WCHRUS User manual

Birlea KENSINGTON S000059 User manual

Birlea

Birlea KENSINGTON S000059 User manual

Birlea PHOENIX OTTOMAN 4'6 BED S000307 User manual

Birlea

Birlea PHOENIX OTTOMAN 4'6 BED S000307 User manual

Birlea CORONA 3+2 User manual

Birlea

Birlea CORONA 3+2 User manual

Birlea ATLAS User manual

Birlea

Birlea ATLAS User manual

Birlea LYNX 3 DRAWER DRESSING TABLE User manual

Birlea

Birlea LYNX 3 DRAWER DRESSING TABLE User manual

Birlea HOUSTON User manual

Birlea

Birlea HOUSTON User manual

Birlea EMILY 3' BED User manual

Birlea

Birlea EMILY 3' BED User manual

Birlea URB1CTRUS User manual

Birlea

Birlea URB1CTRUS User manual

Birlea Corona 2 Drawer With Shelf Console Table User manual

Birlea

Birlea Corona 2 Drawer With Shelf Console Table User manual

Birlea LYNWD3WBK User manual

Birlea

Birlea LYNWD3WBK User manual

Birlea DIS-STTPACHWHT User manual

Birlea

Birlea DIS-STTPACHWHT User manual

Birlea 150CM STOCKWELL BED User manual

Birlea

Birlea 150CM STOCKWELL BED User manual

Birlea TORONTO BED User manual

Birlea

Birlea TORONTO BED User manual

Birlea Winchester WIN3WCRO User manual

Birlea

Birlea Winchester WIN3WCRO User manual

Birlea DARWIN FOUR POSTER BED User manual
Birlea

Birlea DARWIN FOUR POSTER BED User manual

Birlea Valencia 2 Drawer Sideboard User manual

Birlea

Birlea Valencia 2 Drawer Sideboard User manual

Birlea MANHATTAN S000267 User manual

Birlea

Birlea MANHATTAN S000267 User manual

Birlea LOTTIE User manual

Birlea

Birlea LOTTIE User manual

Popular Indoor Furnishing manuals by other brands
Fromm&Starck PP SEAT STAR-SEAT-09 user manual

Fromm&Starck

Fromm&Starck PP SEAT STAR-SEAT-09 user manual

Herman Miller Everywhere Tables DTW1DG installation guide

Herman Miller

Herman Miller Everywhere Tables DTW1DG installation guide

HOMEDEPOT Home Decorators 19111-M27-WT Assembly instructions

HOMEDEPOT

HOMEDEPOT Home Decorators 19111-M27-WT Assembly instructions

Simpli Home brooklyn+max WyndenHall 3AXCDRP-05 manual

Simpli Home

Simpli Home brooklyn+max WyndenHall 3AXCDRP-05 manual

QU-AX INDIGO 54 05 21 Series manual

QU-AX

QU-AX INDIGO 54 05 21 Series manual

Home Styles Bermuda 88 5543 09 manual

Home Styles

Home Styles Bermuda 88 5543 09 manual

West Elm 187430 Assembly instructions

West Elm

West Elm 187430 Assembly instructions

SouthShore 038 Assembly instructions

SouthShore

SouthShore 038 Assembly instructions

SouthShore 2779-212 Assembly instructions

SouthShore

SouthShore 2779-212 Assembly instructions

Happy Beds Gaudi Assembly instructions

Happy Beds

Happy Beds Gaudi Assembly instructions

PB TEEN Universal Trundle Assembly instructions

PB TEEN

PB TEEN Universal Trundle Assembly instructions

Polywood GN2304X Assembly instructions

Polywood

Polywood GN2304X Assembly instructions

J D Williams Marbury 4 Seat Cube Dining Set-Table Assembly instructions

J D Williams

J D Williams Marbury 4 Seat Cube Dining Set-Table Assembly instructions

XROCKER Ocelot Gaming Desk Assembly instructions

XROCKER

XROCKER Ocelot Gaming Desk Assembly instructions

Little Seeds 6946334COM Assembly manual

Little Seeds

Little Seeds 6946334COM Assembly manual

mlmeble LAHTI 11 Assembling Instruction

mlmeble

mlmeble LAHTI 11 Assembling Instruction

ICON 58449 owner's manual

ICON

ICON 58449 owner's manual

Herman Miller Cosm Disassembly instructions

Herman Miller

Herman Miller Cosm Disassembly instructions

manuals.online logo
manuals.online logoBrands
  • About & Mission
  • Contact us
  • Privacy Policy
  • Terms and Conditions

Copyright 2025 Manuals.Online. All Rights Reserved.