Bond HYPH4601-1 User manual

DANGER
WARNING
WARNING
If you smell gas:
1. Shut off gas to the appliance.
3. If odor continues, keep away from
the appliance and immediately call
Do not store or use gasoline or other
vicinity of this or any other appliance.
An LP-cylinder not connected for use
shall not be stored in the vicinity of
this or any other appliance.
Save these instructions for future use. If
you are assembling this unit for someone
else, give this manual to him or her and
read and save for the future.
For outdoor use only.
Owner’s Manual
Rapid Induction Heater™
Item# 68149
Model# HYPH4601-12
WARNING
Improper installation, adjustment, alteration, service or maintenance can cause injury or
property damage. Read the owner’s manual thoroughly before installing or servicing this
result causing property damage, personal injury or loss of life.

Bond Manufacturing Company | Page 2
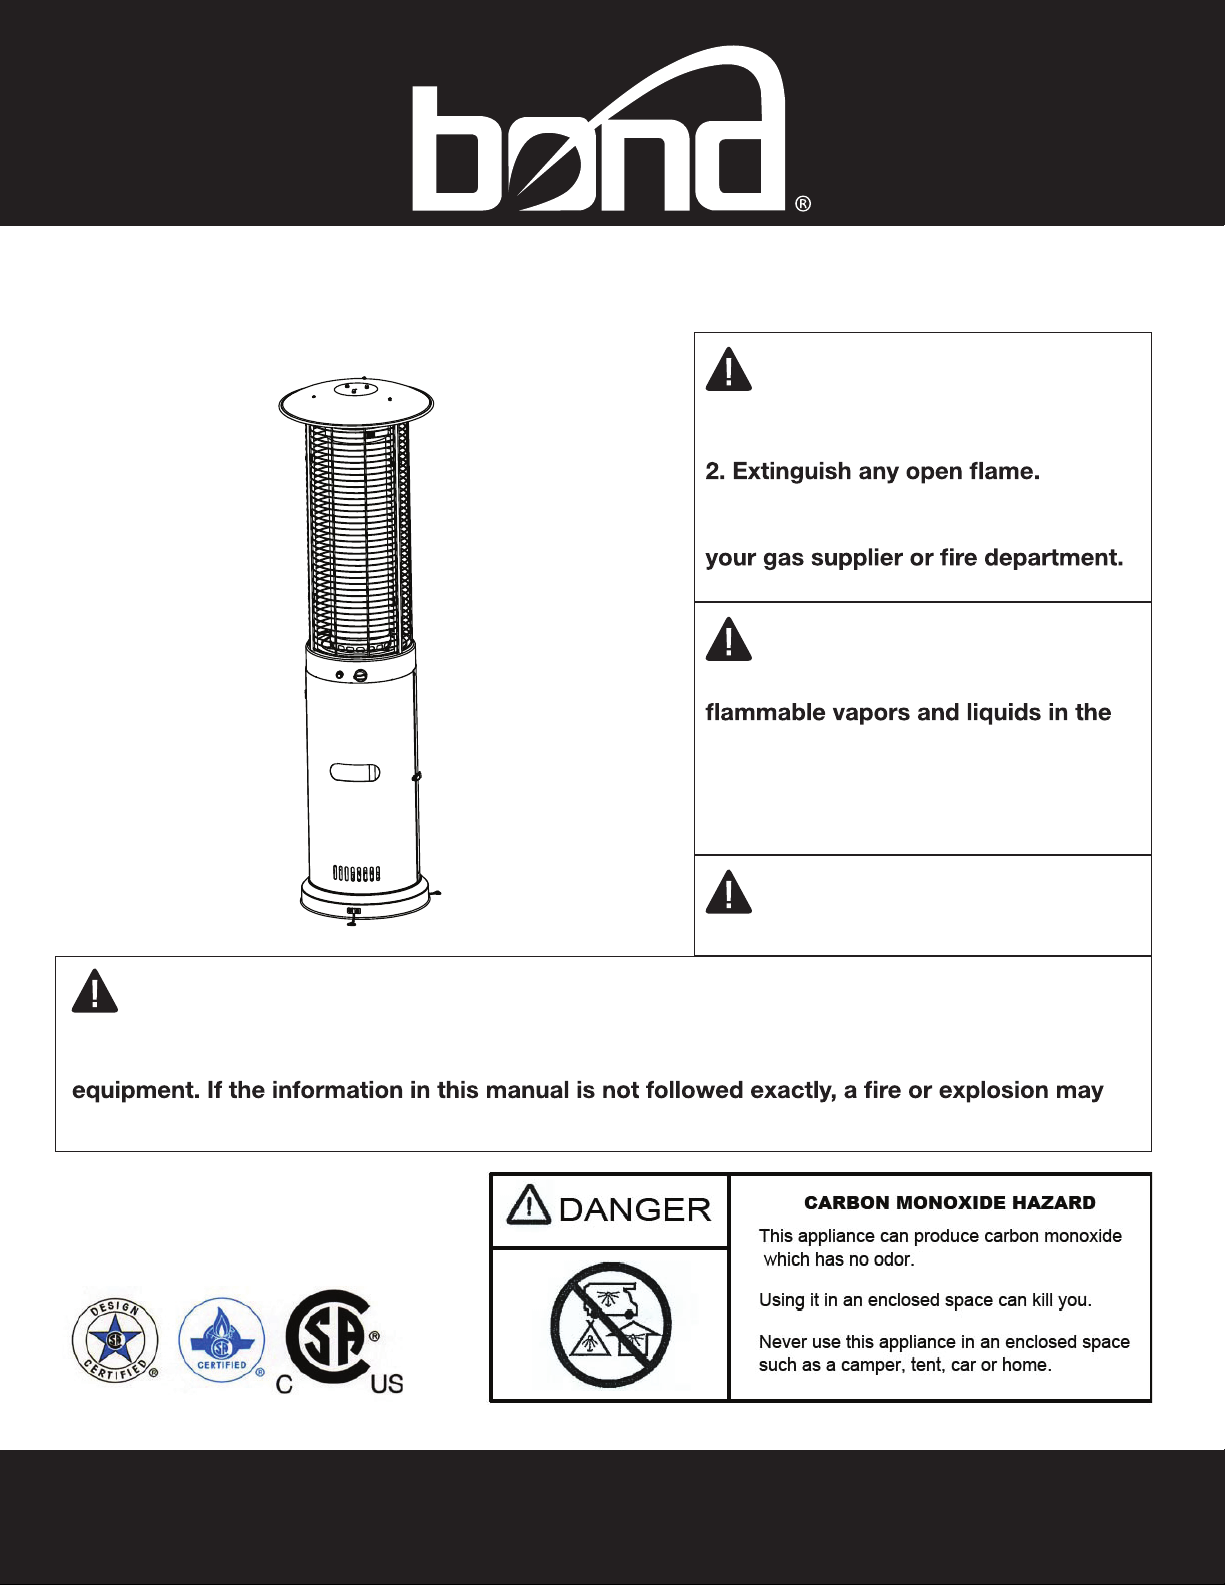
WARNING
Before you assemble or operate this unit, please carefully read this entire manual. Failure to do so
may result in a re, explosion, injury or death.
SAFETY INFORMATION
• The installation of this unit must adhere to local codes or either the National Fuel Gas Code, ANSI
Z223. 1/NFPA54, OR CAN/CGA-B149.1, National Gas and Propane Installation Code.
• THIS UNIT IS INTENDED FOR OUTDOOR USE ONLY! This product shall be used outdoors, in a
ventilated space and shall not be used in any enclosed area.
• This unit is to be used with propane gas only! (sold separately)
• Do not attach a remote gas supply to this unit.
• Only use propane gas for this unit.
• This unit is not intended for natural gas.
• Converting this unit to natural gas is dangerous and not recommended. The conversion of this unit
will void the manufacturer warranty.
• If the propane gas tank is leaking gas, you may hear, see, or smell a hiss. Do the following:
1. Disconnect the propane gas tank. 2. Do not attempt to x the problem yourself. 3. Contact your gas
supplier or re department for help.
• Never install or remove a propane tank from this unit while it is in use.
• Applying too much propane may result in gas pooling and will not burn. Allow fresh air into the unit
so that the remaining gas may escape.
• Do not use a ame to check for gas leaks.
• The max. inlet supply pressure: max. Gas supply 11 in w.c. (2.74kPa)
• Use LP propane tanks with the following dimensions: diameter 12in, height 18in, weight 20lbs.
• You must use a propane tank that has a collar to protect the gas valve.
• DO NOT ll tank over 80 percent full.
• The tank system must be set up for vapor withdrawal.
• Discontinue use if any part of the propane tank is damaged. Rust and dents may be hazardous and
should be inspected by a gas supplier.
• Do not operate unit until all parts are fully assembled.
• Do not paint or color any part of this heating unit.
• Unit may be hot while in use, do not attempt to move it while in use.
• Never leave this heating unit unattended while in use.
• This unit is not intended for cooking.
• Keep any ammable items away.
• Keep a safe distance to avoid burning skin or clothing.
• Do not sit or rest hands or feet on this heating unit.
• Never place hands or ngers on upper portion of this unit while in use.
• Keep all electrical cords and fuel supply hose away from heated surfaces.
• Combustible materials should not be within 24 inches of the top of the unit, or within 24 inches
around the entire unit.
• Keep the appliance area clear and free from combustible material, gasoline and other ammable
vapors and liquids.
• Never use the unit in spaces which may contain volatile or airborne combustibles.
• If the ame goes out while burning, turn the gas valve off. Wait 5 minutes before repeating the initial
lighting procedure. Once you have a ame started, hold down the control knob for 1 minute.
• Do not add water into the unit.
• Do not operate unit if any part has been under water. Call a service technician to replace any

1-866-771-2663 | Page 3
damaged part should this occur.
• Do not disconnect any part while unit is in use.
• Do not store a spare propane tank on or near this unit.
• If the heating unit is indoors, detach the propane tank and leave outdoors.
• Do not operate on a boat or vehicle. This unit must be used on a at surface and outdoors ONLY.
• Always remove protective cover before operating (if applicable).
• Do not set the protective cover over the unit until it is turned off and completely cooled down.
• Check for leaks after not using the unit for long periods of time.
• Children should never operate this unit. Children must be supervised while near this unit.
• Keep gas tank at least 5 ft away from unit when lit. (if external tank)
• The maximum gas supply pressure is 250psi.
• All installation and repair should be done by a qualied professional. This unit should be
inspected annually and cleaned regularly.
• Inspect all elements of this heating unit before each use. If there is damage, the burner must be
replaced.
• Be aware of the hazards of high temperatures and stay away from the unit to avoid any burns or
injury.
• The gas supply tank should be constructed and marked with the specications for the LP gas tanks
of the U.S. Department of Transportation or the National Standard of Canada CAN/CSA-B339, LP gas
tanks, spheres and tubes for Transportation of Dangerous Goods; and Commission.
• The LP gas tank must have a listed overlling prevention device and a QCCI or Type I, (CGA810) LP
gas tank connection.
• This heating appliance should not be used on plastic or articial wood decks.
• Inspect the gas hose and all connections to the propane tank prior to each use.
• Always follow lighting instructions carefully.
• Do not use 30 lb. propane tanks for this unit.
• In case of high winds, secure this unit to the ground to prevent the unit falling over.
• Children and adults should be alerted to the hazards of high surface temperatures and should
stay away to avoid burns or clothing ignition.
• Young children should be carefully supervised when they are in the area of the appliance.
• Clothing or other ammable materials should not be hung from the appliance or placed on or
near the appliance.
• Any guard or other protective device removed for servicing the appliance shall be replaced
prior to operating the appliance.
• Installation and repair should be done by a qualied service person. The appliance should be
inspected before use and at least annually by a qualied service person. More frequent cleaning
may be required as necessary. It is imperative that the control compartment, burners and
circulating airways of the appliance are kept clean.
Only use the regulator and hose assembly provided with this unit. Replacement parts must be supplied
directly by Bond Manufacturing Co.
Inspect the burner before use of this unit. If the burner shows any kind of damage, do not operate
the appliance. For assistance with repair or replacement of the burner or any other parts, calls Bond
Manufacturing at 1.866.771.2663.
NOTE: You must follow all steps to properly assemble this heating item. Make sure the gas
valve is turned “OFF” before assembling. Do NOT attempt to assemble without proper tools.

Bond Manufacturing Company | Page 4
BE CAREFUL: WHEN CERTAIN MATERIALS OR
ITEMS ARE STORED ABOVE, BESIDE OR UNDER
THIS HEATER WHILE IN USE, THEY WILL BE
SUBJECT TO RADIANT HEAT AND COULD BE
SERIOUSLY DAMAGED.
Combustible materials should not be within 24
inches of the top of the unit, or within 36 inches
around the entire unit.
SAFETY INFORMATION
36 in.
91.44 cm
36 in.
91.44 cm
24 in.
60.96 cm

1-866-771-2663 | Page 5
AA BB CC DD EE FF GG
Item Description Qty
AA M5 x 12 Screw 2
BB M6 x 12 Screw 10
CC M8 x 16 Screw 3
DD M6 Lock Nut 10
EE Anchoring Nut 3
FF Anchoring Arm 3
GG Wrench 1
HARDWARE
Before beginning assembly of this product be sure all parts are present. Compare parts with
package contents list and hardware contents list. If any part appears to be missing or damaged do
not begin assembly of this product and call customer service immediately.
Estimated assembly time: 30 minutes
Tools required for assembly (not included): Phillips Screwdriver

Bond Manufacturing Company | Page 6
EF
Item Description Qty
A Upper Reflector 1
B Glass Tube Ring 1
C Burner 1
D Tank Housing 1
E Glass Tube 1
F Mesh Guard 3
G Body Supporter 1
H Battery (AA) 1
I Upper Supporter 3
J Wheel Assembly 1
CONTENTSCONTENTS
A
D
I
G
B
C
J
H

1-866-771-2663 | Page 7
ASSEMBLY INSTRUCTIONS
1. Flip the tank housing (D) upside down and
attach the wheel assembly (J) to the base of the
tank housing (D) using 2 M8 x 16 screws (CC).
2. Attach the anchoring arms (FF) onto the base of
the tank housing (D) using 6 M6 x 12 screws
(BB) and 6 M6 nuts (DD).
3. Attach the tank housing supporter (G) into the
tank housing (D) using 1 M8 x 16 screw (CC) and
2 M5 x 12 screws (AA). Do not fully tighten to
allow room for adjustment later in the assembly
process.
J
D
D
D
CC
G
AA
FF
BB
DD
CC

Bond Manufacturing Company | Page 8
4. Remove the preassembled M5 screws from
the upper supporters (I), then slide the 3 upper
supporters into the slots at the top of the
burner (C). Once fully inserted secure the upper
supporters (I) into the burner (C) by replacing the
M5 screws that were removed at the beginning of
this step.
Note: Be sure that the hooks on the upper
supporters (I) are facing upwards.
6. Remove the 3 preassembled screws from the
top of the burner (C). Attach the glass tube ring
(B) to the top of the burner (C) using the 3 screws
removed at the beginning of this step. Be sure to
fully tighten.
5. Align the holes at the bottom of the burner (C)
to the top of the tank housing (D) - position to
have the control panel on the burner (C) aligned
with the door on the tank housing (D). Through the
aligned screw holes attach the burner (C) to the
top of the tank housing (D) using 4 M6 x 12
screws (BB) and 4 M6 nuts (DD). Be sure to fully
tighten.
C
DD C
B
BB
I
ASSEMBLY INSTRUCTIONS

1-866-771-2663 | Page 9
7. Place the glass tube (E) into the top of the glass
tube ring (B).
8. Remove the 3 preassembled screws from the
upper supporters (I). Place the upper reector (A)
onto the top of the upper supporters (I). Replace
the 3 screws removed at the beginning of this
step to secure the upper combination (A) to the
upper supporters (I). Be sure to fully tighten.
9. Attach the 3 mesh guards (F) onto the hooks at
the top of the upper supporters (I).
E
B
I
A

Bond Manufacturing Company | Page 10
ASSEMBLY INSTRUCTIONS
10. Use the anchoring nut (EE) to fasten the
product into the ground.
11. Open the door from the tank housing (D) and
place the propane gas tank (not included) into the
preassembled tank supporter. Tighten the belt to
ensure the propane gas tank is fully secure.
Note: Once the tank is connected to the regulator
in the next step be sure to close the door prior to
use.
CYLINDER VALVE
PRESSURE
RELIEF VALVE
BLEED-OFF
VALVE
BLACK COUPLING NUT
REGULATOR
turn clockwise to connect
turn clockwise
to reseal
12. Turn the cylinder valve on the tank
clockwise to close the propane tank.
Attach the preassembled regulator to the
cylinder valve by turning the regulator
coupling nut clockwise. Make sure it is
fastened securely and tighten connections
by hand only.
EE
D

1-866-771-2663 | Page 11
OPERATION
Observe ame height when lit. The
ame should be a yellow/blue color
between 20 - 28 inches in height.
• The glass tube may break if it is wet while in use; never use the heater while it’s raining outside.
• Do not splash any liquid on the heater while it is in use.
• Keep children away from the unit while in use; the glass tube may be extremely hot while in use.
Do not touch.
• Ensure that the heater is on a strong and at surface. The heater may be damaged if the unit tips
over.
• Never use the heater if the glass tube shows any cracks.
Before performing a leak test, be sure that no sparks can occur and you are in a spacious outdoor
area. Connect the propane gas tank to the regulator and turn the valve on the unit to the “off”
position. Brush a soap and water mixture on all connections. Turn the gas supply on; if bubbles
occur on any connection there may be a leak. If you smell gas or a leak is discovered turn the
gas valve off, disconnect propane gas tank and do not use the appliance until the leak is is
repaired.

Bond Manufacturing Company | Page 12
To Light
To Extinguish
1. Unscrew the ignition button on the burner to see if the battery (H) has already been placed inside.
If the battery (H) is not already within the ignition button on the burner, please place the battery
(H) into the ignition button slot.
2. Make sure the ignition control knob is turned to the “off” position. Connect propane gas tank and
slowly open the valve on the propane gas tank by turning the knob counterclockwise.
3. Press in and turn the ignition control knob to the “pilot” position; hold down for 1 minute.
4. Push the ignition button, while still holding down control knob down, to generate a spark.
5. Check to see if there is a pilot light through the glass tube (E). If there is, turn the control knob to
the “low” position.
6. For maximum ame height and heat output, turn the control knob to the “high” position.
1. Push and turn the ignition control knob clockwise to the “off” position.
2. Turn the propane gas tank valve on the gas tank to close the gas supply and disconnect the
propane gas tank
WARNING: If the lighting instructions are not followed directly a re or explosion may occur resulting
in property damage, personal injury or death.
OPERATION

1-866-771-2663 | Page 13
•Before performing any maintenance always disconnect propane gas tank.
•Keep the heating item free and clear from combustible materials.
•Visually inspect burner for obstructions and keep tank enclosure free and clear from debris.
•Use a soft brush to get rid of the mild stains, loose dirt and soil after the burner is completely
cooled down. Wipe down with a soft cloth.
•Harsh weather conditions may cause stubborn stains, discoloration and possibly rust pitting.
•Permanent damage may occur if powder or solvent comes in contact with painted or plastic
components on this heating unit.
•Keep the heating unit stored away from direct sunlight.
•If storing this unit inside, disconnect the propane gas tank from the gas valve.
•Not using manufacturer approved or supplied parts/accessories may result in a defective condition
and void the warranty of this heating unit.
•Carbon deposits may pose as a re hazard; clean the reector and inside of the glass tube with
soap and water if any carbon deposits are present.
MAINTENANCE
Problem Cause Solution
Gas valve may be off Turn the gas valve on
Gas tank may be empty Refill the gas tank
Orifice may be blocked Clean out the orifice
Air is within supply system Pump out air from all lines
Loose connection Check all fittings and tighten connections
as necessary
Debris around the pilot Clean out the debris
Loose connection Check all fittings and tighten connections
as necessary
Thermocouple is bad Call for a replacement part and replace
the thermocouple
Gas leak within the line Check all connections; call for a
replacement part if anything is damaged
Lack of gas pressure Gas tank is almost empty
Gas pressure is low Gas tank is almost empty
Orifice may be blocked Clean out the orifice
Control knob isn’t on Turn the control knob on
Thermocouple is bad Call for a replacement part and replace
the thermocouple
Pilot light assembly is bent or not in the
correct location
Place pilot light in the correct location
and retry lighting procedure
Pilot won’t light
Pilot won’t stay on
Burner won’t light
TROUBLESHOOTING

Bond Manufacturing Company | Page 14
WARRANTY
If you have any questions or concerns, please contact Bond Manufacturing Company at the below
resources:
CONTACT
Toll Free Phone 1-866-771-BOND (2663) | Monday - Friday, 8am - 4:30pm PST
Email customer[email protected]
Online www.bondmfg.com
The manufacturer warranty will be voided by, and manufacturer disclaims any responsibility for, the
following actions:
•Modication of the unit and/or components including the gas valve assembly.
•Use of any component part not manufactured or approved by Bond Manufacturing.
•Use and installation other than what is listed in this manual.
Please contact the manufacturer for replacement parts.

Guide d’utilisation
Rapid Induction Heater™
Conservez ces instructions pour une
utilisation future. Si vous installez cette
unité pour quelqu’un d’autre , donner
à cette manuel pour lui ou elle et lire et
épargner pour l’avenir .
RISQUE LIÉ AU MONOXYDE DE CARBONE
Cet appareil peut générer du monoxyde de
carbone, un gaz inodore. L’utilisation de
cet appareil dans un endroit fermé pourrait
causer la mort. N’utilisez jamais cet
appareil dans un endroit fermé comme une
caravane, une tente, une automobile ou une
maison.
corporels ou matériels. Lisez soigneusement le guide d’utilisation avant d’installer ou d’entretenir ce matériel. Si les directives
dans ce manuel ne sont pas suivies avec exactitude, un incendie ou une explosion pourrait se produire, causant des
dommages matériels, des blessures corporelles ou une perte de vie.
DANGER
AVERTISSEMENT
AVERTISSEMENT
AVERTISSEMENT
Si vous détectez une odeur de gaz :
1. Coupez l’alimentation en gaz de
l’appareil.
3. Si l’odeur persiste, tenez-vous
à distance de l’appareil et appelez
immédiatement le fournisseur de gaz
ou le service d’incendie.
N’entreposez pas et n’utilisez pas
d’essence ni d’autres vapeurs ou
de cet appareil ou de tout autre
appareil. Ne rangez pas de bouteille
de propane liquide non raccordée à
proximité de cet appareil ni de tout
autre appareil.
Pour un usage extérieur seulement.
No de produit 68149
No de miodèle HYPH4601-12

•L’installation de cette unité doit être conforme aux codes locaux ou au National Fuel Gas Code,
ANSI Z223.1/NFPA5A, ou au Code national d’installation pour les appareils et l’équipement à gaz
naturel et propane CAN/CSA-B149.1.
•CETTE UNITÉ EST CONÇUE UNIQUEMENT POUR UN USAGE EN PLEIN AIR! Ce produit doit
s’utiliser en plein air, dans un espace aéré, et ne doit pas être utilisé dans un espace fermé.
•On doit utiliser cette unité uniquement avec le gaz propane! (vendu séparément)
•N’attachez pas une source externe d’alimentation en gaz à cette unité.
•Utilisez uniquement le gaz propane avec cette unité.
•Cette unité n’est pas conçue pour le gaz naturel.
•La conversion de cette unité au gaz naturel est dangereuse et déconseillée. La conversion de cette
unité annulera la garantie du fabricant.
•Si une fuite dans la bouteille de gaz propane est présente, vous pourriez entendre, voir ou sentir un
le problème vous-même. 3. Communiquez avec votre fournisseur de gaz ou le service d’incendie pour
obtenir de l’aide.
•N’installez jamais ni retirez jamais une bouteille de propane de cette unité quand elle fonctionne.
•L’application de trop de propane peut entraîner une accumulation de gaz qui ne brûlera pas.
Permettez l’entrée d’air frais dans l’unité pour que le gaz qui reste puisse s’échapper.
•
•Pression d’entrée de l’alimentation maximale : alimentation max. en gaz 279 mm (11 po) colonne
d’eau (2,74kPa)
•Employez des bouteilles de GPL avec les dimensions suivantes : diamètre de 30,5 cm (12 po),
•Il faut utiliser une bouteille de propane munie d’une bague de protection du robinet de gaz.
•NE remplissez PAS la bouteille à un niveau supérieur à 80 %.
•Le système d’alimentation de la bouteille doit assurer le retrait de vapeur.
•Cessez l’utilisation si une partie de la bouteille de propane est endommagée. La rouille et les bosses
peuvent être dangereuses et doivent être inspectées par un fournisseur de gaz.
•N’utilisez pas l’unité jusqu’à ce que toutes les pièces soient complètement assemblées.
•Ne peinturez ni teintez aucune partie de cet appareil de chauffage.
•L’unité peut être chaude pendant l’utilisation; n’essayez pas de la déplacer quand elle fonctionne.
•Ne laissez jamais cette unité de chauffage sans surveillance pendant l’usage.
•Cette unité n’est pas conçue pour la cuisson des aliments.
•
•Tenez-vous à une distance sécuritaire pour éviter la brûlure de la peau ou des vêtements.
•N’asseyez-vous ni reposez les mains ou les pieds sur cet appareil de chauffage.
•Ne mettez jamais les mains ou les doigts sur la partie supérieure de cette unité pendant son usage.
•Gardez tout cordon électrique et le tuyau d’alimentation en gaz loin des surfaces chauffées.
•On ne doit pas tenir des matériaux combustibles dans une distance de moins de 60 cm (24 po) du
haut de l’unité, ou dans une distance de moins de 60 cm (24 po) autour de l’unité en entier.
•N’utilisez jamais l’unité dans des aires qui peuvent contenir des combustibles volatils ou en
suspension dans l’air.
•
MISE EN GARDE
Avant d’assembler ou d’utiliser cette unité, veuillez lire avec soin tout ce guide. L’omission de ce
processus peut entraîner un incendie, une explosion, une blessure corporelle ou la mort.
RENSEIGNEMENTS SUR LA SÉCURITÉ
.hauteur de 45,7 cm (18 po) - capacité £ 20
Bond Manufacturing Company | Page 16

1-866-771-2663 | Page 17
commande pendant une minute.
•N’ajoutez pas d’eau dans l’unité.
•N’utilisez pas l’unité si une partie a été submergée dans l’eau. Appelez un technicien de service pour
remplacer toute partie submergée si cela se produit.
•Ne détachez aucune pièce pendant l’usage de l’unité.
•N’entreposez pas une bouteille de propane de rechange sur ou à proximité de cette unité.
•Si l’appareil de chauffage est à l’intérieur, détachez la bouteille de propane et laissez-la à l’extérieur.
•N’utilisez pas cette unité dans un bateau ou véhicule. Il faut opérer cette unité UNIQUEMENT sur
une surface plane à l’extérieur.
•Retirez toujours la housse protectrice avant l’utilisation (le cas échéant).
•Ne mettez pas la housse protectrice sur l’unité avant qu’elle soit arrêtée et complètement refroidie.
•
•Ne permettez jamais aux enfants d’utiliser cette unité. Il faut surveiller les enfants quand ils
sont à proximité de cette unité.
•Gardez la bonbonne de gaz à une distance d’au moins 1,5 m (5 pi) de l’unité quand elle est allumée.
(pour une bonbonne externe)
•La pression d’alimentation en gaz maximale est de 250 psi.
•
Cette unité doit être inspectée annuellement et nettoyée de façon régulière.
•Inspectez tous les éléments de cet appareil de chauffage avant chaque usage. S’il y a des
dommages, il faut remplacer le brûleur.
•Soyez conscient des dangers des températures élevées et tenez-vous loin de l’unité pour éviter des
brûlures ou blessures.
•
bouteilles de GPL du U.S. Department of Transportation (DOT) ou de la Norme nationale du Canada,
CAN/CSA-B 339, Bouteilles à gaz cylindriques et sphériques pour le transport des marchandises
dangereuses; et commission.
•La bouteille de GPL doit être munie d’un dispositif homologué de protection contre le remplissage
excessif et d’un raccord de bouteille de GPL QCCI ou de Type 1 (CGA810).
•
•Inspectez le tuyau d’alimentation et tous les raccordements à la bouteille de gaz propane avant
chaque usage.
•Suivez toujours les instructions d’allumage avec soin.
•N’utilisez pas une bonbonne de propane de 13,6 kg (30 lb) pour cette unité.
•
•Prévenez enfants et adultes des risques que représentent les surfaces pouvant atteindre des
températures élevées et demeurez à une distance sécuritaire de l’appareil pour prévenir les
•Surveillez attentivement les enfants lorsqu’ils se trouvent à proximité de l’appareil.
•
l’appareil ou à proximité de celui-ci.
•Avant de mettre l’appareil en marche, replacez tout écran ou autre dispositif de protection
ayant été retiré lors de l’entretien.
•
doit être inspecté chaque année. Un nettoyage plus fréquent peut être nécessaire. Il est essentiel
de garder toujours propres le compartiment de contrôle, les brûleurs et les conduits d’aération.

Bond Manufacturing Company | Page 4
RENSEIGNEMENTS SUR LA SÉCURITÉ
ATTENTION: LORSQUE CERTAINS MATÉRIELS OU
ARTICLES SONT ENREGISTRÉS CI-DESSUS,
À L'EXTÉRIEUR OU SOUS LE CHAUFFAGE EN
UTILISATION, ILS SERONT SOUMIS À LA CHALEUR
RAYONNÉE ET PEUVENT ÊTRE ENDOMMAGÉS.
Les matériaux combustibles ne doivent pas se
trouver à moins de 24 pouces du haut de l'unité,
ni à moins de 36 pouces autour de l'ensemble
de l'unité.
36 po.
91.44 cm
36 po.
91.44 cm
24 po.
60.96 cm

1-866-771-2663 | Page 5
QUINCAILLERIE
AA BB CC DD EE FF GG
AA M5 x 12 Vis 2
BB M6 x 12 Vis 10
CC M8 x 16 Vis 3
DD M6 Écrou de blocage 10
EE Boulon d'ancrage
Bras d'ancrage
3
FF 3
GG Clé 1
Antes de comenzar a ensamblar el producto, asegúrese de tener todas las piezas. Compare las
piezas con la lista del contenido del paquete y la de aditamentos. No intente ensamblar el
producto si faltan piezas o si estas están dañadas
Tiempo estimado de ensamblaje: 30 minutos.
Herramientas necesarias para el ensamblaje (no incluido): Destornillador Phillips.
Article Description Qté

Bond Manufacturing Company | Page 6
EF
A Combinaison supérieure 1
B Anneau du tube de verre 1
C Brûleur 1
D Logement du réservoir 1
E Tube de verre 1
F Grille de sécurité 3
G Support de logement du réservoir 1
H Pile 1
I Support supérieur 3
J Roues de quincaillerie 1
CONTENTSCONTENTS
A
D
I
G
B
C
J
H
Article Description Qté
This manual suits for next models
1
Table of contents
Languages:
Other Bond Patio Heater manuals