Bosch Readykey K6199-CNCii Use and care manual
Other Bosch Controllers manuals
Bosch
Bosch PVA-4CR12 User manual

Bosch
Bosch Rexroth VT-HNC100 3X/S Series Instruction manual
Bosch
Bosch APC-AMC2-4R4CF User manual
Bosch
Bosch Access Modular Controller 2 User manual
Bosch
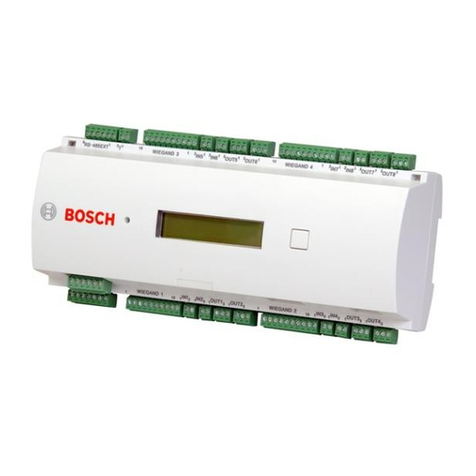
Bosch AMC2 4W User manual
Bosch
Bosch Rexroth ctrl CORE User manual

Bosch
Bosch APC-AMC2-4R4CF User manual
Bosch
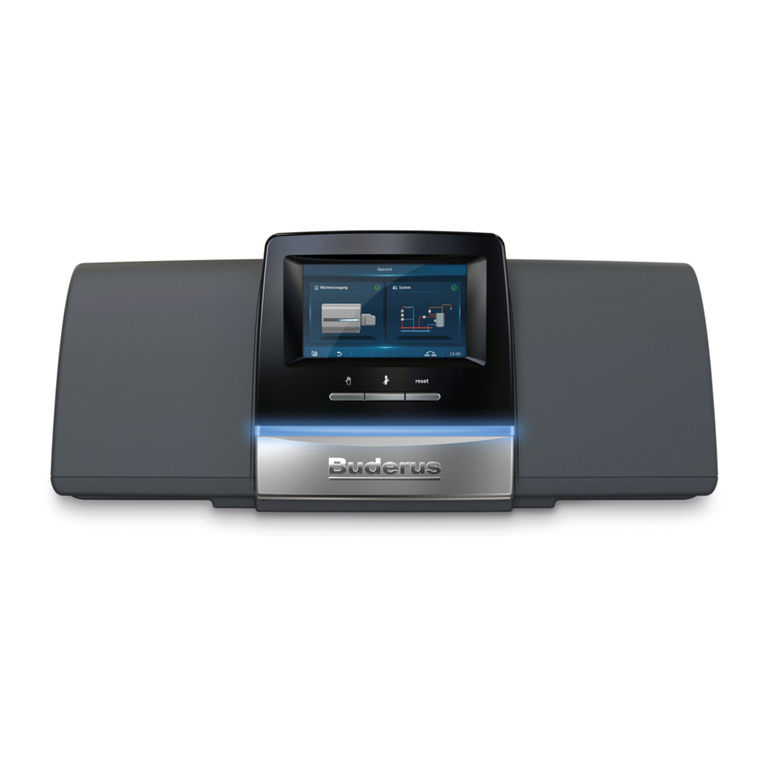
Bosch Buderus Logamatic 5000 Series Instruction Manual
Bosch
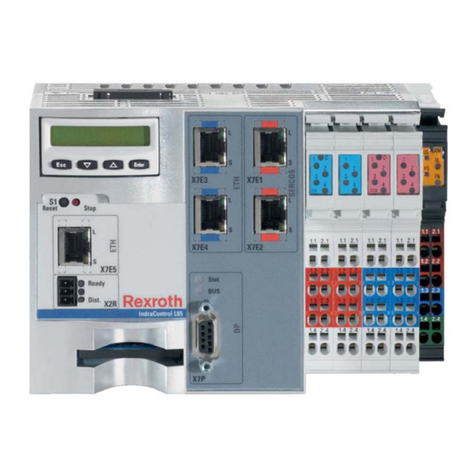
Bosch Rexroth IndraControl L45 Technical manual
Bosch
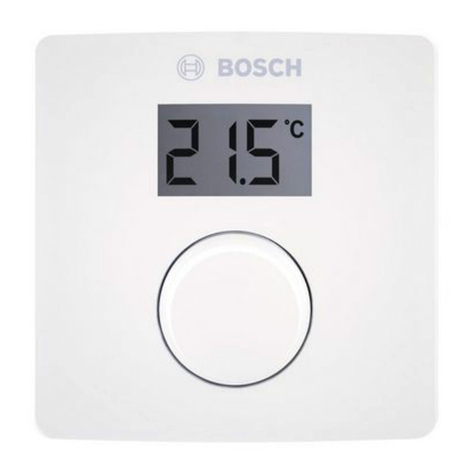
Bosch CR 10 User manual

Bosch
Bosch Rexroth CS 106 User guide
Bosch
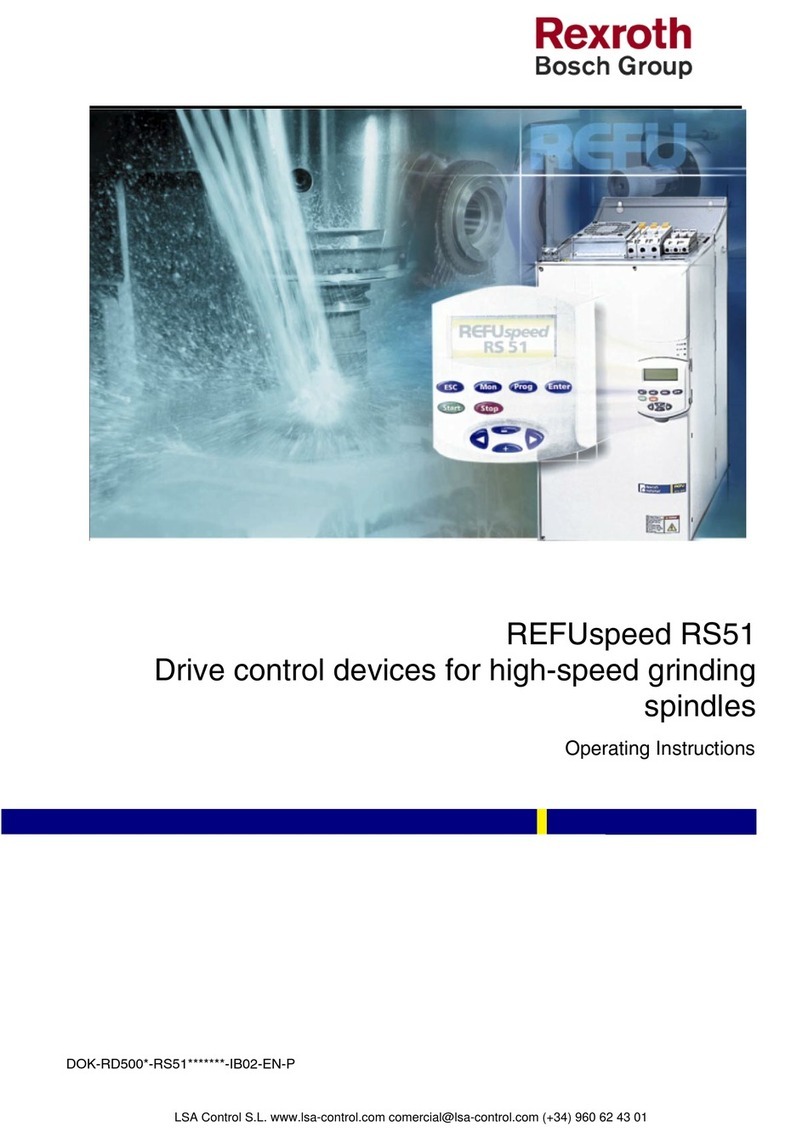
Bosch Rexroth REFUspeed RS51 User manual
Bosch
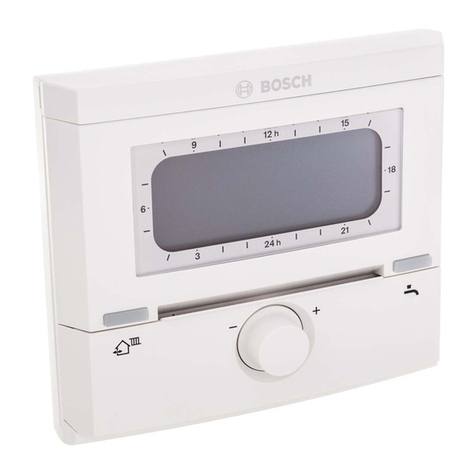
Bosch FW 200 User manual
Bosch
Bosch ADS?AMC2?2WCF User manual
Bosch
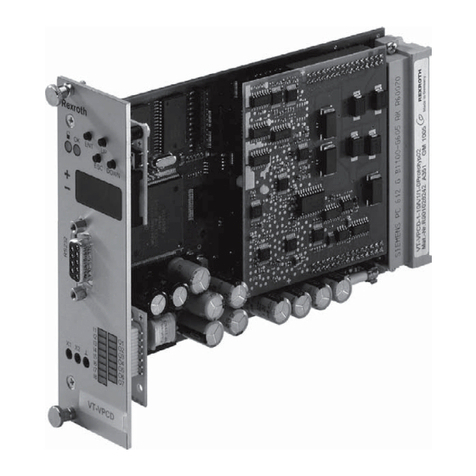
Bosch Rexroth VT-VPCD Series User manual
Bosch
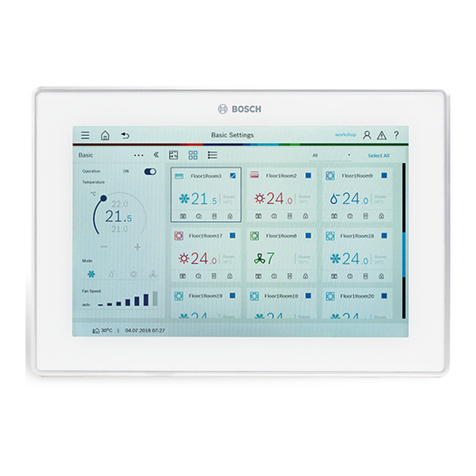
Bosch ACC MT User manual

Bosch
Bosch CL550 User manual

Bosch
Bosch FW 200 Instruction Manual
Bosch
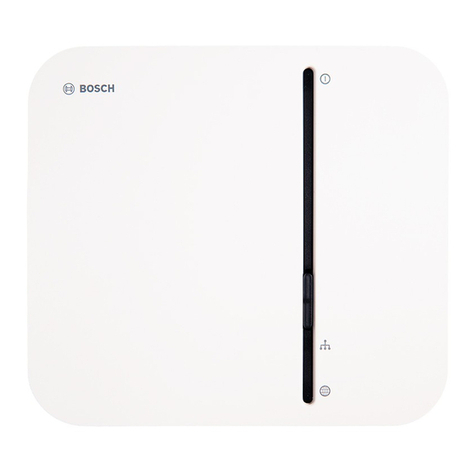
Bosch Smart Home Controller AA User manual
Bosch
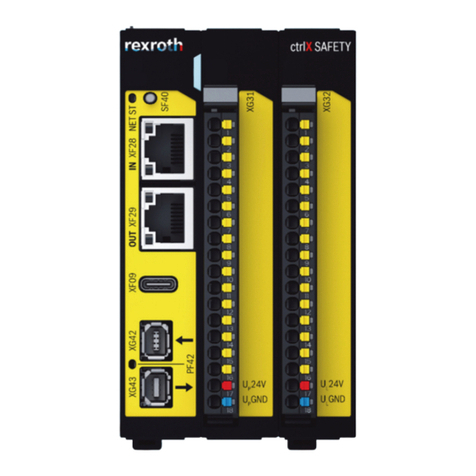
Bosch Rexroth ctrlX SAFETY SAFEX-C.12 User manual
Popular Controllers manuals by other brands

Digiplex
Digiplex DGP-848 Programming guide

YASKAWA
YASKAWA SGM series user manual

Sinope
Sinope Calypso RM3500ZB installation guide

Isimet
Isimet DLA Series Style 2 Installation, Operations, Start-up and Maintenance Instructions

LSIS
LSIS sv-ip5a user manual

Airflow
Airflow Uno hab Installation and operating instructions
