Bourgault 7000 Series Operating instructions

It is very importatnt to carefully follow the detailed steps of these instructions. Please check crate packing list against contents to be sure all parts have been received.
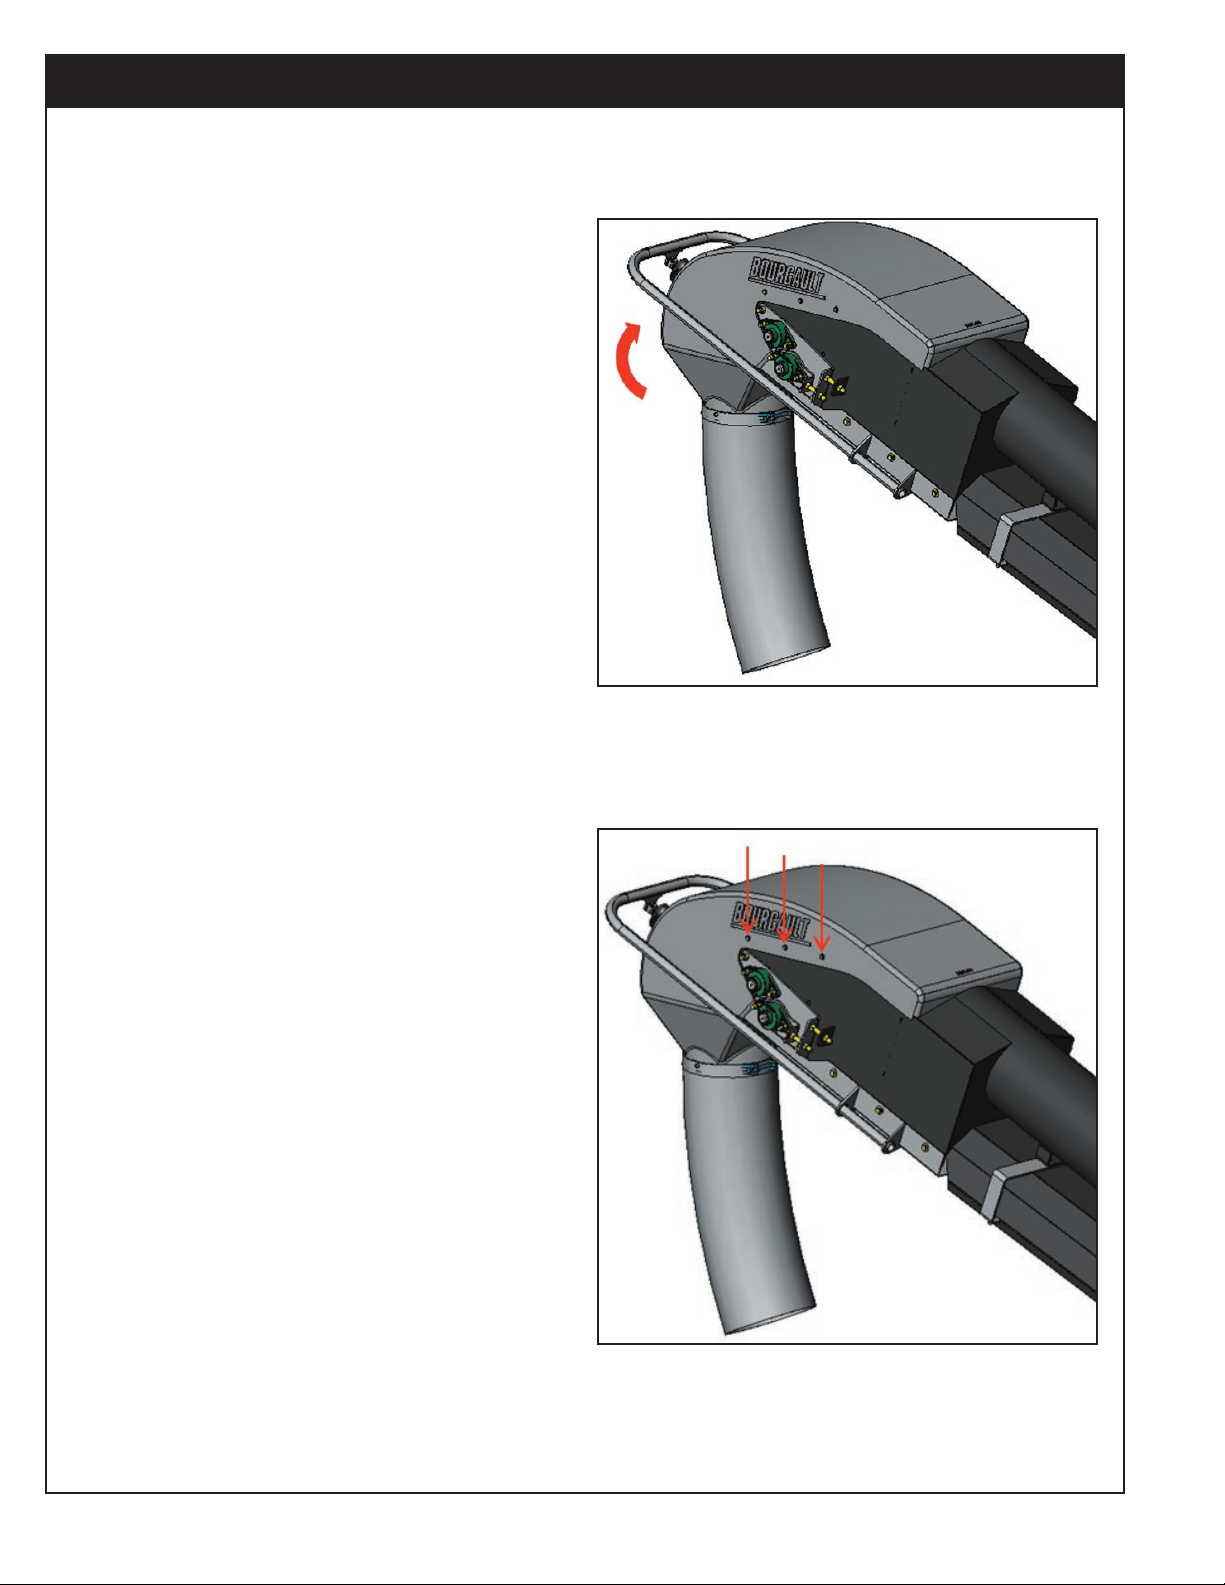
On all Bourgault equipment, left and right are determined by standing behind the machine and looking forward. On Bourgault conveyors, left and right are determined by
standing at the hopper and looking towards the downspout. For this manual the drawings and instructions are given for the assembly.
For safety, maintenance, warranty policy, and operating instruction of the unit, refer to the operators manual.
All information, illustrations and specifications in this manual are based on the latest product information. Bourgault updates products continually to improve quality. We
reserve the right to make changes at any time.
2019 UPDATE FOR 36’ CONVEYOR WITH 15” BELT
SERVICE INSTRUCTIONS
7000 Series Air Seeders
Assembly Instruction #: 0252-80-53
NOVEMBER, 2018
PRINTED IN CANADA
BOURGAULT Pursuing
Perfection
INSTRUCTIONS
This Instruction used for the following Pkgs:
6363-63-55 15-36 CNVR V2 HPR UPDT
6363-63-61 15-36 CNVR V2 UPDT W/ BELTING
SECTION 1: PREPARATION ................................................................................................................2
SECTION 2: INSTALLATION .................................................................................................................6

INSTRUCTIONS
2
Step 2: Remove the hopper screen and transition grate. Set them aside for later.
Step 1: Take the conveyor down
out of the transport saddles.
Position the conveyor so that
the downspout is over top of the
catwalk; this is being done for
easier access to the hood & top
end of the conveyor.
SECTION 1: PREPARATION
Note
Keep all disassembled hardware and components until the end of the update.
Note
If the conveyor hopper is fully assembled, then continue with Step 2. If the hopper hasn’t been fully assembled
and the components are just packaged up, skip to the installation section.

INSTRUCTIONS
3
Step 3: Remove all transition and hopper flashing. Set aside for now.
a) Start by removing the fasteners that hold the upper rubber belting (hopper surround) on each side. Save
them for later.
b) Remove the screen cross support & the metal clamping strip along both sides. Set them aside for later.

INSTRUCTIONS
4
c) Loosen the bottom 3 nuts on the tail belting support until they are flush with the end of the bolts & then
slide the support tail ward in the slots until the carriage bolts will clear. Lift the carriage bolts out of the
cutouts in the hopper with the tail belting support piece. Set it aside for later.
*Tip: It’s easiest to leave the upper belting & tail flashing attached to the support piece and remove the whole
thing as an assembly as it will be re-installed later.
d) Remove the fasteners along both sides of the hopper pan to remove the side belting supports and hopper
pan flashing pieces. Set them aside for later.

INSTRUCTIONS
5
e) Remove the transition flashing and hold down bar
on each side of the transition.

INSTRUCTIONS
6
Step 4: Remove all tension from the belt by loosening the tail roller bearing bolts as well as the jam nuts on
both adjustment bolts and sliding the tail roller to the end of the slots.
SECTION 2: INSTALLATION
Step 5: Check hopper pan edges for excessive weld that will lift flashing up. Grind the protruding welds flush
with the hopper pan edge plates.
Note
Most likely locations are where the hopper pan rub bars meet the hopper pan edges.

INSTRUCTIONS
7
Step 6: Check the seam between the transition and the tube. If the transition is severely inset and lifting the
belt off the side of the tube, then the edge will require grinding. Also check for any weld or other irregularities
in the seam that may require grinding. Once grinding is complete, touch up the paint.
Note
Be careful grinding an inset transition as the material is only 1/8” thick and can be burnt through easily.
Step 7: Remove hood to check roller alignment.
Remove the 3 bolts on each side that hold the hood in place, and then roll the hood and downspout if installed
down and out of the handle. Set aside for now.

INSTRUCTIONS
8
Step 8: Ensure the drive roller is straight & centered
in the adjustment slots.
a) Verify the edge of the adjustment plate is set to
7/8” from the end of the conveyor on both sides.
b) If adjustment is needed, loosen the two nuts
indicated & use the adjustment bolt (shown in
green) to center the plate.
*Remember to re-tighten the nuts after adjustments
are made.

INSTRUCTIONS
9
a) Verify the edge of the adjustment plate is set to 5-
3/16” from the end of the conveyor on both sides.
b) If adjustment is needed, loosen the two nuts
indicated & use the adjustment bolt (shown in
green) to achieve the measurement shown above.
*Remember to re-tighten the nuts after adjustments
are made.
Step 9: Ensure the snub roller is straight and centered
in the adjustment slots.

INSTRUCTIONS
10
Step 10: Re-install the hood.
a) Roll the hood back up through the handle and
into place.
b) Ensure the hood is properly placed, and re-insert
the fasteners.

INSTRUCTIONS
11
Step 11: Center the bearing adjustment of the top and bottom transition rollers (S rollers).
a) Starting with the top S roller, loosen the bearing
bolts enough for the roller to be adjusted. Next,
back off the jam nuts on the adjustment bolts (far
enough that they don’t prevent the adjustment
plates from bottoming out) & slide the roller as
far as possible towards the transition.
Note
A rubber hammer may be required to move the roller.
b) Once the adjustment is bottomed out, measure
the gap between the tab and the adjustment plate.
Center the bearing in the adjustment slots by
using the adjustment bolt to add a 1/4” to the
distance that was measured. Tighten the jam nuts,
and the bearing bolts. Repeat this step for the
other side.

INSTRUCTIONS
12
c) Move to the bottom S roller and loosen the
bearing bolts enough for the roller to be adjusted.
Next, back off the jam nuts on the adjustment
bolts (far enough that they don’t prevent the
adjustment plates from bottoming out) & slide the
roller as fas as possible away from the transition
Note
A rubber hammer may be required to move the roller.
d) Once the adjustment is bottomed out, measure
the gap between the tab and the adjustment plate.
Center the bearing in the adjustment slots by
using the adjustment bolt to add a 1/4” to the
distance that was measured. Tighten the jam nuts,
and the bearing bolts. Repeat this step for the
other side.
Step 12: Ensure all rollers are straight. *The belt will run straight when all of the rollers are straight*
o Measure both sides of all rollers from the flat face at the back of the hopper where the skid mounts.
Take your time measuring.
*Both sides must be identical*
*A 1/16” difference in side to side measurements will affect belt alignment*
*Tip: Write down the measurements so that you can measure all of the rollers on one side of the
hopper before switching to the other side.
*Tip: It’s easier/more consistent to measure to the edge of the roller shafts rather than the center.
The picture below shows the theoretical measurements (to the leading edge) of each roller shaft.

INSTRUCTIONS
13
Step 13: Install new transition extension plates.
a) Install the transition extension plate using the fasteners provided (5/16”x1” bolts & 5/16” washers).
Leave the bolts loose for now so the plate can be moved into position. Ensure the bottom edge is behind
the belt.

INSTRUCTIONS
14
b) Check the overall fit of the plate. Pay special attention to how the bottom and rear edges sit compared
to the hopper transition. The rear edge should touch or come very close to touching the transition. If not,
there will be a gap in the side of the transition that can allow product to leak behind the belt. The bottom
edge should follow along the transition and should not stick into the transition at all, as this would cause
the edge of the belt to be lifted and would provide another place for product to leak behind the belt. The
bottom tip of the plate must NOT stick into the transition at all, as this can result in the belt slipping
behind the bottom edge of the extension plate and being forced through a pinch point, wrecking the edge
of the belt.
Note
If weld along the side of the transition is preventing the extension plate from sitting in place, then the excess weld
will need to be ground out so that the plate fits properly.
c) Once the extension plate is positioned correctly, tighten the bolts.
Note
Make sure there is adequate clearance between the extension plate and the belt on the top S roller. The belt
should not rub in this location.
d) Repeat steps 13a -13c for the other side.

INSTRUCTIONS
15
Step 14: Install the new decals provided.
o Make sure the area is clean & dry prior to installing any decals.
o Clean the area with soap & water to remove the majority of the surface debris.
o Perform a final cleaning with isopropyl alcohol and a clean lint free cloth.
o The surface temperature of the conveyor must be at least 10°C for proper decal adhesion.

INSTRUCTIONS
16
Step 15: Tension the belt.
o Tighten both sides of the tail roller evenly until the edge of the belt becomes somewhat difficult to pull
off the side of the transition.
Step 16: Equalize the belt tension.
o First, check that the tail roller is straight by measuring both sides of the roller from the tail of the
hopper as previously done with the other rollers.
o When the roller is straight, run the conveyor briefly (10-15 seconds) to equalize the belt tension.

INSTRUCTIONS
17
Step 17: Check the belt tension.
Pull the edge of the belt off the transition plate to
check the belt tension as previously done. If the belt
is now easy to pull off the side, then increase the
tension further (repeat steps 15 & 16). If the belt
is still difficult to pull off the side, then verify by
measuring the tension.
a) Place a 1” C-clamp onto the edge of the belt
about half way down the transition. Ensure that
the clamp is tight and as deep onto the belt edge
as possible to prevent the clamp from slipping off
the edge of the belt while measuring the tension.
b) Hook a scale onto the C-clamp & pull the belt
edge inward across the conveyor hopper, staying
as horizontal as possible, until the belt is 3” off
the side of the transition. The scale should read
95-99 lbs. The scale will read “Err” once the
measurement is above 99 lbs. Belt tension set
slightly above this range is acceptable, especially
when setting a new belt.
Note
If the 3” measurement is overshot, don’t go back to
3”. Instead, let the belt relax completely and start the
measurement over again.
c) Adjust the tail roller as needed to achieve this
tension range. *Make sure that both sides of the
tail roller are adjusted equally and that the roller
stay straight.
d) When complete, tighten the bearing bolts and jam
nut on each side.

INSTRUCTIONS
18
Step 18: Align the belt.
Run the conveyor on slow and align the belt by making small adjustments.
Note
Adjustments that are made will directly affect the rollers downstream, they will have little to no effect on rollers
that come before the one being adjusted.
o Start by adjusting the tail roller until the belt is centered on the tail roller. Adjust rollers in the
direction indicated by the belt adjustment decals.
o When the belt is centered on the tail roller, it should also end up being nearly centered on the top S
roller (transition roller) and through the hopper pan as well. Very minor adjustments may be required
to the top S roller to fully center the belt on this roller.
Note
The belt may display a bit of a walk; set this as close to center as possible.
Note
Make sure there is adequate clearance between the extension plate and the belt on the top S roller. The belt
should not rub in this location.
Note
If belt cannot be aligned refer to Step 12 to re-square the rollers then perform Step 18 again.

INSTRUCTIONS
19
c) Set the flashing pieces so that they are just
touching, or have a paper thin gap between them
and the belt. Pay special attention to the top
“thumb” of the flashing, make sure that it isn’t
set too low and that it won’t be pulled or rubbed
aggressively by the belt during operation. When in
place, tighten the bolts.
Note
This can be verified by running the belt for a couple
of revolutions.
Step 19: Install the lower transition flashing pieces.
a) Remove the bottom bolt in the transition extension
plates. Be careful not to move the plates while
installing the transition flashing pieces.
b) Loosely install the lower transition flashing pieces
(with the slider side down) & the hold down
plates with the fasteners provided (5/16” washers
and 5/16” x 1” bolts).
***IMPORTANT***
ALL FLASHING IS TO BE INSTALLED WITH SLIDER (FABRIC / MATERIAL WEAVE) SIDE DOWN AND
RUBBER SIDE FACING UP OR “EXPOSED”.

INSTRUCTIONS
20
d) Check that the tip of both hold downs is bent
correctly. It should line up with the side of the
hopper & hold the thumb of the flashing in place.
If it’s under bent it will excessively squish into
the flashing and squeeze the top out and away
from the side of the hopper. If it’s over bent the
very tip won’t make contact with the flashing and
will act as a lip to catch product. Tweak the bend
angle as needed for best fit.
e) Bend top section of flashing over and install
5/16”x1” bolt, 3/8” fender washer & 5/16” nut.
Trim the flashing so that it sits flush along the
seam between the transition and the edge of the
hopper pan. Be CAREFUL not to trim too much
material and create a hole for product leakage. If
required, trim the top edge of the “thumb” to be
flush with the metal of the hopper so that the next
layer of flashing will sit over top without being
lifted up.
f) Plug un-used transition hole by installing a
5/16”x1” bolt and 5/16” washer.
Other manuals for 7000 Series
3
Table of contents
Other Bourgault Farm Equipment manuals