manuals.online logo
Brands
  1. Home
  2. •
  3. Brands
  4. •
  5. Breezesta
  6. •
  7. Outdoor Furnishing
  8. •
  9. Breezesta CI-1803 User manual

Breezesta CI-1803 User manual

CHILL SOFA
CI-1803
1
CI-1803 Assembly
E
F
G
H
I
J
K
L
M
N
O
A
B
C
D
PARTS
PART
DESCRIPTION
PART NO.
QTY.
A
LH BACK LEG ASSEMBLY
SA-00423
1
B
RH BACK LEG ASSEMBLY
SA-00424
1
C
LH FRONT LEG
PRT-00755
1
D
RH FRONT LEG
PRT-00756
1
E
SEAT ASSEMBLY
SA-00450
1
F
LH ARM ASSEMBLY
SA-00427
1
G
RH ARM ASSEMBLY
SA-00428
1
H
SPREADER
PRT-00118
1
I
LH BACK ASSEMBLY
SA-00454
1
J
MIDDLE BACK ASSEMBLY
SA-00453
1
K
RH BACK ASSEMBLY
SA-00426
1
L
RH FRONT MID LEG ASSEMBLY
SA-00451
1
M
LH FRONT MID LEG ASSEMBLY
SA-00452
1
N
LH MID BACK LEG
PRT-00927
2
O
RH MID BACK LEG
PRT-00926
2
2
CI-1803 Assembly
ab
c
d
e
g
h
O
O
N
N
M
L
E
d
d
1.
Turn Seat Assembly (E) upside down on a non-marring surface. Attach Front Mid Legs (L)
and (M) using (2) of hardware (d) in each leg - this will require the T25 L-Key due to the limited
space. Attach the Mid Back Legs (N) and (O) using (2) of hardware (d) as well.
Turn the seat and leg assembly over to sit on the legs. This will be used in Step 3. Do not sit on
the sofa at this time.
f
SA-00456 HARDWARE KIT
PART
DESCRIPTION
PART NO.
QTY.
a
#8 x 1-3/4 TORX SCREW
H-0000-S8175
4
b
#8 x 2-1/2 TORX SCREW
H-0000-S825
2
c
DOUBLE SCREW
H-0000-DS
4
d
5/16" X 1-1/2" CHAIR BOLT
H-0000-CB51615
28
e
5/16" X 2-1/8" CHAIR BOLT
H-0000-CB516218
10
f
T20 & T25 TORX BIT
H-0000-CTD
1
g
6 INCH T20 TORX BIT
H-0000-T20X6
1
h
T25 L-KEY
H-0000-T25LK
1
3
CI-1803 Assembly
Inside Edge
Inside Edge
c
x2
C
A
c
x2
D
B
e
d
x2
H
2.
Start an end of a double screw (c) in the hole in the top of each leg. Thread the opposite
end of the double screw into the corresponding arm, turning the legs clockwise to tighten,
until the top of the leg is tight and flush with the bottom of the arm. The slots/threaded inserts
in the legs should face toward the inside edge of its corresponding arm.
3.
Attach the Left Leg/Arm assembly
from Step 2 to the Seat/Mid Leg
assembly from Step 1. Use (2) of
hardware (d) in the rearward holes
and (2) hardware (e) in the front hole.
Once the Left Leg/Arm assembly is
fastened, slide the Spreader (H)
through the two Mid Front Legs and
into the slot of the LH Front Leg.
4
CI-1803 Assembly
e
d
x2
a
x4
b
x2
4.
Attach the Right Leg/Arm
assembly from Step 2 to the
Seat/Mid Leg assembly from Step 1.
When pushing the Leg/Arm
Assembly in place, be sure the
tenon of the Spreader (H) fits into
the RH Front Leg (D). Use (2) of
hardware (d) in the rearward holes
and (2) hardware (e) in the front
hole to attach the legs.
5.
Turn the Seat/Leg Assembly onto its front. Fasten the ends
of the Spreader (H) using (2) of hardware (a) in each end.
These screws should be installed using the 6" T20 Torx Bit (g).
Hold one of the Mid Legs square to the front of the seat.
Fasten it to the Spreader (H) using (1) of hardware (b).
Repeat for the other Mid Leg. Turn the Seat/Leg assembly
back to having its legs on the ground.
5
CI-1803 Assembly
d
x4
I
e
Arm
Rest the Inner
Leg on the
Side Rail of the
Seat Assembly.
d
x4
J
e
x2
6.
Attach the LH Back Assembly. It is easiest if you start with (1) of
hardware (e) in your hand. Lift the LH Back Assembly (I) between the first
two Side Rails as shown. Rest the inner leg of the back on its Side Rail and
insert the hardware (e) in your hand through the back rail and into the arm,
turning the bolt a couple times to hold it in place. Install (4) of hardware
(d), two in each Back Rail a turn or two by hand. Once all (5) bolts are in
place, tighten them.
7.
Lift the Middle Back Assembly (J) in place.
Rest the Back Rails on the seat Side Rails and
insert (2) of hardware (e) into the back rail
connecting it to the LH Back from Step 6,
hand-tightening for now. Insert (4) of
hardware (d) into the bottom holes of the
back, two per side.
Once all (6) bolts are
in place, tighten
them.
6
CI-1803 Assembly
d
e
Arm
e
x2
8.
The RH Back Assembly attaches similarly to the LH Back in Step 6.
Lift the RH Back Assembly (K) into place and insert (1) hardware (e)
through the Back Rail and into the Arm. Hand-tighten the bolt. Insert
(2) hardware (e) through the back rail of the Middle Back Assembly
and into the RH Back Assembly and hand-tighten. Insert the remaining
(4) hardware (d) into the two holes at the bottom of each Back Rail.
Once all (7) bolts are in place, tighten them.
7
CI-1803 Assembly
8
CI-1803 Assembly

Other Breezesta Outdoor Furnishing manuals
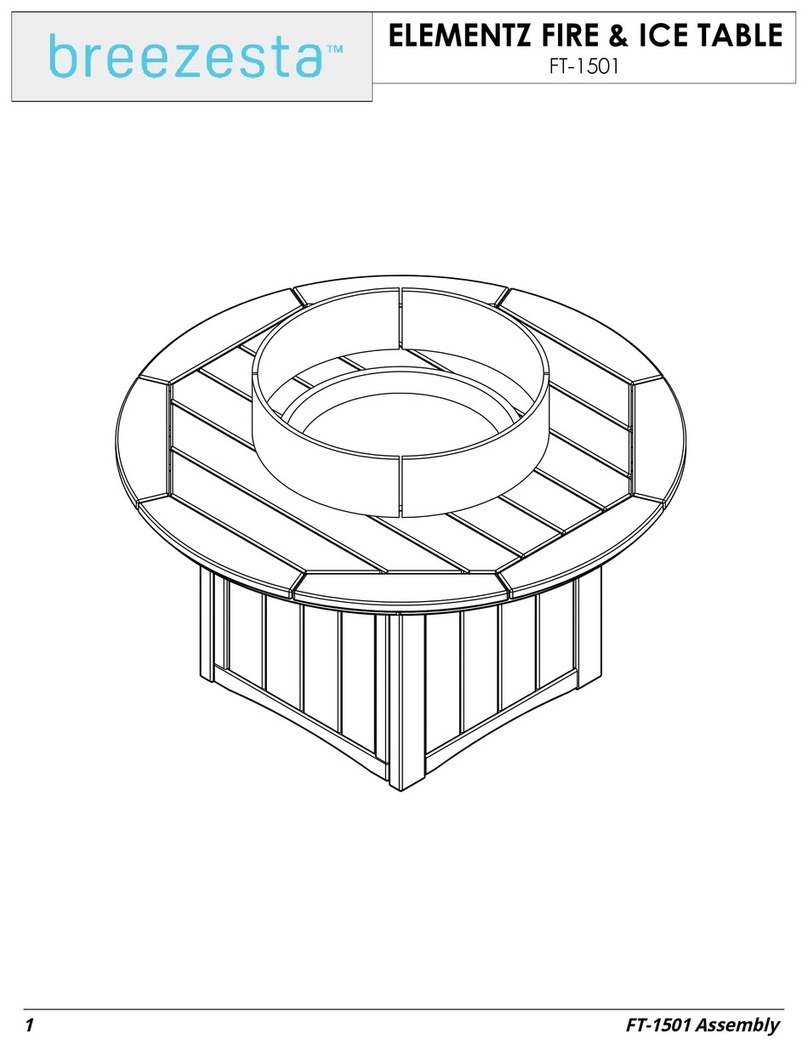
Breezesta PT-0502 User manual

Breezesta

Breezesta PT-0502 User manual

Breezesta AD-0112 User manual

Breezesta

Breezesta AD-0112 User manual

Breezesta Palm Beach PB-1608 User manual

Breezesta

Breezesta Palm Beach PB-1608 User manual

Breezesta fiberon Furniture FIB-SK-0400 User manual

Breezesta

Breezesta fiberon Furniture FIB-SK-0400 User manual

Breezesta CO-0100 User manual

Breezesta

Breezesta CO-0100 User manual

Breezesta PIEDMONT PT-0501 User manual

Breezesta

Breezesta PIEDMONT PT-0501 User manual

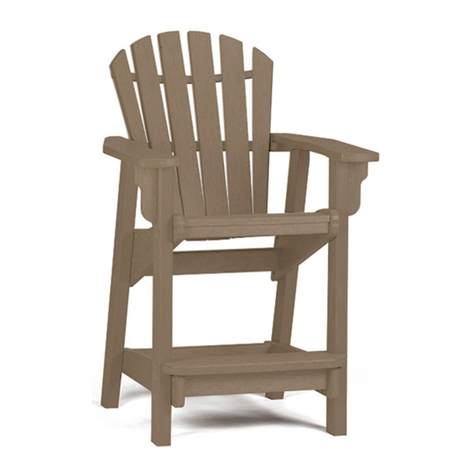
Breezesta SHORELINE ADIRONDACK ROCKER AD-0110 User manual
Breezesta

Breezesta SHORELINE ADIRONDACK ROCKER AD-0110 User manual

Breezesta PK-1300-72 User manual

Breezesta

Breezesta PK-1300-72 User manual

Breezesta SK-0403 User manual

Breezesta

Breezesta SK-0403 User manual

Breezesta CI-1805 User manual

Breezesta

Breezesta CI-1805 User manual

Breezesta PIEDMONT PT-0603 User manual

Breezesta

Breezesta PIEDMONT PT-0603 User manual

Breezesta AD-0118 User manual

Breezesta

Breezesta AD-0118 User manual

Breezesta Piedmont PT-0500 User manual

Breezesta

Breezesta Piedmont PT-0500 User manual

Breezesta PT-0600 User manual

Breezesta

Breezesta PT-0600 User manual

Breezesta PIEDMONT COUNTER PT-0602 User manual

Breezesta

Breezesta PIEDMONT COUNTER PT-0602 User manual

Breezesta PB-1600 User manual

Breezesta

Breezesta PB-1600 User manual

Breezesta AD-0113 User manual

Breezesta

Breezesta AD-0113 User manual

Breezesta AD-0100 User manual

Breezesta

Breezesta AD-0100 User manual

Breezesta AD-0119 User manual

Breezesta

Breezesta AD-0119 User manual

Breezesta PK-1300-72 User manual

Breezesta

Breezesta PK-1300-72 User manual

Breezesta AC-9901 User manual

Breezesta

Breezesta AC-9901 User manual

Breezesta CH-0805 User manual

Breezesta

Breezesta CH-0805 User manual
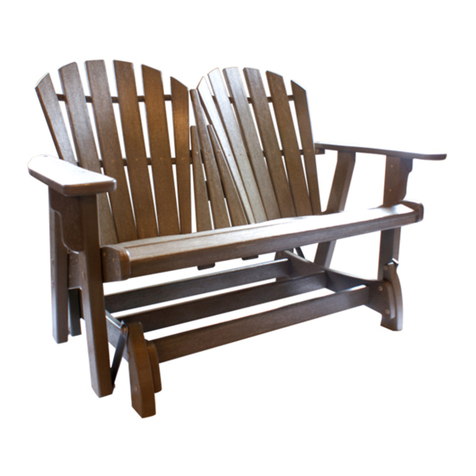
Breezesta SK-0402-36 User manual

Breezesta

Breezesta SK-0402-36 User manual

Breezesta Piedmont PR-0502 User manual

Breezesta

Breezesta Piedmont PR-0502 User manual

Popular Outdoor Furnishing manuals by other brands

Jack-Post CG-44 Assembly instructions

Jack-Post

Jack-Post CG-44 Assembly instructions

Belson Outdoors HB96A instruction sheet

Belson Outdoors

Belson Outdoors HB96A instruction sheet

Hanover TRADDNG9PCSW2-SU-B manual

Hanover

Hanover TRADDNG9PCSW2-SU-B manual

TreeTop Products PW1415 instructions

TreeTop Products

TreeTop Products PW1415 instructions

Blumfeldt Pantheon Cortina manual

Blumfeldt

Blumfeldt Pantheon Cortina manual

Alice's Garden VASTO 8 WKGCUBE8 manual

Alice's Garden

Alice's Garden VASTO 8 WKGCUBE8 manual

Ofs The Edge Canopy Assembly instructions

Ofs

Ofs The Edge Canopy Assembly instructions

Forever Redwood GARDEN ARBOR BENCH Assembly instructions

Forever Redwood

Forever Redwood GARDEN ARBOR BENCH Assembly instructions

Avalon L-GZ816PST instruction manual

Avalon

Avalon L-GZ816PST instruction manual

Palram Palermo 3600 manual

Palram

Palram Palermo 3600 manual

Festival Depot Patio Festival PF20122 Assembly instructions

Festival Depot

Festival Depot Patio Festival PF20122 Assembly instructions

highwood Laguna Chaise Lounge Assembly guide

highwood

highwood Laguna Chaise Lounge Assembly guide

Nuu Garden CT002 instruction manual

Nuu Garden

Nuu Garden CT002 instruction manual

Home Decorators Collection ARTIS FCA65075L-BLK Assembly instructions

Home Decorators Collection

Home Decorators Collection ARTIS FCA65075L-BLK Assembly instructions

U-Line H-5181 Installation

U-Line

U-Line H-5181 Installation

Garden Oasis 02620583-1 Use & care guide

Garden Oasis

Garden Oasis 02620583-1 Use & care guide

CASARIA Murcia 109023 manual

CASARIA

CASARIA Murcia 109023 manual

Creative Play CP008/OCT Assembly instructions

Creative Play

Creative Play CP008/OCT Assembly instructions

manuals.online logo
manuals.online logoBrands
  • About & Mission
  • Contact us
  • Privacy Policy
  • Terms and Conditions

Copyright 2025 Manuals.Online. All Rights Reserved.