4
5
8
8
8
Contents
Safety information
1. Product overview
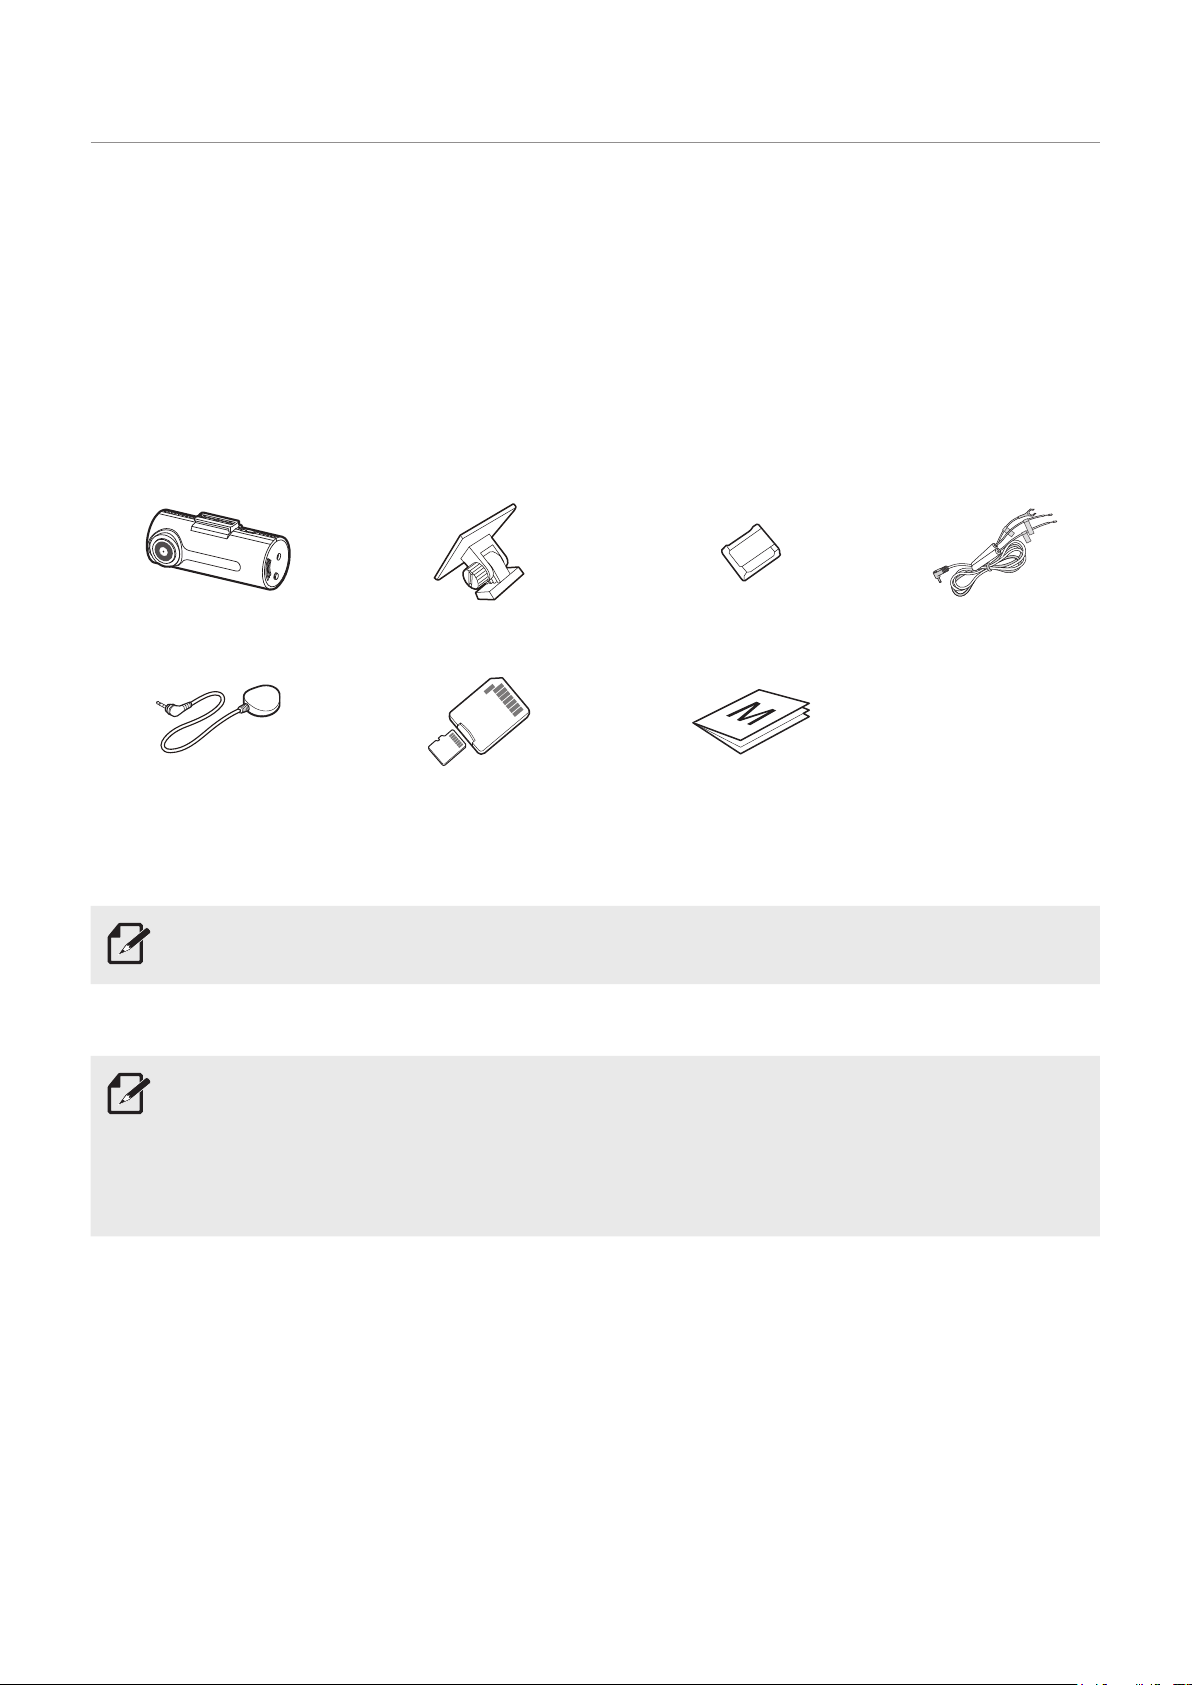
1.1 Included items
1.1.1 Standard items
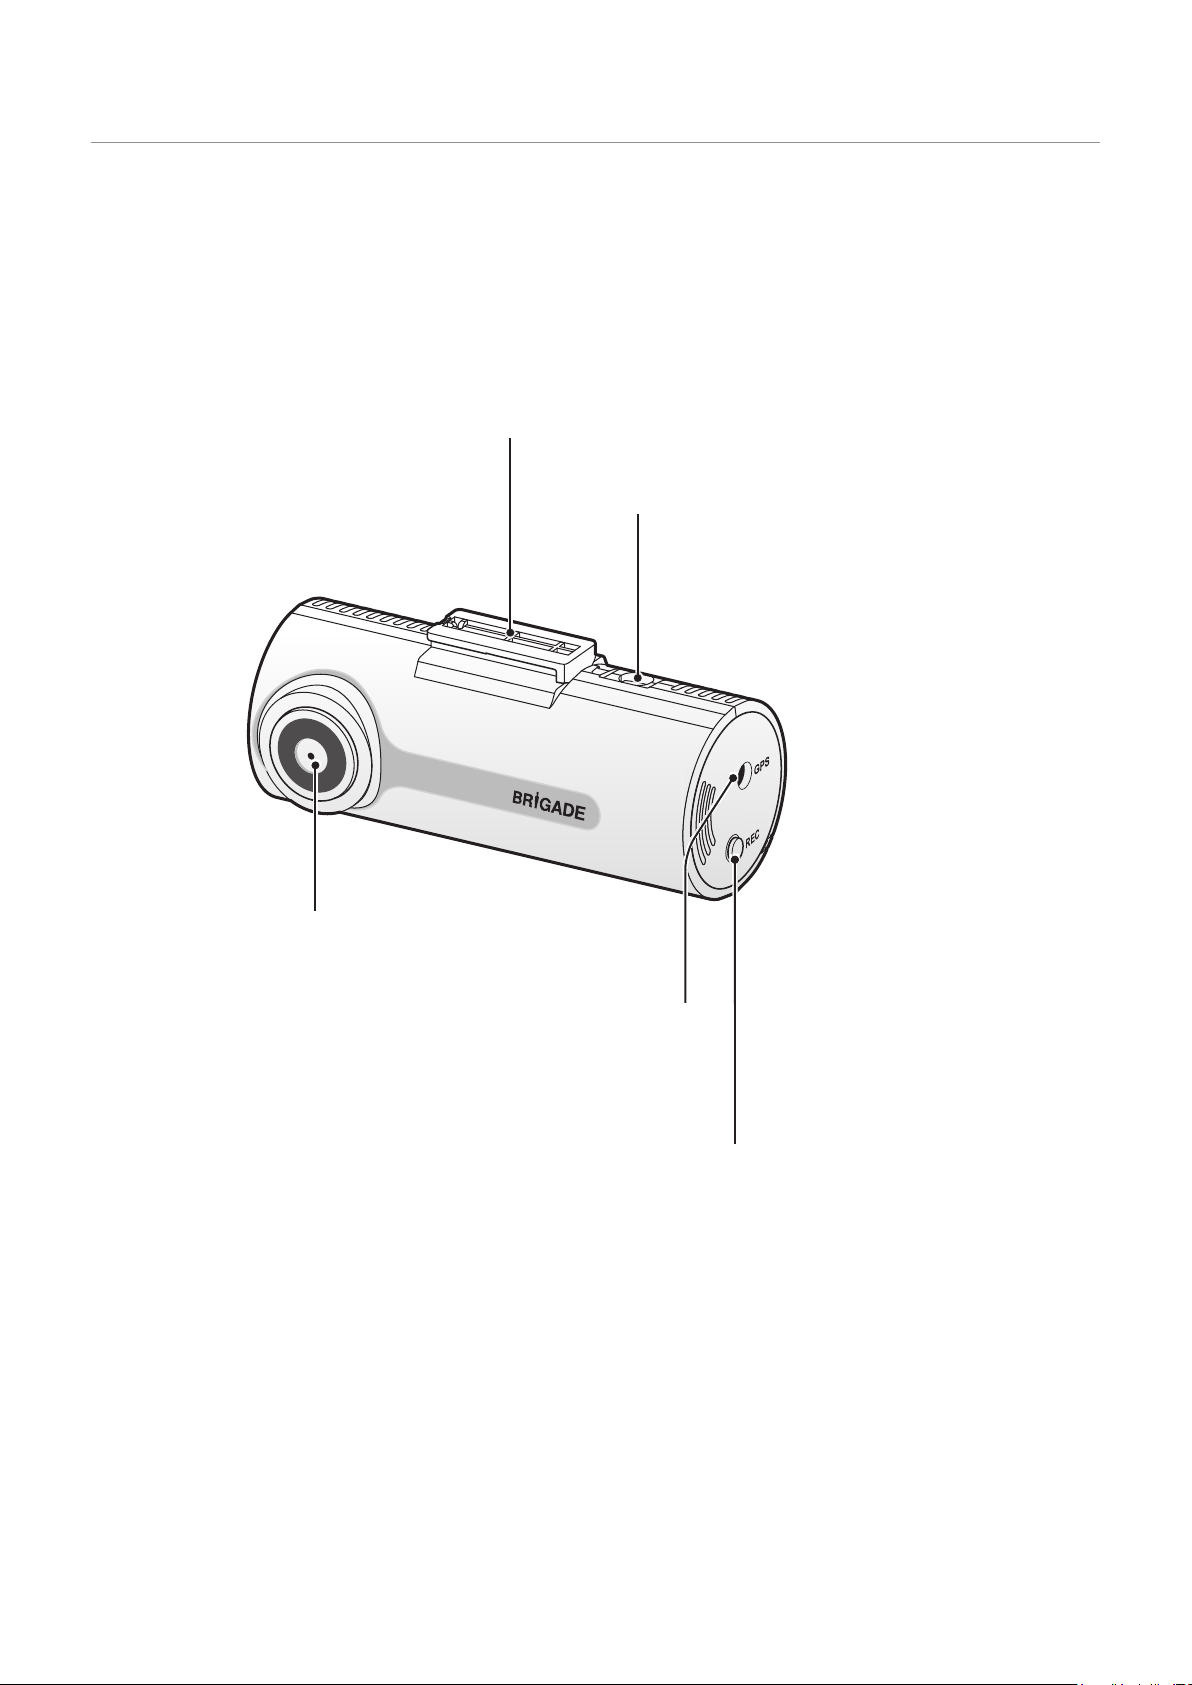
1.2 Part names 9
1.2.1 Front camera (main unit) - front view 9
1.2.2 Fr ont camera (main unit) - rear view 10
1.3 Removing and inserting the memory card 11
14
1.4 Hardwiring the Dash Cam
2. Installing the product
2.1 Installing the front camera (main unit) 14
2.1.1 Selecting an installation location
2.1.2 Securing the product
2.1.3 Connecting the power cable
14
14
16
2.2 Installing the external GPS receiver (optional) 17
18
18
3. Using recording features
3.1 Turning the product on or o
3.2 Learning about le storage locations 18
3.3 Using the continuous recording feature 18
19
3.4 Recording manually
3.5 Using parking mode 19
3.5.1 Checking the video le
storage location 20
21
21
21
4. Using the PC viewer
4.1 System requirements
4.2 Installing the PC viewer
4.3 PC viewer screen layout 22
4.4 Playing recorded videos on the PC viewer 23
4.5 Video control menu overview 24
25
5. Settings
5.1 Managing the memory card 25
25
25
5.1.1 Partitioning the memory card
5.1.2 Formatting the memory card
5.1.3 Conguring the video overwriting
25
function
5.2 Setting the camera 26
5.2.1 Setting the brightness of the front
26
camera
5.3 Setting recording features 26
26
27
5.3.1 Setting the continuous impact
detection sensitivity
5.3.2 Setting parking mode
5.3.3 Setting the impact sensitivity for
parking mode 27
5.3.4 Setting the motion detection sensitivity 27
5.3.5 Setting the record timer feature 28
5.3.6 Setting the battery protection feature 28
5.3.7 Setting the battery cuto
29
voltage feature
5.3.8 Setting the battery protection
29
feature for wintertime
5.4 Setting road safety features 30
30
5.4.1 Setting the safety cameras
5.4.2 Setting the mobile zone alert 30
5.4.3 Setting front vehicle departure warning 30
5.5 Conguring the system settings 31
31
31
31
32
32
5.5.1 Setting the display language
5.5.2 Adjusting the system volume
5.5.3 Setting the time zone
5.5.4 Setting the daylight saving time
5.5.5 Setting the speed unit
5.5.6 Setting the speed stamp 32
5.6 Initializing the system settings 32
33
34
35
12
6. Upgradingthermware
7. Troubleshooting
8. Specications